
Oh, you know how much I just adore a good dessert mashup! When you take two wonderful things—like chewy, spiced cookies and rich, tangy cheesecake—and put them together, you get magic. That’s exactly what we’ve done here with the ultimate creamy snickerdoodle cheesecake. Trust me, after years of teaching and managing hectic family schedules, I learned that impressing guests doesn’t mean stressing yourself out.
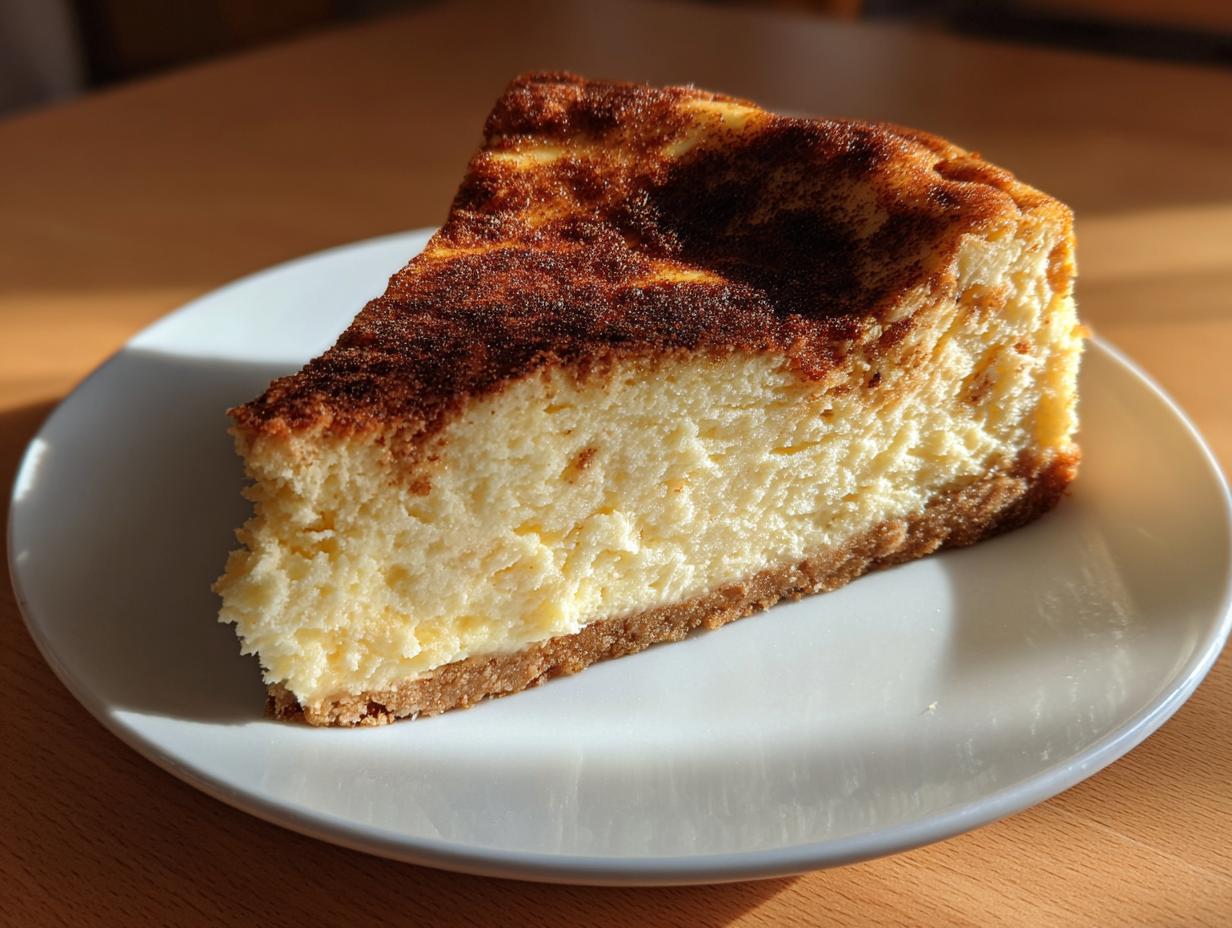
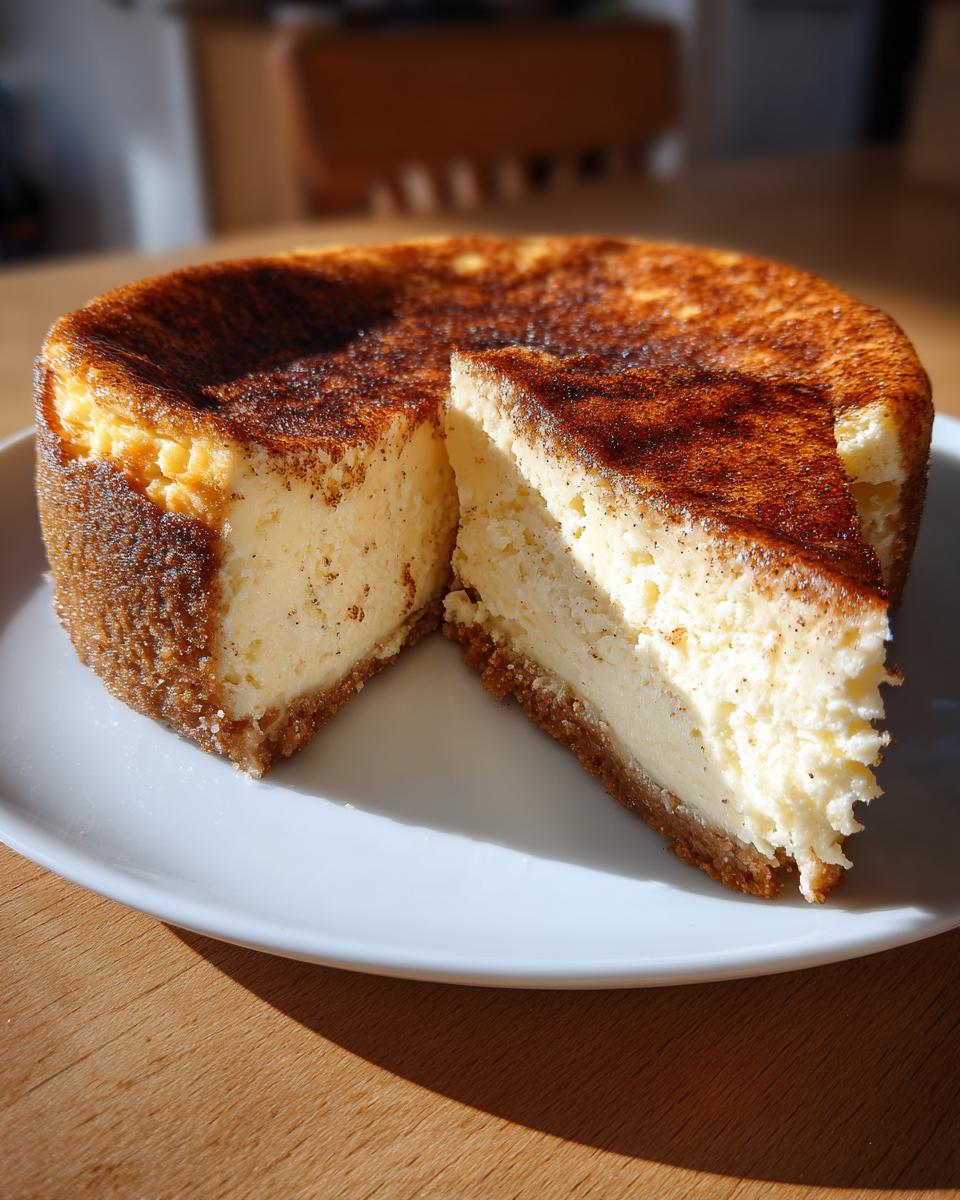
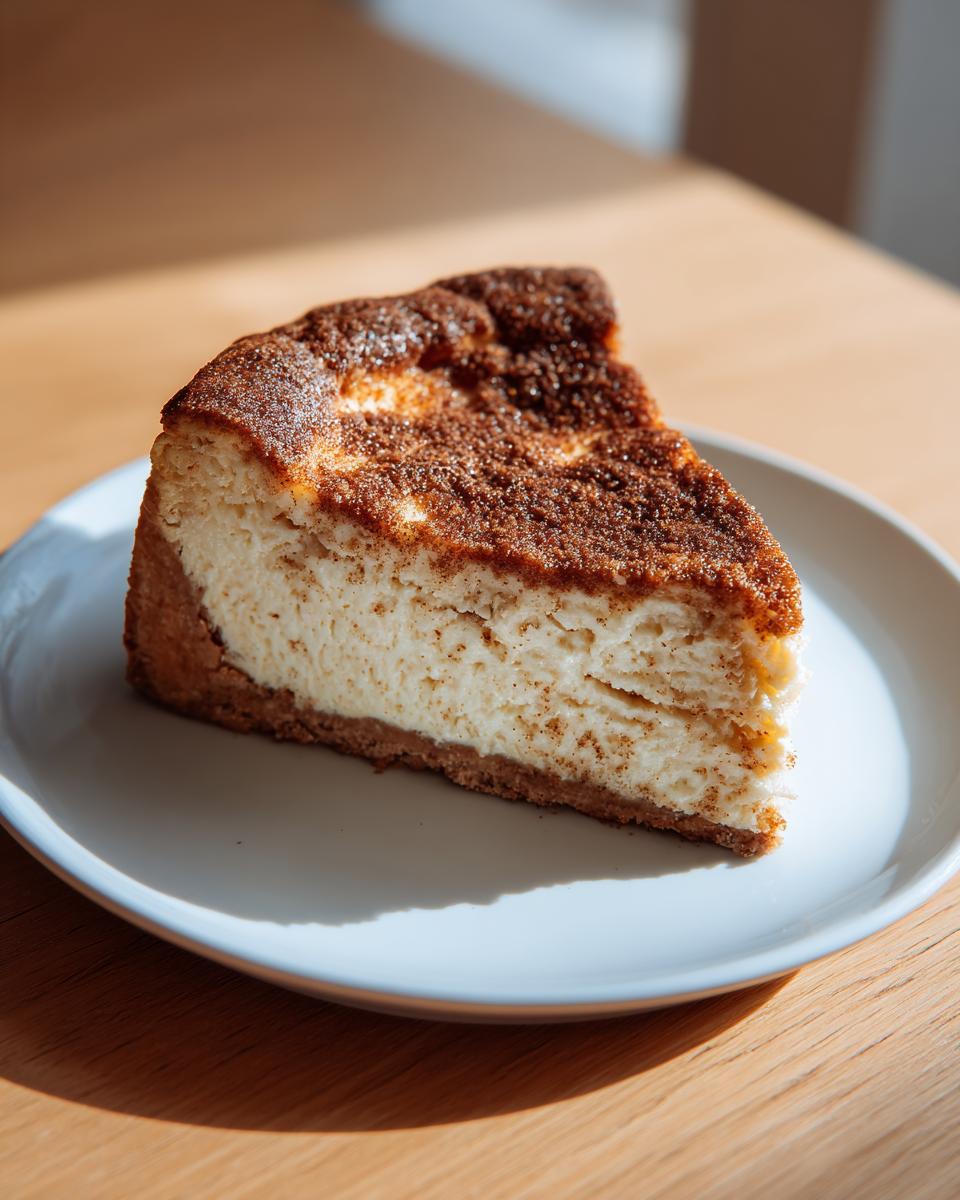
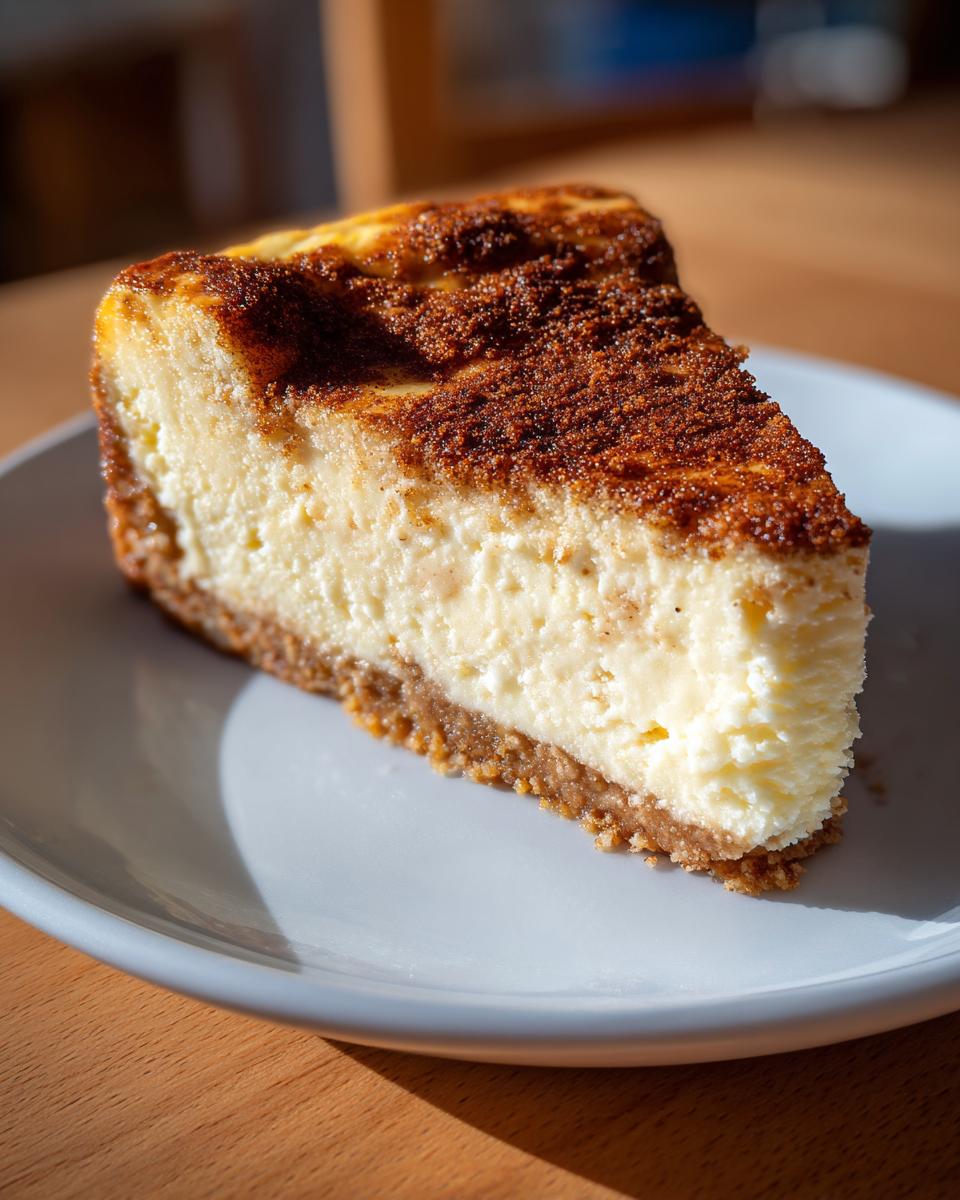
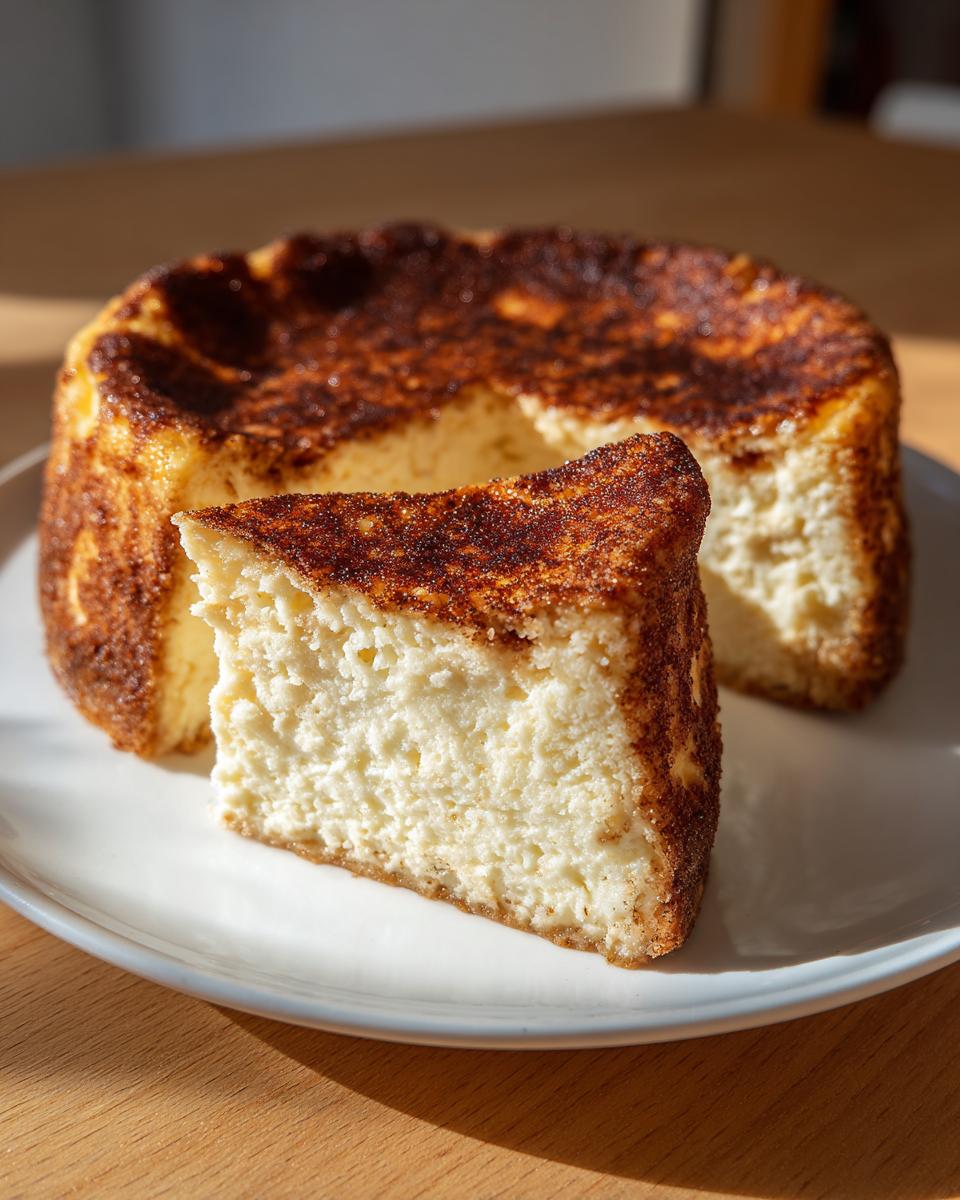
This isn’t just another recipe; this is my carefully tested, foolproof way to get that perfect, velvety texture without that dreaded crack on top. This baked creation marries the warm cinnamon hug of a snickerdoodle with cheesecake’s luxurious smoothness. It’s quickly become my favorite showstopper dessert for the holidays. You’re going to love how dependable this cheesecake masterpiece is!
- Why This Snickerdoodle Cheesecake Recipe Works (Expert Tips)
- Ingredients for the Ultimate Creamy Snickerdoodle Cheesecake
- How to Prepare Your Snickerdoodle Cheesecake Recipe Step-by-Step
- Tips for a Crack-Free Snickerdoodle Cheesecake
- Variations: No Bake Cheesecake Variations and Cheesecake Bars Recipe
- Serving Suggestions for Your Cinnamon Swirl Dessert
- Storage and Reheating Instructions for Snickerdoodle Cheesecake
- Frequently Asked Questions About Snickerdoodle Cheesecake
- Share Your Ultimate Creamy Snickerdoodle Cheesecake Success
Why This Snickerdoodle Cheesecake Recipe Works (Expert Tips)
When I say this is the ultimate creamy recipe, I mean it! I’ve baked enough cheesecakes over the years to know exactly what causes stress in the kitchen, and those cracks are number one. Because I want you to feel confident serving this as a true showstopper dessert, I focus heavily on technique.
- It’s all about gentle mixing. We are not whipping air into this batter, we are just combining ingredients until they are smooth.
- The water bath is non-negotiable! It’s the gentle environment your cheesecake needs to set slowly and beautifully.
- We start with a pre-baked crust so it stays crisp and doesn’t get soggy under that heavy filling.
Achieving the Velvety Cheesecake Filling
The main secret to that gorgeous, velvety cheesecake filling is patience with your ingredients. Seriously, before you even turn on the mixer, your cream cheese blocks and your eggs absolutely MUST be at room temperature. If they are cold, they will clump up, and you’ll end up overmixing trying to smooth them out. Overmixing equals air bubbles, and air bubbles sneakily ruin a beautiful bake!
The Secret to a Perfect Buttery Cinnamon Crust
We don’t just throw crumbs in a pan! To build a solid foundation for this ultimate creamy cheesecake, you need to treat your crust right. Mix that melted butter right into the graham crackers, cinnamon, and sugar until it looks just like wet sand—not dry, not soupy. Press it down hard into the bottom of that springform pan before you give it that short 10-minute bake. That firm, pre-baked buttery cinnamon crust ensures everything stays put when you slice into it later!
Ingredients for the Ultimate Creamy Snickerdoodle Cheesecake
When you look at this list, remember that we aren’t looking for hard-to-find specialty items here. Everything you need for this incredible Snickerdoodle Cheesecake Recipe is right at your regular grocery store. I broke it down so you know exactly what goes where. The key to making this a real winner for your next holiday table is measuring correctly, especially for the filling!
For the Buttery Cinnamon Crust:
- 1 1/2 cups crushed graham crackers or vanilla wafers (vanilla wafers really lean into that cookie flavor!)
- 1/4 cup granulated sugar
- 1/2 teaspoon ground cinnamon
- 6 tablespoons unsalted butter, melted
For the Velvety Cheesecake Filling:
- 3 (8 ounce) packages cream cheese, softened completely to room temperature—this is vital!
- 1 1/2 cups granulated sugar
- 1/4 cup all-purpose flour (yes, just a little flour helps stabilize this!)
- 2 teaspoons ground cinnamon
- 1 teaspoon vanilla extract
- 4 large eggs, also at room temperature
- 1/2 cup sour cream (this adds a little tang!)
For the Cinnamon Sugar Topping:
- 1/4 cup granulated sugar mixed thoroughly with 1 teaspoon ground cinnamon
How to Prepare Your Snickerdoodle Cheesecake Recipe Step-by-Step
Alright, let’s get baking! This is where we put all those tips about room temperature ingredients to work. Follow these steps closely, and you’ll nail this Baked Cheesecake Tutorial every time. Remember, slow and steady wins the race, especially in cheesecake world. Don’t forget to make a batch of my cinnamon roll cheesecake soon too!
Crust Preparation and Initial Bake
First things first: get that oven warmed up to 325 degrees F. While it heats, wrap the outside of your 9-inch springform pan really well with heavy-duty foil—we want zero water creeping in later! For the crust, mix your crumbs, the 1/4 cup sugar, and 1/2 teaspoon cinnamon. Pour that melted butter in, stir until it looks like damp sand, and press it down firmly on the bottom of the pan. Pop that into the oven for 10 minutes to set up, then let it cool a touch.
Mixing the Velvety Cheesecake Filling
Now for the creamy part! Use your electric mixer to beat that softened cream cheese until it’s totally smooth. Scrape the bowl down, then add the 1 1/2 cups sugar, flour, and 2 teaspoons cinnamon. Mix on medium speed only until they disappear! Stop! Add the vanilla, then the eggs, one by one, mixing *just* long enough for the yolk to vanish. Finally, stir in the sour cream until the batter looks slick and beautiful. See? No raging mixer action happening here!
Baking the Snickerdoodle Cheesecake with a Water Bath
Pour that glorious filling right over your cooled crust. Now, take your foil-wrapped springform pan and nestle it inside a larger roasting pan. This is your bath! Carefully pour hot water into the roasting pan until it comes halfway up the sides of your cheesecake pan. It protects the filling. Bake this whole setup for about 60 to 75 minutes. The edges should look set, but I look for that gentle wobble right in the center—that means it’s wonderfully underdone for now.
Cooling and Chilling for Perfect Texture
This step is non-negotiable if you want that ultimate smooth texture. Turn the oven off, crack the door open just a little bit, and let that cheesecake hang out inside for a full hour. Slow cooling is what prevents shocking the fragile structure. Once it’s out, take off the foil and let it finish cooling on a wire rack. Then, cover it back up and send it to the fridge for at least 6 hours. Overnight is truly the best if you can swing it!
Tips for a Crack-Free Snickerdoodle Cheesecake
If there’s one thing I want you to take away from this whole process, it’s how to keep your cheesecake top smooth as glass. We already covered the slow cooling, but let’s talk more about that mixing bowl. To guarantee that ultimate creamy cheesecake texture, avoid adding the eggs in one go! I always add them one at a time, mixing only until the color blends in. That tiny bit of extra time keeps the air bubbles from developing in the first place.
Also, before you even start, make sure every single dairy item—the cream cheese, the sour cream—is completely warm to the touch. Cold ingredients fight each other, they don’t blend. If you see lumps, that’s your baking nemesis peering back at you! If folks ask how you got such great results, you just tell them I taught you the secret to my creamy homemade eggnog technique works wonders here too!
Variations: No Bake Cheesecake Variations and Cheesecake Bars Recipe
I know sometimes you need a stunning dessert but just can’t commit to the oven time, especially when the house is already packed with holiday cooking smells. Good news! This amazing cinnamon-sugar flavor profile is perfect for adaptation. If you’re looking for quick No Bake Cheesecake Variations, the concept translates beautifully.
For a no-bake version, you’d skip the crust bake step entirely, maybe adding a touch of cookie crumbs directly into the filling mixture, along with the cream cheese, sugar, and flavoring. Then, you ditch the eggs and sour cream and use whipped heavy cream or stabilized whipped topping to give it that lightness that sets up nicely when chilled. You get that creamy dessert without turning on the stove!
If you prefer something easier to cut and serve at a big buffet, definitely consider making Cheesecake Bars Recipe versions. You can use a 9×13 pan instead of the springform. When you do this, you’ll need to thin out the filling a bit, or slightly increase your flour/egg ratio so it sets up sturdy enough to slice neatly. My pumpkin cheesecake bars use this method, so feel free to peek at that structure for guidance! Or, if you want to check out some other chilled options, take a quick look at these No Bake Snickerdoodle Cheesecake recipes; they can give you inspiration for the filling structure.
Serving Suggestions for Your Cinnamon Swirl Dessert
This rich Cinnamon Swirl Dessert is definitely the star of the show, but sometimes you need something to balance out that creamy decadence! Since this is such a cozy, comforting flavor, it pairs beautifully with deep chocolate notes. Try serving a small slice alongside my rich hot chocolate brownies. That combination is pure heaven during the colder months.
And what do you drink with the ultimate holiday cheesecake? Something light and frothy, of course! Forget basic cocoa; whip up a batch of my whipped hot chocolate. It’s festive, fun, and just the right touch of sweetness to round out this amazing dessert experience!
Storage and Reheating Instructions for Snickerdoodle Cheesecake
Okay, you’ve gone through all that trouble to bake the ultimate creamy cheesecake, so we need to treat it right in storage! The single most important thing I learned from my grandmother about baked desserts is that patience pays off in the fridge. While the recipe says chill for 6 hours, I’m begging you—let this Snickerdoodle Cheesecake Recipe chill overnight if you possibly can.
When it’s fully chilled, it solidifies into that perfect sliceable texture. Once cooled, loosen the sides of the springform pan. I like to cover the top lightly with plastic wrap, but make sure the wrap isn’t touching the surface! You don’t want it sticking to that beautiful cinnamon topping.
It keeps beautifully in the refrigerator for about four to five days. Since this is a baked recipe, we aren’t going to mess around with reheating it! In fact, you want it cold. If you pull it out 20 minutes before serving, that’s plenty of time for the flavors to bloom a little without compromising that firm, velvety texture we worked so hard to achieve. Leftovers disappear fast, trust me!
Frequently Asked Questions About Snickerdoodle Cheesecake
When you’re making something called the “ultimate” dessert, I know questions pop up! We want to make sure this turns out perfect for your table, whether it’s a casual dessert night or a big event. Here are some things I hear most often about this Snickerdoodle Cheesecake Recipe. Feel free to check out my easy crockpot potato soup while you’re here—sometimes you need something simple on the side!
Can I make this a Christmas Dessert Centerpiece without the water bath?
Look, I get it, water baths are the ultimate hassle, especially when you’re busy putting together your entire Christmas Dessert Centerpiece spread. But here’s the honest truth from years in the kitchen: skipping the water bath is the number one reason for cracks. The oven environment is too dry and the heat difference between the edges and the center is too drastic. If you skip it, you severely risk a cracked top. You might get lucky, but for this delicate cheesecake, I really, really advise using the water bath for that flawless presentation!
What is the best substitute for graham crackers in the Buttery Cinnamon Crust?
If you can’t find graham crackers, or you just want to lean harder into the cookie flavor of our Best Snickerdoodle Desserts, I have a fantastic swap! Use vanilla wafers or plain shortbread cookies that you crush up yourself. Shortbread cookies often have a little extra butter, which just makes that Buttery Cinnamon Crust even richer. Just crush them up as finely as you can—treat them exactly like you would the graham crackers in the recipe!
Are there any tips for making this one of the Easy Cheesecake Recipes?
The flavor is complex, but the method for a baked cake is quite straightforward once you get the gentle mixing down! For making this one of those truly Easy Cheesecake Recipes, the key is prep. Have all your ingredients measured out before you start mixing the crust. Once you start on the filling, you need to move systematically without rushing. If you have every item ready to go, the actual blending takes less than 15 minutes. The rest is just waiting for the oven and the fridge to do their jobs!
Share Your Ultimate Creamy Snickerdoodle Cheesecake Success
Well, there you have it! We’ve merged the cozy comfort of a snickerdoodle cookie with the unbeatable richness of a proper baked cheesecake. Now that you’ve conquered the chilling time and admired that perfect, crack-free top, I’d absolutely love to hear about it!
Baking is all about sharing that joy, isn’t it? If you made this recipe for a holiday party or just because you needed a little cinnamon sugar hug, please come back here and leave a rating and a quick comment below. Knowing that my grandmother’s lessons—like using room-temperature ingredients—are working for your family brings me so much happiness.
And if you snapped a picture of your beautiful ultimate creamy cheesecake before anyone devoured it, tag me on social media! I cherish seeing your festive bakes, especially when they turn out as perfect as they do when I make my easy tuna kimbap for a lighter meal earlier in the day. Happy baking, friend!
PrintUltimate Creamy Snickerdoodle Cheesecake Recipe
Make this ultimate Snickerdoodle Cheesecake, blending the creamy richness of cheesecake with the warm cinnamon-sugar flavor of snickerdoodle cookies. This recipe features a buttery cinnamon crust and a velvety filling, perfect for your next holiday gathering.
- Prep Time: 25 min
- Cook Time: 75 min
- Total Time: 8 hours 40 min
- Yield: 12 servings 1x
- Category: Dessert
- Method: Baking
- Cuisine: American
- Diet: Vegetarian
Ingredients
- 1 1/2 cups crushed graham crackers or vanilla wafers
- 1/4 cup granulated sugar
- 1/2 teaspoon ground cinnamon
- 6 tablespoons unsalted butter, melted
- 3 (8 ounce) packages cream cheese, softened
- 1 1/2 cups granulated sugar
- 1/4 cup all-purpose flour
- 2 teaspoons ground cinnamon
- 1 teaspoon vanilla extract
- 4 large eggs
- 1/2 cup sour cream
- For Topping: 1/4 cup granulated sugar mixed with 1 teaspoon ground cinnamon
Instructions
- Preheat your oven to 325 degrees F. Wrap the outside of a 9-inch springform pan tightly with heavy-duty aluminum foil.
- Prepare the crust: In a medium bowl, mix the crushed crackers, 1/4 cup sugar, and 1/2 teaspoon cinnamon. Pour in the melted butter and stir until the mixture resembles wet sand. Press the mixture firmly into the bottom of the prepared springform pan. Bake for 10 minutes. Let cool slightly.
- Prepare the filling: In a large bowl, use an electric mixer to beat the softened cream cheese until smooth. Scrape down the sides of the bowl.
- Add the 1 1/2 cups sugar, flour, and 2 teaspoons cinnamon to the cream cheese. Beat on medium speed until just combined. Do not overmix.
- Beat in the vanilla extract. Add the eggs one at a time, mixing only until each egg is incorporated. Mix in the sour cream until the batter is smooth.
- Pour the cheesecake filling over the cooled crust. Sprinkle the cinnamon-sugar topping evenly over the surface of the batter.
- Bake using a water bath: Place the foil-wrapped springform pan into a larger roasting pan. Carefully pour hot water into the roasting pan until it reaches halfway up the sides of the springform pan.
- Bake for 60 to 75 minutes, or until the edges are set but the center still jiggles slightly when gently nudged.
- Turn off the oven, crack the oven door open slightly, and let the cheesecake cool inside the oven for 1 hour. This slow cooling helps prevent cracks.
- Remove the cheesecake from the water bath and foil. Cool completely on a wire rack. Chill in the refrigerator for at least 6 hours, or preferably overnight, before serving.
Notes
- To achieve a velvety cheesecake filling, make sure your cream cheese and eggs are at room temperature before you start mixing.
- If you skip the water bath, watch the baking time closely to avoid overbaking, which causes cracks.
- This dessert is a showstopper for Thanksgiving or Christmas gatherings.
Nutrition
- Serving Size: 1 slice
- Calories: 450
- Sugar: 38g
- Sodium: 280mg
- Fat: 28g
- Saturated Fat: 17g
- Unsaturated Fat: 11g
- Trans Fat: 0.5g
- Carbohydrates: 45g
- Fiber: 1g
- Protein: 7g
- Cholesterol: 95mg