
If you’re craving a slice of true American nostalgia, you absolutely must try these whoopie pies! I remember picking these up at little roadside stands—that perfect marriage of a soft, rich cake and a pillowy filling. Forget those overly sweet, stiff cookies you sometimes find; my goal here is delivering the absolute Best Whoopie Pie Recipe you will ever try. You’ll get wonderfully soft, truly cakey rounds that hold up perfectly. Even if you’re racing the clock after a long day of teaching or wrangling kids, I promise you, making these perfect whoopie pies from scratch is totally achievable. This recipe is all about heart, not complicated techniques, and it’s ready before you know it! Finding recipes that truly bring back those homemade memories is why I love sharing treats like this, so check out even more of my best homemade desserts while you’re here!
- Why This Classic Chocolate Whoopie Pies Recipe Stands Out
- Ingredients for the Best Whoopie Pie Recipe
- How to Make Homemade Whoopie Pies Step-by-Step
- Tips for Perfect Whoopie Pies Every Time
- Storage & Make-Ahead Tips for Whoopie Pies
- Variations on Classic Chocolate Whoopie Pies
- Serving Suggestions for Whoopie Pies
- Frequently Asked Questions About Whoopie Pies
- Nutritional Estimates for these Whoopie Pies
- Share Your Favorite Whoopie Pies Creations
Why This Classic Chocolate Whoopie Pies Recipe Stands Out
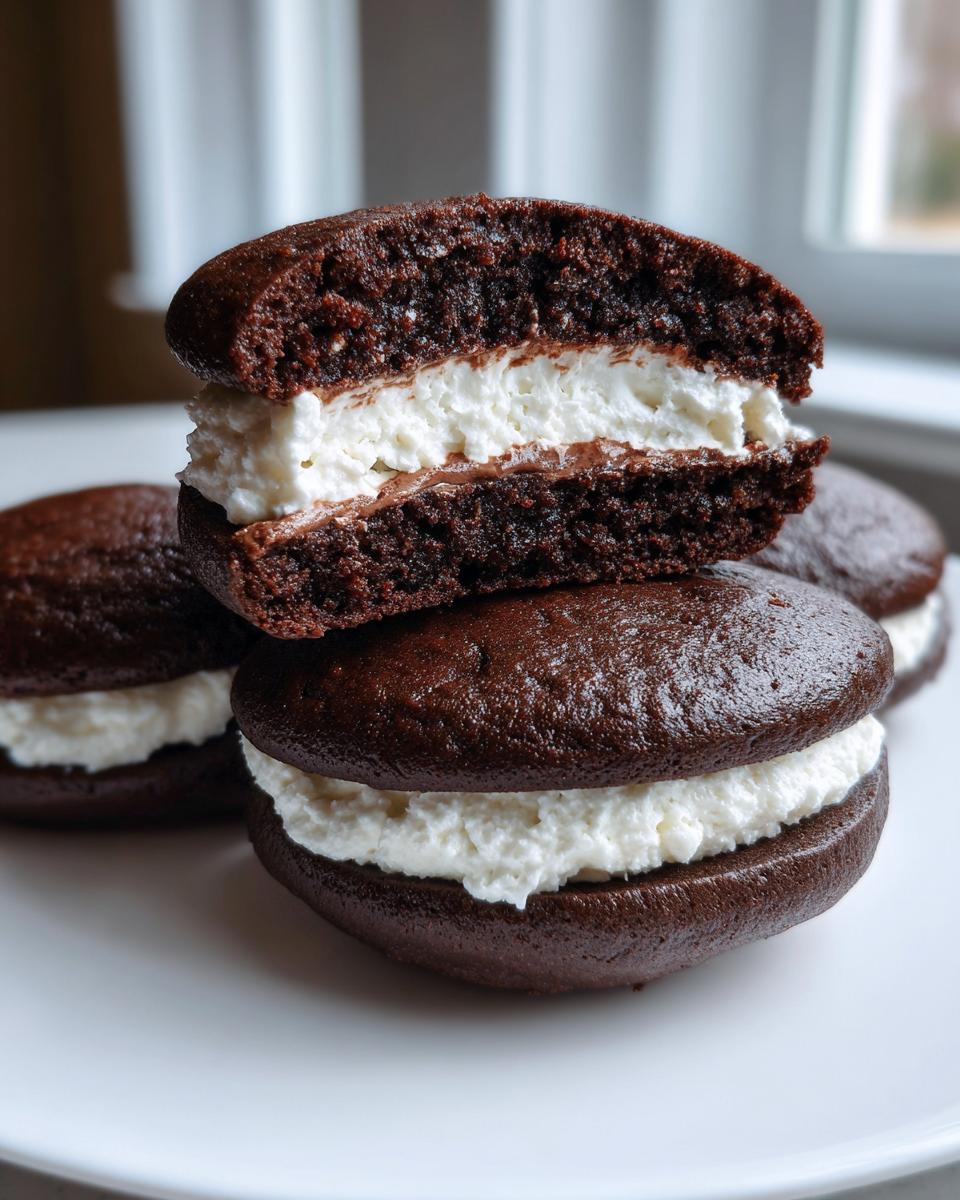
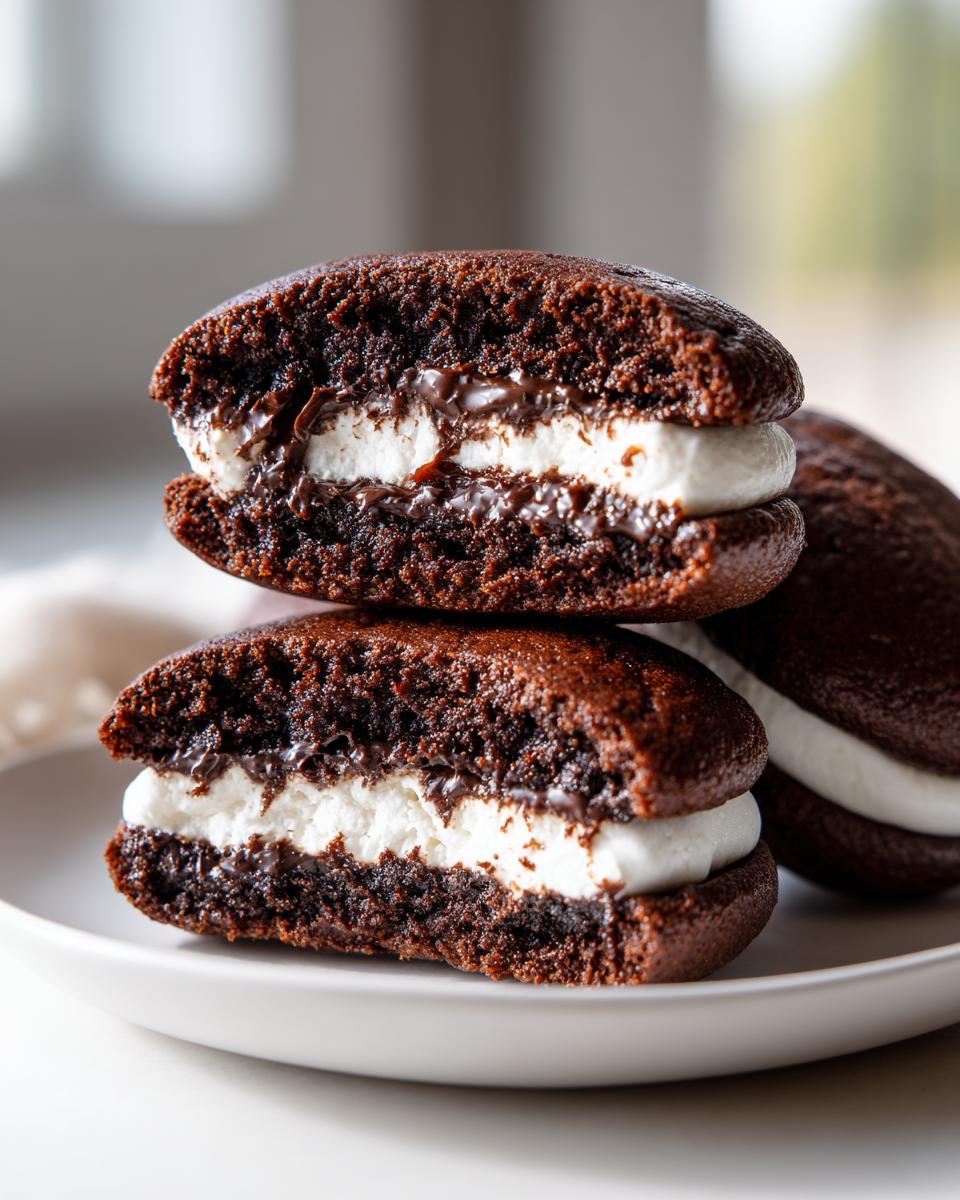
Listen, there are a million ways to make these retro baked goods, but if you want the real deal—the kind that melt in your mouth—you need this one. This is easily the Best Whoopie Pie Recipe because it nails the texture every single time. We aren’t making tough cookies here; we are making true homemade whoopie pies that feel like you bit into a moist, rich, little cake.
Achieving Truly Cakey Whoopie Pies Texture
The real magic for that soft texture is twofold, folks. First, we use buttermilk. That little bit of acid reacts perfectly to keep the chocolate rounds ultra-tender. Second, and this is important: do not overmix the batter once you add the flour! Mix just until those streaks disappear. Overbeating is the fastest way to kill that delicate, cakey whoopie pies dream.
The Secret to Fluffy Marshmallow Cream Filling
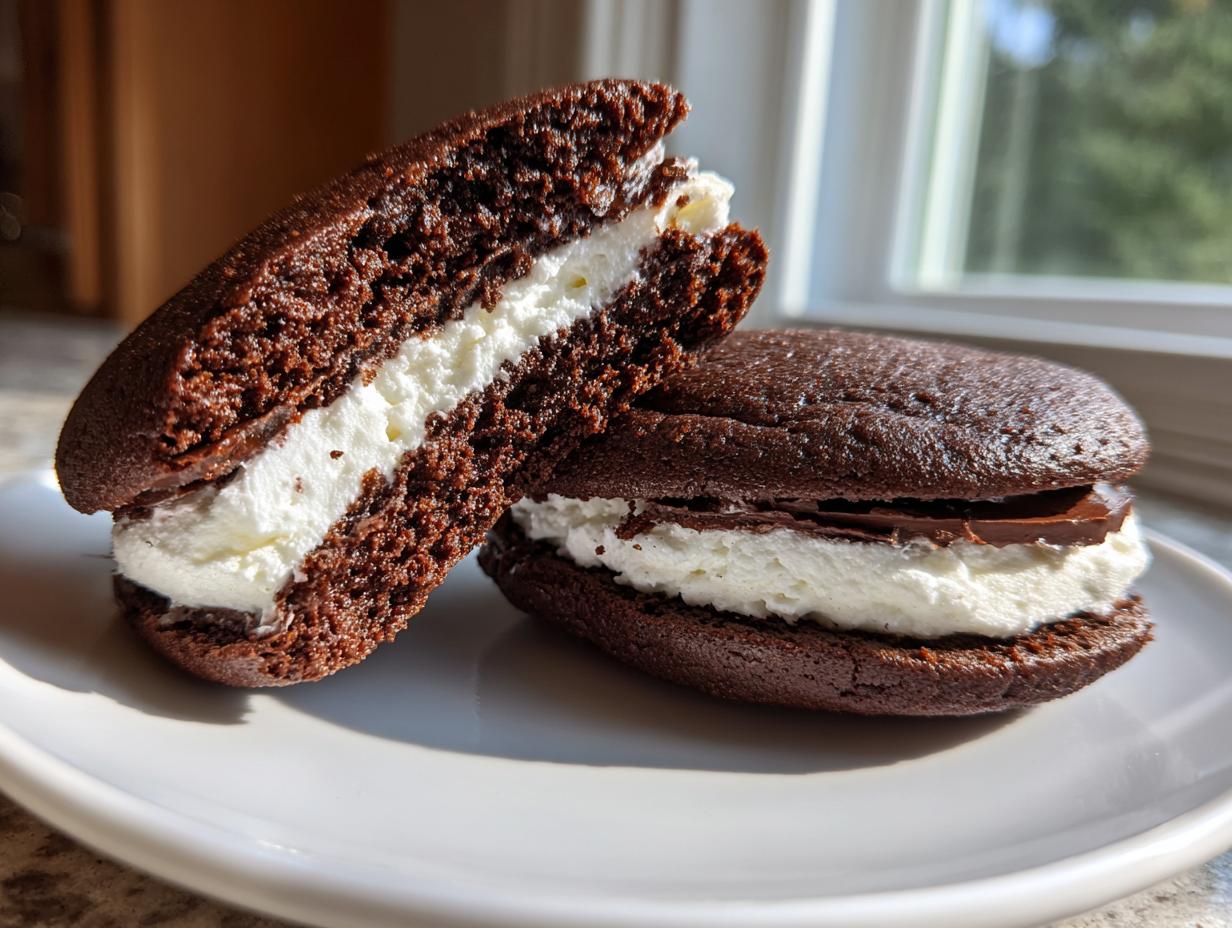
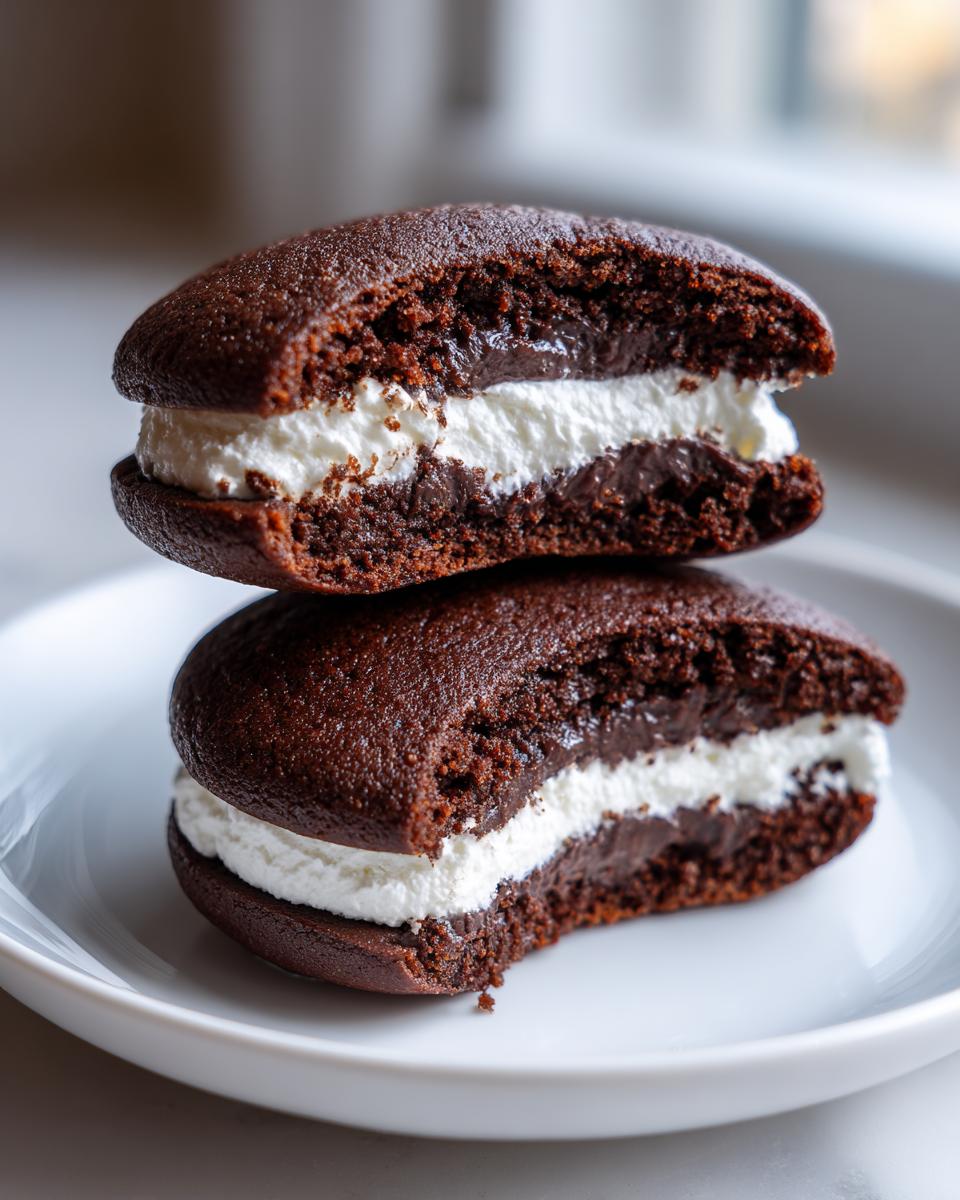
I’ve tried all kinds of fillings, chocolate ganache, buttercream—you name it. But nothing beats that cloud-like, sweet marshmallow cream. It’s what makes these whoopie pies famous. It’s lighter than standard frosting, and when it’s whipped properly, it provides that perfect spongy cushion between those two dark chocolate layers. It’s truly unbeatable!
Ingredients for the Best Whoopie Pie Recipe
When you want the absolute best whoopie pie recipe results, you can’t cut corners on your ingredients, especially for these classic chocolate rounds. I learned from my grandmother that every single measurement must be exact, and the quality of what you put in makes all the difference in the final texture. Don’t worry about special trips for these items; everything you need for these homemade whoopie pies should be at your local grocery store. If you’ve ever struggled with icing that runs or crumbles, you might want to check out my thoughts on how to make sugar cookie icing harden fast, because consistency matters in desserts!
For the Chocolate Cakey Whoopie Pies Rounds
These are what create that incredible soft, cake base:
- 1 3/4 cups all-purpose flour
- 1 teaspoon baking soda
- 1/2 teaspoon salt
- 1/2 cup unsalted butter, softened
- 1 cup granulated sugar
- 1 large egg
- 1 teaspoon vanilla extract
- 1/2 cup buttermilk (this is non-negotiable for tenderness!)
- 1/2 cup unsweetened cocoa powder
For the Marshmallow Cream Whoopie Pie Filling
This is the creamy heart of your perfect whoopie pies:
- 1 cup powdered sugar, sifted (make sure it’s sifted, please!)
- 1/2 cup vegetable shortening, softened
- 1/4 cup light corn syrup
- 1 teaspoon vanilla extract
How to Make Homemade Whoopie Pies Step-by-Step
Alright, here’s where we bring those beautiful ingredients together! Making these decadent whoopie pies from scratch is surprisingly quick, clocking in at under an hour total, which is fantastic for a retro dessert like this. Just stay organized, and stick with the order I lay out here, and you’ll have perfectly soft, sandwichable treats in no time. We’re going step-by-step, starting with getting those cakes baked.
Preparing and Baking the Soft Whoopie Pies Cakes
First things first: get your oven warmed up to 350°F (175°C) and grab some parchment paper for your baking sheets—trust me, this saves you so much cleanup later! Whisk your dry goods (flour, soda, salt) in one bowl. In a bigger bowl, cream that softened butter and sugar until it gets light. Then beat in the egg and vanilla. Now, this is the crucial part for texture: you need to alternate adding your dry mix and your buttermilk/cocoa mixture. Start and end with the dry ingredients, adding just enough until it’s combined. Don’t beat it hard, or you’ll lose that lovely cakey quality! Drop rounded tablespoons of batter onto the sheets, space them well—you should get about 24 rounds total—and bake them for just 10 to 12 minutes. They are done when the edges look set. Let them rest on the sheet for five minutes before moving them to a cooling rack. You can check out how Martha Stewart handles her rounds over here if you want another comparison!
Creating the Fluffy Whoopie Pie Filling
While those chocolate rounds cool down (patience, friend!), let’s make the magic filling. This is where we get that gorgeous, fluffy texture, so you need a good mixer for this part. Start by beating that softened vegetable shortening until it’s smooth as silk. Then, slowly add in your sifted powdered sugar, mixing well. Once that’s incorporated, drop in your corn syrup and vanilla extract. Crank that mixer up high—you need to beat this on high for a solid 3 to 5 minutes. It should transform until it’s light, almost white, and beautifully fluffy. You want this whoopie pie filling to look like a cloud ready to cushion your cake!
Assembling Your Classic Whoopie Pies
Once the chocolate cakes are completely cool—and I mean *completely*—it’s time to build your beautiful classic whoopie pies. Take one cooled cake and flip it so the flat side faces up. Smear or pipe a generous dollop of that marshmallow cream filling right in the center. Then gently place a second cake on top, flat-side down, to create that perfect sandwich look. If you want them to be super neat and easy to handle, tuck them onto a plate and pop them into the fridge for about 30 minutes before serving. This helps the filling set up nicely. If you need easy bread recipes to serve alongside later, I have some great ones right here.
Tips for Perfect Whoopie Pies Every Time
Okay, friend, let’s talk about making these legendary whoopie pies foolproof. Even the most straightforward recipes can hit a snag now and then, but that’s why we share our hard-won knowledge! I’ve made enough batches to know exactly what makes them spread too much or what makes them too dry when they come out of the oven. These little fixes are the difference between ‘pretty good’ and ‘the best whoopie pie ever,’ and I want you to have the best!
Troubleshooting Common Whoopie Pies Issues
The biggest disaster when making whoopie pies is when the cakes spread out into flat, sad discs instead of puffing up nicely. If this happens, nine times out of ten, your batter was too wet. Did you measure your flour with a scoop-and-level method, or did you just dump it in? Too much liquid or not enough flour means those beautiful rounds disappear on the hot sheet. If your cakes look too liquidy, mix in just one more tablespoon of that flour mixture—go slow, though! On the flip side, if your whoopie pies come out dry, you overbaked them. Trust me, they bake faster than you think. If a toothpick comes out completely clean, they are pushing it. You want just a couple of moist crumbs clinging to that stick for truly soft whoopie pies.
Making Easy Whoopie Pies with Substitutions
I know life gets hectic, and sometimes you just need a shortcut, which is totally fine! My recipe calls for making that magnificent homemade Marshmallow Cream Filling, but if you’re in a total pinch and need truly easy whoopie pies, you can absolutely swap it out. Don’t stress over making the filling totally from scratch if you don’t have the time. You can substitute the solid filling ingredients with store-bought marshmallow fluff. Just take about a cup or so of that fluff and whip it with a little vanilla and maybe a tablespoon of powdered sugar to stiffen it up slightly. It gives you that necessary fluffiness for your sandwich, even if it skips the creaming step. It’s a keeper in my back pocket for when I need a last-minute treat!
I learned a ton about handling different doughs and batters when practicing my brown butter chocolate chip cookies—it’s all about managing tiny textural differences! If you want to see another fantastic approach to getting that perfect interior texture, check out the method over at Handle the Heat.
Storage & Make-Ahead Tips for Whoopie Pies
One of the great things about these whoopie pies is that they keep so well! They are truly fantastic the day you make them, but honestly? They taste even better the next day once the filling has had time to meld with those soft chocolate cakes. If you’re planning ahead, store the assembled treats in an airtight container at room temperature for about two days. I usually don’t recommend the fridge unless it’s scorching hot, as the cold can sometimes stiffen up the filling a bit too much. If you want to make components ahead, bake the cakes and store them wrapped tightly for up to three days. You can freeze the cakes easily, too! Just wrap them tightly in plastic and aluminum foil. Let me tell you, having these on hand is perfect for when you need a quick dessert—check out my easy no-bake options for those super busy nights!
Variations on Classic Chocolate Whoopie Pies
We all love a good chocolate base—it’s classic for a reason! But sometimes you want to shake things up a bit, right? That’s the fun part about mastering a basic recipe like this one for whoopie pies; once you know how to get those soft, cakey rounds perfect, you can pivot into so many other amazing flavors. You don’t need a whole new recipe foundation; you just need a few simple swaps, and suddenly, you have a whole new handheld dessert ready for the road!
If you’ve already mastered the chocolate rounds, get ready to experiment! Swapping out the cocoa powder opens up so many doors. Try making little vanilla or yellow cake rounds and then pairing them with a different cream. If you enjoy my recipes for peanut butter swirl brownies, you are going to love this next idea!
For Peanut Butter Whoopie Pies:
- To get the cake base right: Omit the cocoa powder entirely and add an extra 1/4 cup of flour for structure. You can even fold in a few tablespoons of creamy peanut butter right when you cream the butter and sugar.
- For the filling swap: Instead of the marshmallow cream, whip your shortening with powdered sugar and peanut butter! It makes an incredible, slightly salty-sweet filling that beautifully complements the mild cake. You can find a great example of this flavor combo over here.
Don’t forget about those fruit flavors, either! People love the idea of Berry Whoopie Pies in the summer—think strawberry or even raspberry. For those, you’ll want a basic vanilla cake base. Then, for the filling, just whip your marshmallow cream as usual, but add about two tablespoons of fruit puree (make sure it’s thick, not watery!). That gives you a lovely pop of color and flavor in your creamy center. They make for such a bright and fun dessert, way beyond just the standard chocolate whoopie pies!
Serving Suggestions for Whoopie Pies
When it comes to serving these amazing whoopie pies, think about what feels cozy and comforting! Since these are such a wonderful example of retro baked goods, they pair perfectly with things that remind you of grandma’s kitchen. I usually prefer serving them near room temperature. When they are slightly warmer than cold, the cake rounds are at their absolute softest, and the marshmallow filling is perfectly creamy—not stiff like it gets straight from the fridge. This is what really makes them shine as fantastic handheld desserts.
If you’re enjoying them shortly after assembling, you really don’t need much else! They are a complete dessert all on their own. That said, if you’re serving them after a big meal, they cut through richness beautifully when paired with something sharp or tart. A hot cup of dark roast coffee or maybe a glass of cold buttermilk cuts through that sweetness so nicely. If you happen to be making these for a party and need something else easy to grab and go, you absolutely must try my red velvet cake pops recipe for another fun, dippable treat!
A little drizzle of something extra over the top can also transform them! If you feel like the plate needs just a tiny bit more decoration, melt a little bit of good quality dark chocolate and drizzle thin lines over the top of the assembled pies. It looks fancy without adding any real work or fuss. The combination of the deep chocolate cake, the sweet filling, and that slightly bitter dark chocolate drizzle? Perfection, I tell you!
Frequently Asked Questions About Whoopie Pies
I know when I first started baking these retro treats, I had a million questions swirling around! It’s not always clear what separates a truly great whoopie pie from one that falls flat. I’ve gathered the questions I hear most often when people try this Best Whoopie Pie Recipe for the first time. Hopefully, this clears things up so you can get straight to the baking!
Are these the same as Authentic Amish Whoopie Pies?
That’s a wonderful question! Yes, they are very much in that spirit. The original Amish Desserts tradition calls for those soft, dark, cakey rounds, and that’s exactly what we achieve here using buttermilk and careful mixing. My recipe is deeply rooted in that classic style. If you want to dive deeper into the history and the exact traditional methods, I recommend taking a peek at the information from folks who specialize in Authentic Amish Whoopie Pies.
Can I use cake mix to make quick Whoopie Pies?
You totally *can* make Easy Whoopie Pies using a boxed cake mix, especially if you’re in a huge hurry. I won’t lie, I’ve done it myself when the craving hits hard! However, if you want that superior, slightly tangy flavor and the structure that holds up perfectly to the fluffy filling, nothing beats making them from scratch like we did here. The scratch version ensures you get those truly cakey whoopie pies that are soft but sturdy, not just a slightly flattened cupcake.
What is the difference between a Whoopie Pie and a Sandwich Cookie?
This is the biggest point of confusion! The difference is all texture. A Sandwich Cookie uses two firm, crisp, or chewy cookies holding a filling (think Oreos or shortbread sandwiches). Our whoopie pies, on the other hand, demand that both outer layers be soft, moist, and distinctly cake-like. We want that wonderful squish when you bite down—if it crumbles like a traditional cookie, you’ve made a sandwich cookie, not a true whoopie pie!
If you’re looking for other classic Southern baking that has that same comforting feel, you absolutely have to check out my recipe for sweet Alabama pecan bread!
Nutritional Estimates for these Whoopie Pies
Now, let’s talk numbers, but please take this with a grain of salt! Since we are making these beautiful, rich whoopie pies from scratch with real butter and sugar, they are certainly an indulgence, not an every-day snack. The estimates I’m providing below are just that—estimates. They are based on how I prepare this recipe using standard grocery store brands. Your actual counts might vary based on the specific ingredients, brands, and serving size you use, of course.
I always recommend that if you have strict dietary needs, it’s best to run the completed ingredient list through a reputable online calculator yourself. That said, here’s a good general overview for one glorious, fluffy chocolate whoopie pie:
- Serving Size: 1 whoopie pie
- Calories: About 350
- Sugar: High, around 45 grams (It is dessert, after all!)
- Total Fat: Approximately 18 grams
- Saturated Fat: Around 6 grams
- Carbohydrates: About 48 grams
- Protein: Roughly 3 grams
I firmly stand by the idea that a homemade treat, enjoyed mindfully, is always worth it. If you are looking for some quicker meals during the week to balance out those sweet treats, check out my thoughts on quick, healthy lunch ideas! Enjoy these amazing homemade whoopie pies!
Share Your Favorite Whoopie Pies Creations
Now that you’ve made the absolute best whoopie pies, I really, truly want to see what you cooked up! The best part of sharing these time-tested recipes isn’t just baking for my own family; it’s seeing all of you bring these wonderful sandwich cookies into your own busy homes. I put my heart into making sure this recipe gives you that soft, perfect bite every time, and I’m dying to know if it did the trick for you!
Did you stick with the classic chocolate and marshmallow filling, or did you venture out into berry territory? Please don’t be shy! Take a picture of your beautiful final product—whether they are perfectly uniform or a little rustic—and tag me on Instagram or Facebook. Seeing those little chocolate rounds filled sky-high with fluffy white cream just makes my day.
And if you loved how easy and satisfying this homemade whoopie pies recipe was, would you mind leaving a star rating right here below the recipe card? Your feedback helps other busy home cooks, just like you and me, feel confident diving into a scratch recipe. If you have any tweaks or need to reach out about anything at all, you can always find my contact page right here. Happy sharing, and enjoy every bite of that wonderful, nostalgic flavor!
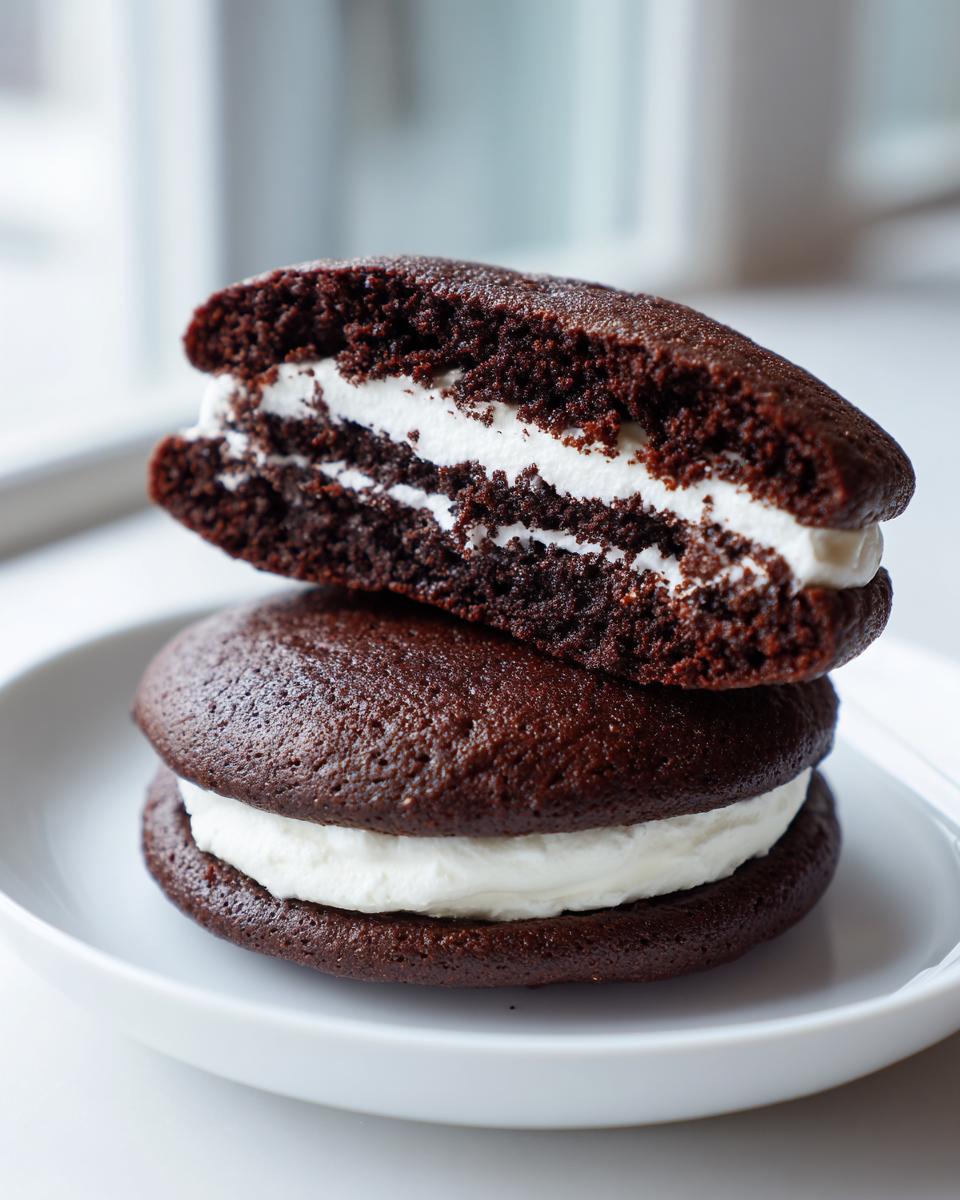
PrintClassic Chocolate Whoopie Pies with Marshmallow Filling

Make soft, cakey chocolate whoopie pies with a sweet, fluffy marshmallow cream filling. This recipe delivers the best whoopie pie experience from scratch.
- Prep Time: 25 min
- Cook Time: 12 min
- Total Time: 37 min
- Yield: 12 servings 1x
- Category: Dessert
- Method: Baking
- Cuisine: American
- Diet: Vegetarian
Ingredients
- 1 3/4 cups all-purpose flour
- 1 teaspoon baking soda
- 1/2 teaspoon salt
- 1/2 cup unsalted butter, softened
- 1 cup granulated sugar
- 1 large egg
- 1 teaspoon vanilla extract
- 1/2 cup buttermilk
- 1/2 cup unsweetened cocoa powder
- 1 cup powdered sugar, sifted
- 1/2 cup vegetable shortening, softened
- 1/4 cup light corn syrup
- 1 teaspoon vanilla extract
Instructions
- Preheat your oven to 350°F (175°C). Line baking sheets with parchment paper.
- In a medium bowl, whisk together the flour, baking soda, and salt. Set aside.
- In a large bowl, cream together the softened butter and granulated sugar until light and fluffy. Beat in the egg and 1 teaspoon of vanilla extract.
- In a separate small bowl, whisk together the buttermilk and cocoa powder until smooth.
- Gradually add the dry ingredients to the wet ingredients, alternating with the buttermilk mixture, beginning and ending with the dry ingredients. Mix until just combined; do not overmix.
- Drop rounded tablespoons of batter onto the prepared baking sheets, spacing them about 2 inches apart. You should get about 24 cookies.
- Bake for 10 to 12 minutes, or until the edges are set. Let the cakes cool on the baking sheet for 5 minutes before transferring them to a wire rack to cool completely.
- Prepare the filling: In a large bowl, beat the shortening until smooth. Gradually add the powdered sugar, beating until combined.
- Add the corn syrup and 1 teaspoon of vanilla extract. Beat on high speed until the filling is light and fluffy, about 3 to 5 minutes.
- To assemble, spread or pipe a generous amount of marshmallow cream filling onto the flat side of one chocolate cake. Top with a second cake to form a sandwich.
- Repeat with the remaining cakes and filling to create your homemade whoopie pies.
Notes
- For the softest cakes, do not overbake. They should spring back lightly when touched.
- You can substitute marshmallow fluff for the homemade filling for an easy whoopie pies version.
- Chill the assembled whoopie pies for 30 minutes before serving for easier handling.
Nutrition
- Serving Size: 1 whoopie pie
- Calories: 350
- Sugar: 45
- Sodium: 180
- Fat: 18
- Saturated Fat: 6
- Unsaturated Fat: 12
- Trans Fat: 0
- Carbohydrates: 48
- Fiber: 1
- Protein: 3
- Cholesterol: 35