

Oh, you know how sometimes you just need that perfect, decadent bite without committing to an entire huge slice? That’s why individual desserts are my absolute favorite thing to whip up! Seriously, who wants to mess with slicing up a whole dessert, especially when company is coming? That’s where these perfect baked mini cheesecakes come into play. They are unbelievably easy because we’re skipping the fussy springform pans and just using a standard muffin tin. Trust me, these are game-changers for any dessert bar. At Rosa’s Tasty Kitchen, we keep things real and reliable. I know you’re busy—I taught school for years while managing the household—so my whole mission is giving you home-tested recipes that taste amazing without stealing your entire evening. This tutorial is proof you can have the dreamiest, creamiest cheesecake, perfectly portioned, every single time. If you love finding the best homemade desserts, you’re going to adore this straightforward method!
- Why These Baked Mini Cheesecakes Are Party Perfect Dessert Favorites
- Gathering Ingredients for Your Mini Cheesecakes
- How to Make Perfect Mini Cheesecakes Step-by-Step
- Expert Tips for Success When Baking Mini Cheesecakes
- Creative Mini Cheesecake Filling Variations
- Serving Suggestions for Your Bite-Sized Cheesecake Servings
- Storage and Reheating Instructions for Small Portion Desserts
- Frequently Asked Questions About Miniature Dessert Recipes for Entertaining
- Nutritional Estimates for Single Serving Cheesecake Delights
Why These Baked Mini Cheesecakes Are Party Perfect Dessert Favorites
When I talk about favorite easy recipes, these little bites always top the list, especially when I’m having folks over. Why mess with a full-sized cheesecake when you can have something so perfectly portioned? They’re simply wonderful for entertaining because there’s zero fuss involved.
- They offer perfect portion control—everyone gets just enough creamy goodness!
- No silly knife or messy serving dishes required; they pull right out of the liner.
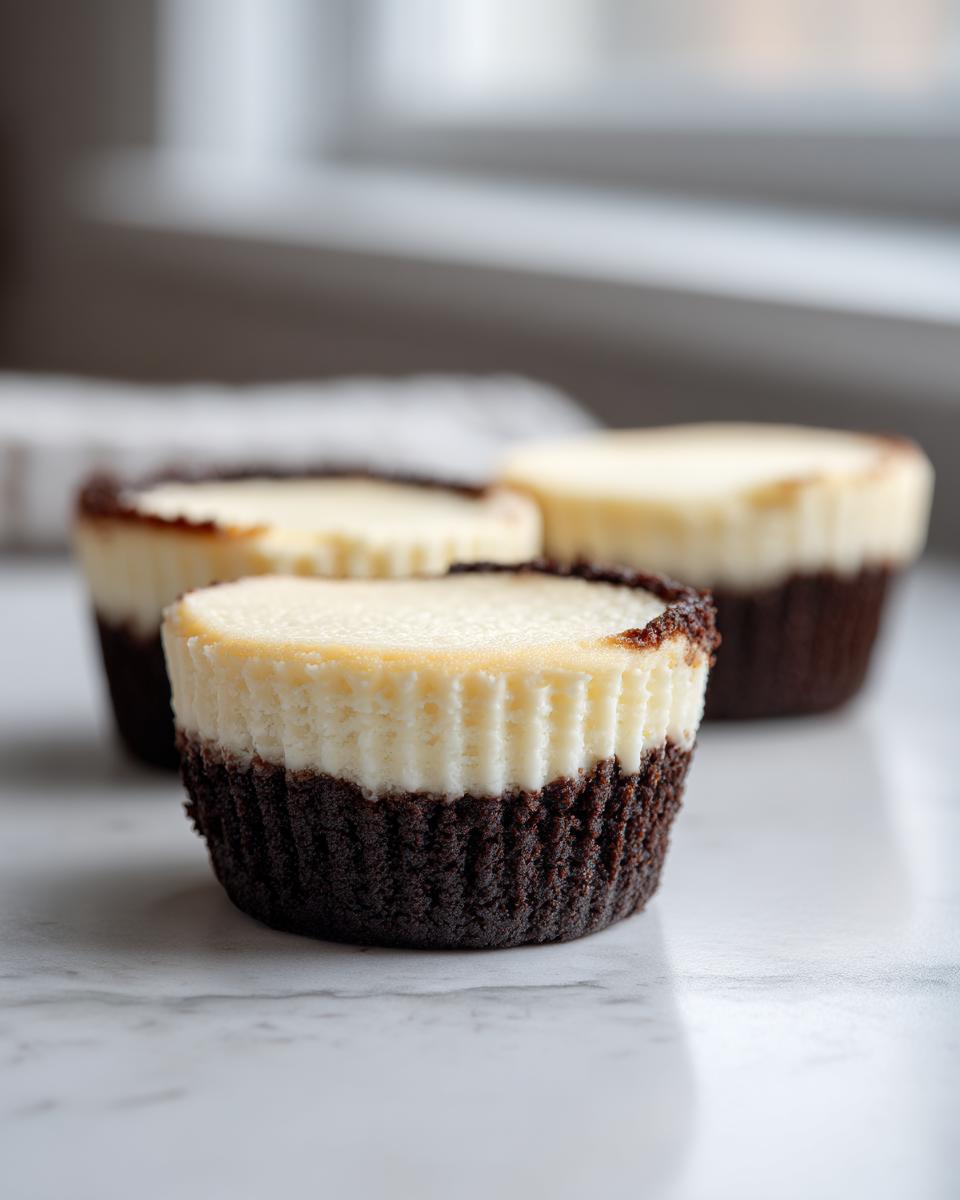
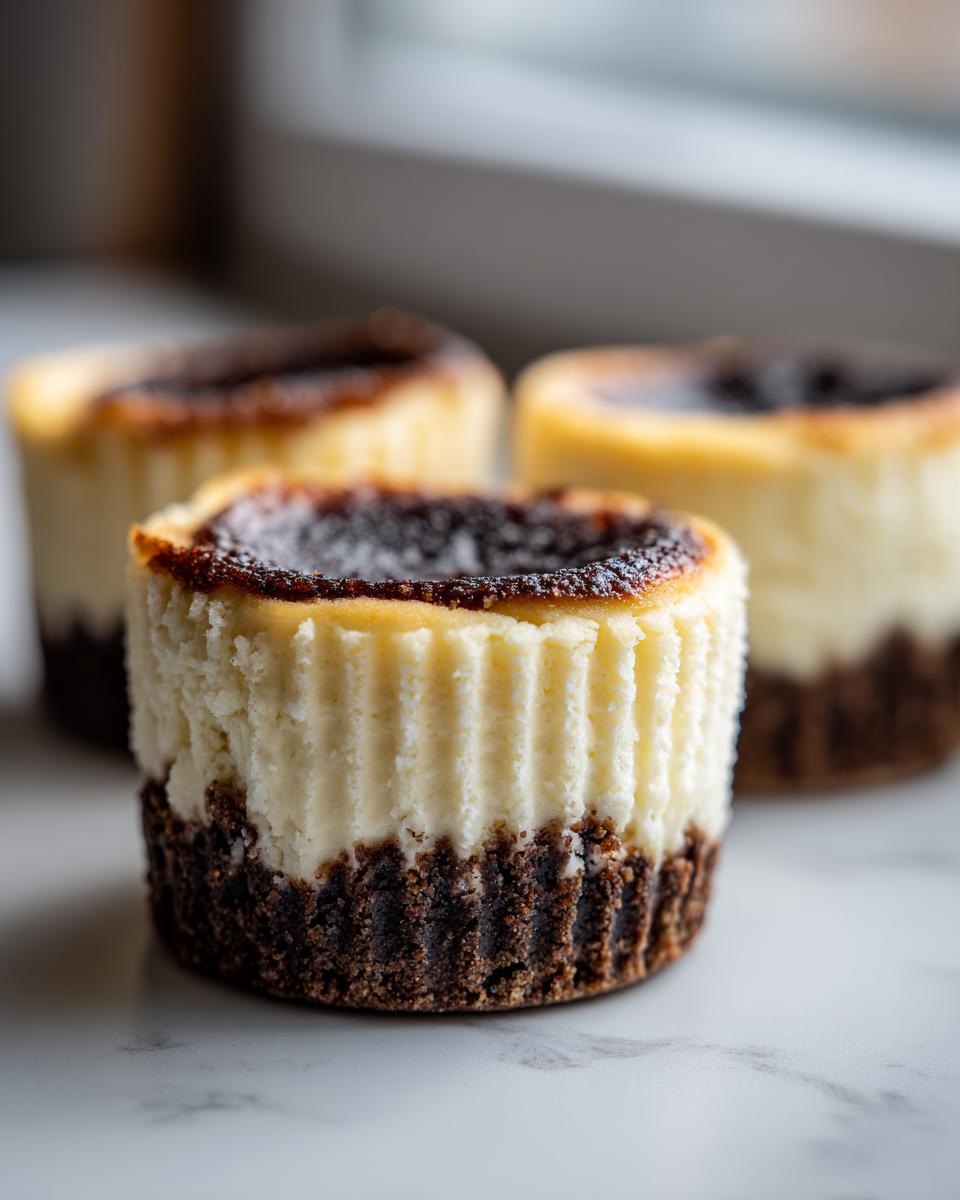
- Since they bake consistently in a muffin tin, you get a beautiful, uncracked top on every single one.
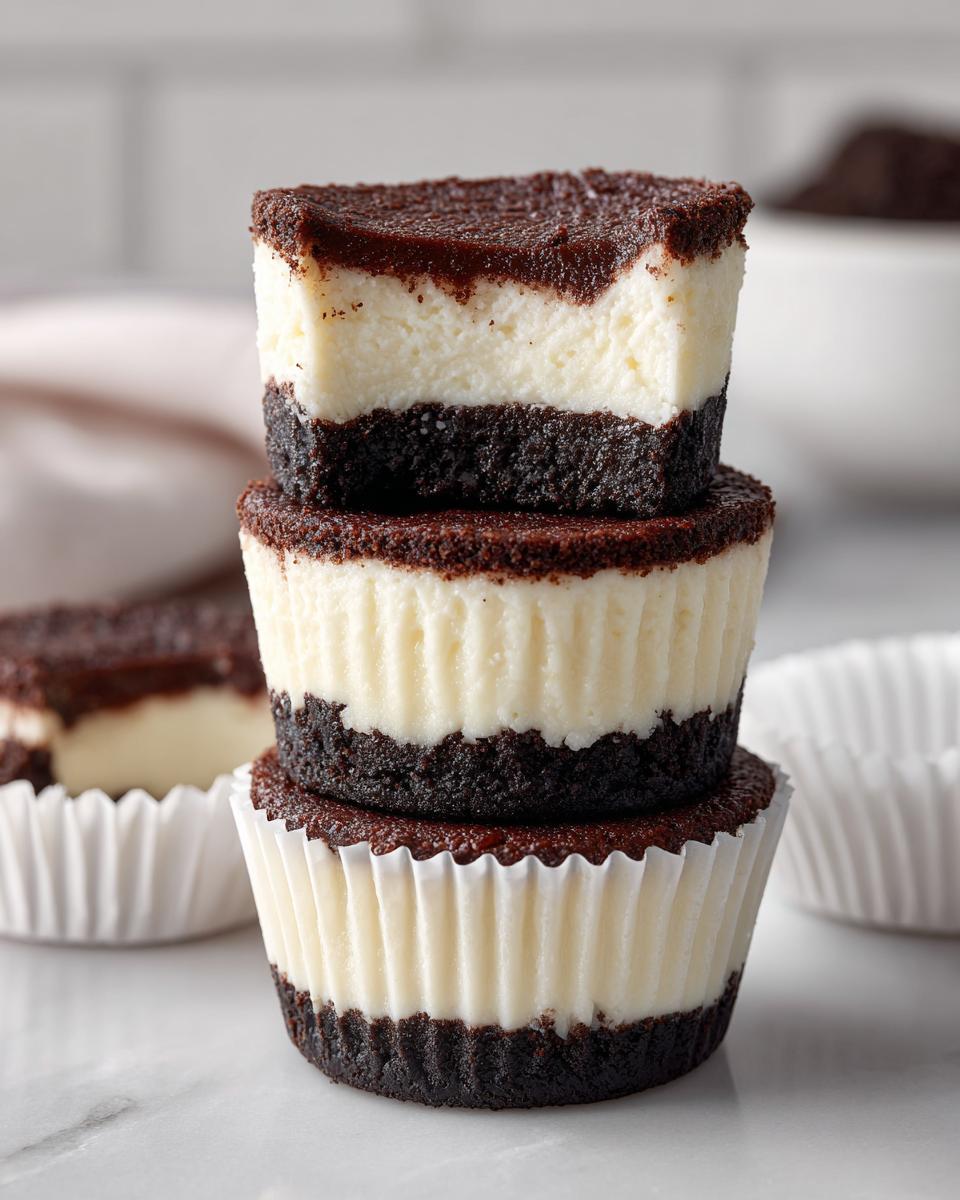
- They look so elegant piled up on a platter—true miniature dessert recipes for entertaining!
These are, without a doubt, my go-to for quick dessert bars. If you loved my little mini banana bread loaves, you’ll find this recipe just as simple!
Gathering Ingredients for Your Mini Cheesecakes
Okay, let’s talk ingredients. The beauty of these small portion desserts is that they use standard pantry staples—nothing fancy required! You’ll need graham cracker crumbs, a little sugar, and melted butter for the crust base. For the filling, make sure your cream cheese is truly softened to room temperature. I can’t stress this enough: cold cream cheese equals lumpy filling, and nobody wants that! You’ll also need vanilla extract and just two eggs.
How to Make Perfect Mini Cheesecakes Step-by-Step
Turning out these luscious miniature cheesecake servings is much easier than you think! Remember, since we’re using a muffin tin, the timing is super quick—we aren’t dealing with a massive nine-inch pan here. Follow these steps exactly, especially around the mixing and cooling, and you’re going to get beautiful results. Don’t forget to preheat that oven to 325 degrees Fahrenheit and line your tin with paper liners right away.
Preparing the Best Crust for Mini Cheesecakes
We start with the base. In a bowl, just mix your graham cracker crumbs, the quarter cup of sugar, and the melted butter until everything looks like wet sand. This is how you get the amazing homemade crust. Take about a tablespoon and a half of that crumb mixture and press it down really firmly into the bottom of each liner. I use the bottom of a little drinking glass sometimes to really compact it—that’s the secret to a crust that doesn’t fall apart when you pull it out!
Mixing the Creamy Filling for Individual Cheesecake Recipes
Now for the magic filling! Beat that softened cream cheese until it’s totally smooth. Then add your sugar and vanilla. Here’s the big tip: when you add the two eggs, mix them in one at a time, and stop beating as soon as they disappear. If you overmix after the eggs are in, you whip in too much air, and guess what? Cracks! We want these individual cheesecake recipes smooth, not airy. Scrape down the sides gently after each addition.
Baking and Cooling Your Miniature Cheesecake Crust Alternatives
Spoon that glorious filling over your crusts—fill them about three-quarters of the way full. They bake fast, usually 18 to 20 minutes. But the *real* game-changer is what happens next: turn the oven off, crack the door open a tiny bit, and just let them hang out in there for 30 minutes. Slow cooling is my number one trick to avoid those dreaded cracks on your miniature cheesecake crust alternatives. After that little warm bath, move them to a rack, let them chill completely, and then pop them in the fridge for at least four hours. Patience pays off here!
Expert Tips for Success When Baking Mini Cheesecakes
You’ve got the main steps down, but getting these mini cheesecakes to look like they came from a fancy bakery? That takes a few insider tricks! The slow cooling in the oven is huge, but I want to share one more technique that guarantees zero cracks, especially if your oven runs hot. When you’re setting up your muffin tin, try placing it inside a larger, deeper baking pan. Then, carefully pour some hot water into that outer pan so it comes about halfway up the sides of your muffin cups. That, my friends, is a makeshift water bath!
This steam bath keeps the environment gentle while everything bakes, ensuring that ultra-smooth texture that makes cheesecake so divine. It also helps maintain that perfect temperature so you don’t worry about scorching the bottoms. If you’re interested in other creamy, deep desserts, check out my ideas for a chocolate cheesecake trifle—it uses a similar technique for richness!
Creative Mini Cheesecake Filling Variations
While the classic creamy filling is honestly pretty untouchable, I always encourage home cooks to play around once you master the basic technique. These mini cheesecakes are the perfect canvas for experimenting because you’re only dealing with a little bit of batter in each cup. Think of the base recipe as your starting line!
When you’re ready to stir in your add-ins, make sure you do it *after* the eggs are gently incorporated. This is where you can explore some incredible mini cheesecake filling variations. You could fold in a teaspoon of finely grated lemon zest for brightness, or maybe a tablespoon of good quality cocoa powder for a chocolate version.
My personal favorite little tweak? A teaspoon of instant espresso powder dissolved in a tiny drop of hot water. It just deepens the vanilla flavor without making it taste like coffee. Or, if you’re feeling very autumnal, a tiny dash of pumpkin pie spice mixed in works wonders. Just remember, fold gently, stir just until incorporated, and don’t add too much liquid, or you’ll risk affecting that perfect bake we worked so hard for!
Serving Suggestions for Your Bite-Sized Cheesecake Servings
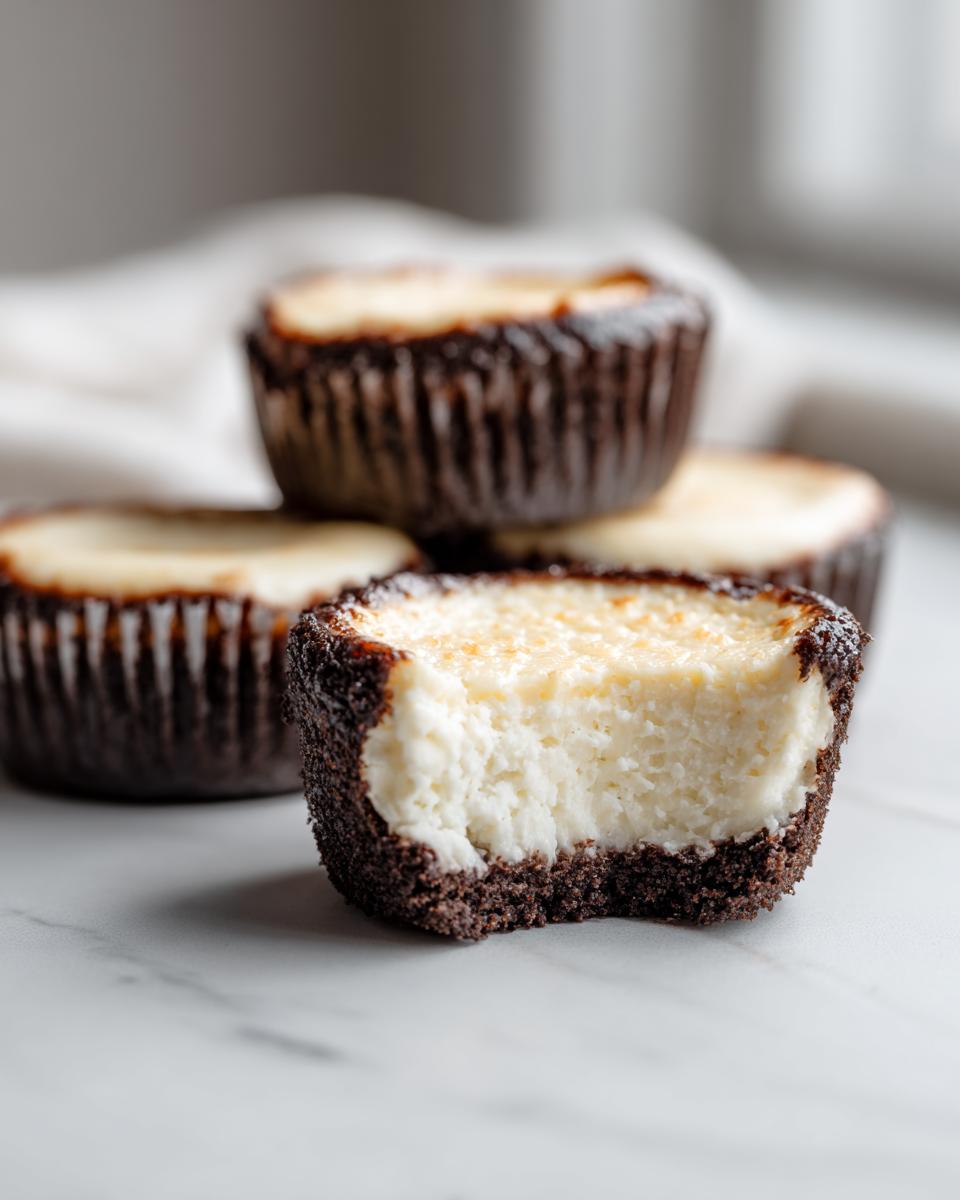
Once these beauties have chilled completely—and I mean completely, they need that solid time to firm up—it’s time for the fun part: topping them! Since these are such perfect little bites, they shine beautifully on a simple platter. If you keep them plain, they offer that clean, tangy flavor that people absolutely crave. But if you want to elevate them into real showstoppers, toppings are key.
Remember that note about fruit topping? Wait until they are fully chilled before you spoon on anything wet. My go-to is usually a dollop of homemade topping. I think my recipe for thick and juicy cherry pie filling is the perfect partner here! These little creations are fantastic because they fit right in as classy, sophisticated treats—they are truly party perfect dessert, whether you serve them on a tray or even stick them in tiny specialized cups to resemble dessert shooters. So easy!
Storage and Reheating Instructions for Small Portion Desserts
Okay, so you’ve baked these perfect little beauties, and maybe you’re already thinking about tomorrow’s snack, or maybe you’ve got leftovers after a party (which is rare, let’s be honest). For the best texture in your mini cheesecakes, chilling is non-negotiable. You absolutely must let them hang out in the fridge for at least four hours. Sometimes, I cover my muffin tin loosely with plastic wrap—being careful not to let the wrap touch the top of the cheesecakes—and leave them overnight for that perfectly set, dense texture.
Storage is super simple: keep them airtight in the refrigerator. If you used paper liners, they peel away nicely, but keeping them in the tin or lined up in a sealed container works perfectly. We’re talking about maximum freshness for up to four days, maybe five if you’re disciplined!
Now, about reheating? Honestly, don’t even bother! Cheesecake is meant to be served cold. Warming these small portion desserts up would just mess with that lovely creamy structure we worked so hard to achieve by slow-cooling them. Just pull them out about 15 minutes before serving if they are rock hard from the fridge, and enjoy that cool, decadent bite!
Frequently Asked Questions About Miniature Dessert Recipes for Entertaining
I always get so many questions when I share this recipe for mini cheesecakes because people are worried about messing up those cute little portions. It’s totally natural to have questions when you’re trying something new, especially when aiming for those picture-perfect results these sweet little single serving cheesecake delights offer! I tried to address the biggest concerns I hear most often right here. If you’re looking for other simple sweet treats, you might enjoy my guide to easy no bake bourbon balls too!
Can I make these as No Bake Mini Cheesecake Ideas?
Oh, absolutely! I actually included a quick cheat sheet for a no bake version right in my notes, but here’s the deal: if you want to skip the oven entirely—hello, summer baking!—you just have to skip the eggs. Instead, after mixing the cream cheese and sugar, you need to gently fold in about half a cup of heavy whipping cream that you’ve whipped up into stiff peaks. That cream replaces the structure the eggs provide when baked. Then, you still need to chill them, but aim for a minimum of 6 hours, or even better, overnight, so they set up nice and firm.
What is the best way to remove the baked mini cheesecakes from the tin?
This is where the chilling time really saves the day. Don’t even attempt to pull these out before they are totally cold and set from the fridge. Once they’re chilled, if you used paper liners (which I highly recommend for these miniature dessert recipes for entertaining), you can usually just peel the paper away gently. If they seem stuck to the paper or the tin, grab a small, thin offset spatula—the kind bakers use—and gently wiggle it right between the crust and the liner to help leverage it up just a touch. They should slide right out when they are properly cold!
Nutritional Estimates for Single Serving Cheesecake Delights
Now, I know most of us aren’t whipping up these delicious mini cheesecakes while counting every single calorie—they are a treat, after all! But I always like to give you a ballpark idea just in case you need it for planning or balancing out your week. Based on the standard recipe amounts, a single serving cheesecake delight comes out to roughly 250 calories.
Keep in mind that these are just general estimates, just like when I put together estimates for my quick lunch ideas. The exact numbers can change depending on which brand of cream cheese you buy or if you decide to use a slightly different crust!
Here’s a quick peek:
- Calories: Around 250 per cheesecake
- Sugar: About 18 grams
- Fat: Roughly 17 grams, with about 10 grams coming from saturated fats, mostly from that lovely butter and cream cheese.
- Protein: About 5 grams
See? They fit perfectly when you need a satisfying, rich little dessert. Feel good about serving these beauties!
PrintPerfect Baked Mini Cheesecakes

Make individual, bite-sized cheesecake servings using a standard muffin tin. This recipe yields decadent small batch cheesecakes that are easy to serve at parties.
- Prep Time: 20 min
- Cook Time: 20 min
- Total Time: 4 hours 40 min
- Yield: 12 servings 1x
- Category: Dessert
- Method: Baking
- Cuisine: American
- Diet: Vegetarian
Ingredients
- 1 1/2 cups graham cracker crumbs
- 1/4 cup granulated sugar, plus 1/2 cup for filling
- 6 tablespoons unsalted butter, melted
- 16 ounces cream cheese, softened
- 1 teaspoon vanilla extract
- 2 large eggs
Instructions
- Preheat your oven to 325 degrees Fahrenheit. Line a 12-cup muffin tin with paper liners.
- In a small bowl, combine the graham cracker crumbs, 1/4 cup sugar, and melted butter. Mix until the crumbs are evenly moistened.
- Press about 1 1/2 tablespoons of the crumb mixture firmly into the bottom of each muffin liner to form the crust.
- In a large bowl, beat the softened cream cheese with an electric mixer until smooth. Add the remaining 1/2 cup sugar and vanilla extract, mixing until just combined. Do not overmix.
- Beat in the eggs one at a time, mixing only until each egg is incorporated. Scrape down the sides of the bowl as needed.
- Spoon the filling evenly over the crusts in the muffin cups, filling each about three-quarters full.
- Bake for 18 to 20 minutes, or until the edges are set and the centers look mostly firm. They will continue to set as they cool.
- Turn off the oven, crack the door open slightly, and let the cheesecakes cool in the oven for 30 minutes. This prevents cracking.
- Remove the cheesecakes from the oven and let them cool completely on a wire rack.
- Chill the mini cheesecakes in the refrigerator for at least 4 hours, or preferably overnight, before serving.
Notes
- For easier removal, you can place the muffin tin in a larger pan and add hot water halfway up the sides of the muffin tin before baking to create a water bath.
- If you want a fruit topping, wait until the cheesecakes are fully chilled before adding your desired topping, such as cherry pie filling or fresh berries.
- To make a no bake mini cheesecake, substitute the eggs with 1/2 cup of heavy cream whipped to stiff peaks and folded in gently after mixing the cream cheese and sugar. Chill for 6 hours.
Nutrition
- Serving Size: 1 cheesecake
- Calories: 250
- Sugar: 18
- Sodium: 150
- Fat: 17
- Saturated Fat: 10
- Unsaturated Fat: 7
- Trans Fat: 0
- Carbohydrates: 20
- Fiber: 1
- Protein: 5
- Cholesterol: 55