
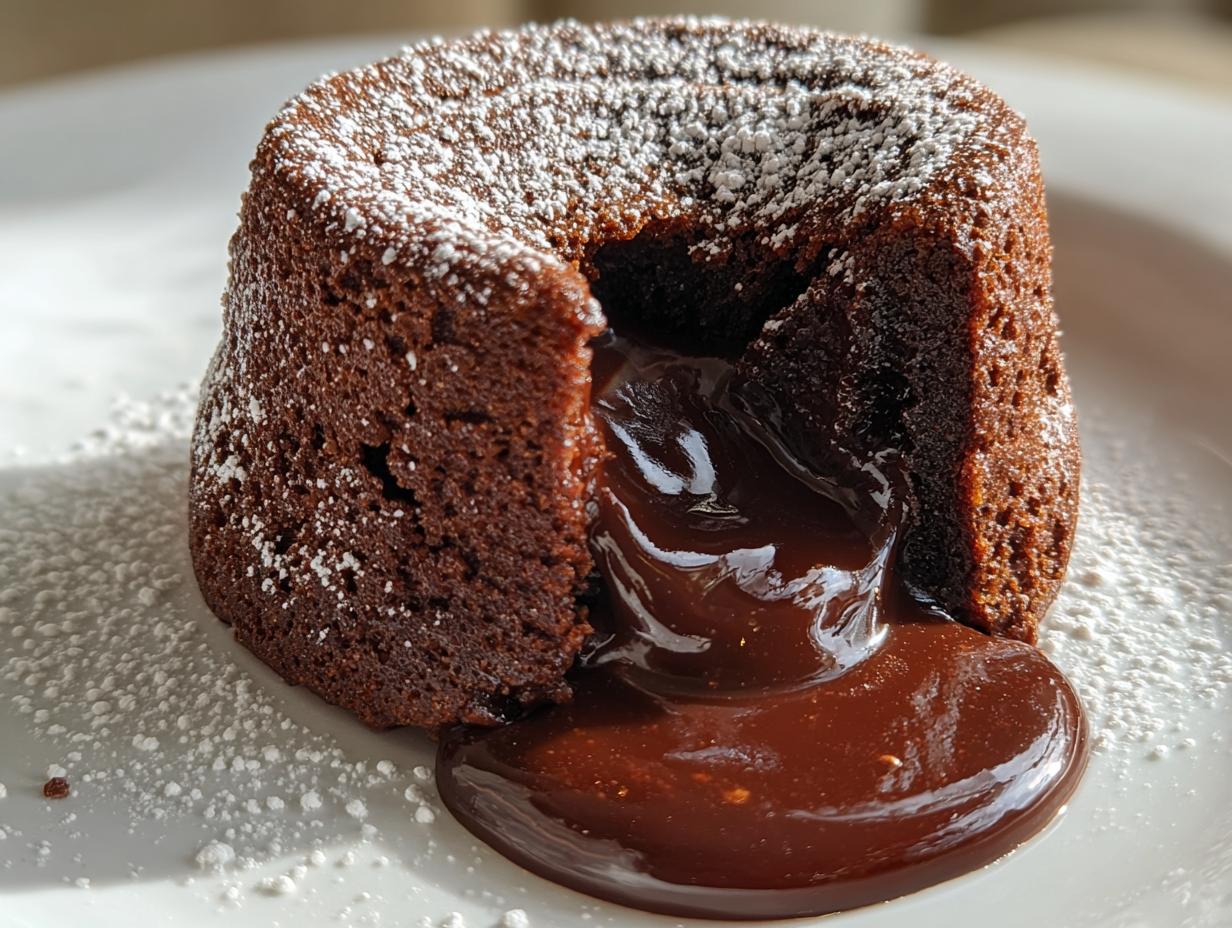
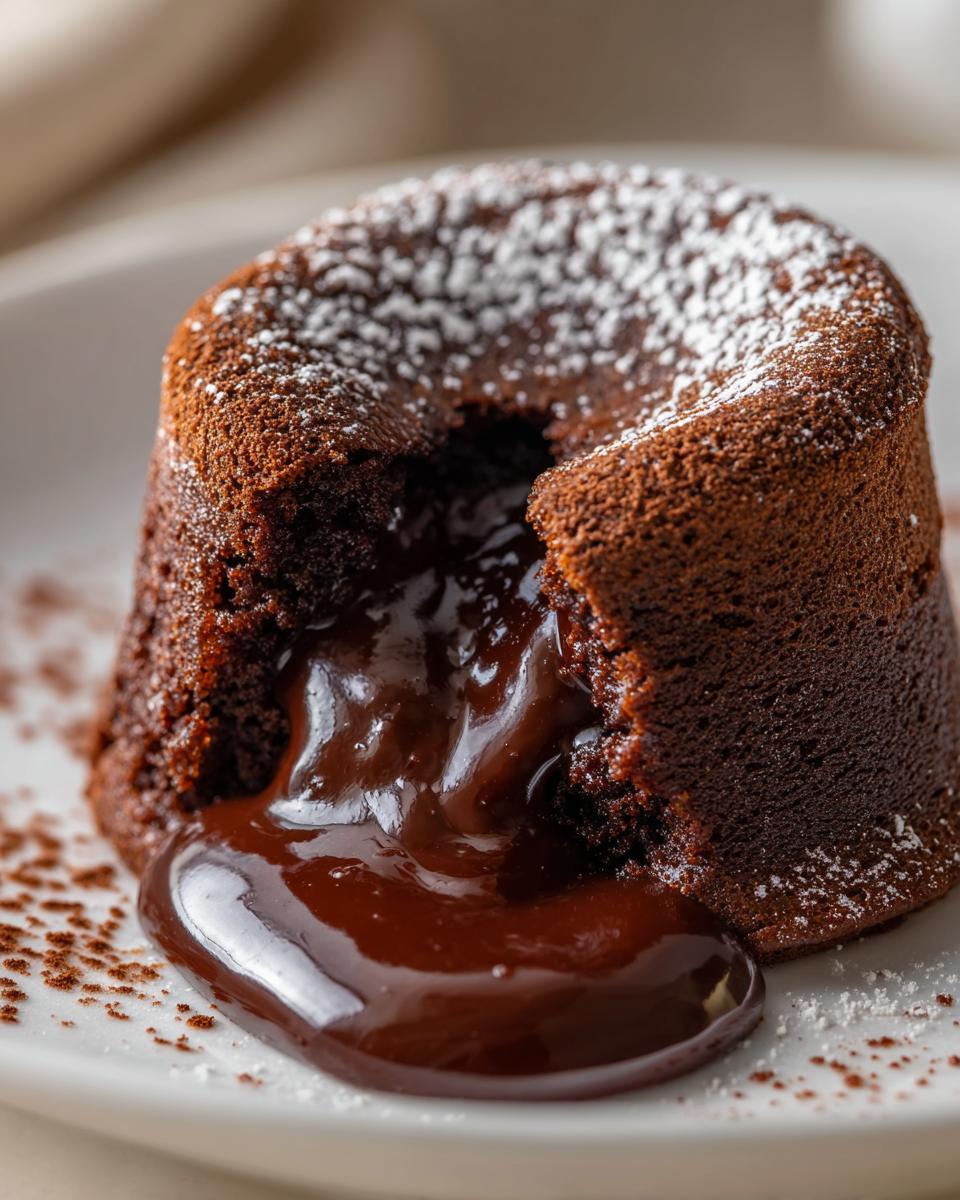
There’s just something truly magical about cutting into a warm chocolate dessert and watching that river of liquid gold spill out onto the plate, isn’t there? If you’ve sworn off making a homemade **lava cake** because you think it requires professional finesse, I’m here to change your mind completely. Here at Rosa’s Tasty Kitchen, we believe luxury shouldn’t mean complicated, and this recipe proves it. This is my absolute easiest, most reliable roadmap to achieving that perfect, unmistakable molten center every single time. You don’t need pristine pastry skills; you just need about 20 minutes and a couple of ramekins. We’re keeping things simple so you can focus on impressing your date or just treating yourself spectacularly after a long Tuesday.
We’re going to get those decadent results without needing a mountain of fancy equipment or ingredients, just like I always taught my own kids. Sometimes the best things in life—especially the best desserts—are the quickest to make. Trust me on this one; this **lava cake** recipe is about to become your new weeknight obsession that looks like it took hours!
If you want more fail-proof ways to wow your family without spending all day in the kitchen, check out my collection of best homemade desserts. You’ll find treasures that taste like they came from a bakery, but are secretly simple!
- Why This Easy Chocolate Lava Cake Recipe Works Every Time
- Ingredients for Your Homemade Lava Cake
- Step-by-Step Instructions for the Best Molten Chocolate Cake
- Tips for Success with Your Decadent Chocolate Dessert
- Serving Suggestions for Your Warm Chocolate Pudding Cake
- Make-Ahead and Storage for Homemade Lava Cake
- Variations: Dark Chocolate Lava Cake and Nutella Lava Cake
- Frequently Asked Questions About Making Lava Cake
- Nutritional Estimate for This Rich and Fluffy Lava Cake
Why This Easy Chocolate Lava Cake Recipe Works Every Time
When I share a recipe, I want you to feel confident pulling it out, even on a chaotic Tuesday night. This **lava cake** isn’t a gamble; it’s a certainty! It comes together in about 10 minutes of active work and is totally done in under 24 minutes total. That speed is fantastic, but honestly, reliability is what matters most when you’re craving pure chocolate indulgence.
We trust this recipe because it follows a classic structure but cuts out all the fuss. You’re never going to end up with a dry little cupcake when you follow these steps. Here’s why it’s foolproof:
- It uses a mix of whole eggs and extra yolks, which gives us richness without leaning too heavily on flour for structure.
- The batter is super gentle; we just fold the flour in, so we don’t develop any tough gluten strands.
- We preheat the oven aggressively high (425°F!) to set the outside edges instantly while leaving the inside completely unset.
For more recipes built for busy home cooks like us, peek at my weeknight dinner ideas. They are lifesavers!
Quick Chocolate Desserts for Any Occasion
Need something impressive fast? This is it! It’s the absolute best for those last-minute date night cravings. If you keep these ingredients stocked, you’ve always got an emergency impressive dessert ready to go. It’s one of my favorite reliable **Quick Chocolate Desserts**.
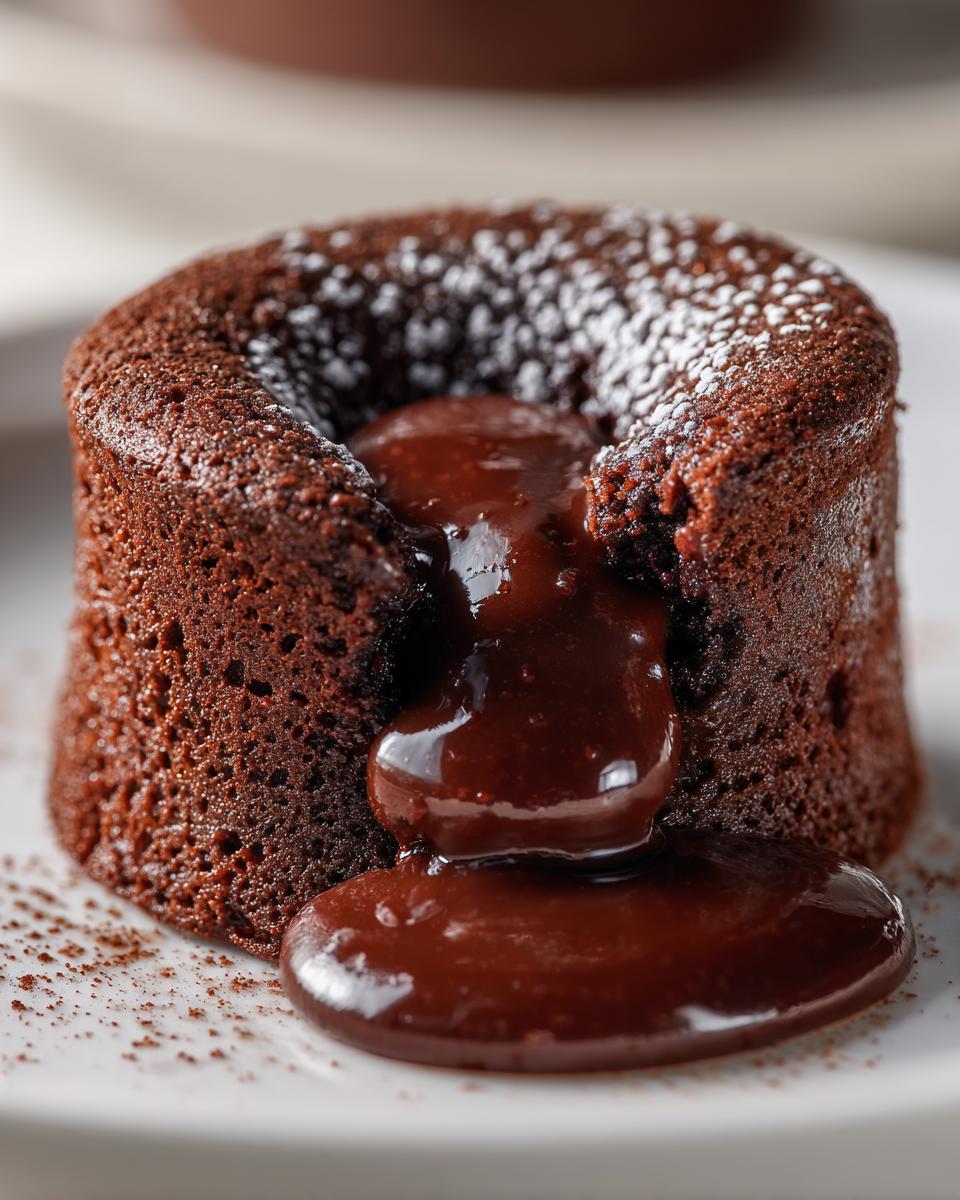
Achieving the Perfect Gooey Center Dessert
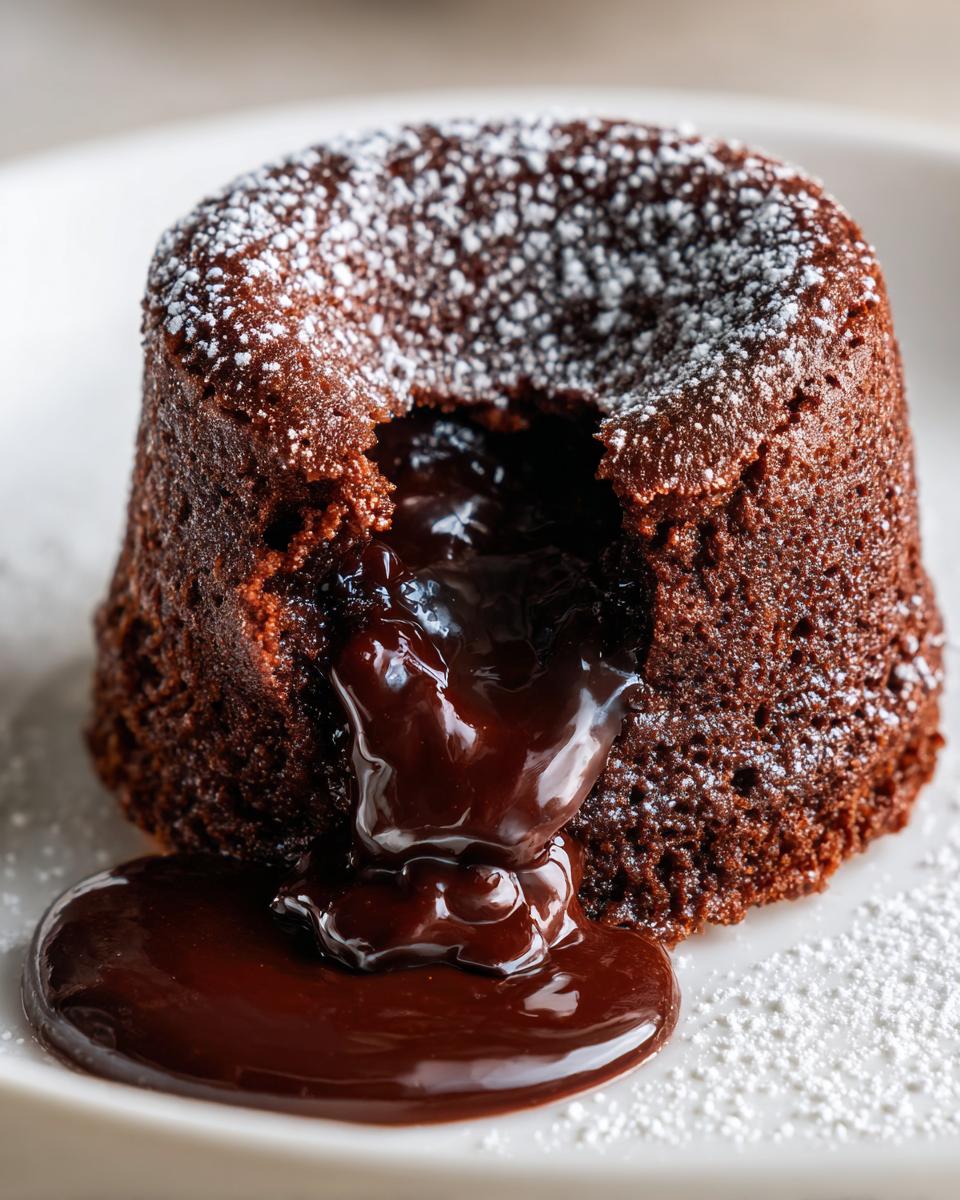
The secret right here lives in the baking time! We are aiming for a barely set cake. When you see the edges firm up but the very center still wobbles just a tiny bit when you nudge the pan, pull it out! That 12 to 14-minute window is the magic zone for that lava flow. This precision ensures you get that sensational **Gooey Center Dessert** every single time without fail.
Ingredients for Your Homemade Lava Cake
I always say if your ingredients are good, the outcome is mostly guaranteed, right? This recipe for a **Homemade Lava Cake** keeps things wonderfully straightforward. You’ll need just a few things that I bet you already have tucked away. We’re making four individual cakes, so grab four 6-ounce ramekins! You absolutely must have 4 ounces of bittersweet chocolate, and make sure it’s chopped finely so it melts evenly. Then, we use 4 ounces of unsalted butter, plus more for getting those ramekins nice and slick.
For the structure, we’ll use 2 large eggs plus 2 extra large egg yolks—those extra yolks really boost the richness! Then, a quarter cup of white sugar, one teaspoon of vanilla extract, just 2 tablespoons of flour, and a tiny pinch of salt. Lastly, plan on having some cocoa powder handy for dusting the molds.
Ingredient Notes and Substitutions for a Great Lava Cake
Listen up, this is where we make sure you get that decadent texture. Chocolate quality matters! I insist on bittersweet chocolate, around 60% or 70% cacao. If you use milk chocolate, it’s going to be way too sweet and won’t set up right. Don’t even think about swapping out that unsalted butter for anything else—it controls the richness and flavor beautifully. If you absolutely don’t have ramekins, you can try using oven-safe custard cups or even four standard muffin tins, but you might need to reduce the baking time slightly, so keep a close eye on them!
Step-by-Step Instructions for the Best Molten Chocolate Cake
Okay, time to get messy! I promise this process is simple, but you need to be ready for action since the prep is so fast. First things first: crank that oven up! We need it screaming hot at 425 degrees Fahrenheit. High heat is our secret weapon here to set the outside quickly.
Preparing the Ramekins for Easy Release
Don’t skip this part, not even a little bit! If you try to rush the buttering and dusting, you’ll end up crying over spilled chocolate magma later. Take a generous amount of soft butter and really rub it all over the inside of your four ramekins. Make sure you get into every single crevice! Then, grab your cocoa powder—not flour, cocoa powder—and dust the inside thoroughly. Tap out the excess—we just want a thin, slick coating. This cocoa coating is non-negotiable for successfully flipping out your finished **lava cake** without sticking.
Once they are prepped, set those babies on a baking sheet. Next, we melt the chocolate and butter—I microwave mine in short 30-second blasts, stirring in between until it’s totally smooth, then let it cool down just a touch.
Baking Your Individual Chocolate Cakes Perfectly
While that’s cooling, whisk your eggs, yolks, and sugar until they look pale and fluffy—this takes about two minutes of good whisking. Now, gently fold that slightly cooled chocolate into the egg mix. Don’t whip it! We don’t want to knock out the air we just built in there. Then, softly fold in your sifted flour and salt until you just can’t see any white streaks left. That’s it! Pour the batter evenly into the prepared ramekins.
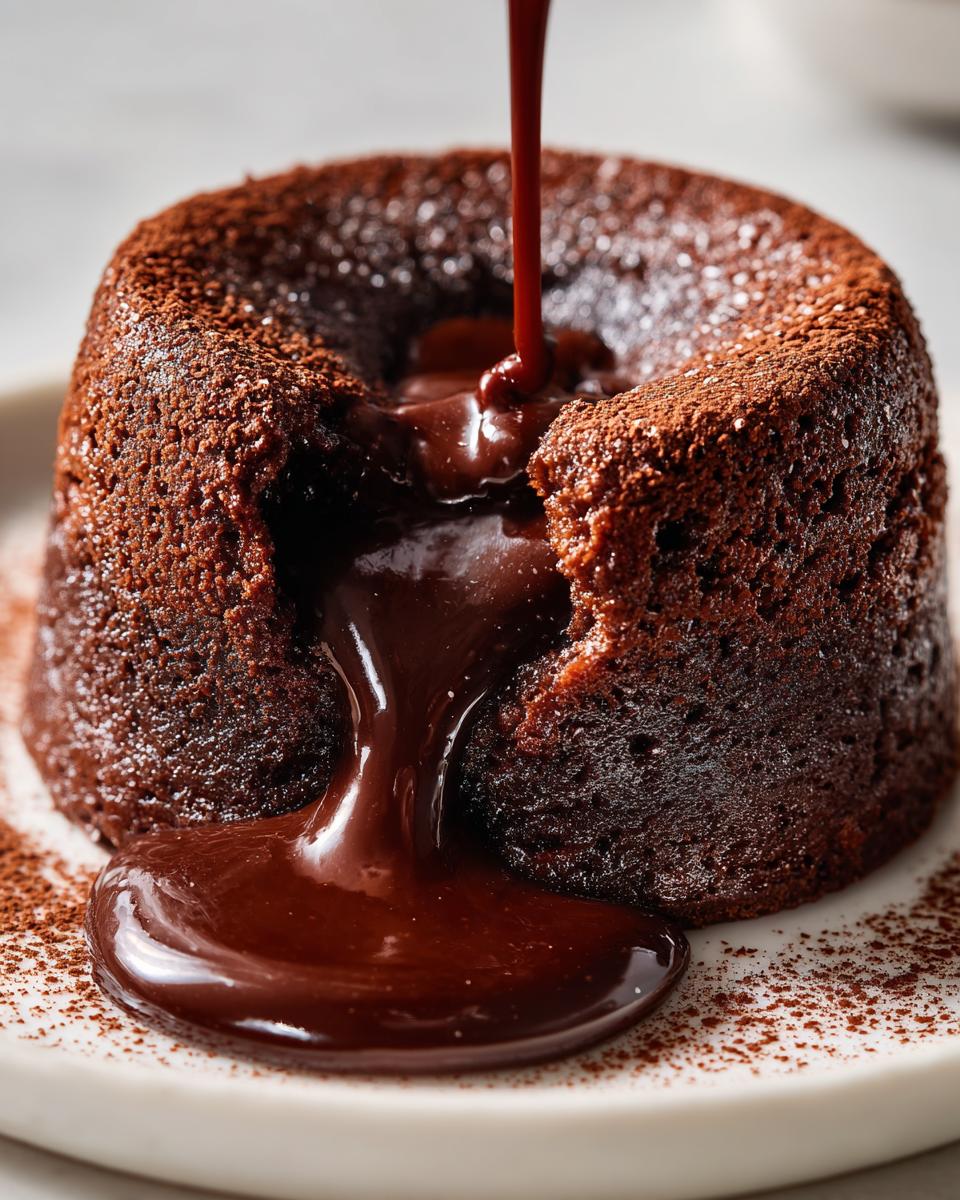
Now for the tense part: baking! Pop them in that hot oven for 12 to 14 minutes. You are looking for edges that look completely set, but if you gently shake the pan, the middle should still look soft and jiggly. That jiggle is your guarantee for a **Molten Chocolate Cake**! If you bake them a moment too long, you’ll end up with four cute little fudge cakes instead of lava flow. Check them at 12 minutes sharp. Once they come out, let them cool for exactly one minute only, run a thin knife around the edges, and quickly—oh so quickly—invert them onto your plates! If you want fancier results, check out this foolproof chocolate lava cake inspiration to see the presentation goals!
If you want to learn some other fantastic baking tricks for rich desserts, check out my guide on fudgy gingerbread brownies. It helps you master folding techniques!
Tips for Success with Your Decadent Chocolate Dessert
Even though this recipe is easy, timing is everything when you are aiming for that signature flow. My absolute biggest tip for any **Decadent Chocolate Dessert** like this is non-negotiable: Do NOT overbake! Seriously, start checking at 12 minutes. If you see the edges are firm but the center is still very soft, take them out. They will firm up just a hair while resting, but that jiggle ensures a molten surprise.
Also, want to save time later? You can totally mix up the batter, pour it into your prepared ramekins, cover them tightly with plastic wrap, and stick them in the fridge for up to 24 hours. This is my secret weapon for easy entertaining! Just remember that when you bake the chilled batter, you need to add about 2 or 3 extra minutes to the cooking time so the center gets hot enough to melt properly. For more clever ways to manage your baking schedule, check out how I make my brown butter chocolate chip cookies ahead of time!
If you’re looking for presentation inspiration, seeing other successful flips can boost your confidence! Take a peek at how others created their homemade lava cake results for visual cues.
Serving Suggestions for Your Warm Chocolate Pudding Cake
Now this is the fun part! You’ve successfully pulled off the perfect **lava cake**, and now it’s time to make it look like it costs a million dollars, even though it took you less than 25 minutes total. The key to serving your **Warm Chocolate Pudding Cake** is speed and contrast. Because these are served piping hot, you want something cool and bright to cut through all that intense dark chocolate richness on the plate.
My absolute favorite way to serve this is with a perfect scoop of good quality vanilla bean ice cream right on the side. As the cake sits there, the heat from the molten center starts to melt the ice cream just slightly, creating this amazing chocolate-vanilla pool that is just heavenly. Don’t forget the berries!
Fresh raspberries or perhaps a few sliced strawberries scattered artfully around the plate add a needed tartness and boost the presentation factor immediately. If you prefer a simpler look, a light dusting of powdered sugar over the top right before serving makes a lovely contrast against the dark cake exterior. It’s the finishing touch that screams ‘I made this just for you!’”
If you are looking for other comforting yet slightly impressive desserts to round out your repertoire after mastering this one, you have to try my recipe for apple cheesecake bars with caramel streusel. Sometimes a great platter of bars is just easier than individual servings!
Make-Ahead and Storage for Homemade Lava Cake
One of the best things about this **lava cake** recipe, besides the gooey factor, is how well it plays with a busy schedule! Yes, you absolutely can prep these ahead of time, which is a lifesaver when you have company coming over and don’t want to be messing around with chocolate melting right before dinner is served. This is my favorite “plan-ahead” option for having a **Homemade Lava Cake** ready to go.
For the unbaked batter? Go ahead and mix it all up exactly as directed. Then, pour that gorgeous batter evenly into your prepared, buttered, and cocoa-dusted ramekins. Cover each one tightly with plastic wrap. You can tuck these into the refrigerator for up to 24 hours! Seriously, this makes entertaining so much easier. If you’re freezing the batter, make sure it’s wrapped extra securely, and plan for a longer bake time later on.
What about baked cakes? Well, frankly, they are best served immediately. But if you absolutely must store one, let it cool completely. Store it in an airtight container at room temperature for up to a day. If you need to warm up a baked cake, warm it *very* gently in a low oven (about 300°F) for just 5 to 7 minutes. You are trying to warm it through, not cook it further, or you’ll lose that molten core! A quick brush of warm raspberry jam over the top is a nice trick I learned when reviving leftovers, and you can find a recipe for my easy freezer jam if you want to make a fresh topping!
Variations: Dark Chocolate Lava Cake and Nutella Lava Cake
The beauty of mastering a classic **lava cake** is that you can start playing around with the chocolate base, and I highly encourage it! Sometimes you just need that extra deep, intense flavor, right? If you are craving a **Dark Chocolate Lava Cake**, the solution is super simple: use higher quality chocolate with a higher cacao percentage. Switch to an 80% or even 85% bittersweet chocolate instead of the 60% called for in the main recipe. Be careful, though; the higher the dark chocolate percentage, the less sweet it will be, so you might need to add just a tiny bit more sugar.
Now, if hazelnut is calling your name, we can absolutely pivot to a **Nutella Lava Cake**! For this version, you’ll replace half of the solid chocolate (2 ounces) and about half of the butter (2 ounces) with an equal volume of Nutella. You might need to skip adding the extra sugar slightly, too, because Nutella is already quite sweet. Just fold the Nutella in gently with the melted butter mixture. It creates such a gooey, wonderful result; you can see an amazing variation on this Nutella lava cake right here.
These simple swaps mean you never have to make the same dessert twice! If you’re interested in more ways to use chocolate in less traditional forms, you’ve got to see how I make my chocolate babka—it’s an entirely different journey!
Frequently Asked Questions About Making Lava Cake
It’s natural to have questions when you’re dealing with molten chocolate! That tiny window of perfection can feel scary, but don’t worry a bit. I’ve pulled together the questions I get most often about keeping these **Easy Lava Cakes** perfect, moist, and flowing, even when you need a genuinely quick 20 Minute Dessert!
Can I make this lava cake recipe in an Air Fryer?
Oh, that’s a great question everybody asks now that we all have these fantastic air fryers! Yes, you absolutely can make a **lava cake** in there, though the main recipe is written for a standard oven. Since the air fryer cooks faster and hotter internally, you need to drop the temperature down quite a bit, maybe to around 375°F. Keep a close watch; they’ll likely be done between 8 and 10 minutes. You’re looking for the same result: sturdy sides and a soft middle.
How do I know when my lava cake is done?
This is the most important question, hands down! Forget the toothpick test for a moment—that will just tell you if the center is cooked batter, not molten goo. You need to use your eyes and hands. The edges of your **individual chocolate cakes** should look fully baked, maybe slightly pulling away from the ramekin. But here’s the real secret: the center needs to look soft, slightly puffy, and jiggle like Jell-O when you gently nudge the pan. If you poke it and it feels firm, you’ve baked it too long. If it looks like liquid soup, pull it out a minute sooner next time!
We want that perfect balance of cake texture and flowing chocolate. If you follow those visual cues, you’ll nail the texture every single time!
Nutritional Estimate for This Rich and Fluffy Lava Cake
I like to share what I know about the nutrition in my recipes, just so we all have an idea of what deliciousness we’re digging into! Now, keep in mind these are estimates, okay? Since we all use slightly different brands of chocolate or butter, the numbers can shift a little bit. But this gives you a good baseline for enjoying this pure chocolate indulgence guilt-free—or at least, *informed* guilt-free!
When you’re making something this decadent, you know it’s going to be rich, but for a **Rich and Fluffy Lava Cake**, the numbers actually look pretty manageable, especially since it’s an individual serving size. This recipe yields four servings, so these numbers are calculated per single cake!
- Serving Size: 1 cake
- Calories: Around 420
- Sugar: About 25g
- Protein: 8g
- Fat: 28g (Be sure to save some of that gorgeous saturated fat for topping with vanilla ice cream!)
See? Totally worth it for that gooey center! If you’re looking for lighter fare during the week, I always keep some handy options available, like the ones I share in my guide to quick healthy lunch ideas. But let’s be honest, sometimes you just need molten chocolate, and that’s perfectly fine!
PrintEasy Decadent Chocolate Lava Cake Recipe (Perfect Molten Center Every Time)
Make this easy chocolate lava cake for a quick, indulgent dessert. You get crisp edges and a silky molten center every time. It is perfect for date nights or when you need a fast, impressive treat.
- Prep Time: 10 min
- Cook Time: 14 min
- Total Time: 24 min
- Yield: 4 servings 1x
- Category: Dessert
- Method: Baking
- Cuisine: American
- Diet: Vegetarian
Ingredients
- 4 ounces bittersweet chocolate, chopped
- 4 ounces unsalted butter, plus extra for ramekins
- 2 large eggs
- 2 large egg yolks
- 1/4 cup granulated sugar
- 1 teaspoon vanilla extract
- 2 tablespoons all-purpose flour
- Pinch of salt
- Cocoa powder, for dusting ramekins
Instructions
- Preheat your oven to 425 degrees Fahrenheit. Generously butter four 6-ounce ramekins. Dust the inside of each buttered ramekin with cocoa powder, tapping out any excess. Place the prepared ramekins on a baking sheet.
- Place the chopped chocolate and butter in a microwave-safe bowl. Microwave in 30-second intervals, stirring between each, until the mixture is completely melted and smooth. Set aside to cool slightly.
- In a separate medium bowl, whisk together the eggs, egg yolks, and granulated sugar until the mixture is pale and slightly thickened, about 2 minutes. Whisk in the vanilla extract.
- Gently whisk the slightly cooled chocolate mixture into the egg mixture until just combined. Do not overmix.
- Sift the flour and salt over the chocolate mixture. Fold the dry ingredients into the wet ingredients using a spatula until no streaks of flour remain.
- Divide the batter evenly among the four prepared ramekins.
- Bake for 12 to 14 minutes. The edges should look set, but the center should still look soft and jiggly. This timing is key for a gooey center.
- Let the cakes cool in the ramekins for exactly 1 minute. Run a thin knife around the edge of each cake.
- Carefully invert each lava cake onto a serving plate. Serve immediately with ice cream or fresh berries.
Notes
- For guaranteed molten centers, do not overbake. Check the cakes at 12 minutes.
- You can prepare the batter up to 24 hours ahead. Cover the filled ramekins and chill. Add 2-3 minutes to the baking time if baking directly from the refrigerator.
- Dust the finished cakes with powdered sugar before serving for a classic look.
Nutrition
- Serving Size: 1 cake
- Calories: 420
- Sugar: 25g
- Sodium: 150mg
- Fat: 28g
- Saturated Fat: 17g
- Unsaturated Fat: 11g
- Trans Fat: 0g
- Carbohydrates: 35g
- Fiber: 3g
- Protein: 8g
- Cholesterol: 155mg