
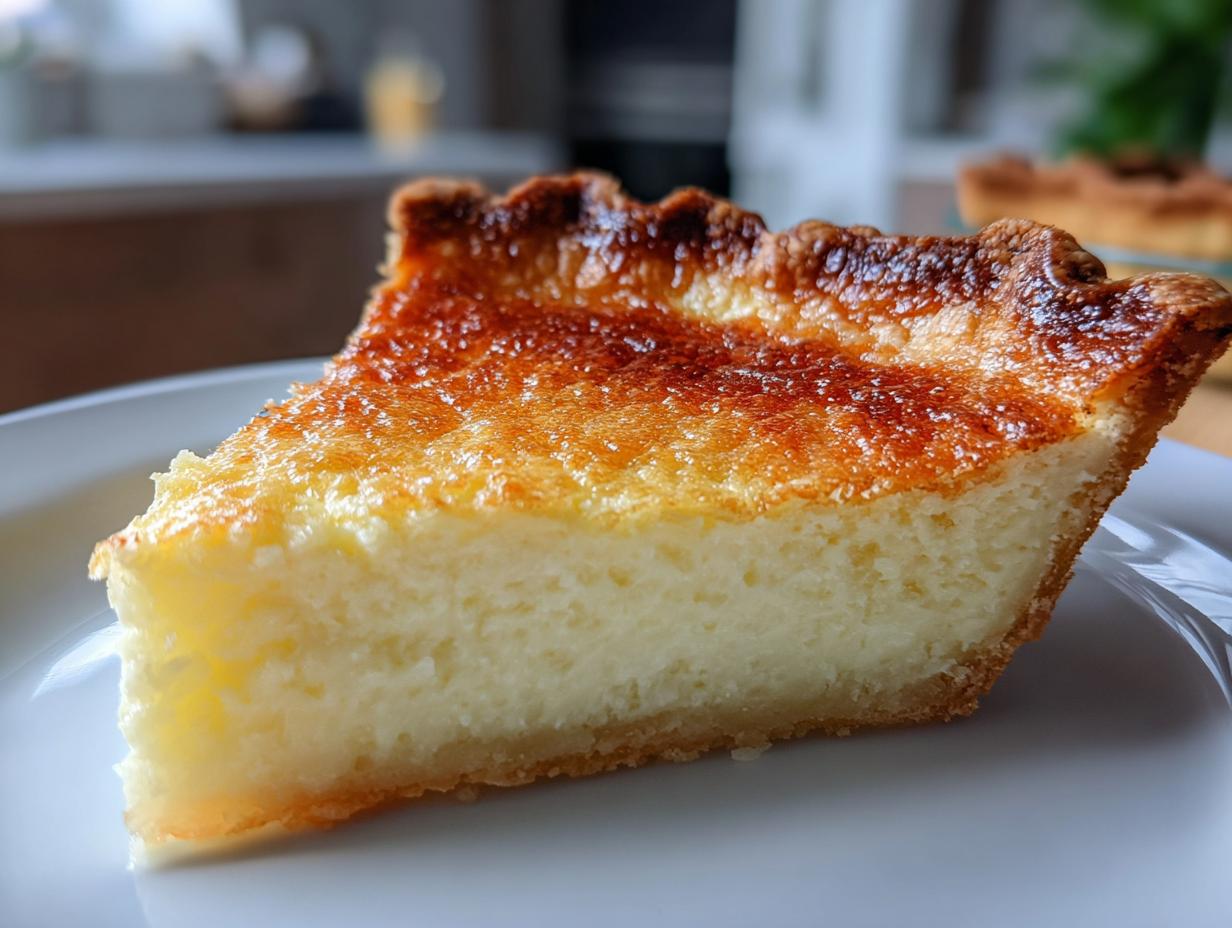
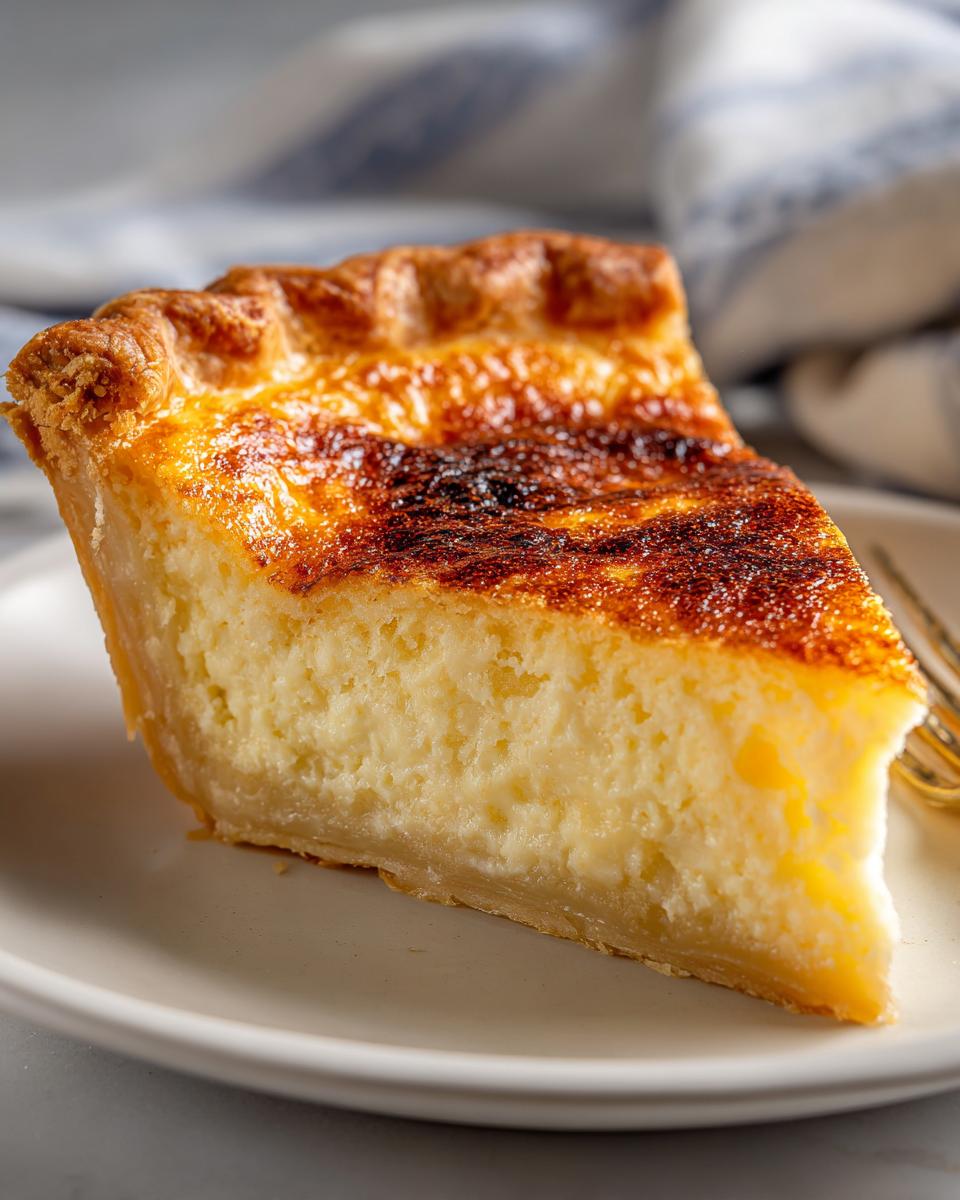
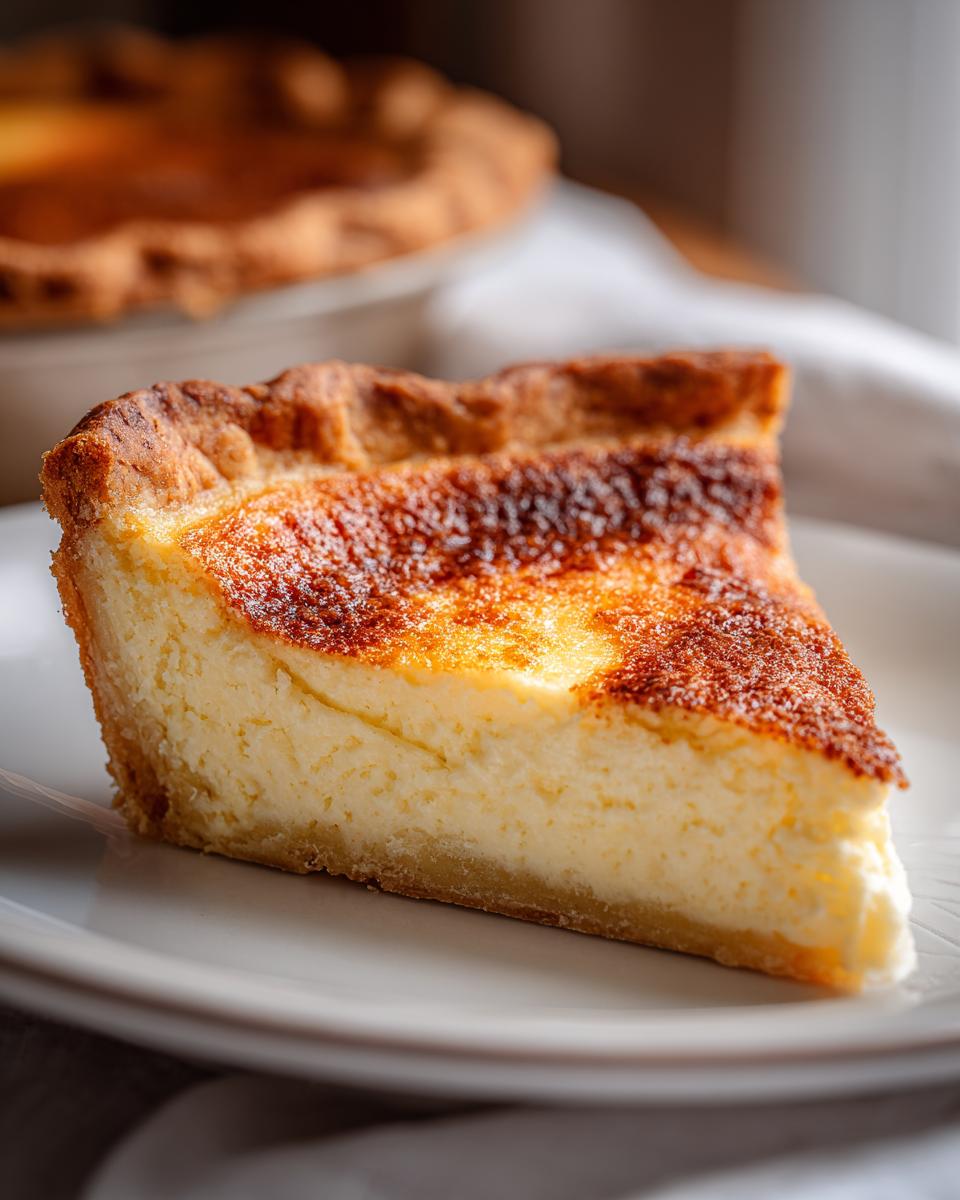
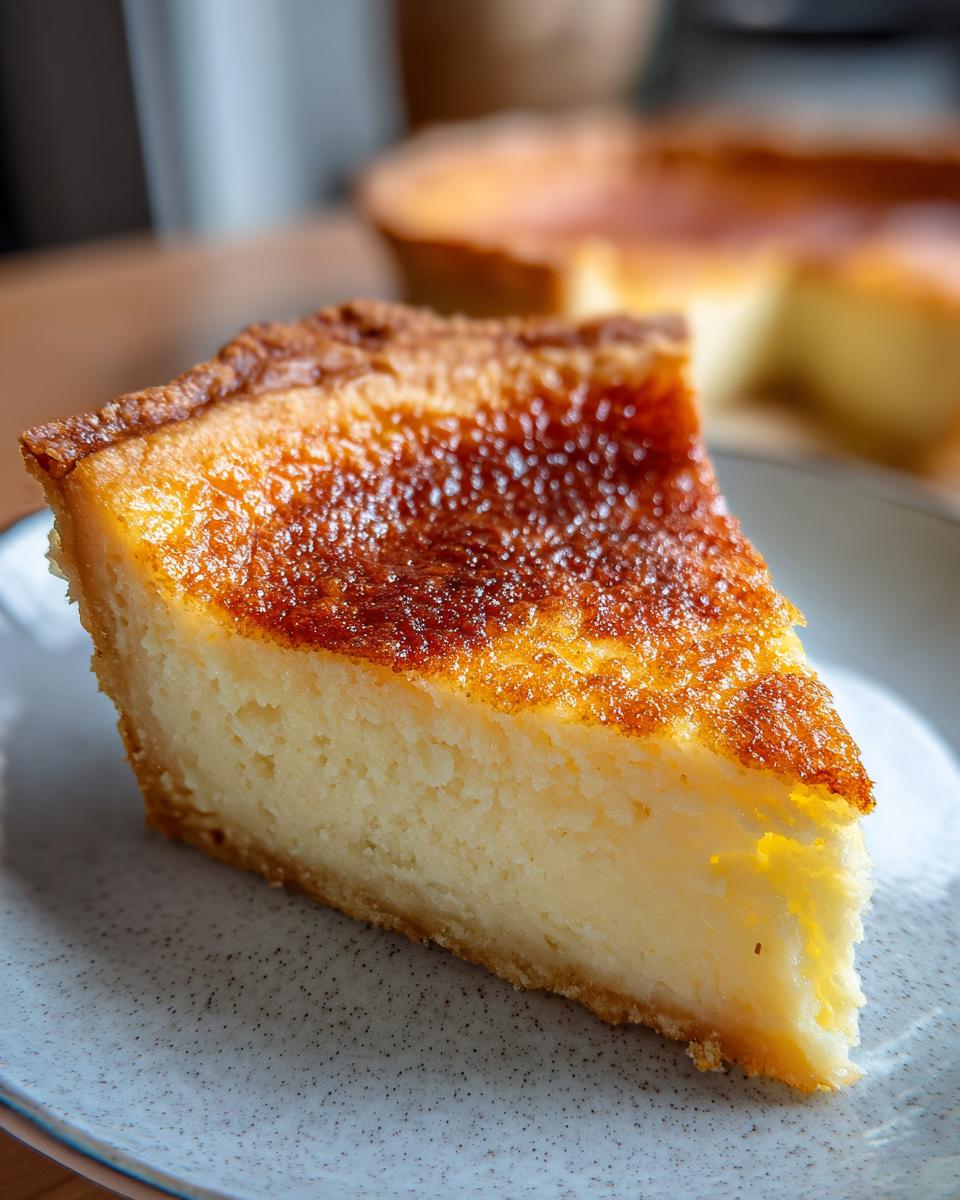
Oh, honey, if you wanna talk true comfort food, we have to talk about the South. There’s nothing quite like that moment when you slice into a perfect, sunny yellow buttermilk pie—creamy, simple, and so deeply nostalgic. I’m Rosa Sterling, and I spent years figuring out how to bottle that exact feeling without spending all day in the kitchen. This Old-Fashioned Buttermilk Pie recipe isn’t fussy; it’s built on the dependable, tested foundations I learned from my own grandmother. It delivers that signature tangy-sweet flavor and a melt-in-your-mouth custard every single time. Trust me, this is the most reliable pie you’ll ever bake!
Once you see how easy it is, you’ll want to add it to your rotation of best homemade desserts immediately!
- Why This Classic Old-Fashioned Buttermilk Pie Recipe Works (E-E-A-T Focus)
- Ingredients for Your Old Fashioned Buttermilk Pie
- How to Prepare the Best Buttermilk Pie Filling
- Baking Instructions for a Creamy Dessert Buttermilk Pie
- Tips for Success Making a Traditional Southern Dessert
- Serving Suggestions for Your Buttermilk Pie
- Storage and Reheating Instructions for Classic Family Pie Recipe
- Frequently Asked Questions About Buttermilk Pie
- Share Your Buttermilk Pie Experience
Why This Classic Old-Fashioned Buttermilk Pie Recipe Works (E-E-A-T Focus)
I hear folks say they worry about custard pies, but listen, this buttermilk pie is different. Because I was balancing teaching and motherhood for so long, I needed recipes that just *worked*—no drama! This recipe is rooted deep in Southern baking traditions. The magic isn’t complicated; it’s just knowing how the simple ingredients play together to create that creamy texture everyone swoons over. If you like that melt-in-your-mouth experience, you might also love my secret for creamy old-fashioned stovetop rice pudding!
I remember the first time I tried making it for a church supper. The edges were rubbery, but the middle was soup! I went back to my grandmother’s notes and realized I was over-baking it. Now, I watch it like a hawk. When it jiggles just right, I pull it out. That care guarantees that signature tangy-sweet result every single time.

Achieving the Perfect Tangy Sweet Pie Flavor
The secret to that gorgeous sweet-meets-tangy flavor is honestly the buttermilk itself interacting with the sugar and eggs. That slight sourness is crucial—it cuts through the richness of the melted butter and keeps the whole pie from tasting heavy or cloyingly sweet. You are basically making a luxurious custard here! The granulated sugar dissolves beautifully into the liquid base, and since you only use a bit of flour as the binder, you get that smooth consistency instead of a dense cake. It truly lets the buttermilk shine.
Ingredients for Your Old Fashioned Buttermilk Pie
Gathering your supplies for this Old Fashioned Pie Recipe is super easy, which is why I love it for a weeknight treat! You only need a few things you probably already have kicking around, plus that essential ingredient: buttermilk. Using good quality, cultured buttermilk makes the biggest difference in your final Southern Buttermilk Pie flavor. You’ll need the crust ready to go—I usually whip up my skillet cornbread while the oven preheats, so I have plenty of dough ready!
- 1 (9-inch) unbaked homemade pie crust
- 1 1/2 cups granulated sugar
- 3 tablespoons all-purpose flour
- 1/4 teaspoon salt
- 1 cup buttermilk
- 1/2 cup (1 stick) unsalted butter, melted
- 2 large eggs, lightly beaten
- 1 teaspoon vanilla extract
Ingredient Notes and Substitutions for Buttermilk Pie
Now, if the store is out of buttermilk—don’t panic! This is where knowing a little trick saves the day, keeping your baking moving along. If you’re in a pinch, take 1 cup of whole milk and stir in 1 tablespoon of white vinegar or fresh lemon juice. Let that sit on the counter for about five minutes until it thickens slightly. That’s your stand-in! It works perfectly for this Easy Custard Pie filling.
How to Prepare the Best Buttermilk Pie Filling
Getting the filling ready is quick, but you have to be smart about it! The biggest mistake people make with any custard, including our amazing buttermilk pie, is getting lumps. So, listen to Rosa on this: always start with your dry stuff. Grab a medium bowl—I use my favorite ceramic one—and whisk the sugar, flour, and salt together really well until they look perfectly uniform. This simple step ensures you won’t have pockets of unmixed flour floating around later. I promise you, this prevents scrambling later on!
Once those dry ingredients are happy, you can introduce the wet ones. Pour in that creamy buttermilk, followed by your melted butter (make sure it’s just melted, not hot!), the eggs I told you to beat lightly, and that splash of vanilla. Now, whisk gently until everything smooths out into that pale, beautiful liquid. If you want the secrets behind banana cream pie, I share those too!
Prepping Your Crust for a Perfectly Baked Pie
Before you even think about mixing the filling, you need that crust nestled snug in your pie plate. Remember, this recipe calls for an unbaked crust—we want that bottom to cook up crisp alongside that luscious filling. Set your oven to 350 degrees Fahrenheit while you mix. If you’re feeling ambitious and want to try a wonderful treat from scratch, you can certainly use your favorite homemade pie crust recipe, but today we are just loading it right in!
Baking Instructions for a Creamy Dessert Buttermilk Pie
Okay, we’ve got our beautiful, smooth buttermilk pie filling sitting right there in that unbaked shell. Carefully pour it in—don’t rush this part! Next, slide that pie into your preheated 350-degree oven. It usually takes about 45 to 55 minutes, but you have to use your eyes, not just the timer.
You’re looking for two things when it’s near done. First, the top should be a lovely golden brown, like the color of toasted pecans. Second, and this is the critical test for any creamy dessert custard like this: gently nudge the edge of the pan. If the center has only a slight jiggle—meaning it moves like soft Jell-O and not like soup—it’s done! If you overbake this, you lose that magic, melt-in-your-mouth texture we worked so hard for. For more creamy perfection secrets, check out my guide on getting a creamy, no-crack cheesecake!
When it passes the jiggle test, take it out immediately. Now, resist temptation! You absolutely must let this pie cool completely, and I mean *completely*—that means a full three hours minimum on a wire rack. This cooling time is when the custard truly sets up firm enough to slice beautifully. If you try cutting it too soon, you’ll have a puddle, not a piece of pie! I even like to see mine on Someone else’s cutting board before I even consider serving it! Patience truly pays off here for the best buttermilk pie.
Tips for Success Making a Traditional Southern Dessert
Making a buttermilk pie that tastes just like Grandma made requires sticking to a few core principles. My notes always stressed one thing: don’t mess with the oven temperature too much once it starts baking! If you find your oven runs hot or cold, you might need to adjust by 15 degrees either way, but keep it stable once you get that pie in there.
Also, remember that final check. The toothpick test tells you if it’s cooked, but for the best buttermilk pie, use the knife trick I mentioned—slide a thin knife near the edge. If it comes out clean, you are golden. Resist the urge to bake it until the center is completely firm, though! That slight moisture bubble in the middle is the trademark of a spectacular Traditional Southern Dessert being pulled out just in time. Speaking of tips, if you need ideas for adding moisture to other recipes, peep my guide on easy moist pumpkin bread!
Serving Suggestions for Your Buttermilk Pie
Alright, the hard part is over! You’ve waited three long hours, and now you have this beautiful, creamy slice of heaven ready to go. That slice of buttermilk pie is fantastic all on its own, of course—it sings that tart, sweet song beautifully. But if you want to make it just a little extra special, especially for a holiday or when you have guests, you absolutely need a crown of fresh whipped cream. Don’t buy that stuff in the can unless you absolutely have to; whipping heavy cream with just a tiny bit of powdered sugar and vanilla is ridiculously fast, and the taste upgrade is huge!
When should you serve it? That’s a debate as old as the South itself! Some folks swear by serving it slightly chilled, which makes the custard firmer and gives it a cleaner slice. Me? I usually let mine come up to room temperature first. When it’s just cool, not cold, the flavors really bloom, and that texture gets incredibly soft. Either way, make sure you enjoy every bite with a cup of coffee. If you want to see another sweet thing I make totally from scratch, check out my recipe for homemade mayonnaise—you have to balance the sweets somehow, right?
Storage and Reheating Instructions for Classic Family Pie Recipe
Since this buttermilk pie is basically a delicate baked custard, we have to treat it right in the fridge. Once it’s completely cooled—and I mean *completely* cool, remember that three-hour rule—wrap the pie dish tightly, maybe with plastic wrap and then foil over that. You want to keep any fridge smells far away from that sweet filling. It keeps wonderfully for at least three or four days in the refrigerator.
If you want to serve it later, you don’t really need to reheat it; eating this Classic Family Pie Recipe chilled or at room temperature is totally traditional and delicious. If you simply *must* have it warm, warm it gently in a low oven—maybe 300 degrees—just until it loses that fridge chill. Don’t microwave it, or you’ll ruin that perfect texture! For more tips on keeping baked goods fresh, take a look at my guide on banana bread recipe moist easy.
Frequently Asked Questions About Buttermilk Pie
I’ve gotten so many notes and emails from folks trying out this recipe, and I love hearing what questions pop up! Baking something this classic always brings out the best queries. Here are the things I hear most often when people are trying to make the Best Buttermilk Pie or maybe get close to that famous Cracker Barrel Copycat Pie.
Can I make a quick buttermilk pie without baking the crust first?
Oh, I know that word pops up—quick! But listen to Rosa here: please don’t skip pre-baking that crust! If you try to make a quick buttermilk pie by dumping the wet filling into a completely raw crust, you are going to end up with what we call a soggy bottom. Custards need that partially cooked, slightly sturdy shell underneath them to set up right. It only takes 10 or 15 minutes of blind baking to save your whole pie from disaster!
Is this Southern Buttermilk Pie similar to Chess Pie?
That’s a great question! They are kissing cousins, absolutely, but they aren’t the same, bless their hearts. A true, traditional Southern Buttermilk Pie relies heavily on that buttermilk tang we talked about, making it bright and maybe a tiny bit lighter tasting. Chess Pie, traditionally, leans heavier on cornmeal or sometimes doesn’t use any buttermilk at all, favoring a richer, sweeter, molasses-forward flavor that can sometimes be denser.
What makes this the Best Buttermilk Pie?
Honestly, what makes this recipe the Best Buttermilk Pie is the simple, honest ingredient list and knowing when to pull it out of the oven! It’s all about that textural contrast. You get the slightly crisp, golden top layer, but underneath is that unbelievably creamy, melt-in-your-mouth custard that has just the right amount of pleasant tang to balance all that sugar. It’s pure, unpretentious Southern baking magic!
Share Your Buttermilk Pie Experience
Well, that’s about all there is to it! We’ve made a true, classic buttermilk pie—something that tastes like coming home. Now, the best part of sharing these recipes from my kitchen to yours is hearing about how they turned out for you!
Did you serve it with that fresh whipped cream I told you about? Did it bring back memories of your own grandmother, or maybe start a new tradition in your house? Don’t be shy!
I’m asking you one simple favor: if this pie achieved that creamy, tangy, melt-in-your-mouth perfection we were aiming for, please come back and give it that 5-star rating! It helps other busy home cooks find reliable recipes like this Traditional Southern Dessert.
And if you snap a picture of your beautifully golden slices, I’d absolutely love to see it! You can always drop me a line or share your stories over at my contact page. Happy baking, sweetheart!
PrintClassic Old-Fashioned Southern Buttermilk Pie

Make this classic Southern buttermilk pie for a creamy, tangy, and perfectly sweet dessert. This recipe focuses on simple ingredients for a melt-in-your-mouth, nostalgic experience.
- Prep Time: 15 min
- Cook Time: 50 min
- Total Time: 3 hr 5 min
- Yield: 8 servings 1x
- Category: Dessert
- Method: Baking
- Cuisine: American
- Diet: Vegetarian
Ingredients
- 1 (9-inch) unbaked homemade pie crust
- 1 1/2 cups granulated sugar
- 3 tablespoons all-purpose flour
- 1/4 teaspoon salt
- 1 cup buttermilk
- 1/2 cup (1 stick) unsalted butter, melted
- 2 large eggs, lightly beaten
- 1 teaspoon vanilla extract
Instructions
- Preheat your oven to 350 degrees Fahrenheit. Place your unbaked pie crust into a 9-inch pie plate.
- In a medium bowl, whisk together the sugar, flour, and salt until combined.
- Add the buttermilk, melted butter, lightly beaten eggs, and vanilla extract to the dry ingredients. Whisk until the mixture is smooth and uniform.
- Pour the buttermilk filling carefully into the unbaked pie crust.
- Bake for 45 to 55 minutes. The center should be mostly set but still have a slight jiggle when gently shaken. The top should be golden brown.
- Remove the pie from the oven and let it cool completely on a wire rack for at least 3 hours before slicing. This allows the custard to fully set.
- Serve this traditional Southern dessert at room temperature or slightly chilled.
Notes
- For a flakier crust, use an all-butter pie crust recipe.
- If you do not have buttermilk, mix 1 cup of whole milk with 1 tablespoon of white vinegar or lemon juice, let it sit for 5 minutes, then use it in the recipe.
- This pie tastes best when served with a dollop of fresh whipped cream.
- Baking time can vary; check for doneness by inserting a thin knife near the edge; it should come out clean.
Nutrition
- Serving Size: 1 slice
- Calories: 350
- Sugar: 35
- Sodium: 250
- Fat: 18
- Saturated Fat: 10
- Unsaturated Fat: 8
- Trans Fat: 0
- Carbohydrates: 45
- Fiber: 1
- Protein: 5
- Cholesterol: 90