
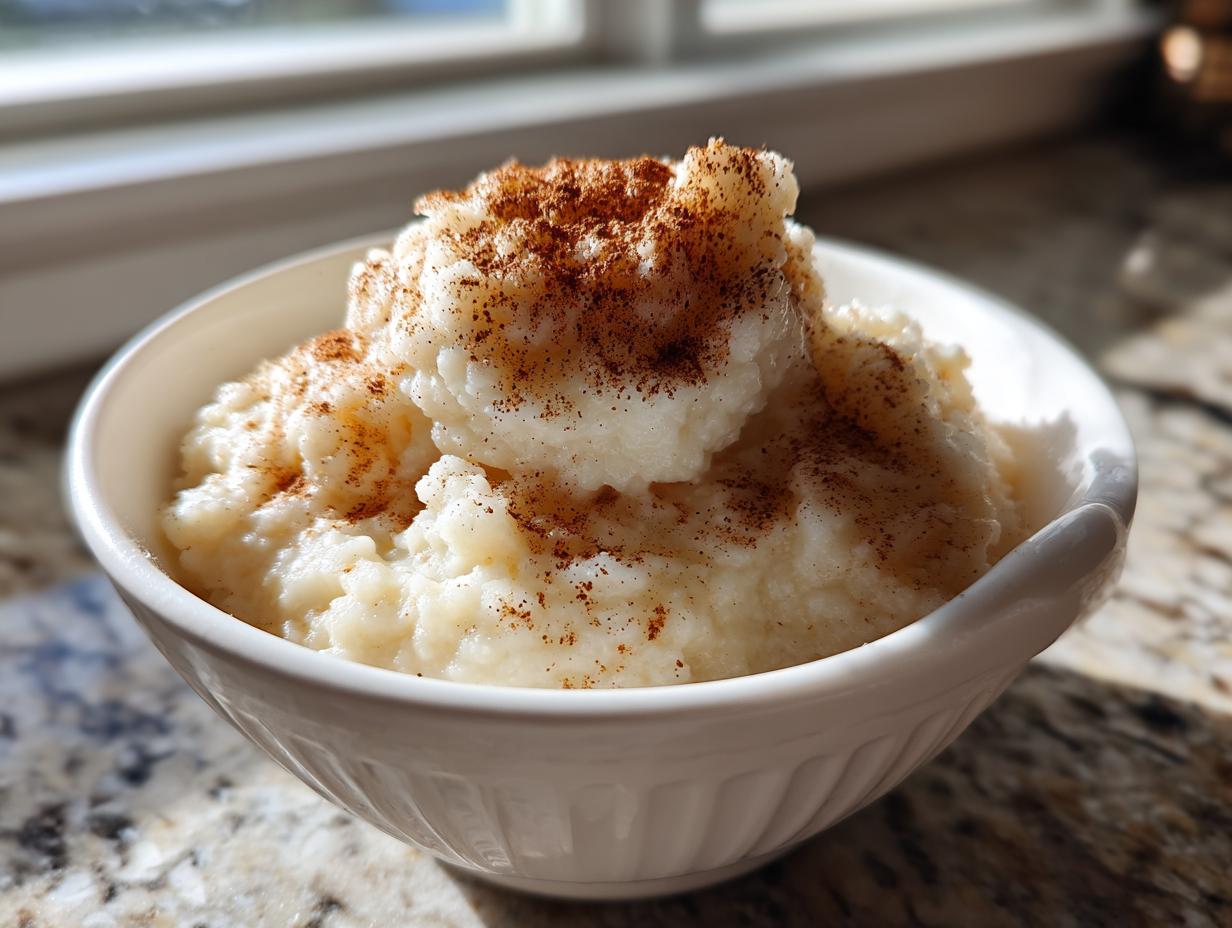
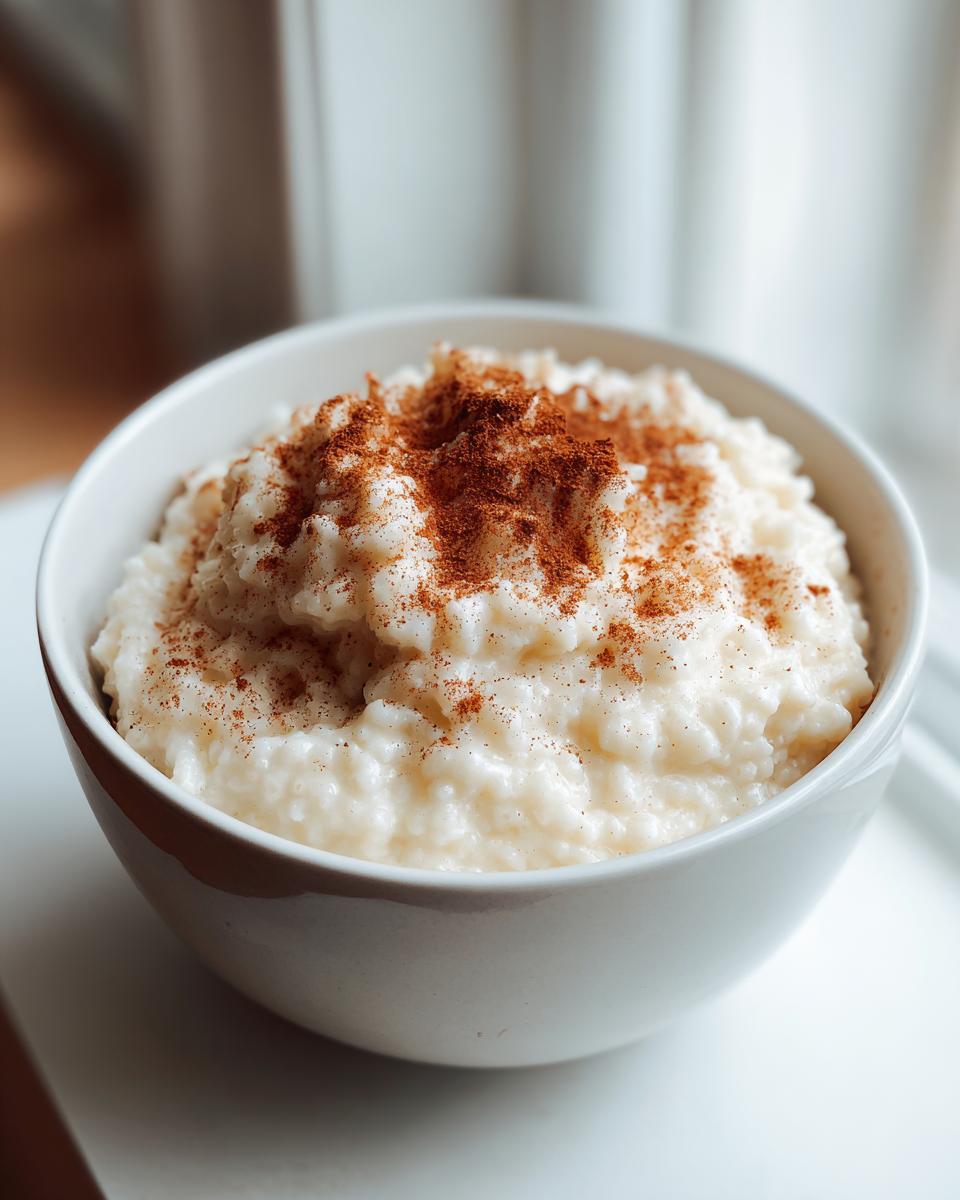
Oh, there’s just nothing in the world quite like that first spoonful of comforting food when you need a hug in a bowl, right? That’s exactly what I aim for when I share a recipe here at Rosa’s Tasty Kitchen. Today, we are diving nose-first into my Ultra Creamy Old-Fashioned Stovetop Rice Pudding. Forget those grainy, weirdly sweet supermarket tubs; we are talking rich, smooth, soul-satisfying homemade rice pudding!
What makes this recipe so reliable? Well, I designed it just like the meals I used to rush to get on the table after a long day teaching, drawing on the trusted methods I learned from my grandmother’s recipes. This version uses just five simple ingredients, yet it achieves that dream texture we all crave. If you’re looking for dependable sweetness, check out my guide for the best homemade desserts, but for pure comfort, trust me on this one!
- Why This Old Fashioned Rice Pudding Recipe Works (The Secret to Creaminess)
- Ingredients for the Best Rice Pudding
- How to Make Stovetop Rice Pudding Step-by-Step
- Tips for the Ultimate Creamy Rice Pudding Success
- Serving Suggestions for Homemade Comfort Dessert
- Storage and Make Ahead Dessert Options for Rice Pudding
- Frequently Asked Questions About Making Rice Pudding
- Estimated Nutritional Data for This Rice Pudding
- Share Your Creamy Rice Pudding Creations
Why This Old Fashioned Rice Pudding Recipe Works (The Secret to Creaminess)
I’ve made batches of rice pudding that were either too runny or had that strange, chalky texture you sometimes get. The key to hitting that perfect ‘Creamy Rice Pudding‘ perfection isn’t some exotic ingredient; it’s all about the technique and the grain we use. We let the stovetop do the heavy lifting here. I discovered that using short-grain rice, like Arborio, is non-negotiable for me. Those little fat kernels release starch slowly, which is what thickens the milk into that luxurious sauce without needing a ton of eggs or cornstarch.
I remember one batch where I tried using long-grain rice just because that’s what I had left—wow, what a disaster! It stayed hard and separate. Never again! This slow simmer on the stovetop allows the starch to naturally release, transforming simple milk and rice into magic. If you’re looking for other simple, comforting recipes that turn out perfectly every time, you have to check out my secrets for cookies that stay soft for days.
Achieving Rich Smooth Pudding with Minimal Ingredients
Honestly, this recipe is all about respecting the fundamentals. We’re only using five core things here: rice, milk, sugar, vanilla, and cinnamon. That’s it! The richness doesn’t come from heavy additives; it comes from using good whole milk and simmering it low and slow until the milk proteins and rice starches emulsify. That patient, gentle cooking is what gives you that wonderful, velvety mouthfeel. It’s simple, classic country cooking, and it just works.
Ingredients for the Best Rice Pudding
When you’re aiming for that truly ‘Creamy Rice Pudding‘ experience, the quality of your ingredients matters, even when there aren’t many of them! Remember, this is a five-ingredient superstar recipe. Keep your eye especially on the milk; using whole milk truly makes a huge difference here. It gives us that necessary fat content to develop a rich, smooth pudding base as it gently cooks down. Don’t try swapping for skim milk unless you are prepared for a thinner result – we want indulgence here, my friends!
Here is exactly what you need for four satisfying servings:
- 1 cup short-grain white rice (like Arborio)
- 4 cups whole milk
- 1/2 cup granulated sugar
- 1 teaspoon vanilla extract
- 1/4 teaspoon ground cinnamon (plus extra for topping)
That’s the magic list! Simple, pantry-friendly, and ready to become your new favorite comfort dessert.
How to Make Stovetop Rice Pudding Step-by-Step
Alright, put on some gentle music, grab a comfortable stool, and get ready to watch a transformation happen right on your burner. Making this rice pudding is deeply satisfying because it requires your attention, but it’s not difficult work. This is the stovetop method, which I favor because you can watch it bubble and thicken, giving you that ultimate, dreamy consistency. Remember, patience is the secret sauce in almost every great comfort food recipe, especially this one!
Preparation and Initial Simmering for Perfect Rice Pudding
First things first: rinsing the rice! You need to get rid of that excess surface starch, otherwise, your pudding will turn gluey fast. Pop your short-grain rice into a fine-mesh sieve and just let cool water run over it until it starts looking pretty clear. That’s your signal. Then, we combine the drained rice with all that lovely whole milk in a nice, heavy-bottomed pot—this is important to stop hot spots! Set it over medium heat and stir it regularly. You’re looking for the moment it just barely starts to simmer. Be vigilant here; stirring constantly at the start will prevent anything from sticking and scorching on the bottom, which gives your beautiful pudding an off-flavor. Don’t forget to check out my recipe for easy stovetop cinnamon applesauce for another warm treat!
Thickening and Final Flavoring of Your Rice Pudding
Once you hit that gentle simmer, it’s time to slow things down, like sipping a slow iced tea on a hot day. Knock the heat way down to low. Now, you need to let it cook, stirring every few minutes, for a good 40 to 50 minutes. This is where the real thickening happens as the rice grains plump up and release their magic. Don’t rush this part! When the mixture looks significantly thicker and the rice is tender, take it off the heat. Immediately stir in your sugar and that gorgeous vanilla extract. Cook it just for five more minutes, stirring constantly so that sugar dissolves perfectly. You’ll notice it thickens just a hair more as you stir. After you pull it off the heat entirely, remember that it thickens significantly as it cools down. You can peek at how other folks make theirs over at this classic version while your pudding bubbles away!
Tips for the Ultimate Creamy Rice Pudding Success
You’ve made it through the cooking process, which is honestly the main hurdle! Now, let’s talk about making sure this rice pudding is perfect when you serve it, whether it’s warm or chilled. The number one thing people ask me about is that annoying skin that forms on top. My grandmother’s trick, which I still use for my creamy homemade mayo, works here too: right after you turn the heat off, press a piece of plastic wrap directly onto the surface of the pudding. This traps the steam and stops that rubbery layer from forming while it cools.
If you want to see how others achieve maximum indulgence, take a peek at the ultra-creamy style written up by my friends over at Better Than Cooking. It’s all about getting that rich texture we’re aiming for!
Ingredient Substitutions for Your Rice Pudding
I know sometimes we have to make do with what we have rattling around in the fridge! If you want to take this comfort dessert up a notch, try replacing half a cup of the whole milk with heavy cream. It adds a little extra body and richness that is just heaven. If you find your final pudding is a touch too thick—and remember, it sets up more once it cools—don’t panic! Just stir in a splash of extra milk or even a little water off the heat until it loosens up to the consistency you like best.
Serving Suggestions for Homemade Comfort Dessert
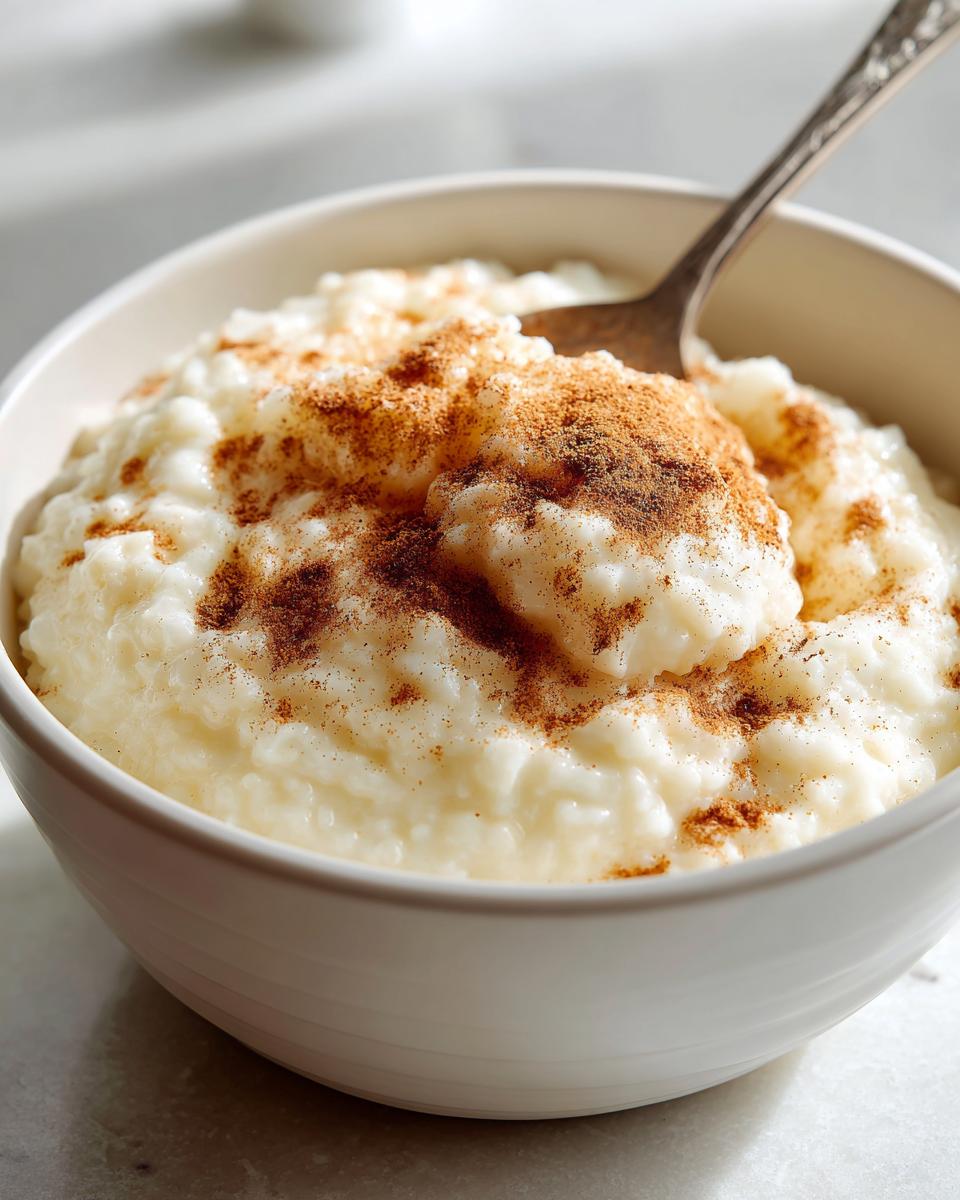
This is the best part—deciding how you want to enjoy your perfect rice pudding! For true chilly evening comfort, there is nothing better than spooning out a bowl while it’s still pleasantly warm. Don’t be shy with the extra cinnamon sprinkled right on top; that fresh spice aroma really brings out the cozy notes. However, if you plan on taking this as a ‘Chilled Dessert‘ later, give it time to set up in the fridge. It becomes wonderfully firm and smooth, great for grabbing when you need a quick, sweet treat. Some folks love mixing in tart cherries or a drizzle of maple syrup, or you could even check out my easy stovetop cinnamon applesauce to swirl in for extra flavor!
Storage and Make Ahead Dessert Options for Rice Pudding
The wonderful thing about this rice pudding is that it truly shines as a make ahead dessert! You can absolutely prepare it one day and enjoy it the next. Once it has cooled down slightly, scoop your leftovers into an airtight container. Remember my tip about the plastic wrap? You absolutely must press a piece of plastic wrap right onto the surface before you put the lid on. This stops that awful skin from getting tough and dry overnight. This keeps the pudding moist and luscious.
If you want to know how I keep lots of my baked goods fresh for when the craving hits, I always use my freezer hacks, kind of like I do with my bran muffins! For this pudding, leftovers keep beautifully in the fridge for up to four days. When you want to eat it, you can enjoy it cold, or if you prefer it warm, just warm up a single serving gently in the microwave. It might seem a touch thicker after chilling, but a quick stir brings that creamy texture right back!
Frequently Asked Questions About Making Rice Pudding
I get so many sweet messages about making this rice pudding! It’s wonderful that so many of you are jumping into making this Homemade Comfort Dessert. Here are a few things I hear most often when folks are trying to nail that ‘Rich Smooth Pudding‘ texture for the first time.
Can I use long-grain white rice instead of short-grain?
Oh, I really advise against it. While you absolutely *could* use it if you had no other option, long-grain rice doesn’t release enough starch during that slow simmer. If you use it, you’re probably going to end up with a bowl of cooked rice swimming in sweet milk rather than a true creamy rice pudding. Stick to Arborio or another short-grain variety for the best texture!
My pudding is too runny—is this still a Quick Dessert Idea?
Don’t toss it! Remember, this pudding thickens *a lot* as it cools down since we aren’t overloading it with starch binders. If it’s still really soupy after the full cooking time, just put the plastic wrap right on top and chill it completely. It firms up wonderfully. For next time, just cook it 5 to 10 minutes longer on low heat. You can find more simple sweet ideas by checking out my creamy alfredo recipe—sometimes a simple switch makes all the difference!
Can I use leftover cooked rice in this recipe?
Some folks do this! If you’re trying to get a really fast version, you can use pre-cooked rice—it definitely makes it a Quick Dessert Idea. But, if you use cooked rice, you’ll need to stick to the ‘cook until thick’ step very closely, usually skipping the 40-50 minute simmer because the rice is already done. You’re just heating the milk and marrying the flavors, so watch it closely, or you might end up with mush!
For more simple approaches to this classic, my friends on Savor & Nest have a great take on keeping things easy, too!
Estimated Nutritional Data for This Rice Pudding
Now, I want to be super clear about this part. I’m not a registered dietitian—I’m just a home cook making sure my family gets delicious, wholesome food! So, these numbers are a close estimate based on the ingredients in this recipe, calculated for one serving size (which is about one cup). Consider this a helpful guide, not a strict rulebook for your diet.
I always find it helpful to know the basics, especially when I’ve made a batch of this wonderfully rich and smooth pudding. It’s a fantastic, satisfying treat. Here is the breakdown:
- Serving Size: 1 cup
- Calories: Approximately 350
- Total Fat: 8g (with 4.5g being saturated fat)
- Protein: 10g (That whole milk does some heavy lifting!)
- Carbohydrates: 60g
- Sugar: 28g
- Sodium: 85mg
As you can see, this is a lovely source of energy and protein from the dairy. If you make any ingredient substitutions, especially swapping whole milk for lighter options, these numbers will change, so keep that in mind if you’re tracking closely. Enjoy it guilt-free; this dessert is made with love and simple ingredients!
Share Your Creamy Rice Pudding Creations
Now that you’ve whipped up a batch of what I truly believe is the Best Rice Pudding—one that rivals any old-fashioned recipe out there—I want to hear all about it! My biggest joy isn’t just writing these recipes down; it’s knowing they end up warming your tables and making memories for your families.
Did you serve it warm, right off the stove, or did you chill yours down until it was a firm, lovely chilled dessert? I hope that final sprinkle of cinnamon brought you that perfect moment of peace; that’s the hallmark of a true nostalgic dessert done right.
Please take a moment to drop a rating below! Star ratings help other home cooks know they can trust this recipe when they are looking for a reliable, simple pudding recipe. And if you took a picture of that smooth, rich texture, I would absolutely love to see it! You can always send me a note or photo directly if you’re having trouble with the comment box using my contact page. Happy cooking, friends!
PrintUltra Creamy Old-Fashioned Stovetop Rice Pudding

Make the best rice pudding with this simple, five-ingredient stovetop recipe. This old-fashioned dessert delivers rich, smooth comfort, perfect served warm or chilled.
- Prep Time: 5 min
- Cook Time: 55 min
- Total Time: 60 min
- Yield: 4 servings 1x
- Category: Dessert
- Method: Stovetop
- Cuisine: American
- Diet: Vegetarian
Ingredients
- 1 cup short-grain white rice (like Arborio)
- 4 cups whole milk
- 1/2 cup granulated sugar
- 1 teaspoon vanilla extract
- 1/4 teaspoon ground cinnamon (plus extra for topping)
Instructions
- Rinse the rice under cold water in a fine-mesh sieve until the water runs mostly clear. Drain well.
- Combine the rinsed rice and the whole milk in a heavy-bottomed saucepan.
- Place the saucepan over medium heat. Bring the mixture to a gentle simmer, stirring frequently to prevent the rice from sticking to the bottom.
- Once simmering, reduce the heat to low. Continue to cook, stirring every few minutes, for 40 to 50 minutes. The rice should absorb much of the milk and become very tender, and the mixture should thicken to a creamy consistency.
- Stir in the granulated sugar and vanilla extract. Cook for an additional 5 minutes, stirring constantly until the sugar dissolves and the pudding thickens slightly more.
- Remove the saucepan from the heat. The pudding will thicken further as it cools.
- Serve the rice pudding warm, or transfer it to a bowl, cover the surface directly with plastic wrap to prevent a skin from forming, and chill completely for a cold dessert.
- When serving, sprinkle the top with extra ground cinnamon.
Notes
- For an even richer flavor, substitute 1/2 cup of the whole milk with heavy cream.
- If you prefer a thinner consistency, add 1/4 cup of water or milk during the last 10 minutes of cooking.
- This recipe is excellent made ahead; store leftovers in the refrigerator for up to four days.
Nutrition
- Serving Size: 1 cup
- Calories: 350
- Sugar: 28
- Sodium: 85
- Fat: 8
- Saturated Fat: 4.5
- Unsaturated Fat: 3.5
- Trans Fat: 0
- Carbohydrates: 60
- Fiber: 1
- Protein: 10
- Cholesterol: 25