
Oh, my friends, I have a secret for you today that will make every single morning brighter! When those perfect summer strawberries burst onto the scene, the last thing I want to do is spend hours over a hot stove. That’s why I guard this recipe fiercely: it’s my unbelievably easy, no-cook strawberry freezer jam that captures that fresh-picked magic in minutes. If you’ve never made jam before, don’t worry—this is the absolute best place to start. I promise you’ll have vibrant, homemade preserves ready for the freezer before your coffee even finishes brewing! You can find my general tips for freezer jam right over here, but this specific method is truly foolproof.
- Why This Easy Strawberry Freezer Jam Recipe Works for Busy Cooks
- Ingredients for Perfect Strawberry Freezer Jam
- How to Make Strawberry Freezer Jam in Simple Steps
- Expert Tips for Perfect Strawberry Freezer Jam Consistency
- Storage and Thawing Instructions for Your Strawberry Freezer Jam
- Serving Suggestions for This Quick Strawberry Spread
- Frequently Asked Questions About Strawberry Freezer Jam
- Nutritional Estimates for Your Homemade Strawberry Freezer Jam
- Share Your Bright Fruit Preserves Experience
Why This Easy Strawberry Freezer Jam Recipe Works for Busy Cooks
I learned early on as a teacher and mom that while flavor is non-negotiable, time is precious! Traditional canning seems lovely, but honestly, who has the time for all that boiling and sterilizing when you just picked a flat of amazing berries? This recipe skips the heat entirely, which is why it tastes so much brighter than anything cooked down for hours.
This method is my go-to secret weapon for preserving summer without losing that vibrant, natural strawberry zing. It’s all about speed and purity, making it a fantastic canning alternative for busy weekends.
- Keeps the color of the strawberries brilliantly red and fresh.
- Zero actual cooking—just mixing required!
- Perfect texture for spreading right out of the freezer after minimal thawing.
Minimal Prep Time for Your Strawberry Freezer Jam
Active time is less than 15 minutes, I swear! Once your fruit is crushed and mixed, you let it sit, but you’re free to clean up or go sit down. Because there’s no complicated heating process, this is honestly the best recipe for making jam with kids. They can handle the stirring, and you won’t worry about boiling sugar splashing!
The No Cook Fruit Preserves Advantage
When you boil fruit, you lose some of those delicate, fresh-picked notes. By skipping the heat, we manage to lock in the raw, intense strawberry essence. This means you end up with a truly superior quick strawberry spread that tastes miles better than anything store-bought. If you want excellent no cook fruit preserves, you just can’t beat this technique.
Ingredients for Perfect Strawberry Freezer Jam
Okay, gather your crew! This recipe is wonderful because it’s so close to a true 5 ingredient jam recipe. We’re keeping it minimal so that sweet strawberry flavor truly sings. You only need four main components, and one ingredient is optional depending on how firm you like your set. Don’t skimp on separating your sugar and fruit before adding anything else—that initial resting time is key to getting this batch just right.
Ingredient Notes and Substitution Tips
Let’s talk about the supporting cast, shall we? The tablespoon of fresh lemon juice is non-negotiable; it adds just the right touch of acidity to brighten the berries and help set things up, especially if you skip the pectin. Now, about the liquid content: you absolutely *can* use frozen strawberries here, but you must make sure they are thawed and you drain off any excess water that pools in the bottom of the bowl first, otherwise, your jam might be too runny. If you are trying to keep sugar low, the recipe details mention substituting half the sugar, but you *must* use the powdered pectin then; that pectin is what stabilizes the spread when sugar levels drop.
How to Make Strawberry Freezer Jam in Simple Steps
Making this strawberry freezer jam is so straightforward, you’ll wonder why you waited so long to try it! Just follow my steps in order, and remember that this is really just a careful mixing process, not a cooking job. When done right, you’re done with active work in about 15 minutes, including the initial rest time. It’s amazing how fast you can preserve summer fruit this way! For more ideas on getting your easy breakfast recipes done quickly, check out my other tips!
Preparing Strawberries for Your Strawberry Freezer Jam
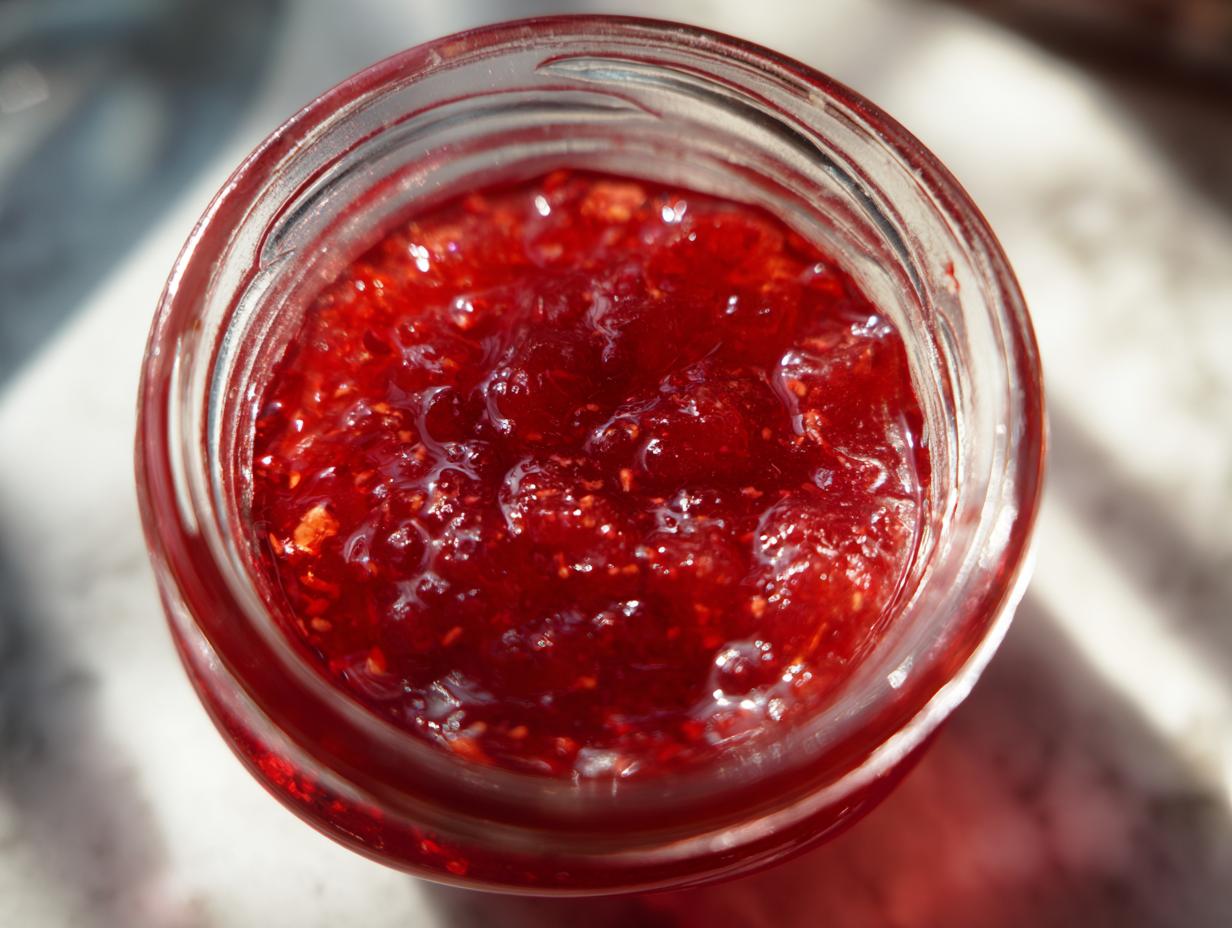
First things first: the berries need to be prepped. Hull them, and then crush them up in a big bowl. If you like a little chunkiness, grab a potato masher—that’s the old-school way! But if you want a smoother texture, which some people prefer when learning how to make freezer jam, pulse them *just* a few times in your food processor. Don’t turn them into total soup; we want some body left! You can see a great visual breakdown of this step over at this helpful article.
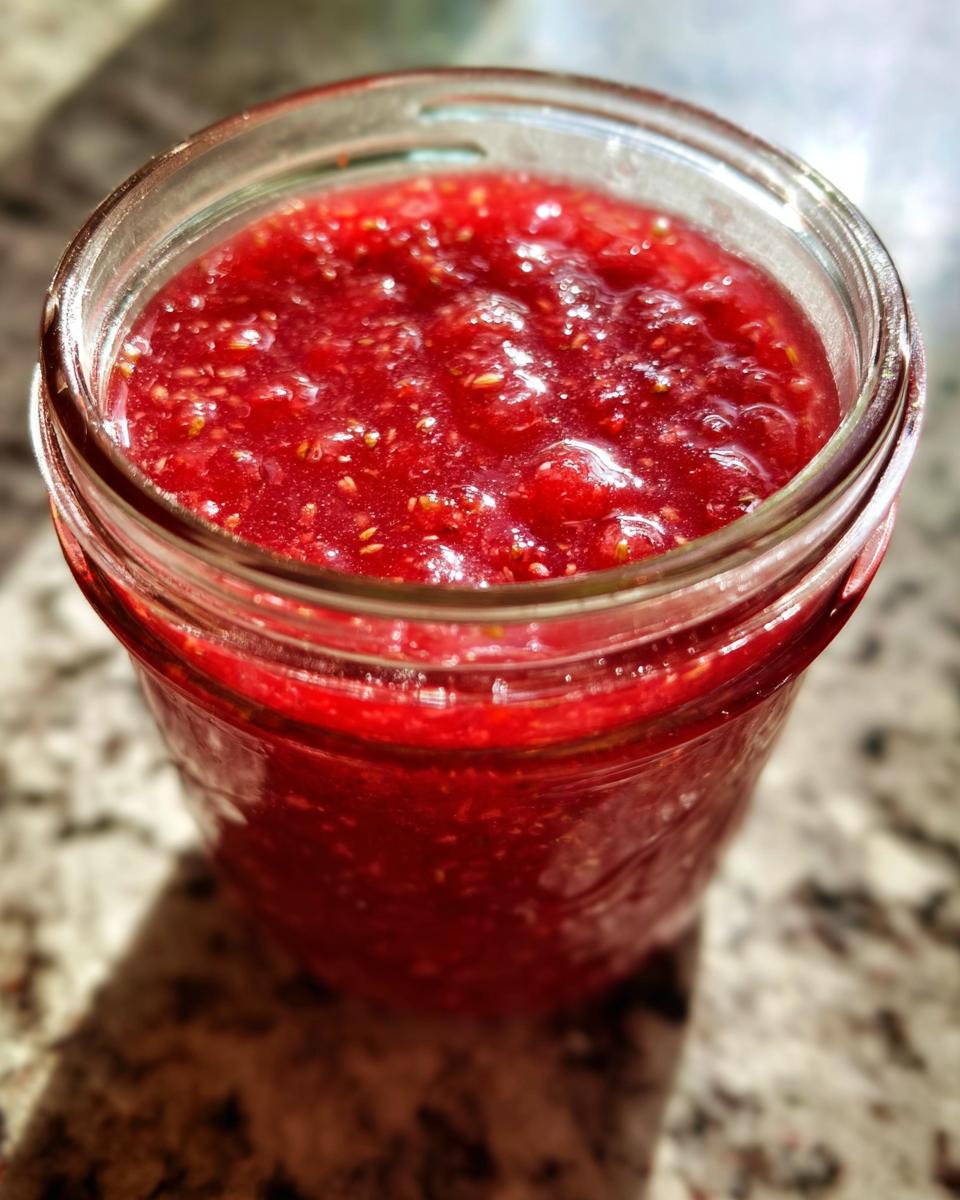
Mixing and Activating the Strawberry Freezer Jam Base
Once crushed, stir in your four cups of granulated sugar and let that mixture sit for 10 minutes—this helps draw out the juices. Now for the split: If you are using powdered fruit pectin, whisk it together with the lemon juice until there are absolutely no lumps before stirring it gently into the fruit bowl. If you are skipping pectin, just stir in the lemon juice. No matter which way you go, let the whole thing stand for 30 minutes before dividing it among your jars. This resting period is crucial for getting that nice, slightly thickened base, which really helps with the final set for beginner jam making!
Expert Tips for Perfect Strawberry Freezer Jam Consistency
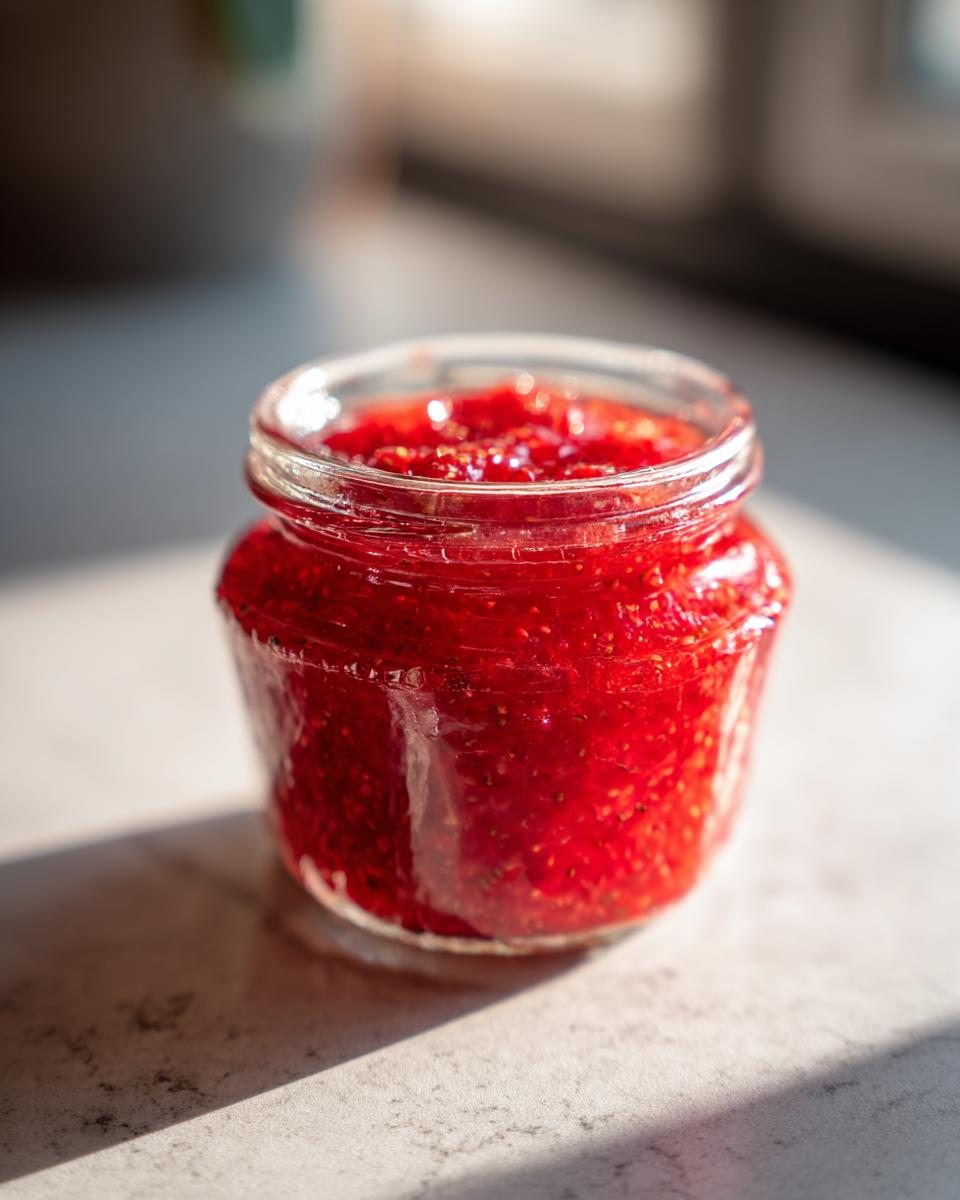
When you’re making strawberry freezer jam the no-cook way, consistency can sometimes feel like a mystery! The most important thing to remember is how you sealed those jars before they hit the deep freeze. Always leave about half an inch of space at the very top, which we call headspace. This is vital because the jam will expand slightly as it freezes solid, and if the jars are too full, you risk cracking the glass or having the jam burst out as it thaws! I learned this the hard way early on.
When you put those lids on, keep them just finger-tight until the jars have cooled on the counter for 30 minutes first. This lets any trapped air escape before you lock them down for the freezer. Trust me, getting that headspace right is just as important as getting the sugar ratio right. Check out this guide for visual confirmation on setting the lid correctly.
Achieving a Firmer Set: Pectin vs. No Pectin Strawberry Jam
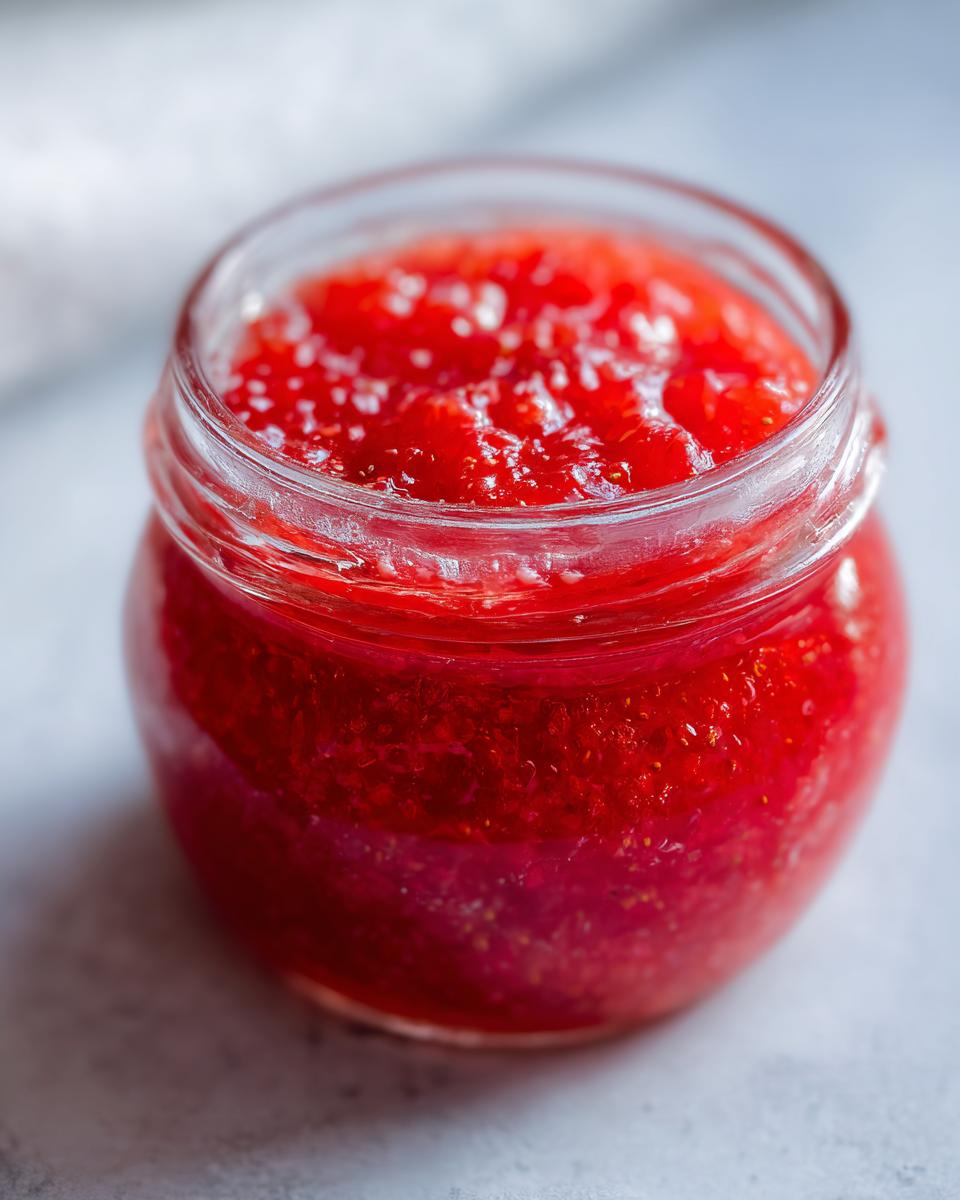
This is where you get to choose your texture adventure! If you used the powdered pectin listed in the ingredients, you’ll have a very distinct, firm set, almost sliceable, which is great if you’re trying to make a fancy topping for a shortcake. But if you opted for the no pectin strawberry jam route, know that it will remain softer—think of it more like a thick, beautiful syrup or a chunky sauce. That softer set is still utterly delicious, especially swirled into your morning yogurt or drizzled over warm biscuits. Don’t see it as runny; see it as a perfectly sweet, vibrant fruit topping ready for anything! I often share my favorite weeknight dinner ideas that pair perfectly with a dollop of fresh jam.
Storage and Thawing Instructions for Your Strawberry Freezer Jam
Once all that fresh flavor is mixed and ready, we need to tuck it in safely for later! This strawberry freezer jam is wonderful because it lasts ages; sealed tightly, it stays fantastic in the freezer for up to a full year. The most critical step before freezing, like I mentioned earlier, is grabbing a damp paper towel and wiping down the rims of your jars. Any stickiness left on the glass can interfere with the lid sealing, and we absolutely don’t want any leaks!
When you are finally ready to enjoy your jar, pull it out of the freezer and put it in the refrigerator. It usually takes about 12 to 24 hours to thaw completely overnight, depending on how much you made. Once thawed, just stir it gently before spreading it everywhere! If you have leftovers after thawing, it’s best eaten within about three weeks—though I guarantee it won’t last that long! If you are looking for other great make-ahead treats, check out my easy no-bake butterfinger pie.
Serving Suggestions for This Quick Strawberry Spread
The best part about making this unbelievably fresh jam is deciding what to put it on first! Honestly, this quick strawberry spread is too good to save for special occasions, so don’t be shy. The classic, undisputed champion way to use it is right on a warm slice of toast—it’s the perfect strawberry recipe for toast you’ll ever try.
But don’t stop there! Because it’s so bright, it makes an amazing addition to your morning routine. Stir a big dollop into plain Greek yogurt or swirl it into cottage cheese for truly delightful quick breakfast toppings. My kids love it mixed into oatmeal too! For a fancier treat, you can use this jam as a layer in my blueberry oatmeal muffins, or even just spooned over vanilla ice cream. You can see some gorgeous plating ideas over at this site!
Frequently Asked Questions About Strawberry Freezer Jam
I get so many questions about this recipe because it’s so different from the jams our grandmothers used to make! It’s important to know what you’re getting into, especially since this method skips the traditional heat processing. Here are the things I hear most often when folks are trying out their first batch of homemade strawberry jam.
Can I use frozen strawberries instead of fresh for strawberry freezer jam?
Oh, absolutely you can! This is wonderful for those times when fresh berries are hard to find or too expensive. The key thing here is technique: you must thaw those frozen strawberries completely before you start crushing them. Once they are thawed, there’s usually a good puddle of liquid in the bottom of the container. Make sure you drain that excess water off before mixing, or your finished jam will definitely be too thin. It’s still delicious, but it won’t set as nicely.
How long does homemade strawberry jam last in the freezer?
The beauty of making strawberry freezer jam is its longevity! Sealed up tight, tucked into the back of your freezer where it’s coldest, it stays perfectly good for nearly a year. You might notice the color dulls just a tiny bit after six months, but the flavor is safe. Once you take a jar out to thaw overnight in the fridge, you should treat it like fresh fruit. It’s best used within two to three weeks once thawed!
Is this recipe a canning alternative?
Yes, 100%! This whole recipe is designed specifically as a wonderful canning alternative recipes staple for busy days. Because we aren’t boiling the mixture or processing the jars in a water bath, this jam is *only* shelf-stable when frozen. If you take it out of the freezer, it must stay refrigerated. If you are looking for shelf-stable preservation, you’d need to use a full hot-water bath method, but that’s a whole different, much longer process than this delightful quick and easy spread!
Nutritional Estimates for Your Homemade Strawberry Freezer Jam
Now, I know many of you are watching what goes into your family’s food, and while this recipe is simple, it is heavy on the sugar needed for preservation—that’s just how fruit jam works! Please remember these numbers are just estimates based on the recipe amounts, divided into about five jars. The serving size we used here is just two tablespoons, so keep that in mind when sneaking a spoonful right out of the jar (I won’t tell anyone!).
Here’s a quick look at what you can expect:
- Calories: About 85 per serving
- Total Sugar: Around 21 grams (Mostly from the added granulated sugar)
- Carbohydrates: 22 grams
- Fat and Cholesterol: Essentially zero!
If you made the low-sugar version, those numbers will shift dramatically, especially the sugar count. Either way, you get that wonderfully bright fruit preserves flavor without any worry about added junk!
Share Your Bright Fruit Preserves Experience
Well, that’s it! You’ve got the simplest, fastest way to capture the absolute taste of summer right there in your fridge or freezer. I truly hope this easy-to-execute strawberry freezer jam brings a big smile to your face the next time you’re reaching for something sweet for breakfast or dessert.
Now, I need your help! I love hearing how these recipes turn out in *your* kitchens. Did you try it with the pectin or skip it entirely? Did you manage to keep any of this quick strawberry spread around past the first week? Please, take a moment and drop a comment below this post and give it a star rating if you loved the recipe. Your feedback is how I know what’s working best and helps me continually improve these recipes for everyone who visits Rosa’s Tasty Kitchen.
If you’re looking at other ways people have flavored these, you might want to peek at how someone else managed their batch over at this great Pinterest board! Happy jamming, and don’t forget you can always reach out to me directly via my contact page if you have super specific questions!
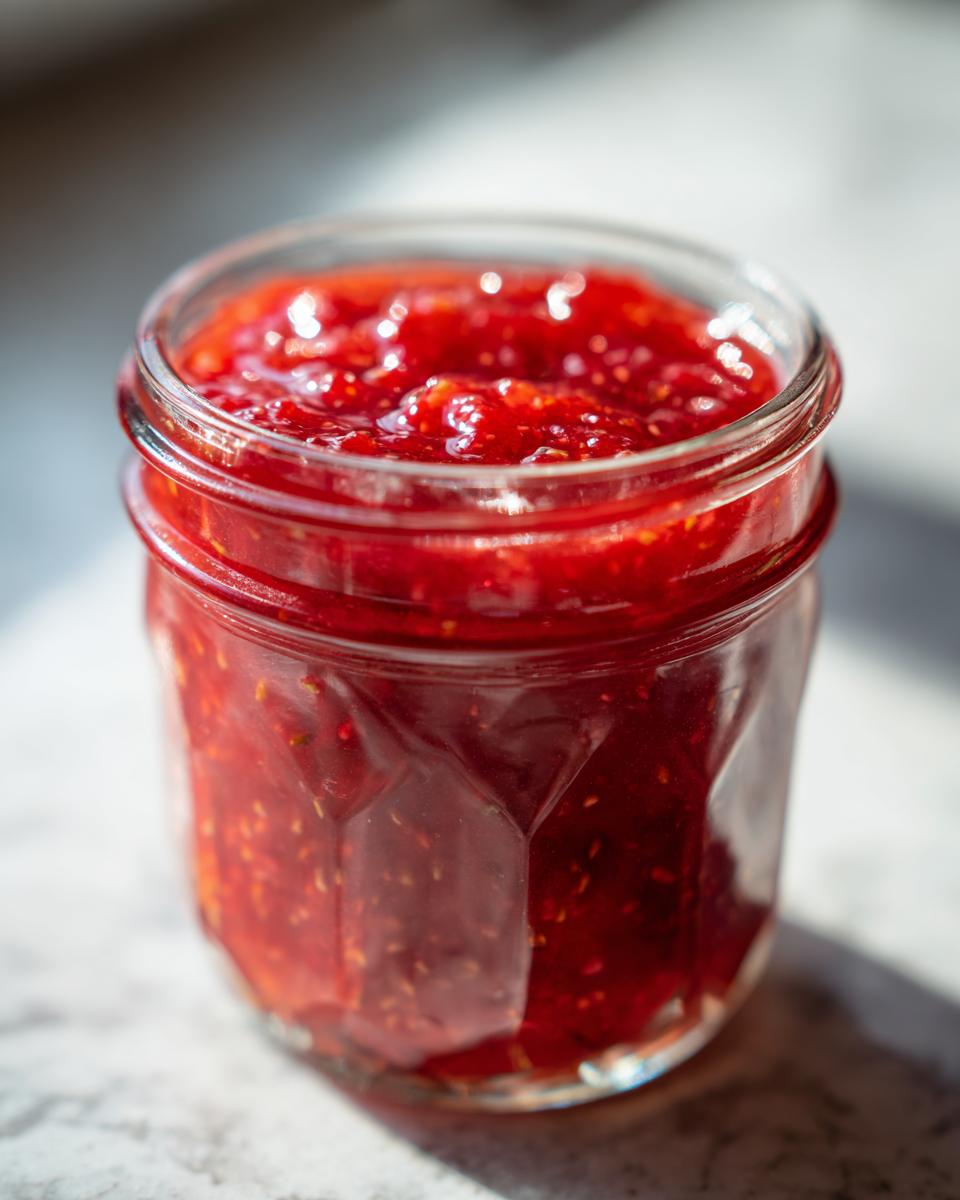
PrintThe Ultimate Easy, No-Cook Strawberry Freezer Jam
Capture the fresh taste of summer with this easy, no-cook strawberry freezer jam recipe. You can make this vibrant fruit preserve in minutes, perfect for spreading on toast or swirling into yogurt.
- Prep Time: 15 min
- Cook Time: 0 min
- Total Time: 45 min (plus chilling/freezing time)
- Yield: About 5 half-pint jars 1x
- Category: Dessert Topping
- Method: No-Cook Preservation
- Cuisine: American
- Diet: Vegetarian
Ingredients
- 4 cups fresh strawberries, hulled and crushed
- 1 box (1.75 oz) powdered fruit pectin (optional, for a firmer set)
- 4 cups granulated sugar
- 1 tablespoon fresh lemon juice
Instructions
- Prepare your containers: Wipe the rims of 5-6 small, freezer-safe jars or containers. Set aside.
- Crush the strawberries: Place the hulled strawberries in a bowl and crush them until you reach the desired consistency. You can use a potato masher or pulse them briefly in a food processor.
- Mix sugar and fruit: Stir the granulated sugar into the crushed strawberries until fully combined. Let this mixture sit for 10 minutes.
- Add pectin (if using): If you are using pectin, whisk the powdered pectin and lemon juice into the strawberry-sugar mixture until no lumps remain. If you are skipping pectin, just stir in the lemon juice.
- Rest the mixture: Let the jam mixture stand for 30 minutes, stirring occasionally. The mixture will thicken slightly.
- Fill containers: Ladle the jam mixture into your prepared freezer jars, leaving about 1/2 inch of headspace at the top. Wipe the rims clean.
- Cool and freeze: Place the lids loosely on the jars and let them cool on the counter for 30 minutes. Then, tighten the lids and transfer the jars to the freezer.
- Serve: The jam will be ready to eat once frozen solid, usually within 24 hours. Thaw overnight in the refrigerator before serving. This jam keeps well in the freezer for up to one year.
Notes
- For a low-sugar freezer jam, you can substitute half the sugar with a sugar substitute designed for preserving, but you must use the pectin for a proper set.
- If you prefer a smoother texture, use a blender to pulse the strawberries briefly before mixing with sugar.
- This recipe is a great canning alternative for busy days when you want homemade jam fast.
Nutrition
- Serving Size: 2 tablespoons
- Calories: 85
- Sugar: 21
- Sodium: 1
- Fat: 0.1
- Saturated Fat: 0
- Unsaturated Fat: 0
- Trans Fat: 0
- Carbohydrates: 22
- Fiber: 1
- Protein: 0.3
- Cholesterol: 0