
If you’re like me, your morning coffee is sacred. It’s not just a routine; it’s honestly the launchpad for the whole day. But do you stare at those overly processed, chemical-laden bottles in the grocery aisle and sigh? I know I used to! That’s why I’m sharing my absolute favorite way to elevate that first cup: making the richest, creamiest homemade coffee creamer right on your stovetop. From whipped toppings to creamy sauces, getting that perfect texture is what my kitchen is all about, which is why I think you’ll also love my recipe for creamy horseradish dressing! We’re aiming for better flavor using natural ingredients, and the best part? This recipe relies on simple dairy and sugar, meaning absolutely no heavy, overly sweet condensed milk is required. It’s quick, easy, and perfect for anyone who believes that good food—even coffee additions—shouldn’t be complicated.
- Why You Must Make This Homemade Coffee Creamer From Scratch
- Gathering Ingredients for Your Easy Homemade Coffee Creamer
- How to Make Coffee Creamer From Scratch: Step-by-Step Instructions
- Expert Tips for Flavor Variations of Homemade Coffee Creamer
- Storage and Shelf Life for Fresh Coffee Creamer Recipes
- Troubleshooting Common Issues with Homemade Coffee Creamer
- Estimated Nutritional Data for Homemade Coffee Creamer
- Your Next Steps with Homemade Coffee Creamer
Why You Must Make This Homemade Coffee Creamer From Scratch
I’m going to be completely honest with you: once you make this simple version, you probably won’t ever go back to the store-bought stuff again. Why bother with tubs full of questionable ingredients when you can whip up something better in under ten minutes? This is one of those kitchen wins that feels like cheating because it’s so easy but tastes so luxurious.
Tastes Better Than Buying: The Fresh Flavor Difference
The minute you use fresh milk and sugar—instead of stabilizers meant to last six months in the back of the fridge—you’ll notice the immediate difference. This process creates a genuinely velvety coffee creamer recipe. It mixes into your hot coffee so beautifully without separating. It’s just a superior pairing for those creamy coffee additions we all crave.
Control Over Ingredients: Natural Coffee Creamer Ideas
This is the part I love the most, following my philosophy of keeping things clean and simple. When you make your own homemade coffee creamer, you know exactly what’s going into your mug. No long-winded ingredient lists necessary here! This is the perfect way to embrace natural coffee creamer ideas and avoid those artificial coloring agents and preservatives that nobody needs in their morning ritual. It’s simple, clean, and supports a kind of healthy homemade coffee creamer approach.
Gathering Ingredients for Your Easy Homemade Coffee Creamer
Okay, let’s talk supplies! The beauty of making our easy homemade coffee creamer is that you probably have most of this already, or you can grab it easily on your next grocery run. Remember, we are steering clear of that can of condensed milk—that’s what makes this a truly simple, coffee creamer without condensed milk recipe that tastes amazing. It’s all about balancing dairy and sugar for maximum creaminess.
Don’t forget to check out my recipe for creamy clam dip sometime for a savory fix!
Base Liquids for Velvety Coffee Creamer Recipe
For the liquid base, we are keeping it simple but customizable. You need 1 cup of Half and Half and 1 cup of Whole Milk. That combination achieves the perfect richness—it really gives you that luxurious, velvety coffee creamer recipe texture we are looking for. If you are aiming for that truly decadent, cafe style coffee creamer at home experience, you absolutely can substitute the whole milk with heavy cream! That extra bit of fat makes a huge difference in how it coats your tongue.
Sweetener and Flavoring for Homemade Coffee Creamer
For sweetness, grab 3/4 cup of regular granulated sugar for this base recipe. If you’ve been wanting to try a true vanilla bean creamer recipe, swap the extract for vanilla bean paste—wowza, the specks and the smell are just incredible! You’ll need 1 tablespoon of Pure Vanilla Extract for our standard batch. Trust me, don’t skimp on the “pure” part; it truly impacts the final flavor of your homemade coffee creamer.
How to Make Coffee Creamer From Scratch: Step-by-Step Instructions
Alright, here is where the magic happens to create your perfect batch of easy homemade coffee creamer. I promise you, if you follow these stovetop steps carefully, you’ll have the creamiest, most delicious addition for your mug in minutes. Don’t rush this part; a few minutes of your attention now means weeks of fantastic coffee ahead!
And speaking of quick meals, if you need a reliable dinner plan later, my chicken and green beans dinner is a true lifesaver on busy evenings.
Heating and Dissolving the Sugar
First things first: grab a small saucepan. Combine your dairy liquids—the half and half and whole milk—with the sugar. Heat this mixture over medium heat. Now, here’s the crucial bit that keeps things smooth: you have to stir constantly! We are just heating it until the sugar has completely dissolved, and the mixture is definitely hot. Please, please do not let it boil! Boiling dairy changes its texture and that’s not what we want for a creamy coffee addition.
Adding Vanilla and Cooling the Homemade Coffee Creamer
Once that sugar is gone and everything is hot, pull that pan straight off the burner. Next, stir in your pure vanilla extract. Since heat can sometimes dull the vanilla flavor, we always add it off the flame. Then, you must let it cool down. Don’t be tempted to pour the hot mixture right into your storage jar! Letting it cool down completely to room temperature first ensures the best final texture when you refrigerate it.
Expert Tips for Flavor Variations of Homemade Coffee Creamer
This base recipe for homemade coffee creamer is fantastic on its own, but my favorite part about making things from scratch is the ability to customize! You aren’t stuck with just plain vanilla; we can easily pivot to a whole host of cozy flavors that beat anything you find online. It’s all about making sure the flavor profile matches your mood that day. If you’re looking for great ideas, check out the amazing flavor lineup that the folks at Coffee Copycat have put together!
Here are a couple of my personal favorite switches you can make instantly with just pantry staples.
Creating a Brown Sugar Coffee Creamer Recipe
If you love that deeper, almost toffee-like richness in your cup, you have to try this switch! To transform this recipe into a glorious brown sugar coffee creamer recipe, you simply replace the 3/4 cup of granulated sugar with 3/4 cup of packed light brown sugar. That molasses content bumps up the flavor profile beautifully. You might notice the final mixture is just a tiny bit thicker than the vanilla version, but it dissolves just as wonderfully when heated.
Making a Healthy Homemade Coffee Creamer Option
For those mornings when you want to keep things light, you can definitely adjust the sugar content to create a healthy homemade coffee creamer. Instead of the granulated sugar, swap it out for a liquid sweetener, like pure maple syrup. Since maple syrup is already liquid, you need to taste as you go! Start with a little less sweetener than you think you need, and add more until it tastes right for you. This is a perfect way to control everything that goes into your mug, turning it into a truly healthy coffee additive.
If you’re interested in other easy, sweet additions to your baking repertoire, you simply must try my pecan bread recipe—it’s a showstopper!
Storage and Shelf Life for Fresh Coffee Creamer Recipes
Now that you’ve spent those precious few minutes making this fantastic homemade coffee creamer, we need to make sure it lasts! Since we are using real dairy and absolutely no crazy preservatives, we treat this jar of liquid gold with the respect it deserves. It really is like making a fresh batch of milk—you need to keep it cool.
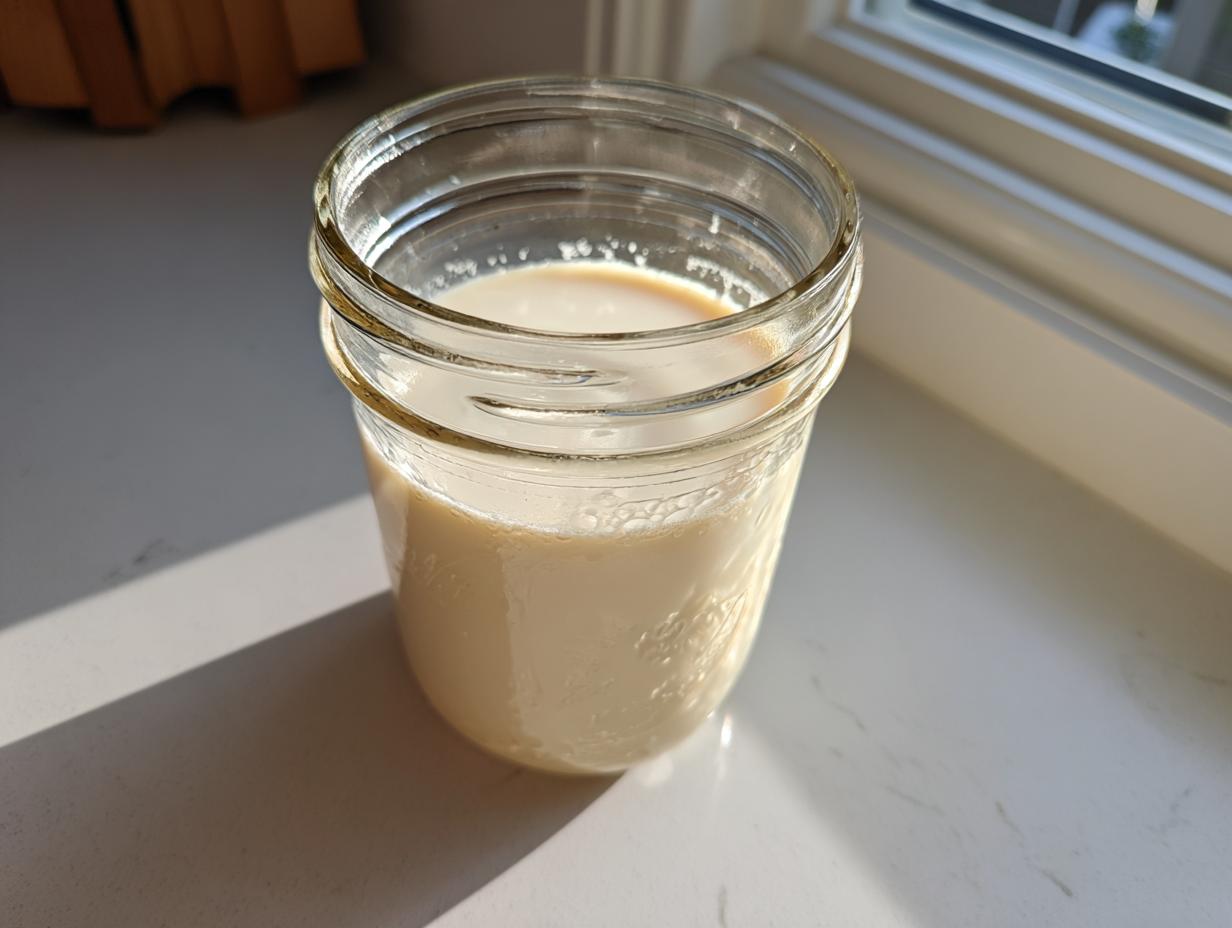
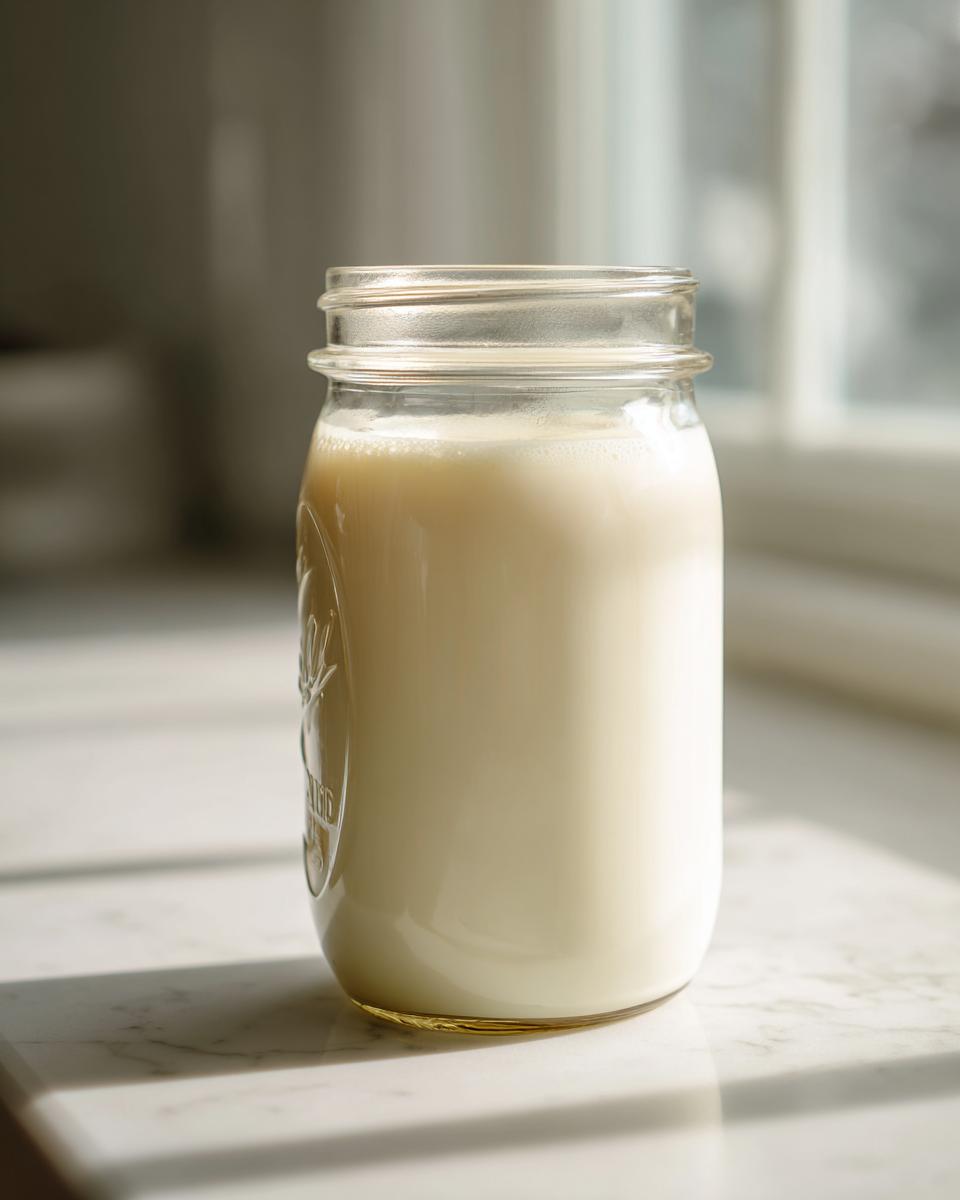
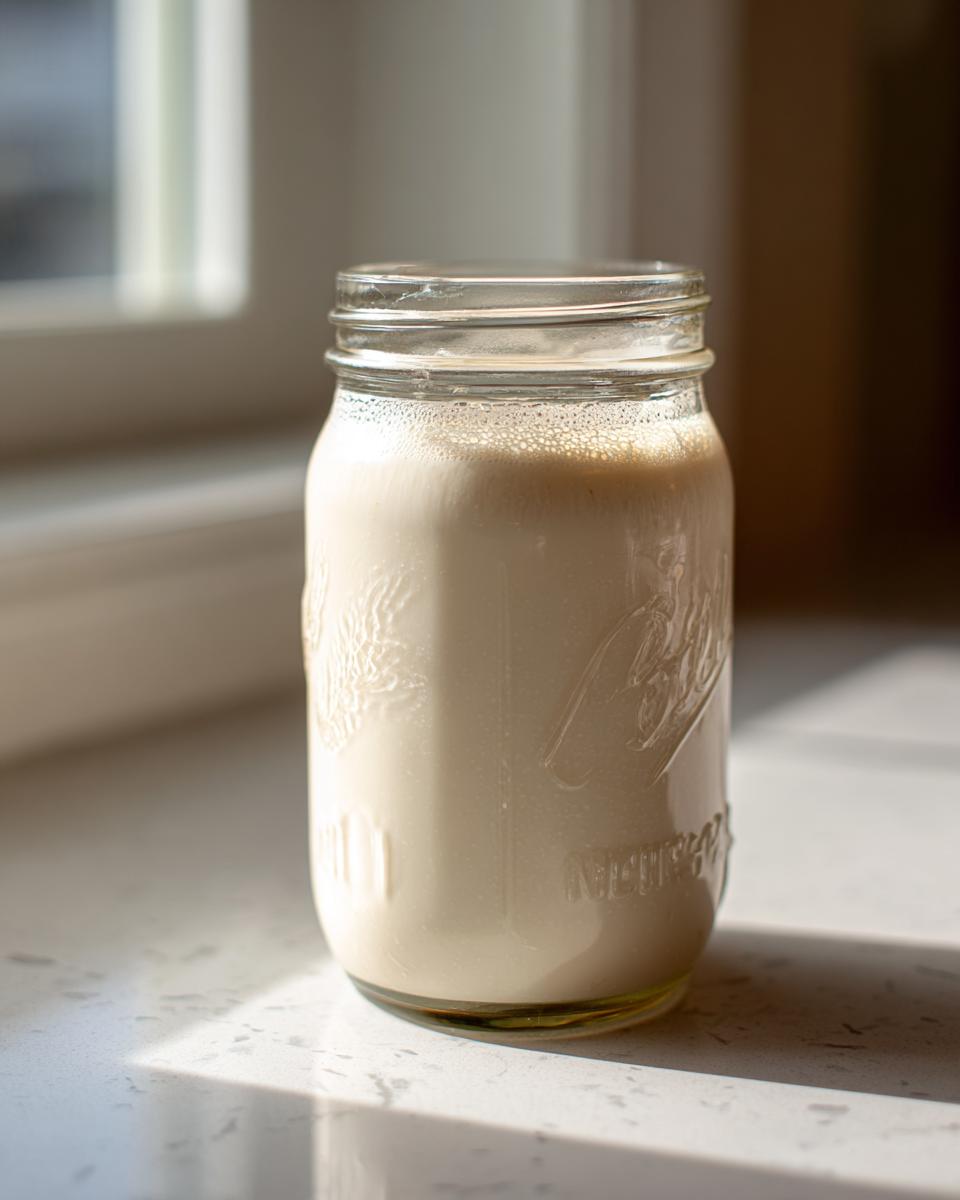
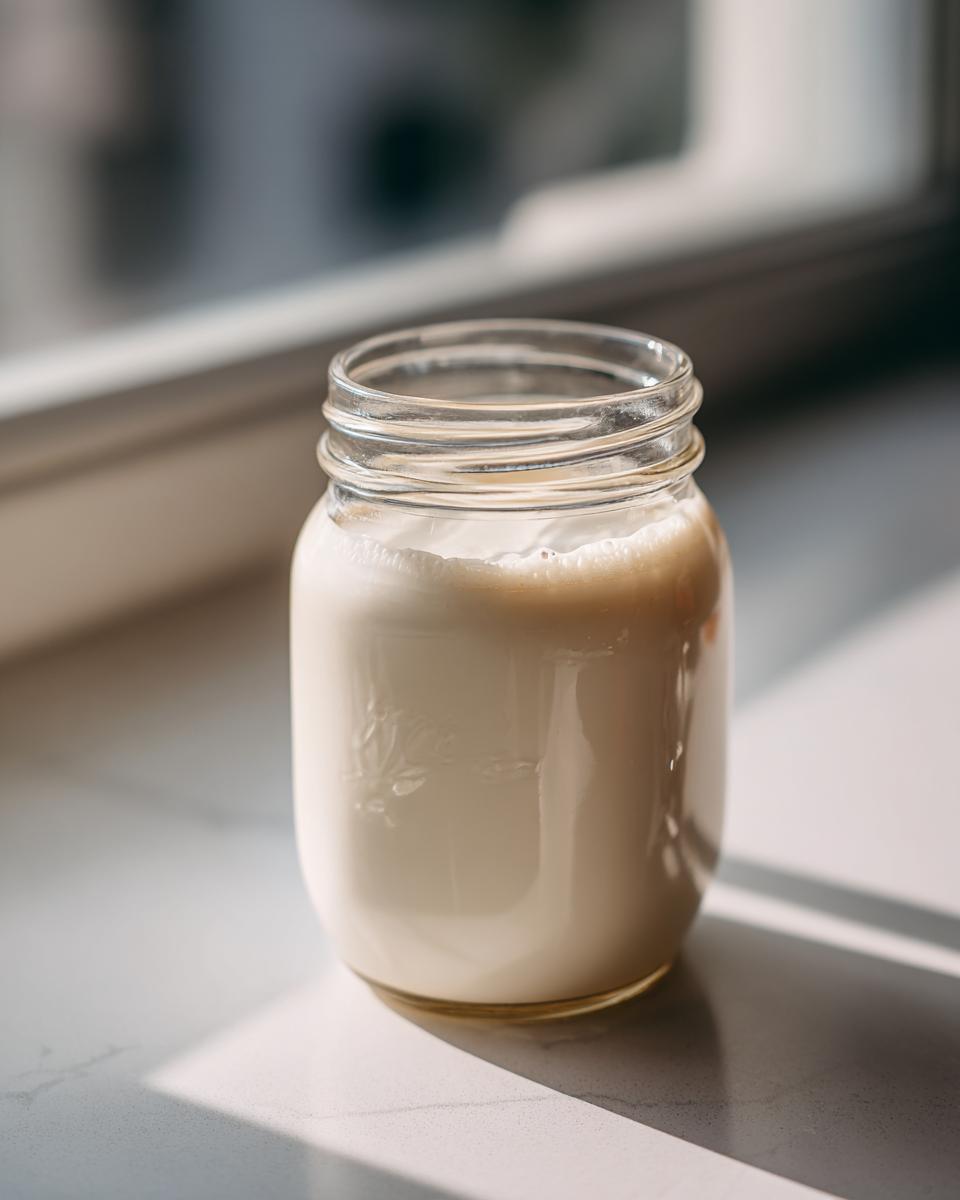
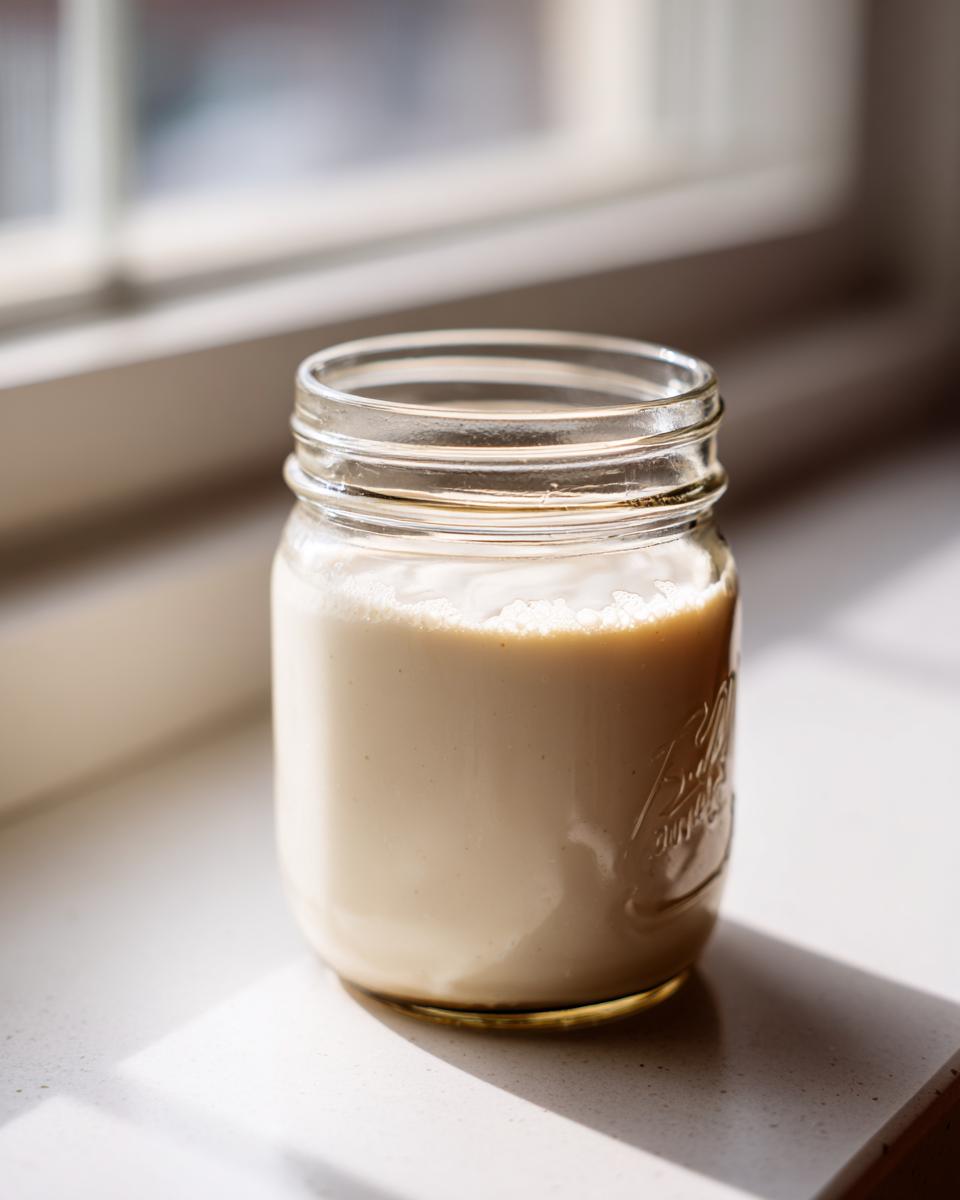
The number one rule for keeping your creamy coffee additions fresh is refrigeration. Immediately after the creamer has cooled down completely to room temperature, transfer it to an airtight storage container. A nice, clean glass jar with a tight lid works perfectly for me. I love having a designated jar just for my homemade creamer!
When stored correctly in the fridge (nice and cold!), this fresh coffee creamer recipe stays wonderful for about two weeks. That’s a pretty long time for something made totally from scratch! If you ever need a dip for game day, my beer cheese dip is ready in a snap, too.
How do you know when it’s time to say goodbye? Since it’s natural, it will eventually go bad. You need to rely on your senses. If you notice the texture starting to look unusual—maybe slightly grainy or separating more than usual—it’s time to toss it. The smell will usually tell you first, too. If it smells sour or “off” at all, don’t risk it! A fresh batch is so easy to make anyway, you’ll likely finish it long before it has a chance to spoil.
Troubleshooting Common Issues with Homemade Coffee Creamer
Even when following the simplest recipe, sometimes things don’t go exactly as planned in the kitchen, right? Don’t you dare dump that jar out! Most issues with this homemade coffee creamer come down to the heating process, and they are usually super simple to fix. My goal is always to empower you, and that means helping you salvage a batch when you hit a small snag.
If you’re looking for other scratch recipes, you should really try my brown gravy recipe—it tastes like it simmered all day but comes together fast!
Here are the couple of things that sometimes trip people up when they are making a velvety coffee creamer recipe for the first time.
Sugar Not Dissolving Completely
This is the biggest one! If you taste your creamer after cooling and it feels a little gritty—that’s undissolved sugar. It happens if you pull it off the heat too fast or if your saucepan wasn’t hot enough to begin with. Don’t panic! Just gently pour the whole mixture back into your saucepan. Turn the heat to low, stir it patiently until you can feel the bottom of the pan is perfectly smooth, and then remove it immediately. A gentle reheat does the trick every time!
The Creamer Looks Separated or Grainy After Refrigeration
This can sometimes happen with dairy products, especially if you used low-fat milk instead of the higher-fat whole milk or cream combo. When it separates, it usually means the mixture cooled down too quickly or wasn’t quite homogenized when warm. Before you refrigerate, make sure it’s completely cool. If it separates in the fridge, pour it back into a pot, warm it gently (again, no boiling!), whisk it really well until it comes back together, and then let it cool fully before jarring and chilling again. When in doubt, a good, vigorous shake right before pouring also helps tremendously!
Flavor Seems Weak After Chilling
A lot of the flavor compounds in extracts, like vanilla, can mellow out slightly once they hit the cold refrigerator air. If your initial taste test seemed perfect but the next morning it tastes a little flat, you just need a tiny boost. Simply add another half teaspoon of vanilla extract to the jar and shake it really hard. Or, if you’re making a batch of natural coffee creamer ideas again, just go ahead and add that extra splash of extract while it’s still warm on the stove next time. Trust me, it only gets better with practice!
Estimated Nutritional Data for Homemade Coffee Creamer
Here is the nutritional breakdown for our base homemade coffee creamer recipe. Since this is made with simple, real ingredients, it’s generally quite straightforward compared to those complicated store-bought options. I always try to give you a clear starting point so you know what you’re enjoying in your favorite morning cup.
Please keep this in mind: this data is an estimate based on the standard recipe using Half and Half and Whole Milk. If you decide to make things richer by switching to heavy cream, or if you use a sugar substitute like maple syrup for a healthy homemade coffee creamer option, those numbers—especially the fat and sugar content—will certainly shift!
- Serving Size: 2 tablespoons
- Calories: 110
- Fat: 6g
- Saturated Fat: 3.5g
- Carbohydrates: 13g
- Sugar: 12g
- Protein: 1g
- Sodium: 25mg
- Cholesterol: 18mg
See? Nothing scary hiding in there! It’s just dairy, sugar, and a wonderful hint of vanilla. Having this simple information is part of the joy of making your own creamy coffee additions at home—you’re in complete control of what fuels your day!
Your Next Steps with Homemade Coffee Creamer
Well, friends, that wraps up our little journey into making truly fantastic, simple homemade coffee creamer! I hope you’re already picturing that rich, velvety texture swirling into your favorite mug. Now that you have the technique down for making a perfect batch of this easy homemade coffee creamer base, the real fun begins!
The goal here at Rosa’s Tasty Kitchen is always achievable joy, and nothing brings more joy than customizing a recipe just for you. So, the next step is to experiment! Try that brown sugar version we talked about, or maybe whip up a batch of the salty caramel variation—let your coffee spark your creativity!
Go ahead and give this base recipe a try this week! When you do, please come back and leave me a rating. Knowing how much you loved it (or what you tweaked!) helps me bring even more reliable, delicious recipes, like my stovetop chicken tortilla soup, straight to your kitchen next time. Happy brewing!
PrintEasy Homemade Vanilla Coffee Creamer Recipe
Make rich, creamy coffee creamer at home using simple, natural ingredients. This recipe tastes better than store-bought versions and requires no condensed milk.
- Prep Time: 5 min
- Cook Time: 5 min
- Total Time: 10 min
- Yield: About 2 cups 1x
- Category: Beverage
- Method: Stovetop
- Cuisine: American
- Diet: Vegetarian
Ingredients
- 1 cup Half and Half (or milk/cream combination for desired richness)
- 1 cup Whole Milk
- 3/4 cup Granulated Sugar
- 1 tablespoon Pure Vanilla Extract
Instructions
- Combine the half and half, whole milk, and granulated sugar in a small saucepan.
- Heat the mixture over medium heat, stirring constantly until the sugar dissolves completely and the mixture is hot, but do not let it boil.
- Remove the saucepan from the heat.
- Stir in the pure vanilla extract.
- Allow the creamer to cool to room temperature.
- Pour the cooled mixture into an airtight container, such as a glass jar or bottle.
- Store the homemade coffee creamer in the refrigerator for up to two weeks.
Notes
- For a richer, cafe style coffee creamer at home, substitute the whole milk with heavy cream.
- If you prefer a stronger vanilla flavor, use vanilla bean paste instead of extract.
- To make a brown sugar coffee creamer recipe, replace the granulated sugar with packed light brown sugar.
- For a healthy homemade coffee creamer option, you can substitute the sugar with your preferred liquid sweetener, like maple syrup, adjusting to taste.
Nutrition
- Serving Size: 2 tablespoons
- Calories: 110
- Sugar: 12
- Sodium: 25
- Fat: 6
- Saturated Fat: 3.5
- Unsaturated Fat: 2.5
- Trans Fat: 0
- Carbohydrates: 13
- Fiber: 0
- Protein: 1
- Cholesterol: 18