
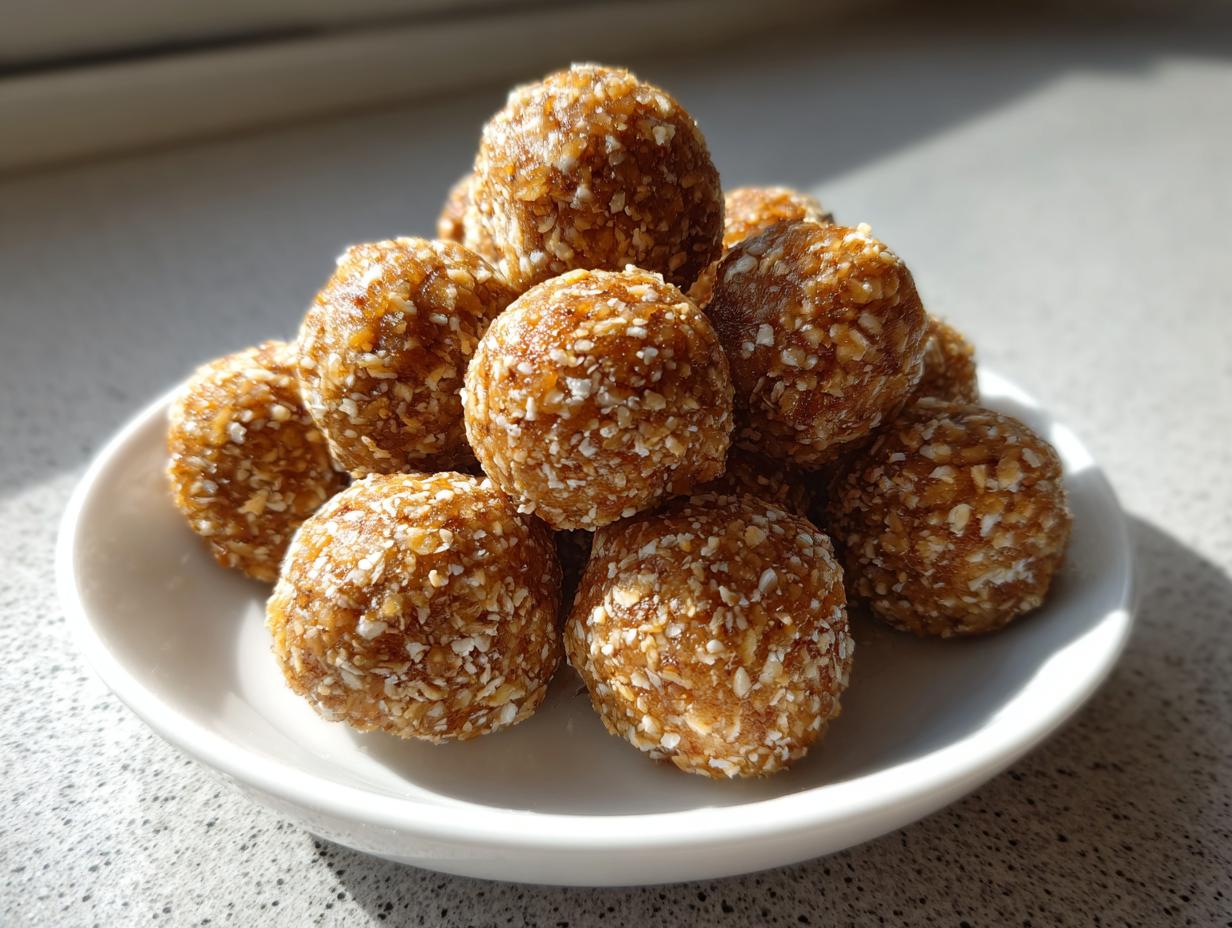
If you’re like me, you get that afternoon slump or you’re rushing out the door before a workout, and you desperately need something satisfying that won’t undo all your hard work. Forget stressing over complicated baking! That’s why I’m sharing my absolute favorite, can’t-live-without protein balls recipe. As a former teacher balancing a busy family life, I know you need reliable, quick food. These no-bake peanut butter bites are what I rely on; they are consistently simple and packed with fuel. You can see how I apply this quick-fix mentality to my easy breakfast recipes too! Trust me when I say these are the best protein balls you’ll ever mix up—no oven required!
- Why You Will Make These Easy Protein Balls Recipe Again and Again
- Essential Ingredients for Perfect Peanut Butter Protein Balls
- How to Prepare These Easy Protein Balls Recipe (No Bake)
- Tips for Success When Making Protein Balls
- Variations for Your Favorite Protein Balls
- Storage and Reheating Instructions for Protein Balls
- Serving Suggestions for These Quick Protein Snack Ideas
- Frequently Asked Questions About Making Protein Balls
- Nutritional Snapshot of These High Protein Treats
Why You Will Make These Easy Protein Balls Recipe Again and Again
These aren’t just good; they are the ultimate solution for those moments when you need fuel fast. Seriously, once you see how simple these protein balls are, they become your go-to snack almost daily. They tick every box for a busy home cook! You can find more quick fuel ideas, like my quick healthy lunch ideas, but these bites are truly special.
Quick Protein Snack Ideas: Ready in Minutes
We’re talking about mixing everything in one bowl and rolling them out! Because they are no-bake, you skip all the heating and cooling time. They genuinely qualify as top-tier quick protein snack ideas.
Perfect Meal Prep Protein Balls for Busy Weeks
This recipe is a meal prep dream. You can whip up a huge batch in under 15 minutes, chill them, and then just grab and go all week long. These meal prep protein balls are lifesavers!
High Protein Treats That Taste Incredible
Don’t let the simplicity fool you. With 8 grams of protein per bite, these are fantastic for post-workout recovery, but the peanut butter and vanilla make them taste like a dessert. They are honestly some of the best high protein treats I’ve ever made.
Essential Ingredients for Perfect Peanut Butter Protein Balls
The beauty of a recipe built for speed, like these protein balls, is that you only need a handful of things you probably already stock! I’ve listed exactly what you need below. Remember, my philosophy is using things found at your regular grocery store, so no specialty shopping trip needed here. Pay close attention to the *kind* of peanut butter we use—that really makes a difference in texture!
- 1 cup rolled oats
- 1/2 cup natural peanut butter
- 1/2 cup vanilla whey protein powder
- 1/3 cup honey or maple syrup
- 1/4 cup ground flaxseed
- 1 tablespoon chia seeds
- 1 teaspoon vanilla extract
Ingredient Notes and Substitutions for Your Protein Balls
The key here is using *natural* peanut butter, the kind where the oil separates a little bit on top. That helps bind everything without making the balls greasy. If you’re going for a vegan version, just swap the honey for maple syrup; it works just as well! If you need these to be officially gluten free protein bites, make absolutely sure your rolled oats are certified GF. Otherwise, the rest of these components are pretty straightforward for anyone starting out with making their own snacks!
How to Prepare These Easy Protein Balls Recipe (No Bake)
Now we get to the fun part, and you won’t even need the oven! That’s the beauty of this easy protein balls recipe; we are keeping things super simple here, exactly how I like to handle recipes when the dinner rush hits! Before we even start mixing, make sure you have your ingredients ready. I often consult my guide for weeknight dinner ideas to make sure I’m organized, and prepping these bites is no different—organization is key to speed!
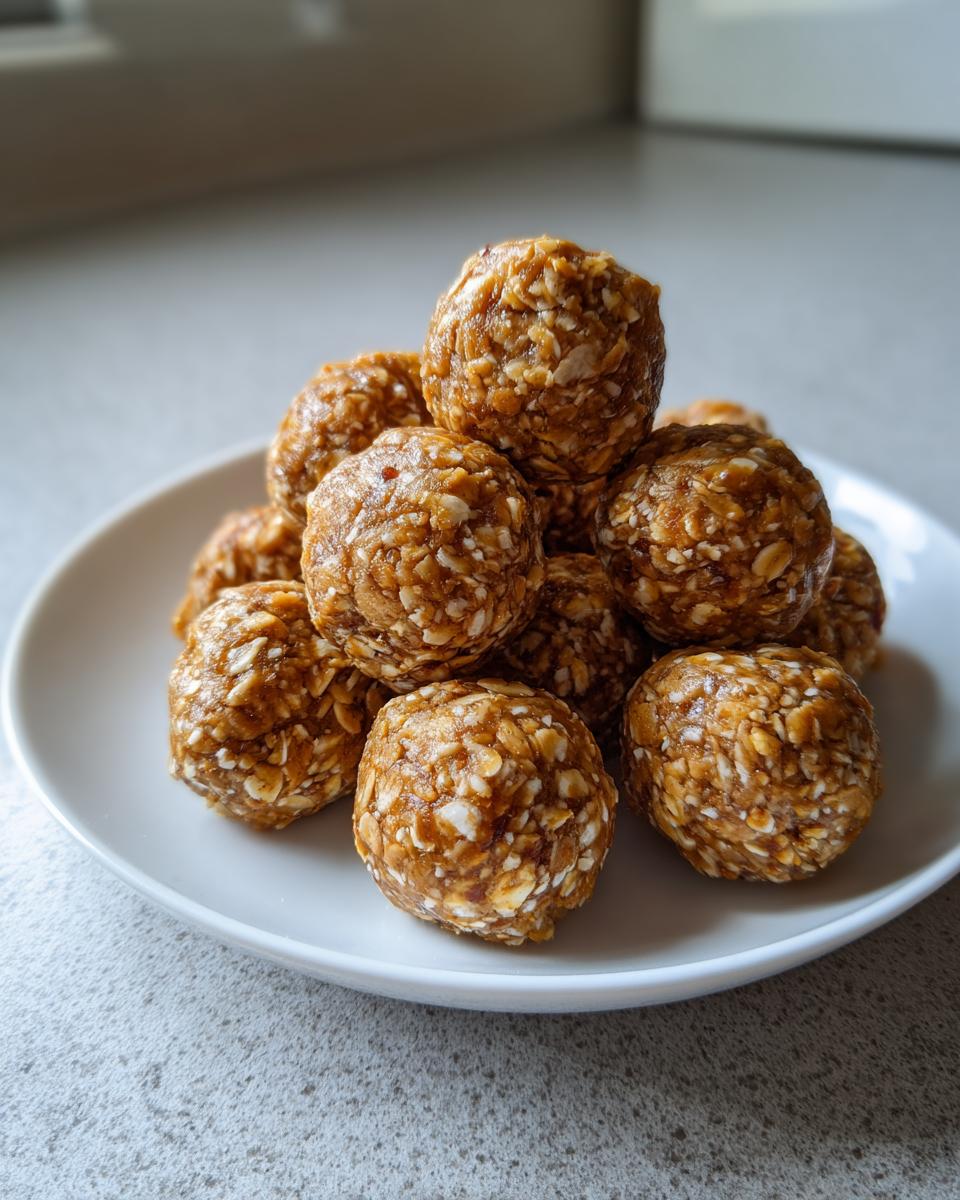
Mixing the Dough for Uniform Healthy Snack Balls
First things first, everything goes into one big bowl. Yep, everything! I start with a sturdy spoon, but honestly, once it gets thick, you’ve got to use your hands. Don’t be shy, dig right in! Make sure you mix until you see no more dry patches of protein powder or oats—it should look like a thick cookie dough. If, for some reason, your mixture seems crumbly (this usually happens if your peanut butter was super stiff), don’t panic! Just add water, one tiny teaspoon at a time, until it finally squishes together nicely when you press it. When it holds its shape, you have perfect healthy snack balls dough.
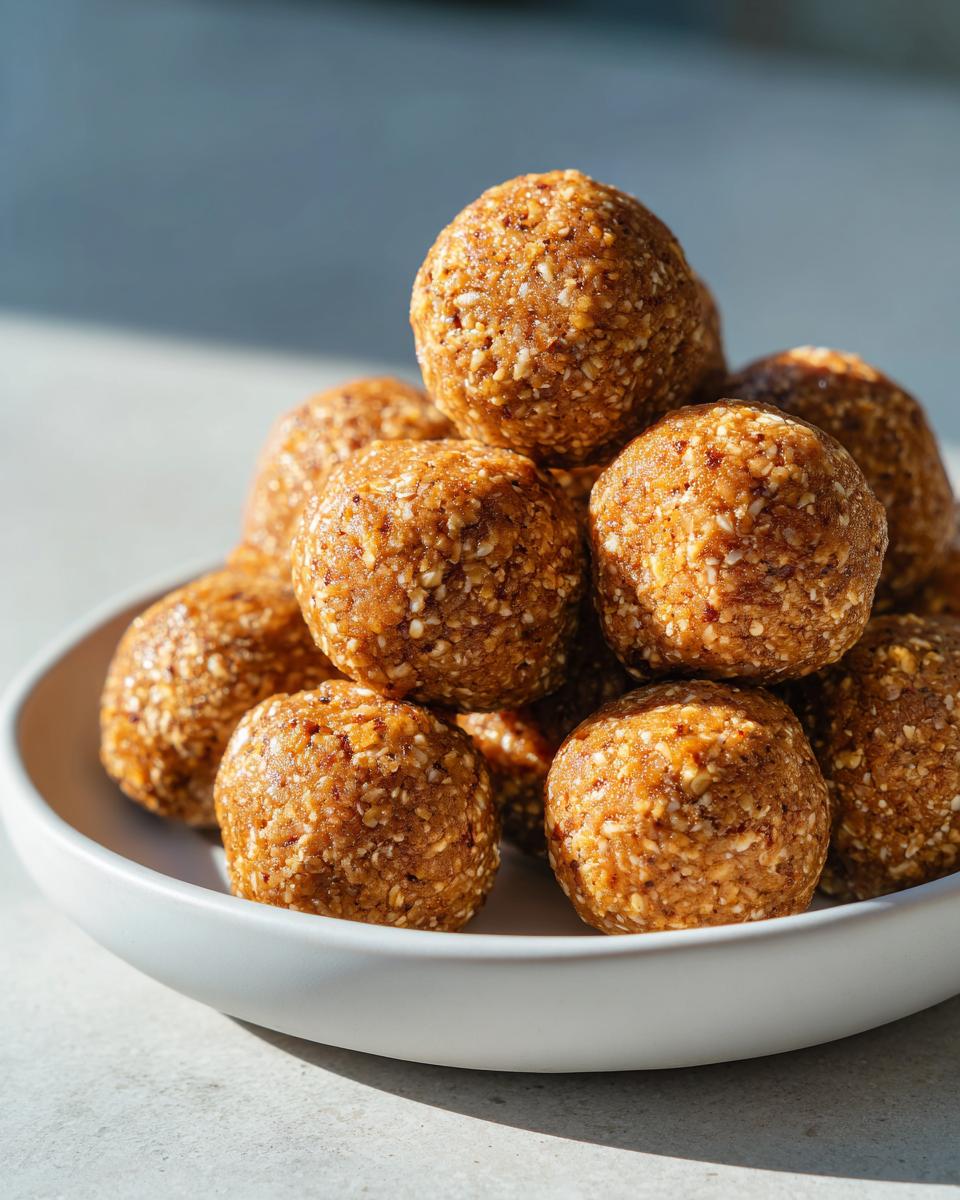
Shaping and Chilling Your No Bake Energy Bites
Once the dough is ready, start rolling out uniform little rounds—aim for about one inch each. I try to make them consistent so they firm up evenly. Arrange them on parchment paper like little soldiers on parade. The most crucial step, though, is chilling. You have to let these no bake energy bites sit in the fridge for at least 30 minutes. This step firms them up so they don’t melt or crumble when you try to grab them later. Seriously, don’t skip the chill time; it makes all the difference!
Tips for Success When Making Protein Balls
Okay, so these protein balls are incredibly forgiving, which is why I love them for busy days, like when I need a quick, reliable source of workout recovery snacks. But even simple recipes have little secrets! The most important thing is your peanut butter temperature. If it’s rock hard right out of the jar, your dough will be too dry and crumbly right away, even if you add extra liquid later. Let that peanut butter sit out for about 15 minutes before you start mixing.
Also, when you are rolling them, use slightly damp hands rather than dry ones. It stops the stickiness from ruining a good shape! A little water on your palms makes rolling into those perfect little spheres so much easier. If you make a big batch, you can always check out some best homemade desserts for inspiration for less strenuous treats later!
Variations for Your Favorite Protein Balls
Even though I sing the praises of peanut butter and vanilla, I know everyone has different tastes, or maybe you’re out of one ingredient! That’s fine. These protein balls are wonderfully adaptable. You can totally swap out the peanut butter for almond butter or sunflower seed butter if you have allergies or just fancy a change of pace. If you swap the nut butter, you might need a touch more honey or a teaspoon of water, because texture changes slightly. See how easy it is to switch things up? I even have some great peanut butter cookie variations if you ever feel like baking!
Creating Vegan Protein Balls Options
If you’re avoiding dairy or honey, making these vegan protein balls is just as simple as swapping the sweetener. If you used honey in the original recipe, just switch to pure maple syrup 1:1. Also, make sure that protein powder you grab is plant-based (like pea or brown rice protein) instead of whey. The texture stays solid, and you get the same fantastic boost!
Gluten Free Protein Bites Adjustments
If you need these as gluten free protein bites, it’s a super easy fix, but you have to be diligent about the oats. Most oats are cross-contaminated, so you absolutely must use oats specifically labeled as ‘Certified Gluten Free.’ That’s the only change needed to keep these safe for gluten-free diets. The rest of the ingredients work perfectly as they are!
Storage and Reheating Instructions for Protein Balls
Since these are no-bake, preserving their texture is key! These protein balls hold up wonderfully for meal prep, which is great because you’ll want to make a double batch. Store them in an airtight container—I use glass containers mostly—and keep them tucked away in the refrigerator. They stay fresh and perfectly firm for about one full week this way. Honestly, they taste great straight from the fridge, no reheating needed, since they are designed to be grab and go food. If you’re looking for other make-ahead ideas, check out my tips for overnight oats!
Serving Suggestions for These Quick Protein Snack Ideas
So you’ve got your perfect batch of protein balls—what do you eat them with? Since these are my go-to energy boosting snacks, I pair them with something hydrating, especially after a workout. They are fantastic alongside a big glass of iced water or, in the summer, one of my favorite watermelon smoothie recipes. They also make a great counterpoint to a hot cup of coffee in the morning when you need just a little something extra before breakfast hits. They are truly designed for that ‘grab and go’ lifestyle!
Frequently Asked Questions About Making Protein Balls
When I share a recipe, especially for something as useful as protein balls, I always get a few questions coming in from folks trying it out for the first time. It’s the nature of working with real ingredients! Don’t worry if you need to tweak things, but let me clear up the most common things I hear about these high protein treats.
Can I use different protein powders in these protein balls?
Oh yes, you absolutely can! Most people use vanilla whey because it blends so smoothly. If you switch to a plant-based powder, though, be aware they absorb moisture differently. You might find your dough is a little too dry, so just keep a tablespoon of water or milk handy to add slowly while mixing. It’s all about getting that perfect, sticky dough!
How long do these homemade protein truffles last?
Because we aren’t baking them, freshness relies on good storage. These homemade protein truffles need to stay chilled. They keep beautifully in the fridge for up to a week in a sealed container. If you want them to last longer, you can freeze them! They are perfect straight from the freezer for a frosty snack treat, too.
What makes these the best protein ball recipes for beginners?
I truly believe these are the best protein ball recipes if you are new to snack making! Why? Because there’s no measuring exact flour ratios, no worrying about oven temperatures, and zero risk of burning anything. If you can mix ingredients in a bowl, you have mastered this recipe. It’s all about fast assembly for maximum fuel payoff, just like some of my BLT chicken salad recipes!
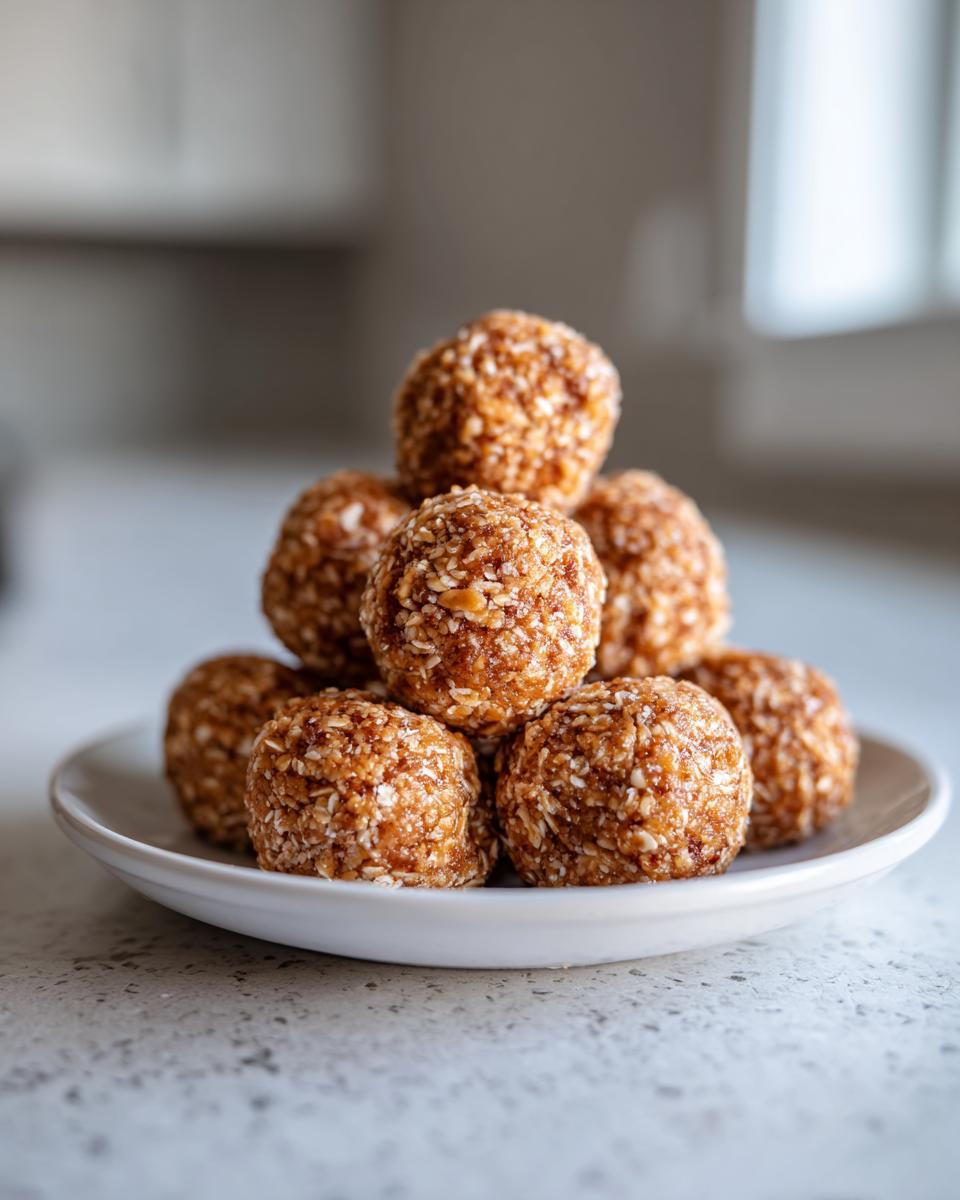
Nutritional Snapshot of These High Protein Treats
I always like to give you folks a clear picture of what you’re putting into your body, especially when you’re relying on these for post-workout fuel or quick energy. Now, remember, because we are using natural peanut butter and specific protein powders, these numbers are my best estimate based on the exact ingredients I listed above. If you swap out the honey for maple syrup or use a different nut butter, the totals will shift slightly. But for the standard batch of these high protein treats, here is what you can generally expect per ball.
- Calories: Just around 115 per ball—perfectly portioned!
- Protein: A solid 8 grams! That’s why they work so well as recovery snacks.
- Fat: About 6 grams total, mostly good fats from the peanut butter and flaxseed.
- Carbohydrates: Around 11 grams, which gives you the energy boost you need without weighing you down.
It’s amazing that you can get this much useful fuel in such a tiny, delicious package. If you are also focused on high-protein meals in general, you should check out my recipe for cottage cheese chicken salad sometime!
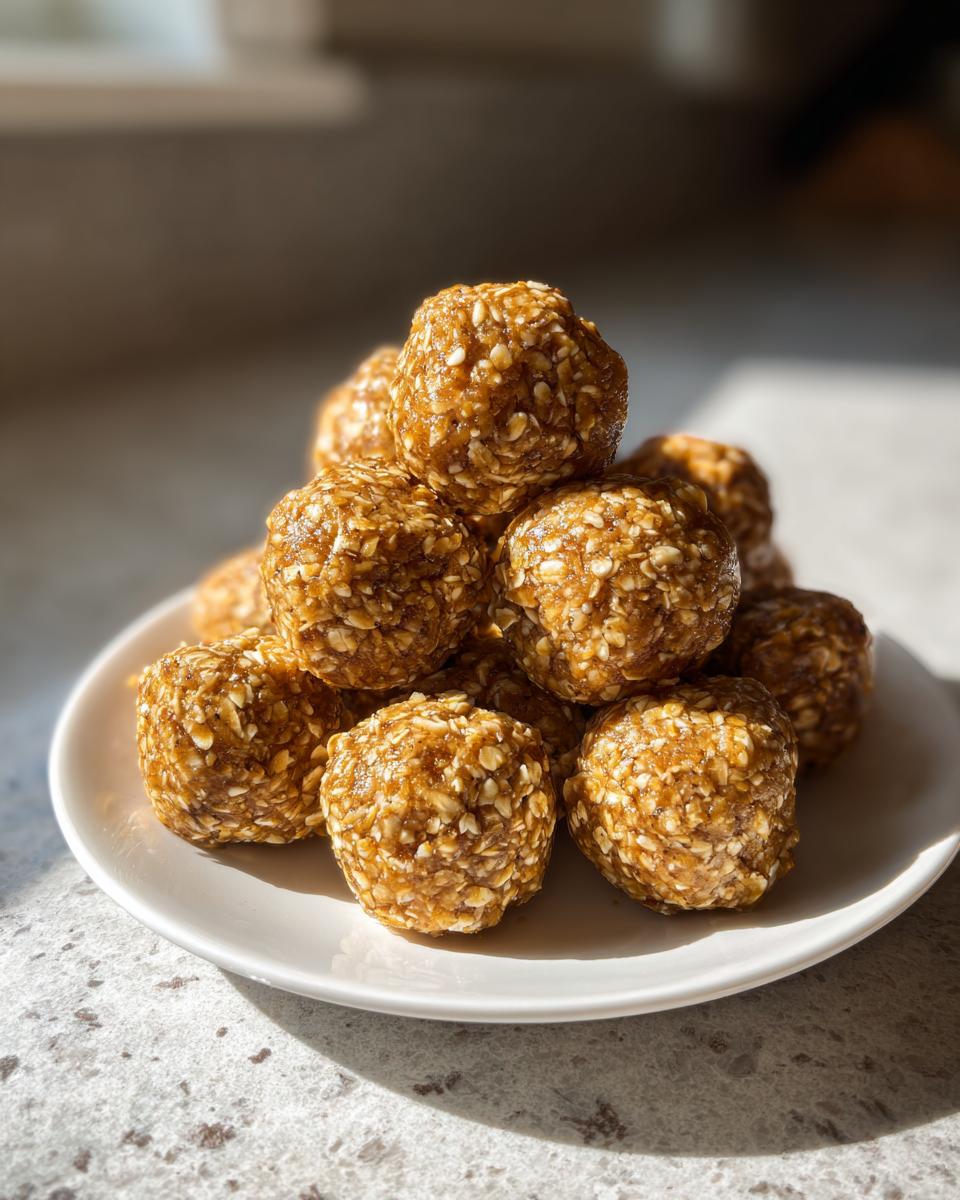
PrintEasy No-Bake Peanut Butter Protein Balls

Make these quick, high protein energy bites with simple ingredients for a perfect grab and go snack or workout recovery fuel.
- Prep Time: 10 min
- Cook Time: 0 min
- Total Time: 40 min
- Yield: 16 servings 1x
- Category: Snack
- Method: No Bake
- Cuisine: American
- Diet: Vegetarian
Ingredients
- 1 cup rolled oats
- 1/2 cup natural peanut butter
- 1/2 cup vanilla whey protein powder
- 1/3 cup honey or maple syrup
- 1/4 cup ground flaxseed
- 1 tablespoon chia seeds
- 1 teaspoon vanilla extract
Instructions
- Place all ingredients into a large mixing bowl.
- Mix thoroughly with a sturdy spoon or clean hands until a uniform dough forms.
- If the mixture seems too dry, add one teaspoon of water at a time until it holds together.
- Roll the mixture into small, uniform balls, about one inch in diameter.
- Place the finished protein balls on a plate or baking sheet lined with parchment paper.
- Refrigerate for at least 30 minutes to firm up before serving.
Notes
- For a chocolate version, substitute 2 tablespoons of the protein powder with unsweetened cocoa powder.
- Store these healthy snack balls in an airtight container in the refrigerator for up to one week.
- These are naturally gluten-free if you use certified gluten-free oats.
Nutrition
- Serving Size: 1 ball
- Calories: 115
- Sugar: 6
- Sodium: 45
- Fat: 6
- Saturated Fat: 1
- Unsaturated Fat: 5
- Trans Fat: 0
- Carbohydrates: 11
- Fiber: 2
- Protein: 8
- Cholesterol: 0