

If you’re staring down a sweet craving but your oven is threatening to quit on you, trust me, I have the answer! These incredible Homemade Oreo Balls are the absolute definition of simple, heartfelt cooking that guided my whole kitchen philosophy. We’re talking about a decadent, creamy, no-bake dessert made with just three ingredients. Seriously, three! You crush the cookies, mix in that secret ingredient that makes them perfectly creamy, and then dip them in chocolate. That’s it. It’s foolproof, it’s fast, and it tastes like you spent hours on it. When you need real flavor without the fuss, this is the recipe you’re going to turn to again and again.
- Why This Is The Best Easy Oreo Balls Recipe (3 Ingredient Dessert)
- Gathering Ingredients for Creamy Oreo Balls
- How To Make Oreo Balls Step By Step: The No Bake Oreo Truffles Method
- Tips for Success with Simple Chocolate Treats
- Variations for Party Dessert Bites
- Making Oreo Balls for Parties and Gifting
- Storage & Reheating Instructions for Oreo Balls
- Frequently Asked Questions About Oreo Truffle Balls
- Estimated Nutritional Data for Oreo Balls
Why This Is The Best Easy Oreo Balls Recipe (3 Ingredient Dessert)
I stand by this recipe because it checks every box for a busy home cook like me. It delivers that rich, decadent flavor people expect from a fancy dessert, but it does it with almost zero effort. These aren’t just cookies, they are powerhouse little treats!
- They are guaranteed winners for any holiday platter. Since they are so simple, they quickly become my go-to for those last-minute get-togethers.
- You get the intensely rich flavor of No Bake Oreo Truffles without any fuss. They truly are Simple Cookie Truffles.
- They taste richer than they look, which is my favorite kind of recipe!
Foolproof No Bake Candy: Perfect for Beginners
Honestly, if you can crush a cookie and mix two things in a bowl, you can handle these. There is absolutely no baking involved, which takes away all the stress of temperature and timing. If you’re nervous about candies or sweets in general, this is where you start. These are the definition of Foolproof No Bake Candy!
Quick Oreo Desserts Ready in Under 30 Minutes
Forget complicated steps; we are moving fast here. From the moment you open the bag of Oreos until the balls are chilling, you are looking at maybe 15 minutes of active work. That’s lightning speed for a dessert this good! They are the ultimate Quick Oreo Desserts for when you realize you forgot a plate for the party tonight. Check out how I handle other quick no-bake favorites here!
Gathering Ingredients for Creamy Oreo Balls
When I say this is a 3 Ingredient Dessert, I mean it! You won’t need a whole pantry makeover for this one, thank goodness. Keeping ingredients minimal is the secret to making sure these oreo balls taste perfect every time. It’s all about quality over quantity here. Grab these three things, and get ready to mix!
- One package (that’s 14.3 ounces, friends!) of whole Oreo cookies—yes, the entire cookie, filling and all!
- 8 ounces of cream cheese, and make sure it’s softened up on the counter first.
- 16 ounces of melting chocolate—I prefer standard milk or semi-sweet, but use what makes your heart happy!
How To Make Oreo Balls Step By Step: The No Bake Oreo Truffles Method
Okay, now for the fun part! We only have three main steps here, which is why this whole assembly process flies by. Don’t stress about fancy tools; if you have a food processor, great, but if not, a sturdy Ziploc bag and a rolling pin work wonders too. We need to massage these ingredients together until they become totally unified—that’s where the magic of these Cream Cheese Oreo Balls happens!
Processing the Oreos and Mixing the Oreo Balls Dough
First thing, get those whole Oreos into your food processor and pulse them until they are fine crumbs. We want that creamy filling totally integrated. If you’re crushing them by hand, put them in a heavy-duty bag—be careful if you’re rocking a rolling pin, it can get vigorous! Next, dump those crumbs into a bowl and add the softened cream cheese. Mix this by hand or with a mixer until it’s one uniform, thick dough. Honestly, you can’t overmix this part!
Rolling and Chilling Your Homemade Oreo Cake Balls
Now we roll! Grab about a tablespoon of that truffle dough and roll it gently between your palms into a tight, 1-inch ball. Don’t press too hard, we want them dense but not rock-hard. Line them up on a sheet covered in parchment paper—you should get around 24 to 30 beautiful oreo balls. Cover that tray and stick them in the fridge for at least half an hour. This chilling step is non-negotiable; warm dough melts right off in the chocolate!
Mastering the Chocolate Covered Oreo Treats Dip
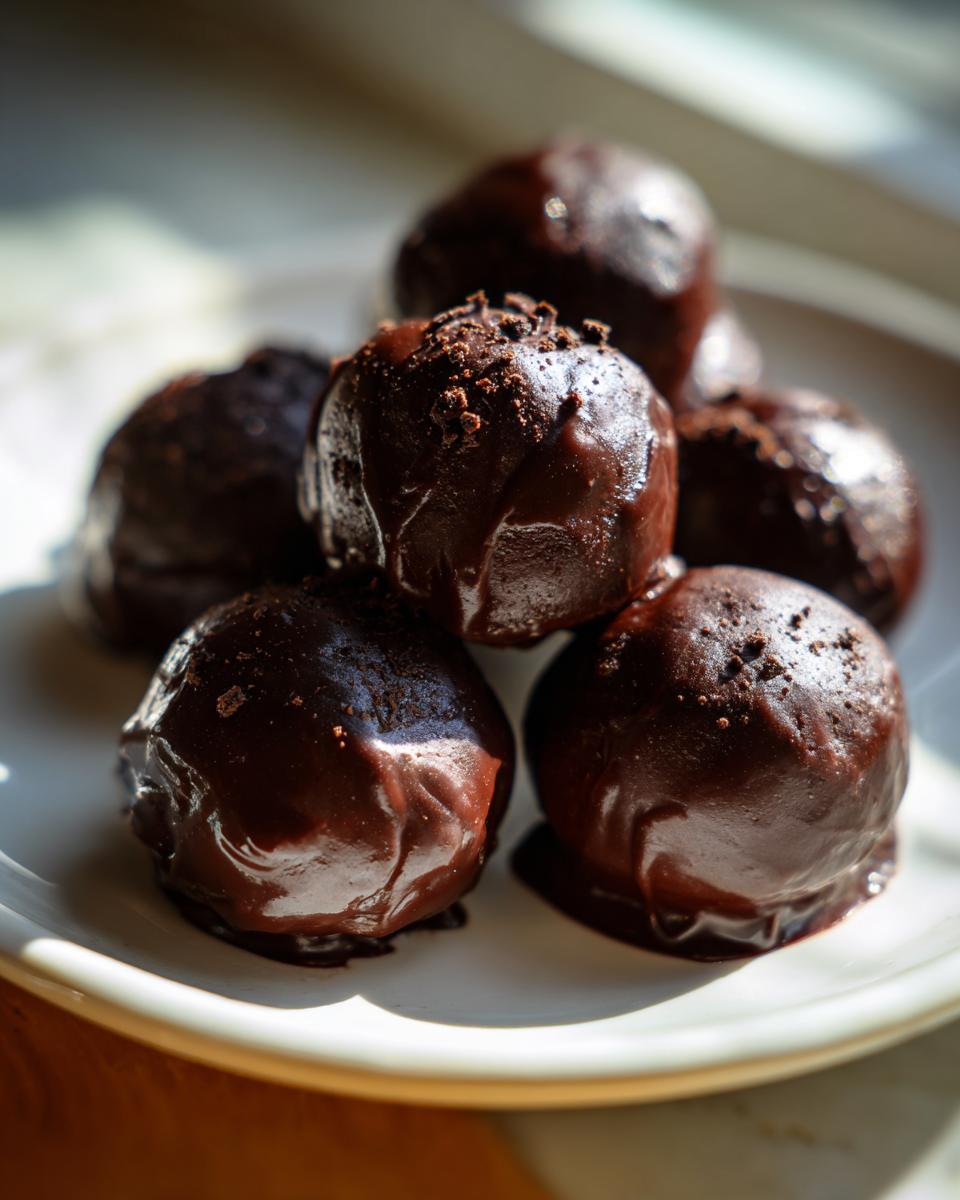
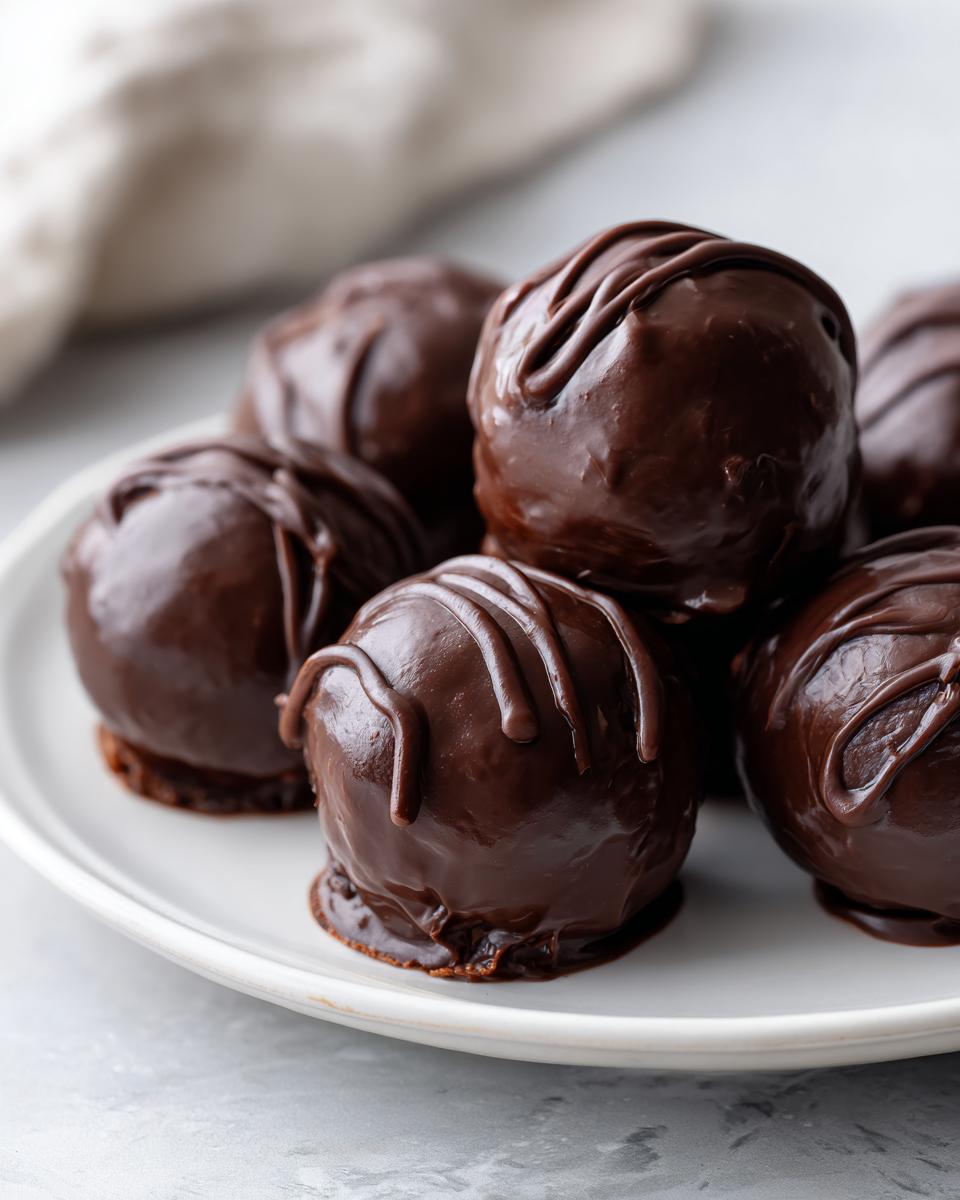
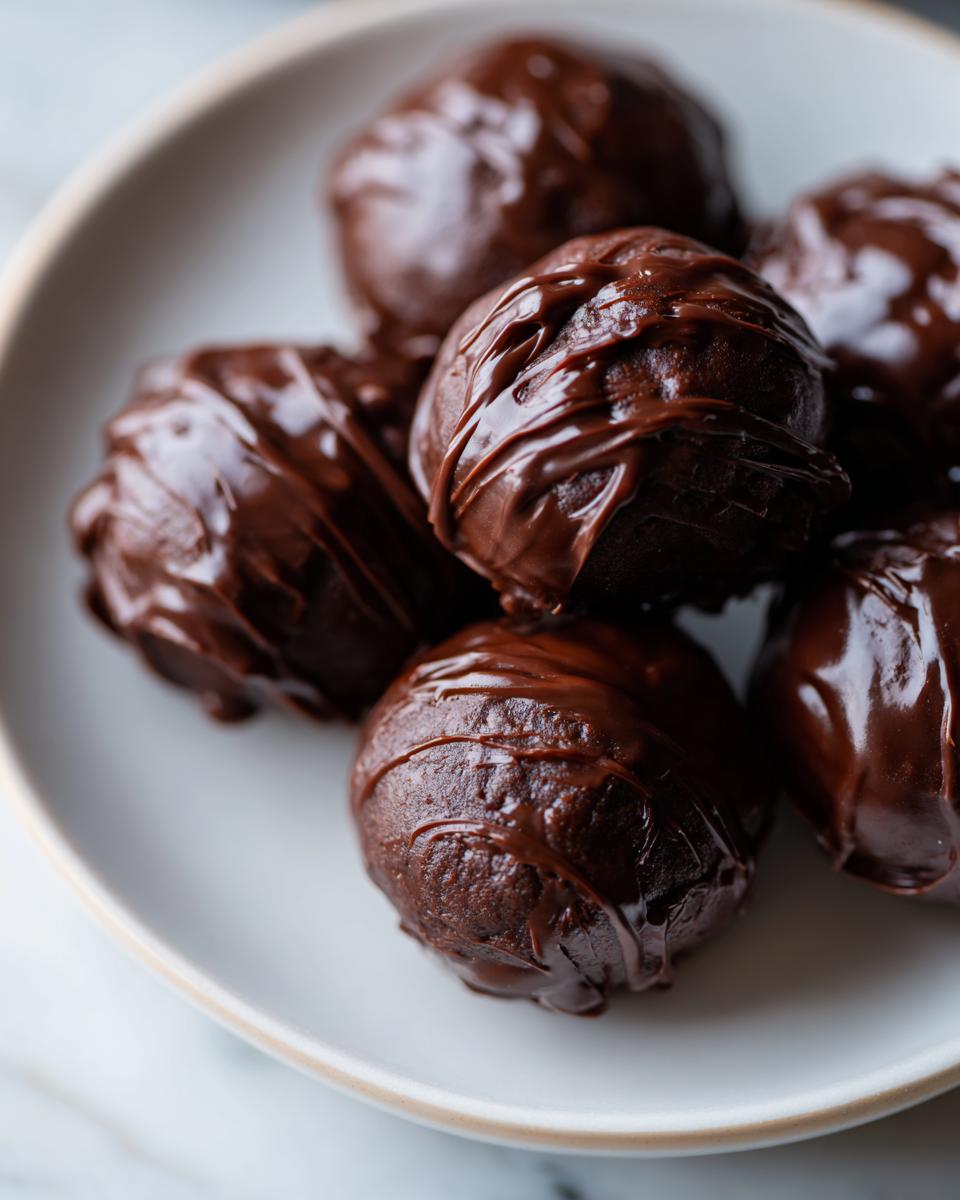
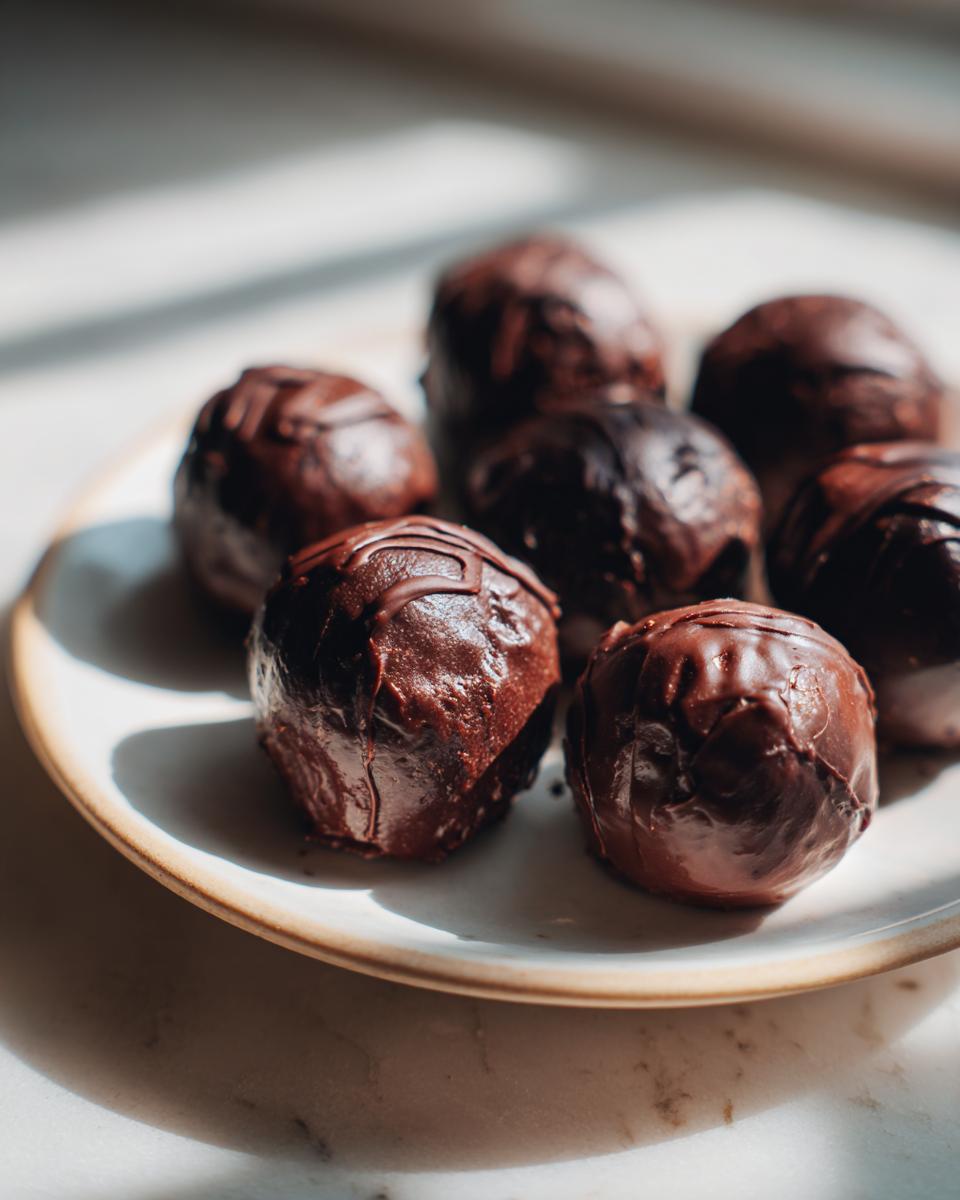
Once they are cold and firm, it’s time for the coating. Melt your chocolate according to the package, usually in short bursts in the microwave, stirring well each time so it doesn’t scorch. Now, take one chilled ball and drop it gently into the chocolate. Use a small fork or a specialized dipping tool to completely cover it. The trick to glossy oreo balls is lifting it out with the fork and gently tapping the fork handle on the side of the bowl to let all that excess coating drip back in. Pop it back on that parchment paper immediately. If you want flair, hit it with sprinkles right away! See more tips for handling chocolate coatings over at my pretzel dog tips—the coating technique is similar!
Tips for Success with Simple Chocolate Treats
Even with the easiest oreo balls recipe, sometimes things go a little sideways, right? I’ve been there! The key to transforming this into a truly great batch of Simple Chocolate Treats is paying attention to just two things: temperature and chocolate quality. If your dough feels sticky or breaks apart easily after rolling, it’s usually because that cream cheese wasn’t fully softened or the mixture is too warm. A little patience upfront means a perfect, smooth shell later on.
Ingredient Notes and Substitution Guidance
Let’s talk cream cheese first: if it’s cold, it won’t mix right, leading to crumbs in your final coating! Make sure it’s completely soft. For the chocolate, I always tell people to skip the standard chocolate chips unless you add a tiny bit of shortening or oil. Chips have stabilizers that make them seize up when melted weirdly. High-quality melting wafers or candy melts (just like when I make easy cookie icing) give you that professional, crisp snap every single time you bite into these Chocolate Oreo Bites.
Variations for Party Dessert Bites
This basic recipe for oreo balls is amazing, but where’s the fun in just sticking to the script? We are making these Party Dessert Bites perfect for whatever gathering is next on the calendar! If you want to change up the flavor, you don’t even need to change the cream cheese. Just swap out the Oreos!
Try using Golden Oreos for an extra sweet flavor base, or grab the Mint Oreos in December. For Easter, those Golden ones work best if you want to dye the chocolate coating pastel pink or blue—it makes them look almost like little eggs! I always keep a jar of crushed peanuts handy for texture, but crushed peppermint is perfect for holiday platters. If you love the idea of different flavors but hate crushing Oreos, you can absolutely use cake mix in place of some of the crumbs, just like I do when I make my sprinkle cookies. The principle is similar when making my cake pops, though those use more binding agent!
No matter what you choose, a little drizzle of contrasting chocolate on top always makes these Simple Oreo Truffles look instantly professional.
Making Oreo Balls for Parties and Gifting
These little oreo balls are honestly brilliant for parties because they are so contained—no messy forks or sticky slices! When I load them up on a platter next to my savory cheese balls, they look stunning, especially if you use those white chocolate coatings I talked about. Presentation is everything, even for a Simple Cookie Truffle.
For gifting, they travel really well if they are kept chilled. I often put a layer of parchment paper between tiers if I stack them in a tin. They hold up beautifully, making them perfect for bake sales or dropping off to neighbors. If you need other quick snack ideas for a big crowd, check out these sweet snacks that are just as easy to manage!
Storage & Reheating Instructions for Oreo Balls
The best thing about these oreo balls? They keep wonderfully! Since they don’t have cake in them the way traditional cake balls do, they are actually quite stable. Store leftovers in an airtight container in the refrigerator. I promise they’ll last up to two weeks, though mine usually disappear in three days!
If you need to make them way ahead—say, before a big holiday party—you can totally freeze these. Pop the finished, coated Chocolate Oreo Bites into a freezer-safe container, separated by wax paper so nothing sticks. They freeze beautifully for up to three months. There’s no reheating needed; just pull them out about 20 minutes before serving, and they thaw perfectly!
Frequently Asked Questions About Oreo Truffle Balls
Since these oreo balls are so popular, people always have great questions about making sure they turn out just right! It’s smart to ask questions before you dive in. I’ve gathered a few that I hear all the time about these Simple Cookie Truffles.
Can I skip the cream cheese in this recipe?
Oh, honey, I wouldn’t recommend it if you want the best texture! The cream cheese is what binds the crumbs together so nicely and gives these Oreo Balls that signature smooth, creamy filling. If you skip it, you end up with just dry crumbs that won’t hold their shape after coating. For a different take, maybe try my creamy sauce recipe sometime, but for truffles, the cheese is key!
What is the best chocolate for dipping these Easy Oreo Balls?
For the very best, smoothest shell on your Chocolate Oreo Bites, you really want to use good quality melting wafers or candy melts. They are designed to melt down beautifully and harden up nice and firm at room temperature. If you use standard chocolate chips, you absolutely must add a teaspoon of shortening or coconut oil to help them move better during dipping, or they can seize up on you.
Can I make these ahead of time, like for a big party?
Yes! That’s one of the huge perks of these Party Dessert Bites. You can make the rolled balls and keep them chilled for days before dipping. Once they are fully coated in chocolate, they are great in the fridge for two weeks, or you can freeze them for a few months. They are one of my favorite make-ahead holiday sweets!
Estimated Nutritional Data for Oreo Balls
Now, I have to be real with you! When you’re making something this delicious, you probably aren’t coming to my site specifically for the vegetable count, right? These aren’t diet food, they are pure, heart-warming joy! But for those of you who like to keep track, I ran the numbers based on averages for our very simple Oreo Balls recipe. The official recipe yields about 28 balls, so these figures are based on one ball serving size.
Keep in mind that this is an estimate, because the exact brand of Oreos or what kind of chocolate you use can change things slightly! But this gives you a good ballpark.
- Serving Size: 1 ball
- Calories: Around 180 calories—which is totally worth it for a no-bake bite!
- Fat: About 11g total, with 6g being saturated fat from the lovely chocolate coating.
- Carbohydrates: Roughly 19g, mostly from the sugar, naturally.
- Protein: A small contribution of about 2g.
See? They are rich, decadent, and exactly what you need when you want a sweet treat that feels like a real indulgence without having to worry about turning on the oven!
PrintEasy 3-Ingredient Oreo Balls: The Best No-Bake Truffles

Make these simple, creamy Oreo Balls using only three ingredients. This foolproof, no-bake recipe is perfect for quick desserts, holiday platters, or satisfying a sweet craving fast.
- Prep Time: 20 min
- Cook Time: 5 min
- Total Time: 25 min
- Yield: 28 servings 1x
- Category: Dessert
- Method: No-Bake
- Cuisine: American
- Diet: Vegetarian
Ingredients
- 1 package (14.3 oz) Oreo cookies, whole
- 8 ounces cream cheese, softened
- 16 ounces melting chocolate (milk, semi-sweet, or white)
Instructions
- Place the entire Oreo cookies, including the filling, into a food processor. Pulse until you have fine crumbs.
- Transfer the Oreo crumbs to a medium bowl. Add the softened cream cheese. Mix with a hand mixer or by hand until the mixture is completely combined and forms a thick dough.
- Roll the dough into uniform balls, about 1 inch in diameter. You should get about 24 to 30 balls. Place the rolled balls on a baking sheet lined with parchment paper.
- Chill the Oreo balls in the refrigerator for at least 30 minutes. This step helps them firm up before dipping.
- Melt the chocolate according to package directions. You can use a double boiler or microwave in 30-second intervals, stirring between each interval.
- Dip each chilled Oreo ball into the melted chocolate, ensuring it is fully coated. Use a fork or dipping tool to lift the ball out, allowing excess chocolate to drip off.
- Place the coated balls back onto the parchment-lined baking sheet.
- If desired, immediately top with sprinkles, crushed Oreos, or a chocolate drizzle before the coating sets.
- Return the finished Oreo balls to the refrigerator until the chocolate coating is completely firm, about 15 to 20 minutes.
Notes
- For the smoothest coating, use high-quality melting wafers or tempered chocolate.
- If you do not have a food processor, place the cookies in a sturdy zip-top bag and crush them thoroughly with a rolling pin.
- Store leftover Oreo balls in an airtight container in the refrigerator for up to two weeks, or freeze them for up to three months.
Nutrition
- Serving Size: 1 ball
- Calories: 180
- Sugar: 18g
- Sodium: 105mg
- Fat: 11g
- Saturated Fat: 6g
- Unsaturated Fat: 5g
- Trans Fat: 0.1g
- Carbohydrates: 19g
- Fiber: 0.5g
- Protein: 2g
- Cholesterol: 10mg