
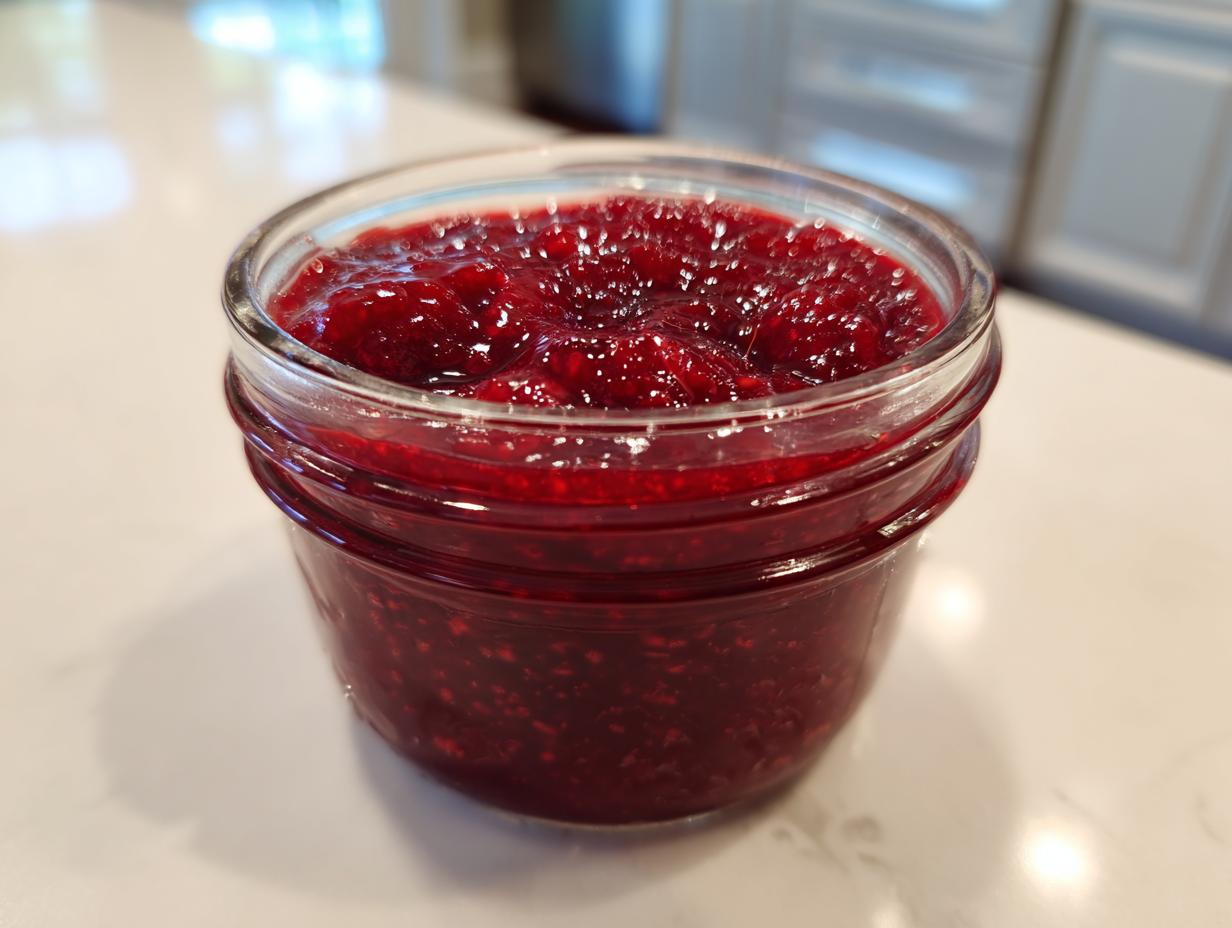
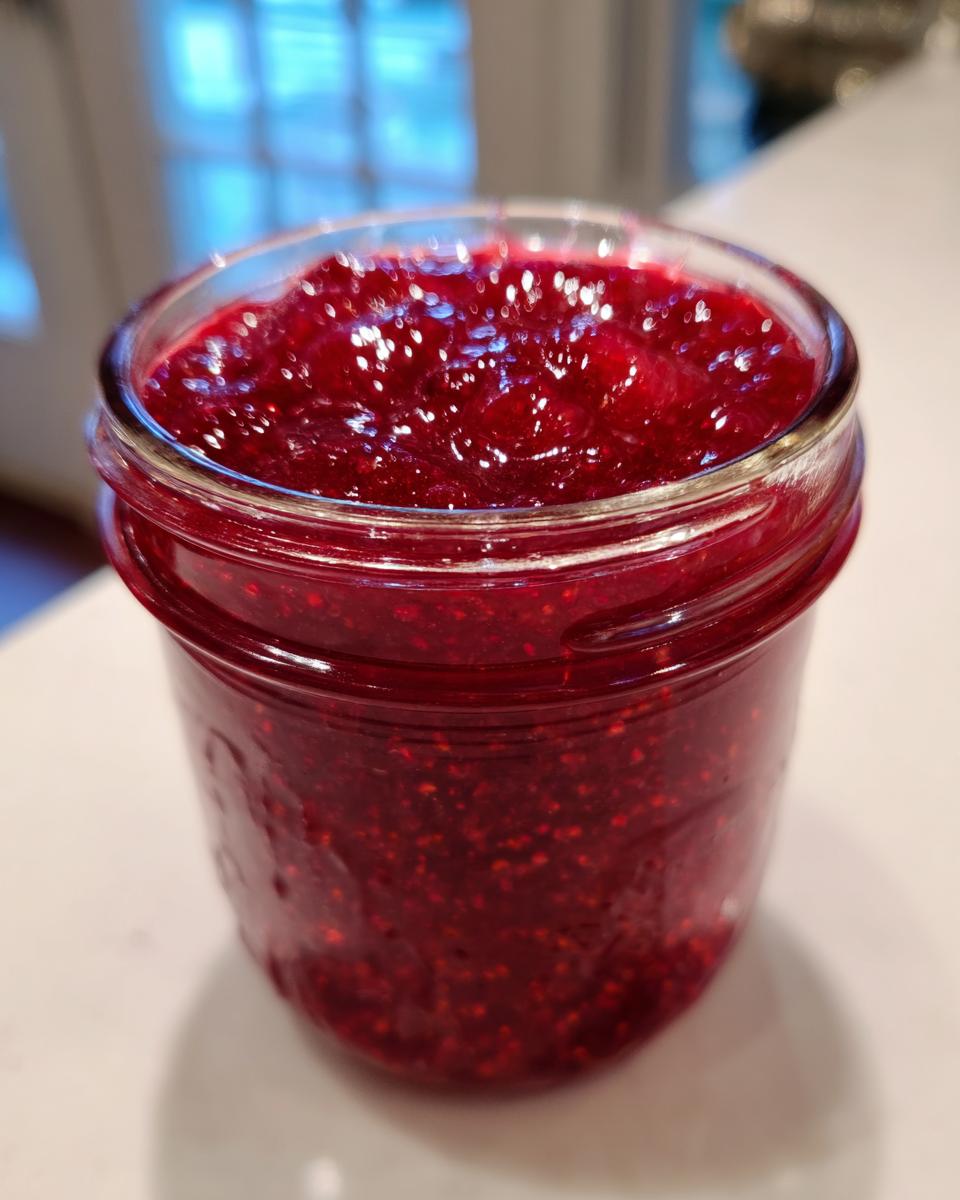
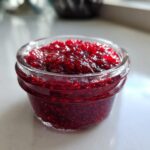
Oh, friends, there is nothing quite like the first taste of summer captured in a jar, is there? When those bright, tart raspberries are practically falling off the vine, you just have to save some for later. If you’ve ever felt intimidated by jamming, thinking you needed a chemistry degree and a whole box of store-bought pectin, I am here to tell you that you absolutely do not! This is my go-to, ridiculously simple **raspberry jam** recipe, and it’s perfect for beginners.
When I was teaching, finding time to do big preservation projects felt impossible, but I wanted the taste of real fruit, not just glorified syrup. This version is amazing because it lets the fruit shine—it’s thick, tangy, and requires just three simple ingredients. Trust me, after you see how easy it is to create this beautiful homemade goodness, you’ll want to make a batch every season. It’s a reliable recipe that brings a little piece of my Midwest kitchen tradition right into yours. For more easy ways to start your day without the rush, check out my tips on easy breakfast recipes!
- Why This Easy Homemade Raspberry Jam Recipe Works So Well
- Ingredients for Your Homemade Raspberry Jam
- Step-by-Step Instructions for Quick Berry Preserves
- Preserving Your Raspberry Jam: Canning vs. Freezer Jam
- Tips for Making the Best Raspberry Jam Every Time
- Serving Suggestions for Homemade Breakfast Toppings
- Frequently Asked Questions About Raspberry Jam
- Storage and Shelf Life for Your Preserves
- Share Your Favorite Raspberry Jam Creations
Why This Easy Homemade Raspberry Jam Recipe Works So Well
I hear people say they try to make jam, but it always ends up too runny or too stiff. Well, friends, you want the best raspberry jam possible, and the secret here is patience—and knowing that raspberries are nature’s best friend! Since we skip the added pectin, we rely on the fruit itself.
- The flavor is incredibly vibrant. You get that true, sweet-and-tart summer berry punch because we aren’t masking it with commercial thickeners.
- It comes together really fast, which is why I call it an *easy jam recipe*. It’s perfect for a quick weekend project.
- The texture is exactly what true jam should be—soft, spreadable, and deeply flavorful.
Achieving the Perfect Set in Your Raspberry Jam
Don’t let the ‘No Pectin’ scare you! Most berries, and raspberries especially, carry loads of natural pectin inside them. We just need two helpers to get it to work its magic. First, you need a good amount of sugar; that sugary environment helps the pectin molecules link up properly. Second, you must have acid. That’s what the fresh lemon juice is for! When the sugar and the acid meet the raspberry pectin under a hard, rolling boil, *SNAP!*—you get that gorgeous, thick set without ever opening a box of commercial helper stuff.
Ingredients for Your Homemade Raspberry Jam
Okay, get your biggest, heaviest pot ready! This recipe for raspberry jam truly lives up to the ‘easy’ title because you only need three star players. I always tell folks that the better your berries are, the better your jam will taste. Spend a little extra time finding berries that are deep red and smell sunshine-sweet. That makes a huge difference!
Here is exactly what you need:
- 2 pints fresh or frozen raspberries (don’t be shy!)
- 4 cups granulated sugar
- 1 large lemon, juiced (this is crucial!)
Ingredient Notes and Substitutions for Raspberry Jam
Let’s talk about those other two ingredients for a second. That sugar isn’t just for sweetness; it’s part of the structure, helping everything gel up nicely. Never try to cut back on it in a traditional jam like this! And the lemon juice? That’s our acid helper, boosting that natural pectin we talked about. If you are using frozen berries, you can use them right from the freezer—no need to thaw first, just add a couple of extra minutes to the initial cooking time.
Now, if you absolutely hate seeds, here is a pro tip from my notes: Before you add the sugar, push that beautiful, cooked-down berry mixture through a fine-mesh sieve. It takes a little bit of elbow grease, but that little extra step gives you super smooth preserves!
Step-by-Step Instructions for Quick Berry Preserves
This is where the magic happens! Making your own delicious raspberry jam doesn’t need to take all day. We are aiming for that perfect, shiny, thick spread, and it really just comes down to watching the time and listening to your pot. Make sure your jars are sterile and ready to go if you are canning—it’s much easier than trying to clean them once the jam is already bubbling happily!
Preparing the Fruit and Dissolving the Sugar for Raspberry Jam
First things first, put those raspberries right into your pot. I really mean it when I say use a large, heavy-bottomed pot, even for a small batch. This prevents scorching on the bottom when the sugar starts to bubble up, trust me, burned jam is the worst smell! Cook them over medium heat. You just want them to soften up and start releasing all their beautiful, fragrant juices. That takes about five to ten minutes. If you’re in a hurry or you just prefer a smoother texture, this is the time to grab a potato masher and gently mash them down a little.
Once the berries look saucy, toss in all four cups of sugar. Stir, stir, stir! You have to keep stirring until you can’t feel any of that grainy sugar crunching against the bottom of the pot when you stir. It must be completely dissolved before we crank up the heat.
Reaching the Setting Point in Your No Pectin Jam
Now, bring that mixture up to a hard, rolling boil—the kind you can’t stir down! This is critical for our *Easy Jam Recipe*. Stir constantly so it doesn’t stick, especially once it starts thickening up. Once it’s boiling hard, add in your reserved lemon juice. Keep boiling rapidly and stirring for about 15 to 25 minutes. That’s the cooking time that makes the difference!
How do you know it’s done? You need to test it! Before you even start cooking, pop a couple of small plates into your freezer. When you think it’s ready, drop a tiny spoonful of jam onto one of those cold plates. Let it sit for just a moment, and then nudge it with your finger. If the surface wrinkles when you push it, congratulations, it has set! If it still runs everywhere, boil it for another five minutes and test again. Don’t forget to skim off any foamy bubbles floating on top before moving on!
If you need some quick ideas for what to eat this jam with besides toast, you can always check out my guide to quick, healthy lunch ideas!
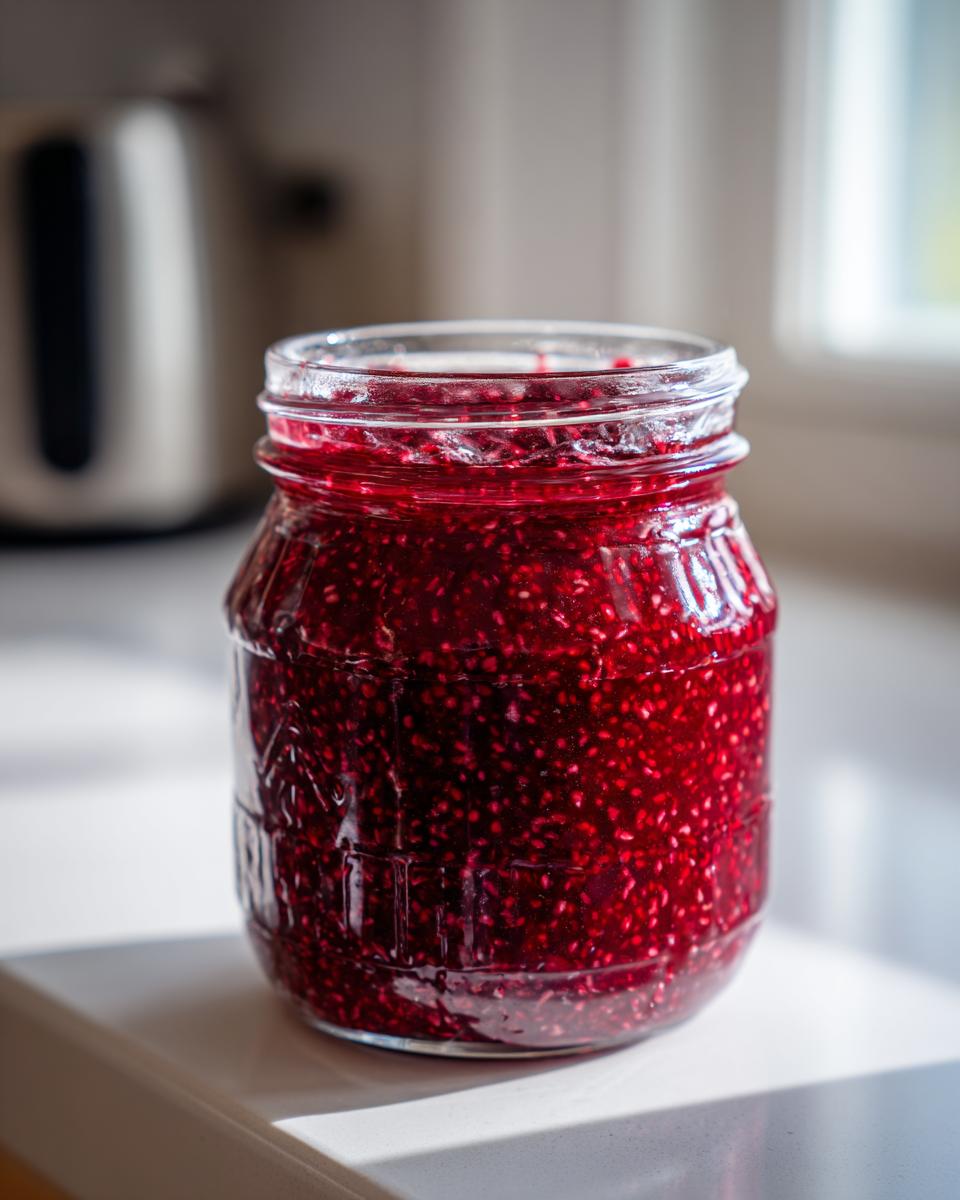
Preserving Your Raspberry Jam: Canning vs. Freezer Jam
So, you’ve got this gorgeous, perfectly set raspberry jam—now what? My grandmother always canned hers so she could have summer fruit ready for Christmas baking. But if you’re just making a small batch or you want to skip the whole boiling water bath setup, you have options! Keeping things easy is key, even when preserving.
If you’re aiming for shelf stability—meaning you want jars sitting happily in your pantry for months—you need to use the water bath canning method. After you ladle the hot jam into your sterilized jars, you process them submerged in actively boiling water for about ten minutes. This seals them up tight. Simple! If you’re looking for a quicker way to save your preserves, freezing is your best friend. For the *Raspberry Freezer Jam*, just let the jam cool completely in the jars or freezer-safe containers first, and then pop them right into the freezer. They last beautifully for about six months, giving you a wonderful *quick berry preserve* any time you need it.
Knowing you have both options means you can make as much or as little as you want! If you need some speedy meal ideas for those weeks you don’t have time for jamming, don’t forget to check out my weeknight dinner ideas.
For even more insight on getting that perfect set without pectin, I always recommend looking at other methods for inspiration, like this one found at Easy Homemade Raspberry Jam Recipe.
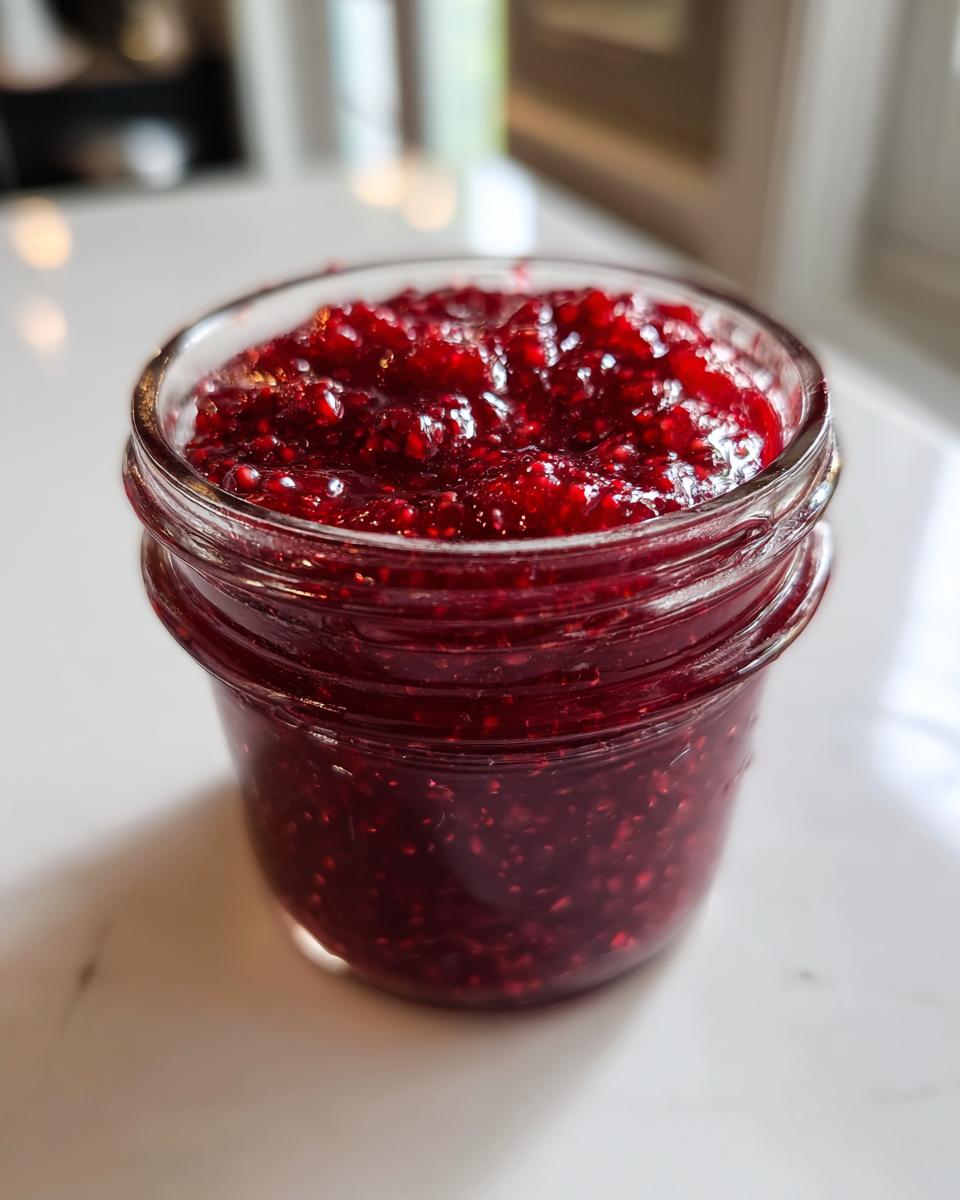
Tips for Making the Best Raspberry Jam Every Time
We’ve got the technique down, but let’s talk about making your jars look absolutely magazine-worthy when you finish that batch of raspberry jam. In my kitchen, presentation matters because it feels like I’m giving a real gift when I share these jars with neighbors!
First, that little layer of foam that floats on top after you take the jam off the heat? Don’t skip skimming it off! It looks messy and can make your jam cloudy over time. I just use a metal spoon and gently scoop it away before filling the jars. It’s a small step, but it keeps the final product looking bright and clean.
Also, cleanliness is key for a safe, beautiful seal if you are canning. Make sure your jar rims (the very top edge) are wiped clean with a damp cloth dipped in vinegar water before you put the lids on. Any sticky spot can interfere with the lid sealing properly. These little details really elevate your jam from good to absolutely the best raspberry jam you’ve ever made.
If you’re just making it for snacking now and want some ideas for using that jam in desserts later, you can browse my favorite best homemade desserts!
For another perspective on getting those tips just right, check out what my friend over at It’s Not Complicated Recipes advises on achieving peak flavor.
Serving Suggestions for Homemade Breakfast Toppings
Now that you have jars of this sweet, tart preserve, the fun really begins! The possibilities for using your fresh fruit spread are endless, but I always go back to the simple pleasures first. You absolutely have to try this on a thick slice of warm, crusty sourdough bread. The slight tang of the bread and the bright sweetness of the jam? Perfection. It’s truly one of my favorite homemade breakfast toppings.
But don’t stop at toast! Spoon a dollop over a bowl of plain yogurt or cottage cheese; it brightens everything right up. And for something a little more fun in the evening, a spoonful stirred into a sparkling glass of Prosecco makes a super elegant little cocktail. If you are into making breakfast a special event, you have to try serving this jam alongside my recipe for creamy, fluffy scrambled eggs. Trust me, you’ll find yourself reaching for a jar every single morning!
Frequently Asked Questions About Raspberry Jam
When I started learning to make preserves, I had a million questions swirling around, just like I’m sure you do now! It’s completely normal when you step into preserving summer fruit for the first time. Here are some of the things I hear most often about making this raspberry jam.
Do I absolutely need pectin for this raspberry jam recipe?
Nope! That is the best part of this particular recipe—it is considered an *old-fashioned jam* because we let nature do the hard work. Raspberries have decent natural pectin, and when we combine that with the right amount of sugar and fresh lemon juice for acid, it sets up beautifully thick. It’s a simple, 3 ingredient jam that tastes so much fresher than the store-bought kind.
How can I make a seedless raspberry jam if I prefer that texture?
I mentioned this as a little note, but it bears repeating because so many people ask! If you find the seeds distracting, you absolutely can make a *seedless raspberry jam*. You just need to push the berries through a fine-mesh sieve after they’ve cooked down but *before* you add your 4 cups of sugar. It takes a little extra stirring time, but it gives you a wonderfully smooth preserve that is fantastic for topping things like scones.
How long will this homemade raspberry jam last in the fridge?
This depends on your method! If you skip the full water bath canning process and just let the jam cool and store it in regular jars in the refrigerator, it stays great for about three weeks. Because it’s fresh, it’s one of the best *homemade breakfast toppings* when you plan on eating it quickly. If you want it to last longer, you must process it using a boiling water bath, which seals it for pantry storage up to a year.
Can I use frozen raspberries instead of fresh for this quick berry preserves recipe?
Yes, you totally can! I often use frozen berries if I grab a big bag on sale, especially toward the end of the summer season. You don’t even need to thaw them out first. Just put them straight into the pot, but expect the initial cooking time—before they really break down—to take an extra five minutes or so. The final result is just as lovely!
If you ever have doubts about storage safety after processing, you can always review the guidelines I follow on my privacy policy page regarding recipe integrity.
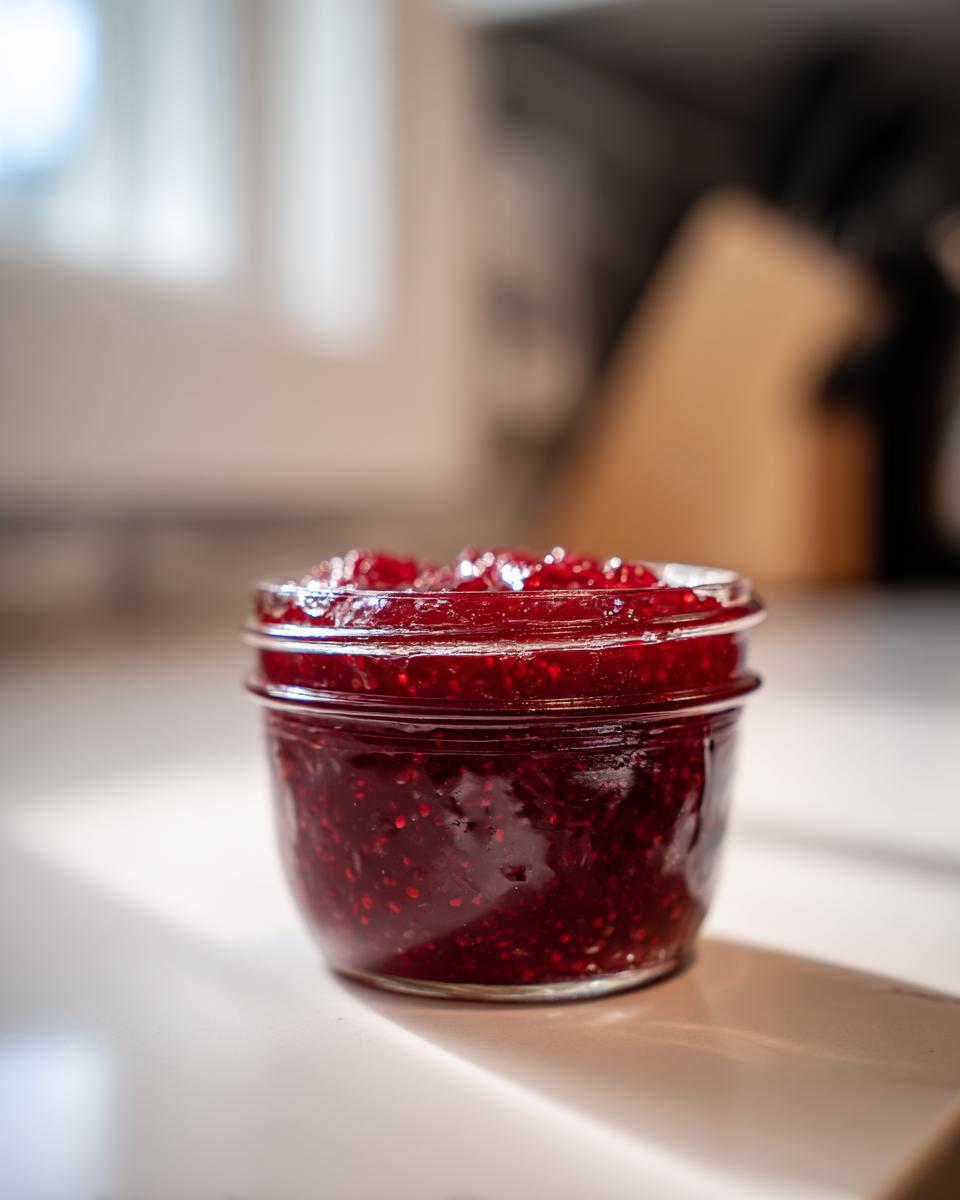
Storage and Shelf Life for Your Preserves
We have to talk about putting this beautiful fruit away safely, because no one wants to waste a perfect batch! How you store the jars dictates how long they hang around, which impacts how much you need to make next time. Remember, this is a classic, *old-fashioned jam*, so we treat it with respect!
If you used the water bath canning method described above and you got a good seal, your sealed jars can sit happily in a cool, dark pantry for up to a year. Once you open one, though, it becomes like jelly—you need to keep it in the fridge and use it within about three weeks. If you skipped canning and went straight for the freezer option, those containers will stay vibrant and fresh for about six months when stored below zero. For all the nitty-gritty details on keeping things safe, you can always check my standards on the terms of use page.
Share Your Favorite Raspberry Jam Creations
Well, that’s it! You’ve done it! You’ve turned a pile of fresh summer fruit into glorious, homemade raspberry jam that tastes miles better than anything in a plastic jar. I truly hope this recipe brings a little bit of that cozy, reliable feeling from my kitchen right into yours.
I absolutely love hearing from you! Please come back here, drop a comment below telling me how thick your jam set, and give the recipe a rating if you enjoyed it. And if you made something amazing with it—maybe a pie or some thumbprint cookies—I’d be thrilled if you shared a picture! You can always reach out to me on the contact page. Happy preserving, my friends!
PrintEasy Homemade Raspberry Jam Without Pectin
Make this simple, bright raspberry jam using just three ingredients. This recipe thickens naturally and is perfect for toast, yogurt, or gifting.
- Prep Time: 10 min
- Cook Time: 30 min
- Total Time: 40 min
- Yield: About 4 half-pint jars 1x
- Category: Preserves
- Method: Stovetop Cooking
- Cuisine: American
- Diet: Vegetarian
Ingredients
- 2 pints fresh or frozen raspberries
- 4 cups granulated sugar
- 1 large lemon, juiced
Instructions
- Prepare your jars and lids if you plan to can, or set aside freezer-safe containers.
- Place the raspberries in a large, heavy-bottomed pot. Cook over medium heat, stirring occasionally, until the berries break down and release their juices, about 5 to 10 minutes. You can gently mash them with a potato masher for a smoother texture.
- Stir in the sugar until it is completely dissolved. Bring the mixture to a full, rolling boil that cannot be stirred down.
- Add the fresh lemon juice. Continue to boil rapidly, stirring often to prevent sticking, until the jam reaches the setting point. This usually takes between 15 to 25 minutes after reaching a full boil.
- Test for the setting point: place a small spoonful of jam on a chilled plate. If it wrinkles when pushed, it is ready.
- Remove the pot from the heat. Skim off any foam that has formed on the surface.
- Ladle the hot jam into your prepared jars, leaving 1/4 inch headspace. Wipe the rims clean.
- Process the jars in a boiling water bath canner for 10 minutes for shelf stability, or allow the jam to cool completely before storing it in the refrigerator for up to 3 weeks or the freezer for up to 6 months.
Notes
- For seedless raspberry jam, press the cooked berry mixture through a fine-mesh sieve before adding the sugar and lemon juice.
- If you are making freezer jam only, you can reduce the cooking time slightly, as the jam will set further upon chilling.
- This recipe makes a sweet and tart jam, ideal for pairing with sourdough bread or using as a dessert topping.
Nutrition
- Serving Size: 2 tablespoons
- Calories: 100
- Sugar: 25g
- Sodium: 1mg
- Fat: 0g
- Saturated Fat: 0g
- Unsaturated Fat: 0g
- Trans Fat: 0g
- Carbohydrates: 26g
- Fiber: 1g
- Protein: 0g
- Cholesterol: 0mg