
Oh, honey, does your garden ever just overflow? You look out there at those beautiful green beans, and you think, “I can’t possibly eat all these fresh,” but you absolutely *cannot* let them go to waste! That’s when you need a recipe that’s ready faster than you can pull out the big water bath canner. If you have a bumper crop of green beans, learning how to make fantastic dilly beans is essential. Forget complicated preservation techniques for a minute; we are going straight to the snappy, tangy, garlicky goodness you crave right now!
This is where my Quick & Easy Refrigerator Dilly Beans recipe saves the day. It captures that incredible crunch and flavor profile that makes pickled green beans just irresistible, but the best part? No water bath needed! Just fresh ingredients, a quick hot brine, and a little patience in the fridge. As a mom who understood that weeknight dinner rush better than anyone, I promise you, Rosa Sterling created this recipe specifically for cooks who need reliable, huge flavor without dedicating an entire weekend to the pantry. These refrigerator dilly beans are going to change how you look at simple green beans forever.
- Why You Will Love This Easy Dilly Beans Recipe
- Gathering Ingredients for Crunchy Dilly Beans
- Step-by-Step Instructions: How to Make Refrigerator Dilly Beans
- Expert Tips for Perfect Crunchy Dilly Beans
- Canning Dilly Beans for Long-Term Preserve Green Beans
- Dilly Beans Recipe Variations: Spicy Dilly Beans and More
- Serving Suggestions for Tangy Green Bean Pickles
- Storage and Shelf Life for Homemade Dilly Beans
- Frequently Asked Questions About Dilly Beans
Why You Will Love This Easy Dilly Beans Recipe
I know you want pickles that taste like they took all day, but these refrigerator dilly beans are built for speed. You’ll be reaching for these crunchy beauties tomorrow!
- They give you maximum flavor in minimal time—seriously, no canning equipment required.
- We are talking about that fantastic, snappy texture that makes them incredible snackable pickles.
- They’re vibrant enough to elevate any charcuterie board pickles platter you put together.
- The ratio of tangy vinegar and fresh garlic makes them unbelievably craveable.
If you need a quick side dish to go with your shrimp bowl, this is it!
Gathering Ingredients for Crunchy Dilly Beans
Okay, for this recipe, we keep things incredibly simple. Since these are refrigerator dilly beans, we focus on ingredients that deliver immediate, bold flavor. You’ll need about two pounds of green beans, make sure they are crisp and fresh—no floppy ones allowed if you want that signature crunch! You also need four cups of water, two cups of white vinegar (make sure it’s the standard 5% acidity!), and two tablespoons of pickling salt. Don’t swap that salt for table salt; pickling salt just dissolves cleaner for us.
The real stars, besides the beans themselves, are the aromatics. We’re using four large garlic cloves, peeled and halved, and you’ll want to grab those gorgeous fresh dill recipe heads if you can find them, or at least four sturdy sprigs.
Spice and Flavor Components for Dilly Beans
This is where you customize! For the base flavor in our vinegar brine recipe, we toss in a teaspoon of mustard seeds and a teaspoon of celery seeds. If you’re thinking, “I need these to kick a little bit,” toss in a half teaspoon of red pepper flakes right here. That’s your secret weapon for excellent spicy dilly beans!
Step-by-Step Instructions: How to Make Refrigerator Dilly Beans
Alright, let’s get making these dilly beans! This process is so straightforward, even if you’ve never made a pickle before. Remember, since these are refrigerator pickles, we aren’t fussing with sterilizing everything under the sun—we just need clean jars. You’ll see that getting the brine hot is the only real ‘cooking’ involved! If you love soft doughs, you might want to check out my recipe for soft pretzel bites while you wait for the beans to chill.
Preparing the Green Beans and Jars for Dilly Beans
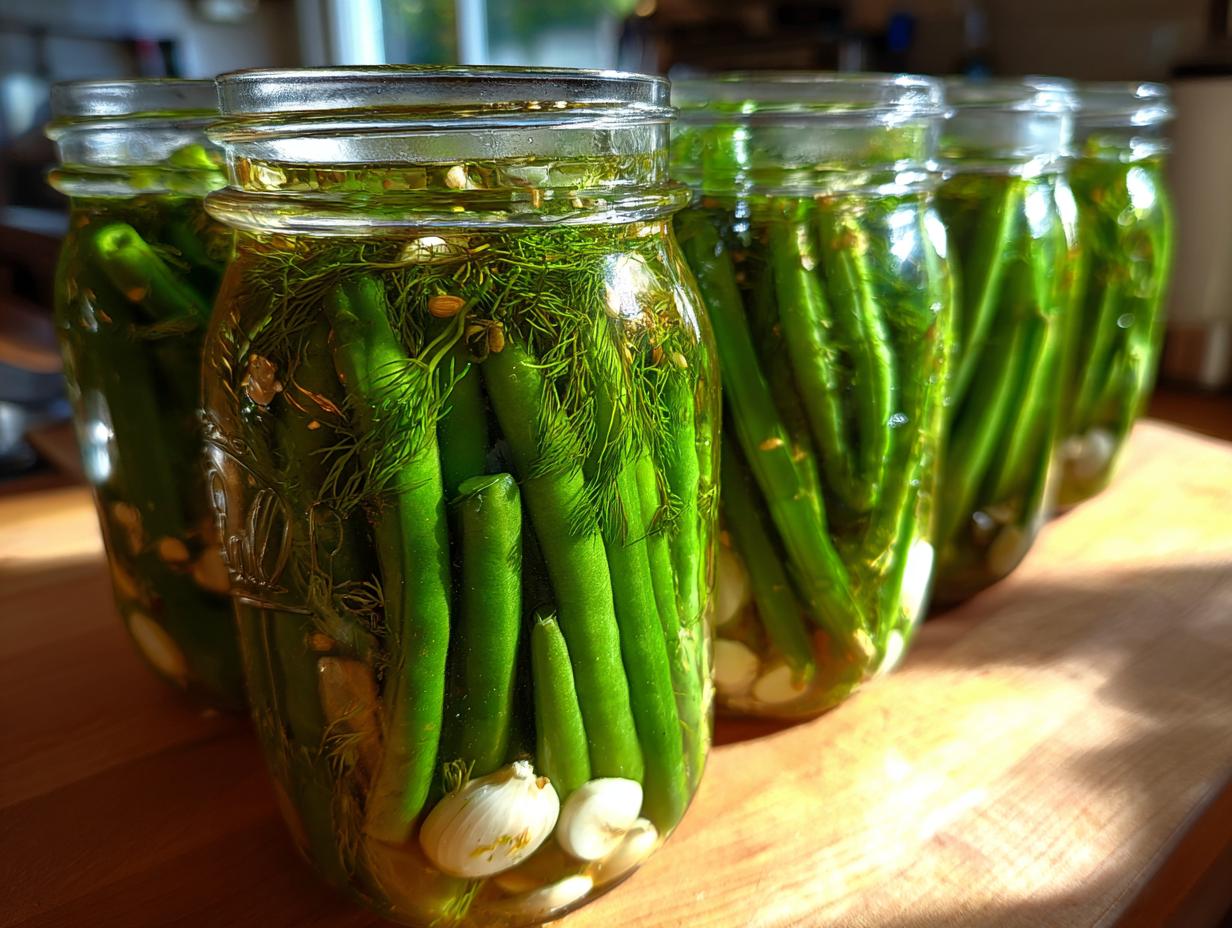
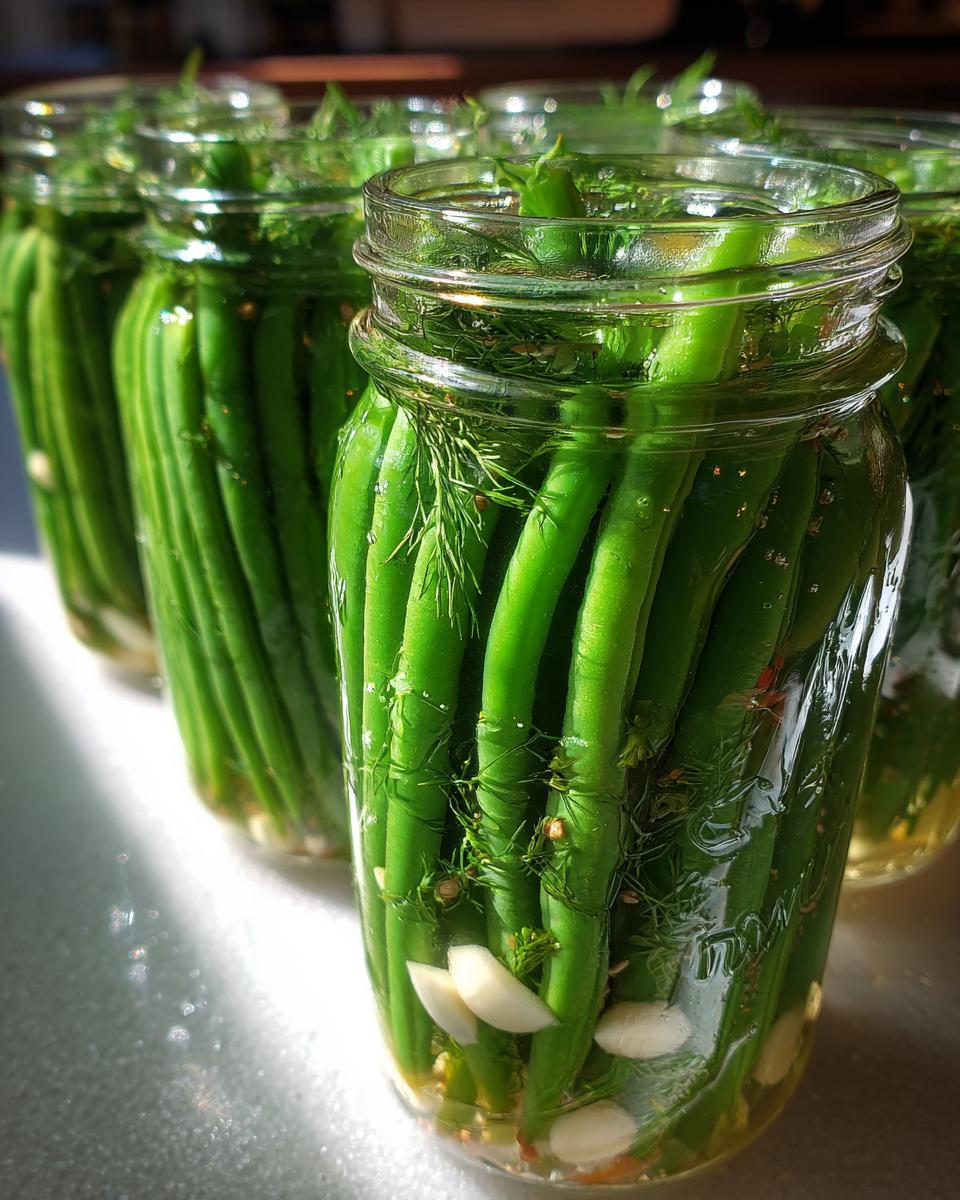
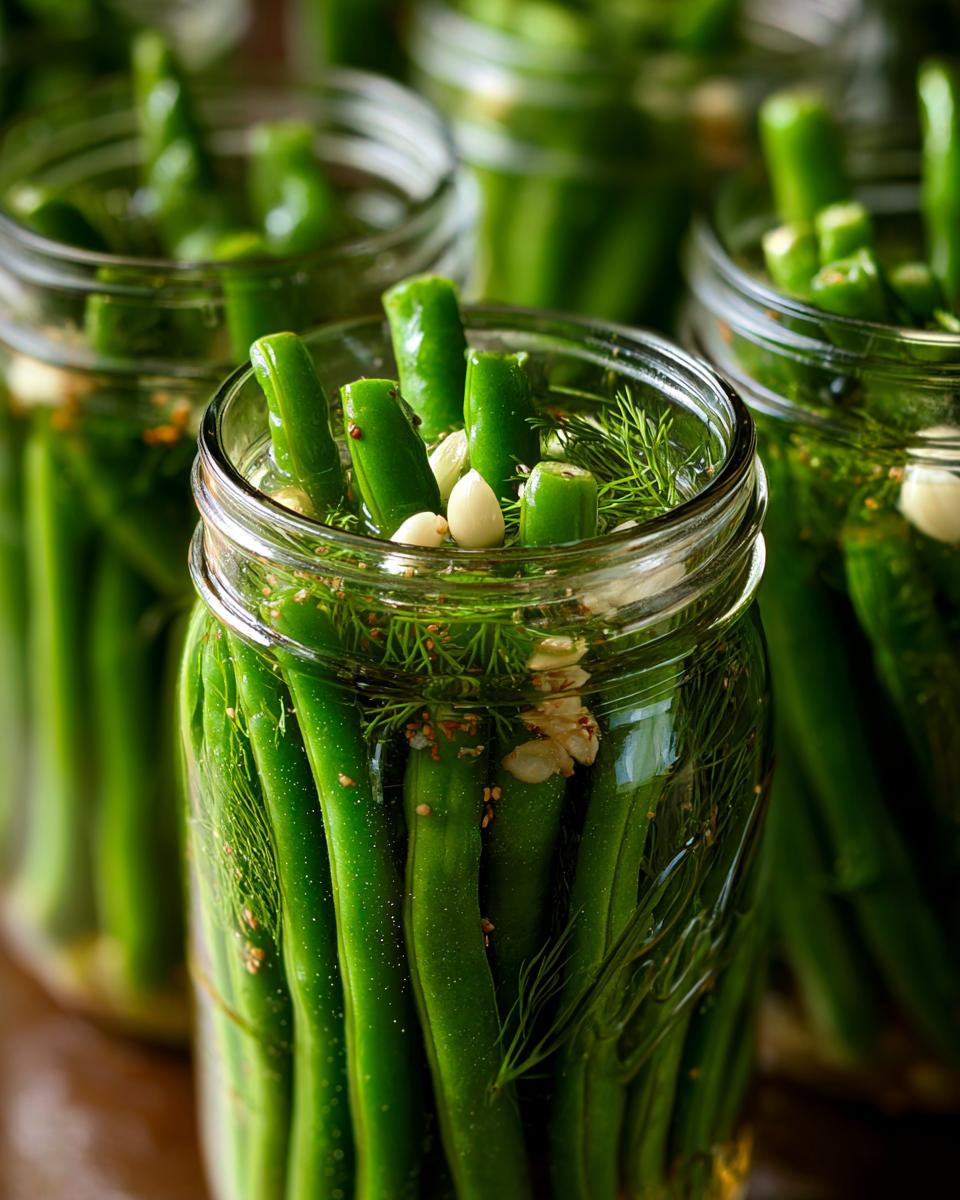
First, give those green beans a really good wash. Then, you need to trim off those tough little ends. Now, here’s a key tip for incredible crunch: pack those beans into your clean pint jars standing straight up, packing them in tight! Divide up your garlic halves, mustard seeds, celery seeds, and the optional red pepper flakes evenly between the two jars as you pack them down. Don’t be gentle; we want them snug!
Creating the Vinegar Brine Recipe for Dilly Beans
Time for the magic liquid! Grab a saucepan and pour in the four cups of water, the two cups of white vinegar, and the pickling salt. Get this over high heat and bring it to a full, rolling boil. You have to keep stirring until you see every last bit of that salt completely disappear into the liquid. That perfect vinegar brine recipe is what gives us that great tangy snap on the tangy green bean pickles.
Finishing and Storing Your Quick Pickled Green Beans
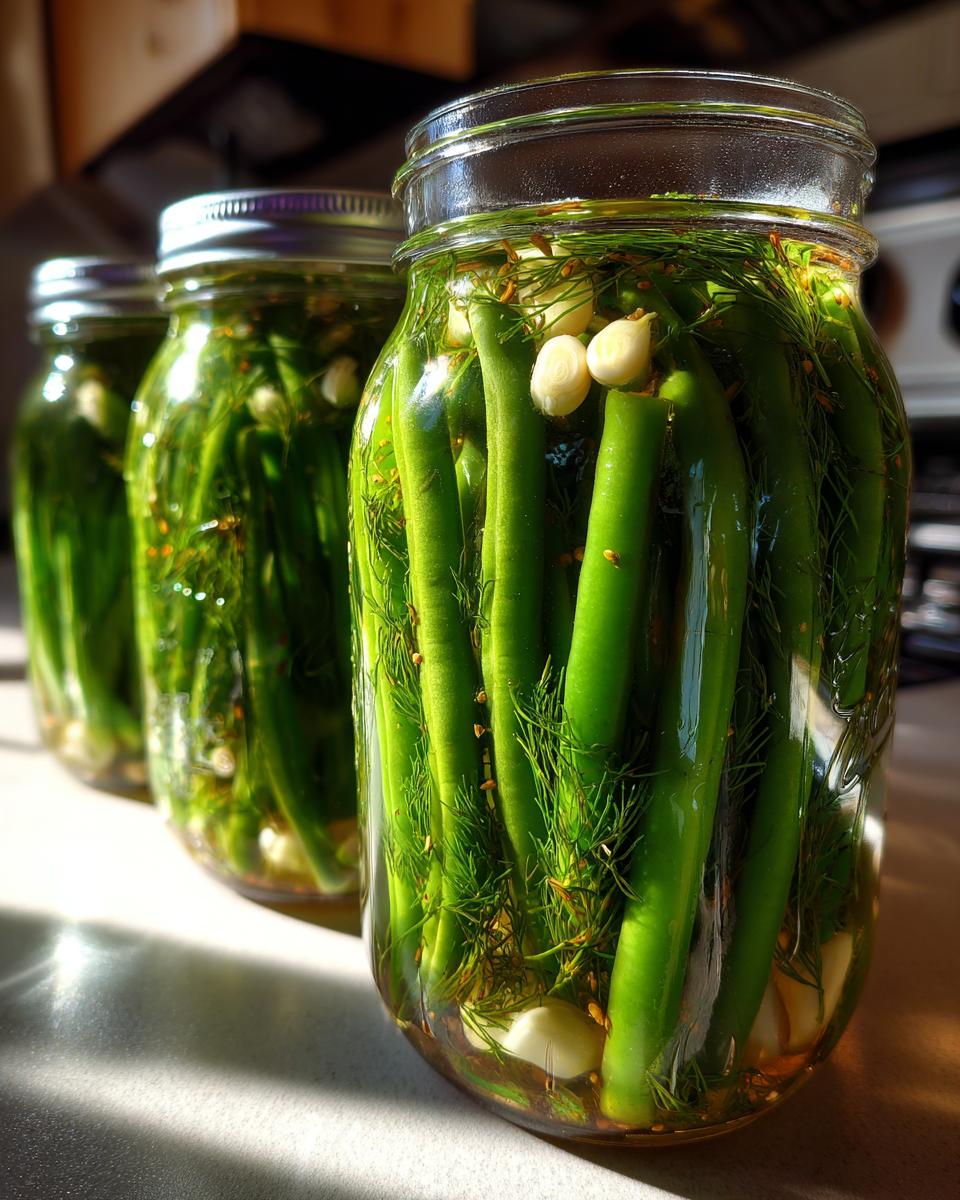
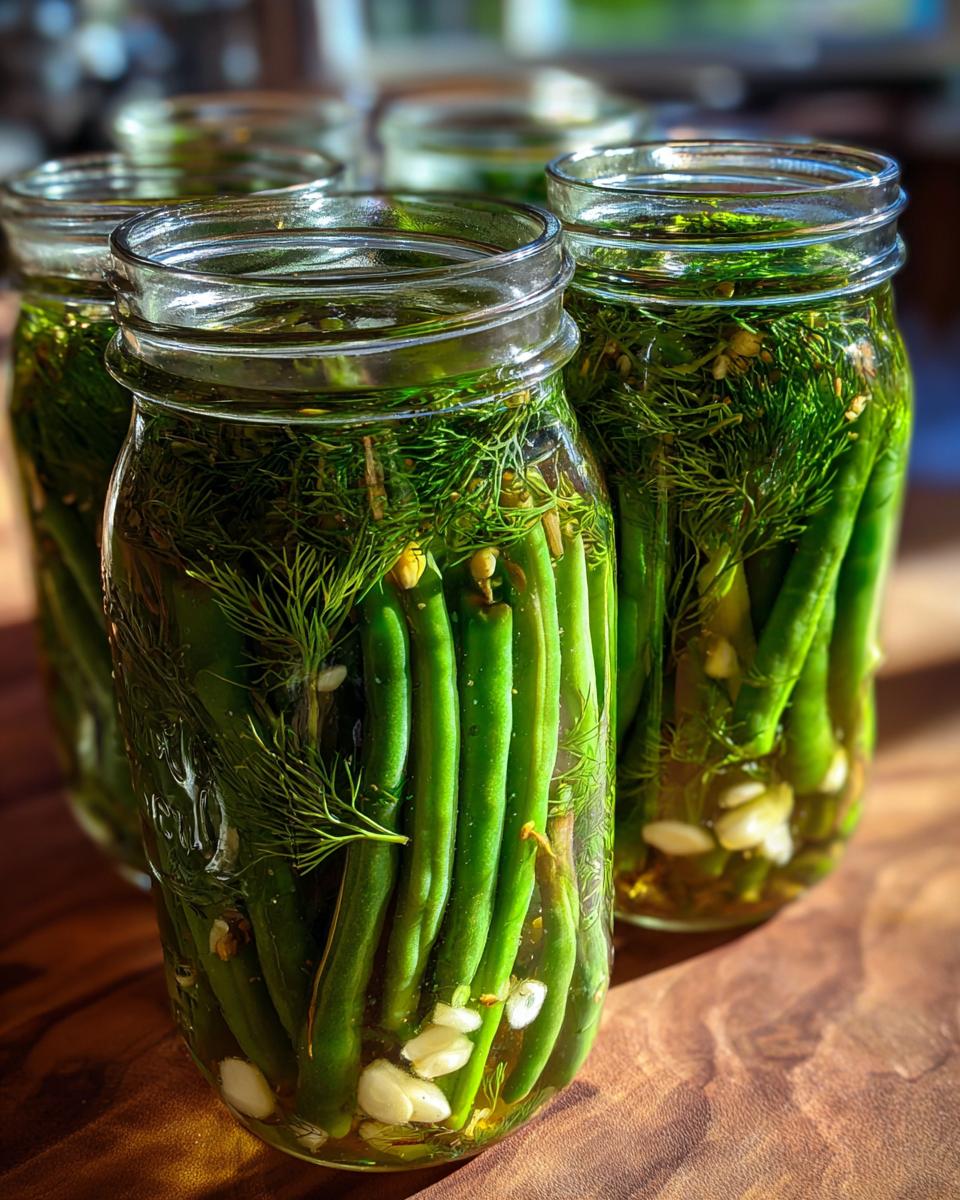
Once the brine is boiling, pour that hot liquid carefully over the beans in the jars until they are completely covered. Leave about half an inch of space at the very top. Now, tuck those fresh dill sprigs right on top of the mixture. Wipe the rims if you splashed any brine on them, put the lids on fingertip tight, and let those jars sit on your counter for about an hour to cool down. Once they’re cool to the touch, pop those quick pickled green beans straight into the fridge. Don’t cheat—you have to wait a full 24 hours before you start trying these beauties!
Expert Tips for Perfect Crunchy Dilly Beans
People always ask me, “Rosa, how have I made soggy pickles before?” It usually comes down to technique and the starting materials! For the best crunchy pickled beans, you absolutely cannot compromise on freshness. Shop local if you can, or use beans the same day you buy them. If they are even slightly limp, they won’t snap back when you bite them.
Also, don’t skimp on the dill! While sprigs work fine for a quick pickle, if you really want that deep, herbaceous flavor that makes simple dilly beans sing, use the entire dill head—the flowery tops. They release way more essential oils into that vinegar brine recipe as it sits. Trust me; that little upgrade makes a huge difference. If you’re whipping up dinner later, save some dill flavor for my garlic parmesan knots! It’s all about layering flavor, even when you’re making something quick.
Canning Dilly Beans for Long-Term Preserve Green Beans
Now, I know some of you lovely folks prefer to stock your pantries, not just your fridge! If you want to take these amazing dilly beans and make them shelf-stable, you absolutely can. Remember, this is different from the quick method we just did because we need that heat processing to seal things up safely for long storage.
Once you have your jars packed and that hot brine poured in, instead of just letting them cool, you’ll seal them fingertip tight and place them into a boiling water bath canner. All you need to do is process them for about 10 minutes—always check altitude adjustments if you live way up high! This lets you enjoy these pickled green beans all winter long. For more detailed canning specifics, I often reference guides like the one over at One Hundred Dollars a Month. If you want something easier, my crockpot potato soup is always a winner too!
Dilly Beans Recipe Variations: Spicy Dilly Beans and More
The beauty of learning how to make dilly beans is that once you master the base brine, you can go wild! We already tossed in red pepper flakes for easy spicy dilly beans, but if you want real heat, try adding sliced jalapeños right along with the garlic. They steep beautifully and give a lovely green color contrast.
Don’t forget your vinegar options, either. If you want a slightly deeper, fruitier tang than standard white vinegar, use half white vinegar and half apple cider vinegar in your brine. It pairs wonderfully with savory herbs. If you’re looking for a blend of spices like you’d find on a street food cart, check out my tips for making a great Mexican-inspired salad—that same spice philosophy works here! For other bold ideas on adding spice to your pickles, you might love this great resource from The Hungry Goddess.
Serving Suggestions for Tangy Green Bean Pickles
Now that you have a jar full of bright, snappy, tangy green bean pickles, what do you do with them all? Well, you eat them immediately, of course! These are the perfect snackable pickles straight out of the jar when you need a flavor punch.
But they are so much more versatile than just snacking! I love setting a small bowl of these right next to the cutting board when I’m assembling sandwiches or wraps—they add such a necessary sour crunch. They also make the *best*, boldest garnish imaginable for a Bloody Mary. Seriously, ditch the sad celery stick, we’re going elegant! Try serving them alongside my famous cheese ball for a perfect mix of savory and bright flavors.
Storage and Shelf Life for Homemade Dilly Beans
Since we made these delicious snacks with the refrigerator method—these are *not* shelf-stable canning—we do need to keep them chilled. My rule of thumb for these refrigerator dilly beans is that they taste the absolute best within the first two weeks, but they stay wonderfully crisp and tangy for about four weeks in the fridge. Just keep the jar sealed tight!
If you did take the time to water bath can your batch, follow all standard canning storage rules: keep them cool, dark, and dry, and they’ll be good for up to a year. But come on, these pickled green beans are too good to keep around that long! If you want an easy way to preserve fruit without all that heat, you should check out my notes on easy freezer jam.
Frequently Asked Questions About Dilly Beans
I totally get it—when you’re trying out a new recipe, especially preserving vegetables, you’re going to have questions! I made sure this refrigerator dilly beans recipe was easy enough for dilly beans for beginners, but let me address a few things that come up all the time about how to make dilly beans.
Can I use fresh dill heads instead of sprigs for my dilly beans?
Oh, yes, absolutely! If you can find those beautiful dill heads, go for it. The heads give you a much more concentrated and robust dill flavor compared to just the sprigs. Since we aren’t processing these pickles for a long time, the heads really infuse that amazing taste into the brine quickly. It’s a small switch that makes a big difference in your final product!
What makes refrigerator dilly beans so crunchy?
That crunch is my favorite part, and it comes down to a few key things that differ from traditional canning. First, we pack the beans in really tight in Step 4—that physical pressure keeps them rigid. Second, because we use a high-acid vinegar brine recipe and only chill them, we avoid that long, slow heat exposure that breaks down the bean walls. You get immediate flavor penetration without losing that snap. Truly, these are wonderfully crunchy pickled beans!
What is the best way to make garlic dill beans without canning?
If you want that fantastic garlic dill beans flavor without firing up the big canner, you’ve found it right here! This featured recipe is exactly what you need. It’s designed specifically as a quick pickling method. You bring the brine to a boil, pour it over the packed jars, chill them, and you are done. Minimal steps, maximum flavor, zero long-term shelf storage needed. It’s the ultimate way to make fresh, satisfying refrigerator dilly beans!
If you have any other cooking questions, feel free to reach out via my contact page. Happy pickling!
PrintQuick & Easy Refrigerator Dilly Beans (Crunchy Pickled Green Beans)
Make crunchy, tangy dilly beans without canning. This easy refrigerator pickle recipe uses fresh dill and garlic for a flavorful snack or side dish ready fast.
- Prep Time: 20 min
- Cook Time: 5 min
- Total Time: 25 min
- Yield: 2 pints 1x
- Category: Side Dish
- Method: Quick Pickling
- Cuisine: American
- Diet: Vegetarian
Ingredients
- 2 pounds fresh green beans, ends trimmed
- 4 large cloves garlic, peeled and halved
- 1 teaspoon mustard seeds
- 1 teaspoon celery seeds
- 1/2 teaspoon red pepper flakes (optional, for spicy dilly beans)
- 4 cups water
- 2 cups white vinegar (5% acidity)
- 2 tablespoons pickling salt
- 1/4 cup fresh dill heads or 4 sprigs fresh dill
Instructions
- Wash the green beans thoroughly. Trim the stem ends off each bean.
- Pack the green beans tightly into two clean, pint-sized canning jars, standing them upright. Distribute the garlic halves, mustard seeds, celery seeds, and red pepper flakes evenly between the two jars.
- In a medium saucepan, combine the water, white vinegar, and pickling salt. Bring the mixture to a rolling boil over high heat, stirring until the salt dissolves completely.
- Carefully pour the hot brine over the beans in the jars, ensuring the beans are completely submerged. Leave about 1/2 inch of headspace at the top of each jar.
- Place the fresh dill sprigs or heads on top of the brine in each jar.
- Wipe the rims of the jars clean. Seal the jars with lids and bands, tightening them to fingertip tight.
- Let the jars cool on the counter for about one hour. Once cool, place the jars in your refrigerator.
- Wait at least 24 hours before eating the dilly beans for the best flavor. These refrigerator pickles are best eaten within 4 weeks.
Notes
- For canning dilly beans for long-term storage, process the sealed jars in a boiling water bath canner for 10 minutes after sealing. Adjust processing time for altitude if necessary.
- If you prefer a stronger dill flavor, use fresh dill heads instead of sprigs.
- For a tangier pickle, you can substitute 1 cup of the water with apple cider vinegar.
Nutrition
- Serving Size: 1/2 cup
- Calories: 25
- Sugar: 1
- Sodium: 350
- Fat: 0
- Saturated Fat: 0
- Unsaturated Fat: 0
- Trans Fat: 0
- Carbohydrates: 5
- Fiber: 1
- Protein: 1
- Cholesterol: 0