

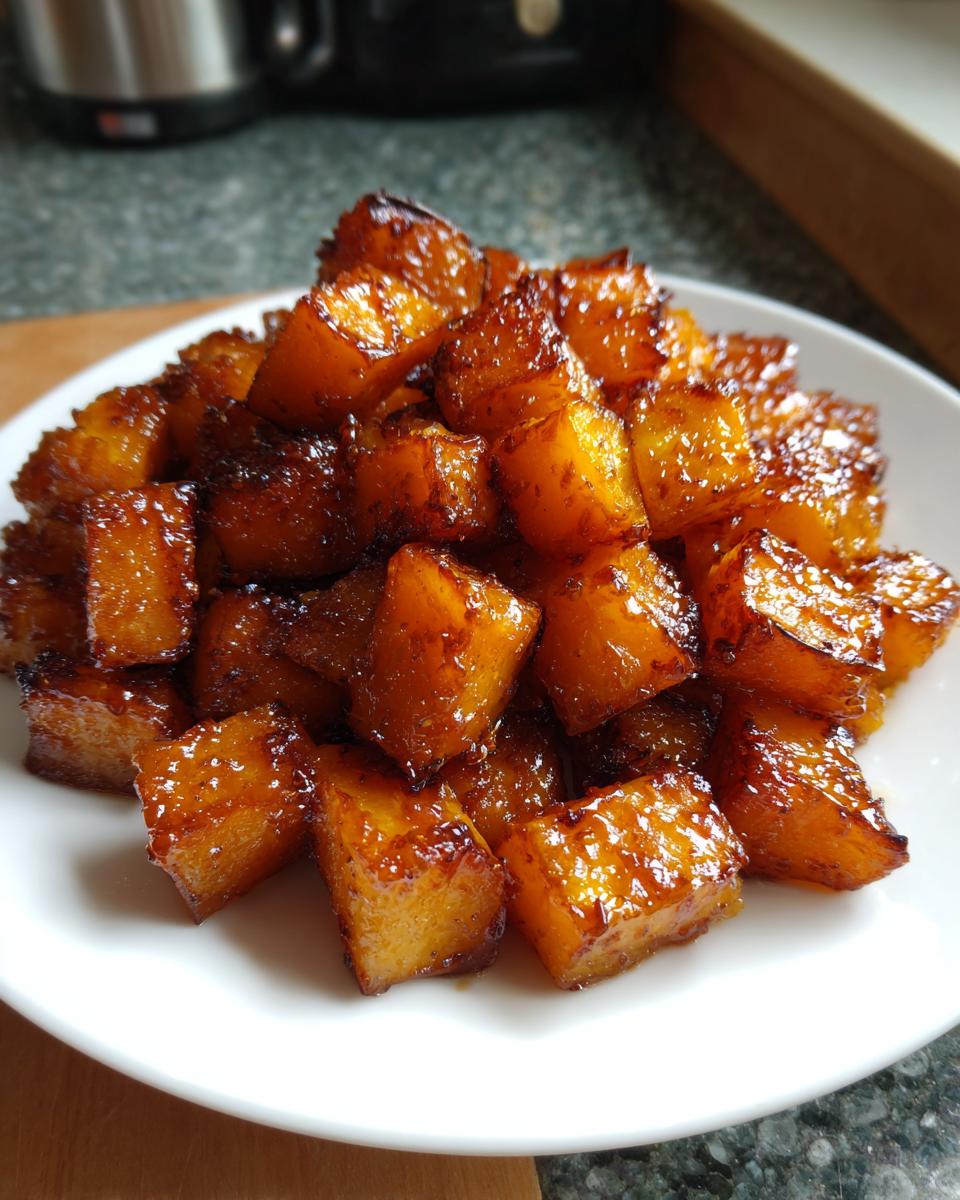
If fall had a flavor, I think it would taste exactly like this squash. We all know that feeling when you bring home that beautiful, heavy butternut squash, and you need a side dish that’s simple enough for a Tuesday dinner but gorgeous enough for Thanksgiving. Well, look no further! This **Brown Sugar Roasted Butternut Squash** recipe is my go-to, and honestly, it’s the best you’ll ever make. Here at Rosa’s Tasty Kitchen, we believe food should be reliable and soul-satisfying, not complicated. This recipe proves you can get incredible, caramelized results with pantry staples in under an hour. It’s what home cooking is all about!
- Why This Brown Sugar Roasted Butternut Squash Recipe Works (Easy Roasted Squash Side Dish)
- Essential Ingredients for Brown Sugar Roasted Butternut Squash
- Step-by-Step Instructions: Making Brown Sugar Squash
- Tips for Success with Your Brown Sugar Butternut Squash Recipe
- How to Roast Butternut Squash: Timing and Texture Check
- Serving Suggestions for Your Sweet Roasted Vegetables
- Storing and Reheating Your Brown Sugar Roasted Butternut Squash
- Frequently Asked Questions About Brown Sugar Roasted Butternut Squash
- Nutrition Estimates for This Quick Winter Squash Recipe
Why This Brown Sugar Roasted Butternut Squash Recipe Works (Easy Roasted Squash Side Dish)
When I developed this **Brown Sugar Roasted Butternut Squash** recipe, I wasn’t trying to reinvent the wheel. I was looking for foolproof flavor—the kind of side dish that disappears first at every potluck. This recipe is fantastic because it turns basic ingredients into something elegant. We skip the long simmering times because the high heat does all the heavy lifting.
- It comes together in just a few minutes of prep time. It’s truly a Simple fall vegetable side.
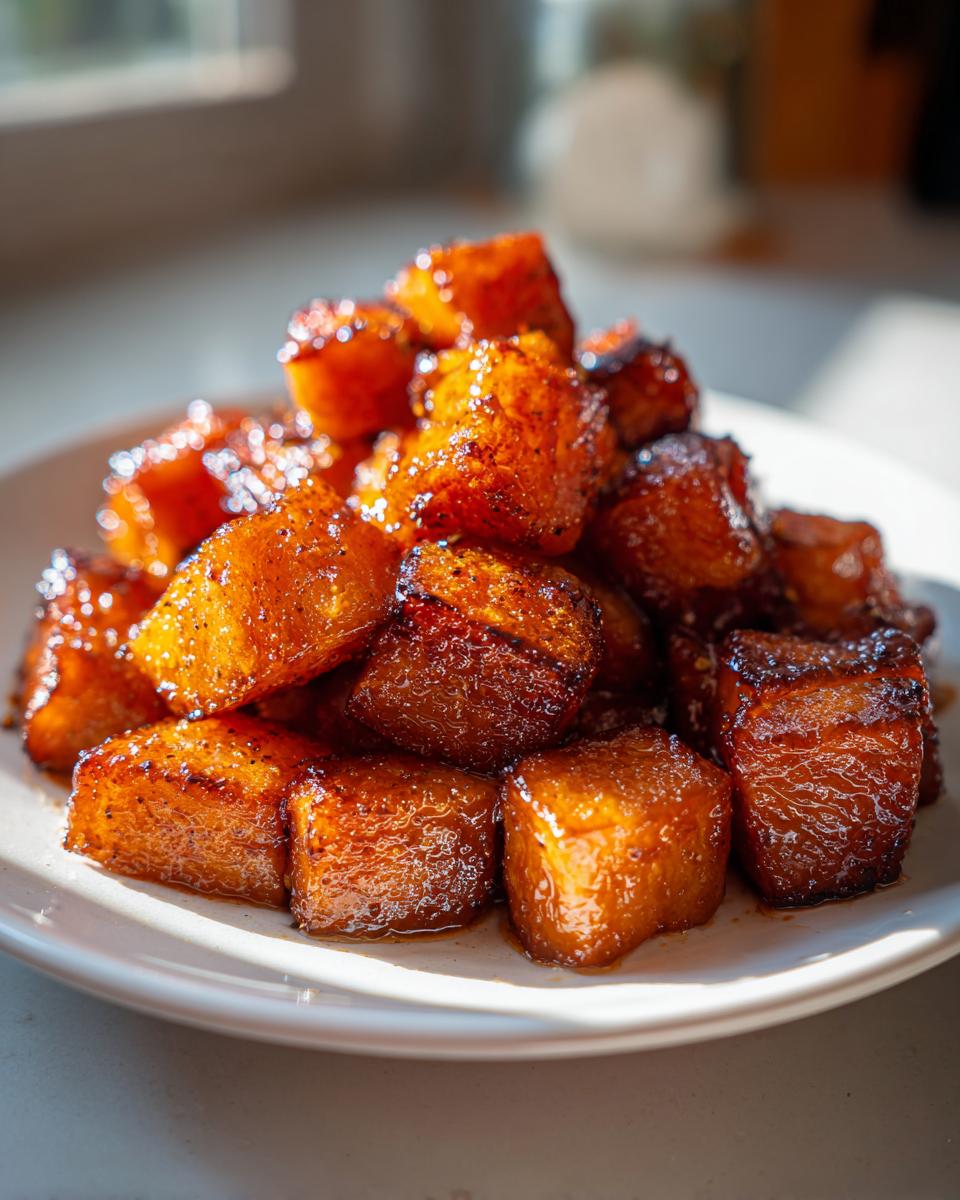
- The payoff is huge: a buttery, sweet exterior wrapping a tender, creamy center.
- It’s reliable. I’ve tested this combination over and over, and it never fails to produce that beautiful glaze.
Achieving Perfect Caramelization with Brown Sugar
The secret that makes this dish pop is that beautiful, sticky crust. When you mix the butter, maple syrup, and light brown sugar, you are essentially creating a thin glaze. When that glaze hits the 400-degree oven air, it melts and starts to bubble right around the edges of the squash cubes. That’s how you get that wonderful, slightly crispy, **Caramelized butternut squash** texture everyone loves. It’s pure magic without any complicated sauces!
Essential Ingredients for Brown Sugar Roasted Butternut Squash
This recipe really shines because we keep the ingredient list short, honest, and focused on flavor, just like my grandma always taught me. When you use quality ingredients, you don’t need a ton of fiddly steps! Everything you need for this easy roasted squash side dish should be sitting right in your pantry or easily found at the store. Don’t sweat the details too much, but pay attention to that sugar!
- The star, of course, is 1 medium butternut squash—aim for about 3 pounds. It needs to be uniform so it roasts evenly.
- We use 3 tablespoons of unsalted butter, and yes, it absolutely has to be melted first so it coats everything nicely.
- For that deep, rich sweetness, use 3 tablespoons of **packed light brown sugar**. That packing makes a difference!
- To thin out that glaze just a bit, I add 1 tablespoon of maple syrup. It works wonders with the brown sugar.
- For warmth, grab your spices: 1/2 teaspoon cinnamon, 1/4 teaspoon nutmeg, plus just a quarter teaspoon of salt and a tiny pinch of pepper to wake it all up.
That’s it! Simple, classic flavors that let the squash shine through.
Step-by-Step Instructions: Making Brown Sugar Squash
Now that you have your ingredients ready, let’s get this fantastic and **Quick winter squash recipe** into the oven! Cooking time is short, so being prepared makes all the difference. Remember, the goal here is to get everything coated beautifully and roasted evenly. This is why following these steps in order is so important!
Preparing and Cubing the Butternut Squash
First things first—get your oven hot! You want to preheat to 400 degrees Fahrenheit right away, and you should line a large baking sheet with parchment paper. That paper is your best friend when dealing with sticky sugars, trust me. The hardest part is dealing with the squash itself. Carefully slice off the hard ends. Then, stand that squash up tall and slice it right down the middle lengthwise. Oops, be careful doing this; squash can slip!
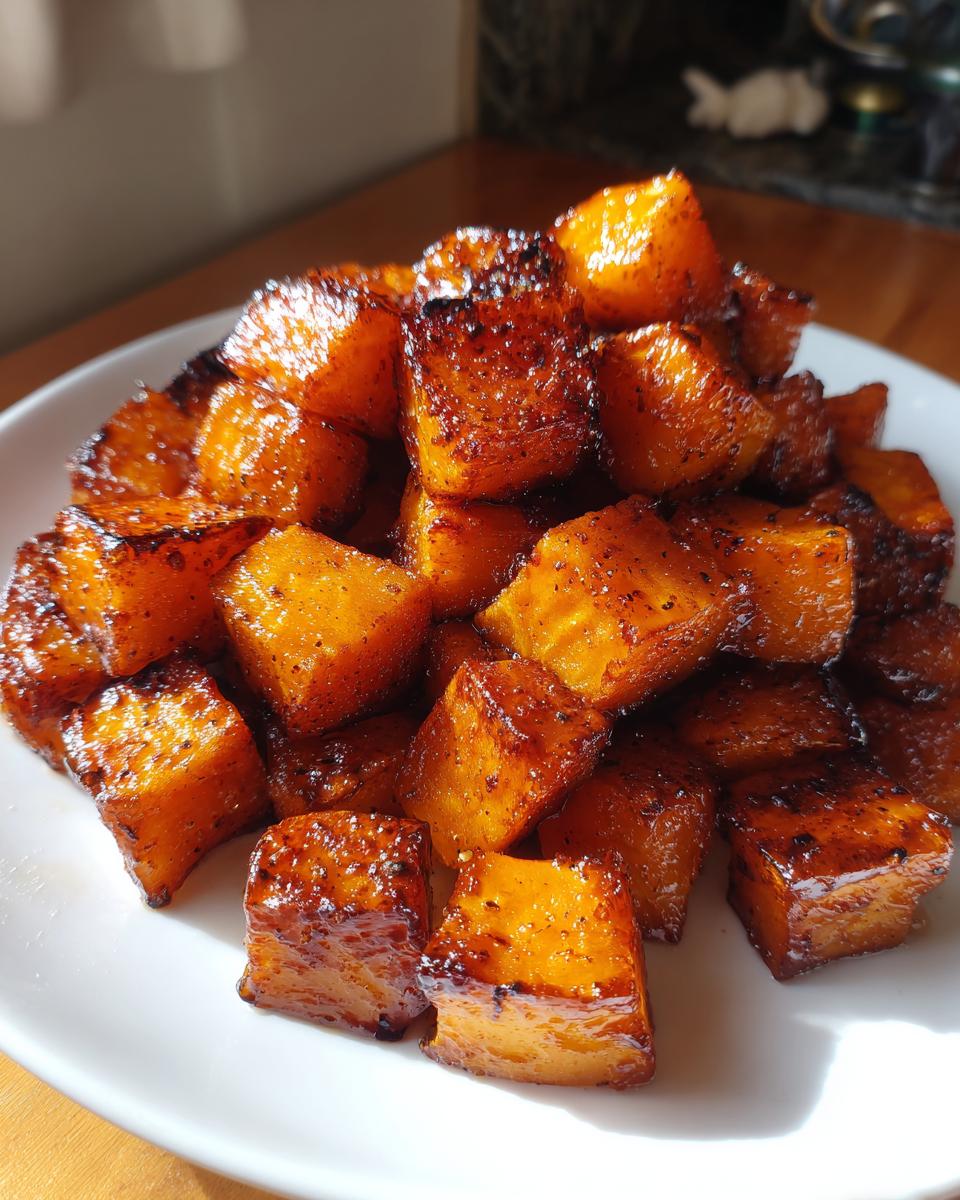
Grab a strong spoon and scoop out all those stringy seeds from the middle—just toss them. Now comes the peeling. I use a tough vegetable peeler, and sometimes I have to go over a spot twice because that skin can be stubborn. Once it’s peeled, chop that squash into uniform 1-inch cubes. Uniformity is key here; if some pieces are giant and others are tiny, they won’t all cook perfectly at the same time.
Coating and Roasting for the Best Brown Sugar Roasted Butternut Squash
Time to make the glaze! In a big bowl—the bigger the better so you don’t splash—whisk together that melted butter, the brown sugar, the maple syrup, your cinnamon, nutmeg, salt, and pepper. Whisk it until it’s smooth and looks like a syrupy caramel sauce. Now, dump those gorgeous squash cubes in and use a spatula to toss them around until every single side is sticky and coated.
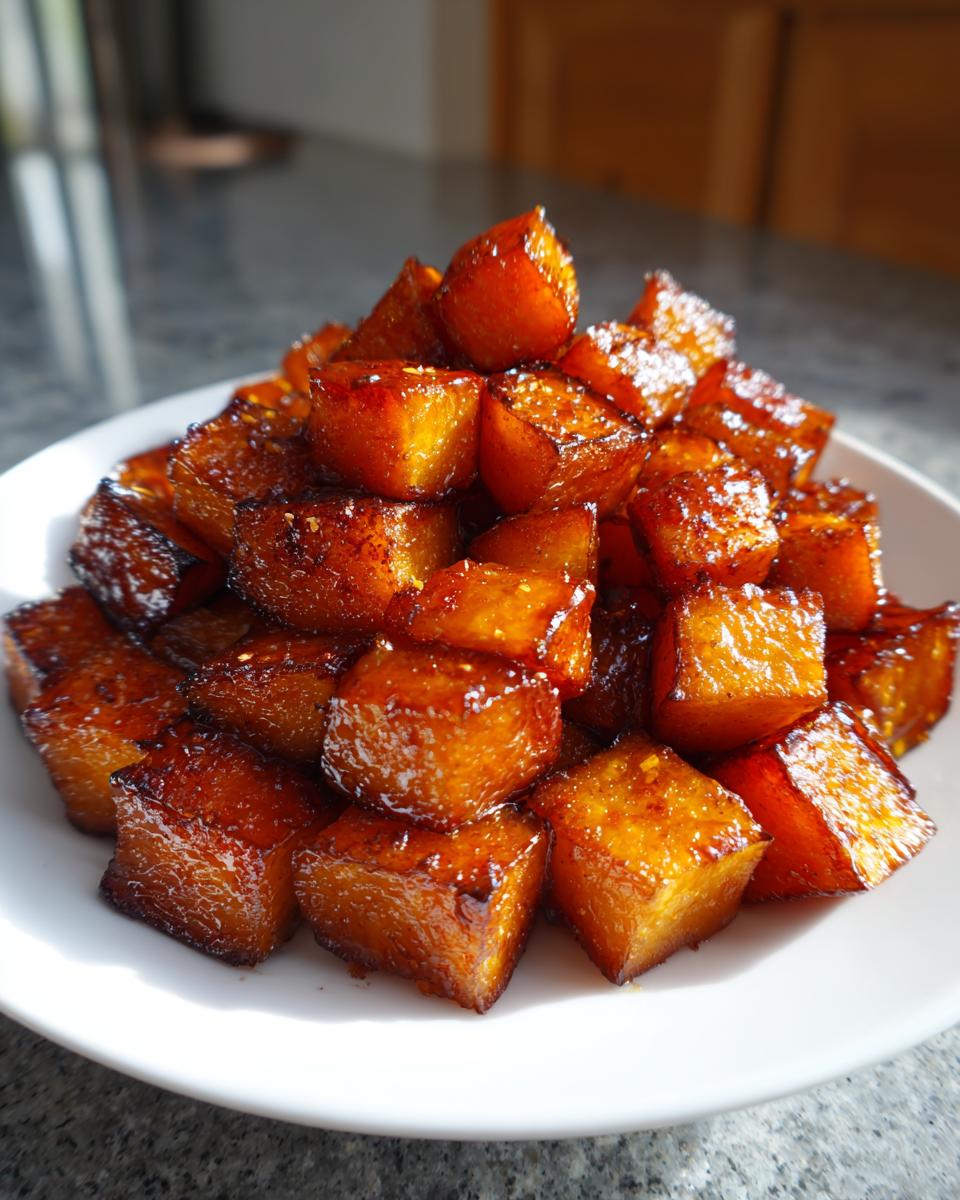
Here’s where we prevent soggy squash: Spread those cubes out on your prepared baking sheet in a single layer. If they are piled up, they steam instead of roasting, and we won’t get that gorgeous **Glazed butternut squash recipe** finish. If you don’t have enough room, grab a second sheet! Roast them for 25 to 30 minutes total. Remember to stir them around halfway through. Once they are fork-tender and you see those brown, crispy edges, they are done! If you need another perfect recipe for your sheet pan, check out my chicken and green beans dinner.
Tips for Success with Your Brown Sugar Butternut Squash Recipe
Even though this recipe is super simple, there are a couple of little tricks I’ve learned over the years that guarantee success. Remember, these small steps separate yummy squash from *the absolute best* squash. My main advice? Be consistent with your cuts! If you have pieces that are way too small, they’ll burn before the bigger chunks are even close to being tender. Aim for consistency when you cut, just like when I share my tips for garlic herb roasted veggies.
Another big tip is understanding your sugar choice. I use light brown sugar because it melts beautifully and has a milder molasses note, letting the cinnamon shine. However, if you want a deeper, richer sweetness, don’t be afraid to swap it out entirely for dark brown sugar. That swap gives you a deeper ‘caramel’ experience and lends itself wonderfully to that **Sweet and savory squash** vibe we sometimes crave.
Ingredient Swaps and Savory Additions
If you’re serving this with something salty like roasted pork or if you just prefer a little edge to your sweetness, I highly recommend throwing in some fresh herbs. My favorite thing to add is about a teaspoon of finely chopped fresh sage right into that little bowl with the spices and sugar. Sage and squash are best friends! It keeps the dish firmly rooted in that cozy, **Holiday squash side dish** territory. Also, remember the notes: if you use dark brown sugar instead of light, you get a more intense flavor profile, which is lovely!
How to Roast Butternut Squash: Timing and Texture Check
So, the timer goes off, and you’re wondering, “Are they actually done?” That’s the moment every home cook worries about! When tackling **How to roast butternut squash**, you need more than just a clock to guide you. At 400 degrees, the time is usually right around 25 to 30 minutes, but squash is funny; sometimes it needs an extra five minutes just because it feels like it. I always tell people to trust their sense of touch over the timer alone!
You need two signs of perfection. First, look at the edges. You want to see that lovely dark brown, almost sticky look—that means your **Brown Sugar Roasted Butternut Squash** has caramelized beautifully. Second, the fork test. Poke a piece right in the thickest part. If your fork slides in with almost zero resistance—it’s fork-tender—then you’ve nailed the texture. If it still fights back, give it a quick stir and pop it back in for five-minute intervals. For more tips on getting your roasted veggies perfect, take a look at my guide for easy roasted potatoes and carrots.
Serving Suggestions for Your Sweet Roasted Vegetables
Once you pull this gorgeous, sticky tray of **Sweet roasted vegetables** out of the oven, you’ll wonder how you ever cooked squash any other way! Because the brown sugar glaze is so comforting and sweet, the best pairings are things that offer a little contrast. This dish travels effortlessly from a simple weeknight meal to the centerpiece of a big spread.
For fall and winter gatherings, this is the ultimate **Holiday squash side dish**. It’s fantastic next to something savory and rich, like a glazed ham or even a perfectly roasted chicken. If you’re serving it with a big roast, you might want a sharp, contrasting sauce on the side, like a creamy horseradish sauce—I have my easy recipe for that right here!
On a busy weeknight, just toss it onto a plate with some wilted kale or spinach and whatever protein you whipped up quickly. It turns simple ingredients into a balanced meal in minutes. And if you’re planning the whole menu, don’t forget the drinks! My simple Thanksgiving punch pairs perfectly with all that sweet spice.
Storing and Reheating Your Brown Sugar Roasted Butternut Squash
Oh, leftovers! Sometimes I actually hope we make too much squash because the flavor deepens overnight. This **Brown Sugar Roasted Butternut Squash** stores beautifully, but you do have to be careful when you reheat it. Since we have that lovely caramelized sugar coating, if you microwave it too long, it can get a little steamy and soft, losing that perfect roasted texture we worked so hard for.
To store it, let the squash cool down completely on the baking sheet first—don’t trap any steam in the container! Once cool, pop it into an airtight container. It lasts great in the fridge for about four or five days. It’s still perfectly safe to eat afterwards, but that wonderful crispness starts to fade.
When you go to reheat it, please, please skip the microwave if you can. A quick trip to the oven or even an air fryer will bring that texture right back to life. Spread the cooled leftovers in a single layer on a clean baking sheet—just like you did when you first roasted them. Set the oven to about 350 degrees Fahrenheit. They only need about 8 to 10 minutes in there to warm through and let those sticky edges crisp up again. If you’re in a real rush, a short 2-minute zap in the microwave is okay, but just know they will be much softer. I promise the oven method is worth the tiny extra wait!
Frequently Asked Questions About Brown Sugar Roasted Butternut Squash
I know questions pop up once you start cooking, especially when you’re aiming for that perfect texture! It’s totally normal. Here are the things folks ask me most often about making this **Brown sugar butternut squash recipe** at home. Trust me, we’ve covered all the bases so you can feel confident every time you pull out that squash.
Can I make this a Vegan roasted squash sides option?
Absolutely! If you want to make this a proper **Vegan roasted squash sides** dish, swapping out the butter is the only thing you need to worry about. The glaze needs that fat for richness. Instead of butter, use 3 tablespoons of melted coconut oil, or if you prefer, a good quality vegan butter substitute. The flavor might change just slightly, maybe leaning a bit more tropical with the coconut oil, but the caramelization works just the same! It’s a wonderful swap.
What is the best way to roast butternut squash for maximum sweetness?
The **Best way to roast butternut squash** for sweetness always comes down to two things: high heat and space! You need that 400-degree oven cranked up, and you have to spread the squash out in a single layer on that baking sheet. If you skip the single layer and pile the pieces on top of each other, they steam instead of roast, and you end up with mushy, not caramelized, squash. Keep it spread out and let the hot air work its magic!
If you’re looking for other easy sides to pair it with, I have a great recipe for easy breadsticks that goes wonderfully with any roasted vegetable!
Nutrition Estimates for This Quick Winter Squash Recipe
I always try to keep things honest here at Rosa’s Tasty Kitchen, even with the numbers! Because we are using simple, whole ingredients like squash and natural sugars, this side dish is actually quite wholesome for how delicious it tastes. This information helps you plan your meals, especially if you’re trying to watch your sugar or fat intake.
These numbers are rough estimates based on a standard 3-pound squash yielding 6 servings—so keep in mind that exact counts can change based on the size of your squash or if you decide to use dark brown sugar instead of light!
- Serving Size: 1 cup cubed
- Calories: 180
- Total Fat: 6g
- Sodium: 110mg
- Total Carbohydrates: 32g
- Dietary Fiber: 5g
- Sugars: 18g (That’s where the deliciousness comes from!)
- Protein: 2g
See? Not bad at all for a side dish that tastes like dessert! It’s a perfect **Quick winter squash recipe** addition to any holiday plate because it balances out richer main courses nicely. Just remember, these are my best guesses based on standard ingredient brands, so they can shift a tiny bit with what you use in your own kitchen.
PrintBrown Sugar Roasted Butternut Squash

You will make sweet, caramelized butternut squash with this easy roasted squash side dish recipe. This simple fall vegetable side uses brown sugar and spices for a comforting flavor.
- Prep Time: 15 min
- Cook Time: 30 min
- Total Time: 45 min
- Yield: 6 servings 1x
- Category: Side Dish
- Method: Roasting
- Cuisine: American
- Diet: Vegetarian
Ingredients
- 1 medium butternut squash (about 3 lbs)
- 3 tablespoons unsalted butter, melted
- 3 tablespoons packed light brown sugar
- 1 tablespoon maple syrup
- 1/2 teaspoon ground cinnamon
- 1/4 teaspoon ground nutmeg
- 1/4 teaspoon salt
- 1/8 teaspoon black pepper
Instructions
- Preheat your oven to 400 degrees Fahrenheit. Line a large baking sheet with parchment paper for easy cleanup.
- Prepare the butternut squash: Cut off the ends. Stand the squash upright and carefully slice it in half lengthwise from top to bottom.
- Scoop out the seeds and stringy pulp using a spoon. Discard the seeds.
- Peel the squash using a vegetable peeler. Cut the squash into 1-inch cubes.
- In a large bowl, whisk together the melted butter, brown sugar, maple syrup, cinnamon, nutmeg, salt, and pepper until combined.
- Add the squash cubes to the bowl. Toss gently until all pieces are evenly coated with the brown sugar mixture.
- Spread the coated squash in a single layer on the prepared baking sheet. Do not overcrowd the pan; use two sheets if necessary to promote caramelization.
- Roast for 25 to 30 minutes, stirring halfway through, until the squash is tender when pierced with a fork and the edges are lightly caramelized.
- Serve this quick winter squash recipe immediately as a delicious side dish.
Notes
- For a slightly savory contrast, add 1 teaspoon of fresh chopped sage to the coating mixture.
- If you prefer a deeper molasses flavor, substitute dark brown sugar for the light brown sugar.
- If your squash pieces are uneven, they will cook at different rates. Aim for uniform 1-inch cubes for consistent results.
Nutrition
- Serving Size: 1 cup cubed
- Calories: 180
- Sugar: 18
- Sodium: 110
- Fat: 6
- Saturated Fat: 3.5
- Unsaturated Fat: 2.5
- Trans Fat: 0
- Carbohydrates: 32
- Fiber: 5
- Protein: 2
- Cholesterol: 15