
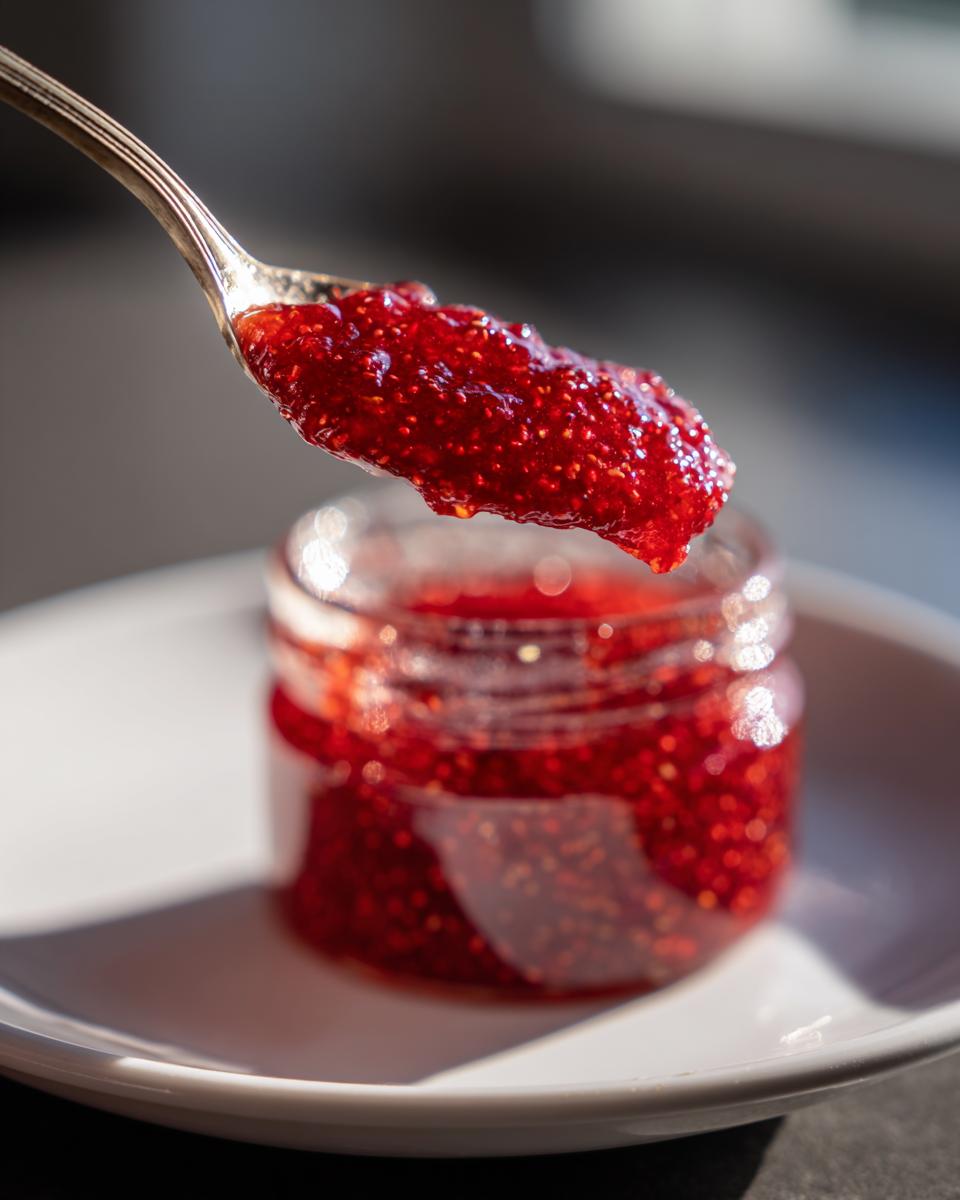
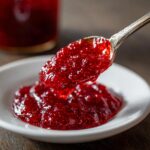
Oh, if you could walk into my kitchen right now, you would think summer came early! I swear, there is no better way to bottle up that bright, sweet sunshine than by making homemade freezer jam. Forget what you think you know about making preserves; if you’ve been intimidated by boiling water baths or long cooking times, I have the absolute best news.
This strawberry recipe is practically magic—it’s a no-cook method that requires zero canning. I’m Rosa Sterling, and you know I’m all about reliable food for busy families. This easy freezer jam recipe is ready in about 15 minutes, and it lets the fresh flavor of the berries shine through. It’s perfect for a quick topping on your favorite toast in the morning!
- Why This Easy Freezer Jam Recipe Captures Year Round Summer Flavor
- Ingredients for the Best Strawberry Freezer Jam
- Quick Jam Tutorial: How to Make Strawberry Freezer Jam Step-by-Step
- Tips for Perfect Freezer Jam Success
- Storage and Thawing for Your Homemade Fruit Preserves
- Serving Suggestions for Your Easy Freezer Jam Recipe
- FAQ About Making Freezer Jam
- Estimated Nutritional Data for Strawberry Freezer Jam
- Share Your Homemade Gifts from the Kitchen
Why This Easy Freezer Jam Recipe Captures Year Round Summer Flavor
When I first started making jam years ago, the whole process felt like I was running a small science experiment. It was hot, slow, and honestly, sometimes the jam wouldn’t even set! That’s why I absolutely insist on this method when I want that burst of fresh flavor without the fuss. We’re focusing on the absolute best, straightforward way to preserve those berries.
- It’s a true no cook jam recipe. We skip the boiling kettle and the scorching stovetop!
- You’re looking at a quick jam tutorial—this entire process takes less than 30 minutes of active time!
- The biggest relief? There’s absolutely no water bath canning required. No fussy sterilizing of jars here.
- Because we aren’t cooking the fruit for long, you get that pure, vibrant taste that tastes exactly like biting into a fresh strawberry.
Ingredients for the Best Strawberry Freezer Jam
When you’re skipping the cooking, every single ingredient matters! Since we aren’t boiling this down, we rely on the specific balance between the super-sweet strawberries and the commercial pectin to do all the thickening work for us. Don’t swap out your pectin type here—it’s designed for this easy, quick method! Trust me, following these measurements is the key to making perfect homemade fruit preserves.
- 4 cups fresh strawberries, crushed
- 7 cups sugar (Yes, that much! It’s critical for setting.)
- 1 package (1.75 oz) powdered fruit pectin (like Sure-Jell)
- 1/2 teaspoon lemon juice (optional, but it really brightens the taste!)
Ingredient Notes and Substitutions for Your Freezer Jam
Okay, let’s talk about that sugar. I know it looks like a mountain of it, but remember, this is a no cook jam recipe. The sugar doesn’t just sweeten; it works with the pectin to grab all that moisture from the strawberries and create that beautiful set. If you try a no pectin freezer jam version, that fruit has to cook down for ages to get thick, and we are avoiding that hard work!
If you find this yields too much, it’s simple to scale back, making it a great small batch jam recipe. Just halve everything! But for your first time, stick to these ratios so you nail that smooth texture.
Quick Jam Tutorial: How to Make Strawberry Freezer Jam Step-by-Step
Alright, let’s put on our aprons! This is where the magic happens, and it moves fast because we’re aiming for a no cook jam recipe that’s done before you even finish your coffee. Remember, because we skip the cooking, you have to be a little more aggressive with your stirring than you might be with a regular baking recipe. Follow these steps exactly, and you’ll have beautiful jars of homemade fruit preserves ready for the freezer in minutes.
Preparing the Fruit and Sugar Base
First things first: wash and hull those gorgeous strawberries. Now, you need to crush them. I actually prefer using an old-fashioned potato masher because it leaves nice little chunks, but a quick pulse in the food processor works too—just don’t turn it to complete liquid, okay? Once they are crushed to your liking, stir in all that sugar thoroughly. Here’s a critical step: let that mixture sit for 10 minutes. That resting time helps the sugar start pulling out the juices from the fruit before we move on.
Activating the Pectin for Your No Cook Jam Recipe
While those berries are resting, grab a small, separate bowl. Whisk the powdered fruit pectin—please make sure it’s the powdered kind meant for no-cook recipes!—with your optional lemon juice until they are combined. Now, dump that pectin mixture right into your big bowl of sugared berries. This next part is non-negotiable: you must stir vigorously for a full three minutes. I mean *stir*! Don’t just gently fold it in there. That hard work activates the pectin so your freezer jam sets up perfectly smooth.
Containerizing and Initial Setting for Freezer Jam
Once you’ve stirred for those three long minutes, stop immediately! Pour the mixture right into your clean, freezer-safe jars or containers. Be careful not to fill them right to the top; leave about half an inch of space, what we call headspace. Cover them tightly, and this is the last secret step: let the jars sit right on your counter for 30 minutes. This gives the jam a chance to start thickening up nicely before it hits the icy cold. After 30 minutes, they are ready to go into the freezer! You can check out this great tip from another cook on handling strawberry jam, too: the best strawberry freezer jam sometimes relies on good timing.
Tips for Perfect Freezer Jam Success
I’ve learned that even a simple homemade fruit preserves recipe like this demands a few specific rules if you want that perfect texture every time. I remember one batch years ago—I got distracted talking on the phone while stirring the pectin. Big mistake! I only stirred for about 45 seconds instead of the full three minutes. When I pulled those jars out of the freezer later? Total slush. It was basically strawberry-flavored syrup! Learn from my mistake—that three-minute stir is non-negotiable for getting that set.
Here are the other things I always check to make sure my freezer jam is spot on:
Use Firm Berries Only: No mushy, sad strawberries allowed near this recipe, unless you want things to go sideways fast. Use berries that are firm to the touch. If they are too ripe or watery, they release too much liquid during the non-cooking process, and the whole batch gets soupy. This is why sourcing the best fruit matters in a quick recipe like this.
Choose Your Containers Wisely: You can use freezer-safe plastic containers or glass jars, but you must leave that headspace I mentioned—about half an inch. Fruit expands when it freezes, and if you fill the jar too high, you’ll end up with a cracked container explosion in your freezer. I prefer the wide-mouth plastic ones because they are less likely to break if I accidentally stack something heavy on them.
Don’t Skip the Sugar: I touched on it before, but this bears repeating. If you try to cut the sugar significantly, the jam won’t gel properly without all that cooking time. The sugar is the structure builder here alongside the pectin. Think of this less like making a low-sugar syrup and more like balancing a chemical reaction!
Storage and Thawing for Your Homemade Fruit Preserves
Now that you’ve got jars full of that wonderful, quick jam, the next question is always: how long will this lovely stuff actually last? Since this is one of our no-canning jam recipes, we rely entirely on the freezer to keep things tasting exactly like they did the day you mixed them. The good news? It lasts an impressively long time!
You can keep this freezer jam tucked away in a deep freeze for up to a full year. Seriously! It’s like capturing little packets of summer sunshine to pull out on a gloomy Tuesday in February. Just make sure those lids are sealed tight—we don’t want any freezer burn messing with that perfect texture we worked so hard to achieve.
When you’re ready to use a jar, don’t rush it! The best way to thaw your homemade fruit preserves is to move the jar from the freezer into the refrigerator the night before you plan to eat it. That slow overnight chill keeps the texture intact. I learned that trying to thaw a jar on the counter when I was in a hurry just made the edges go watery too fast.
Once that jam is fully thawed in the fridge, it’s ready to go, but you need to use it up within about three weeks. That’s the trade-off for keeping that incredible fresh flavor—it doesn’t have the shelf stability of a processed, canned product. But trust me, once you taste how bright this spread is, three weeks will fly by! If you’re curious about different fruit options, you can check out this post on raspberry freezer jam for more ideas on fruit preservation.
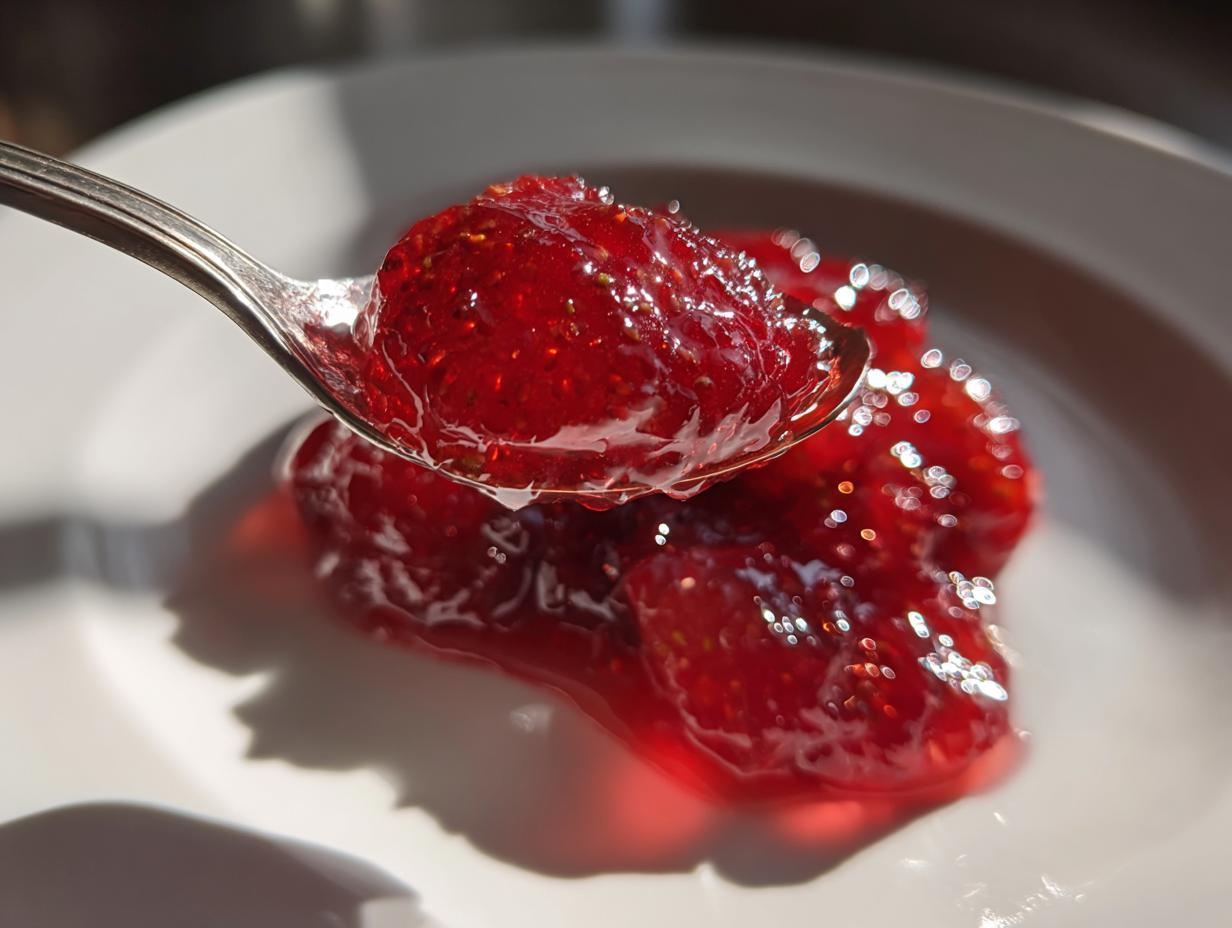
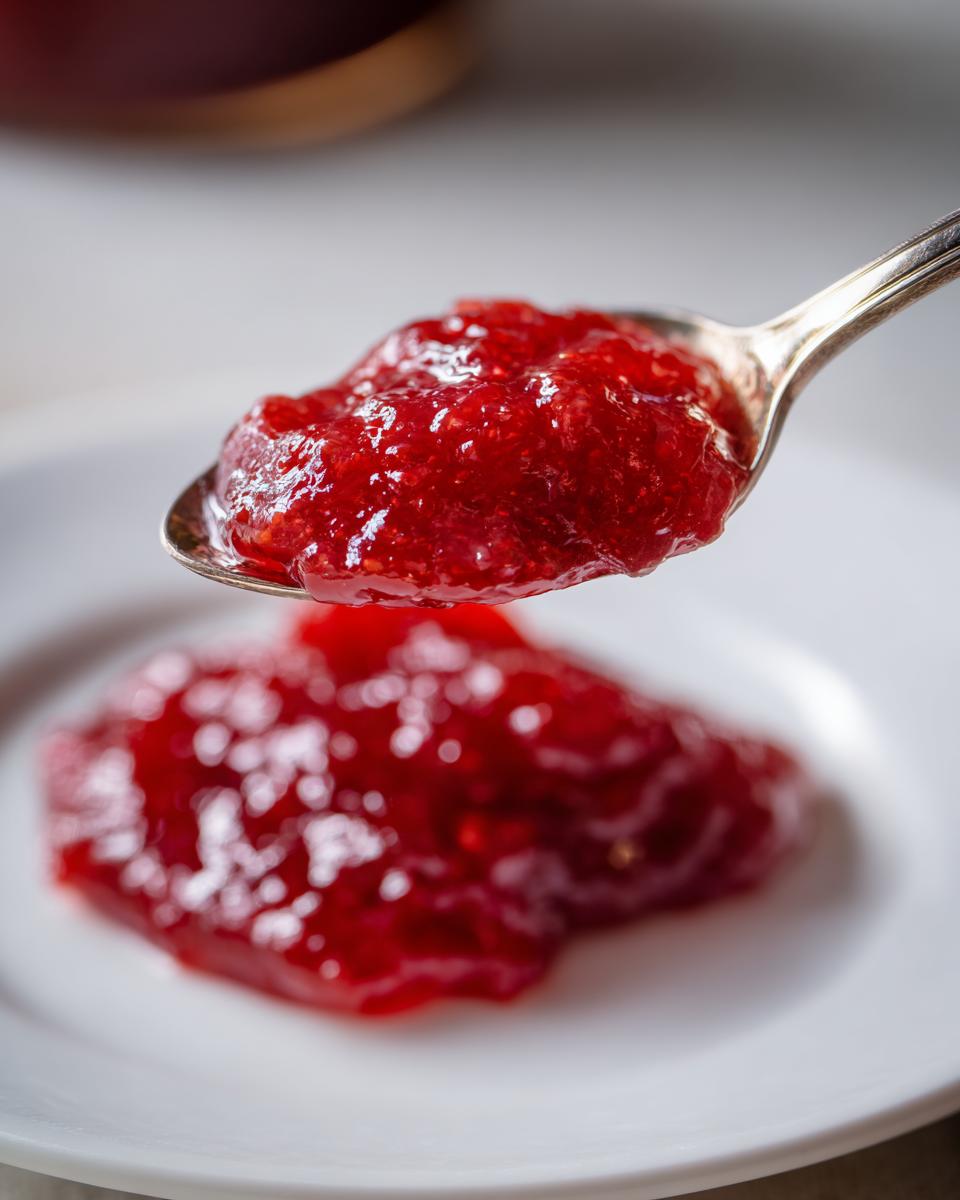
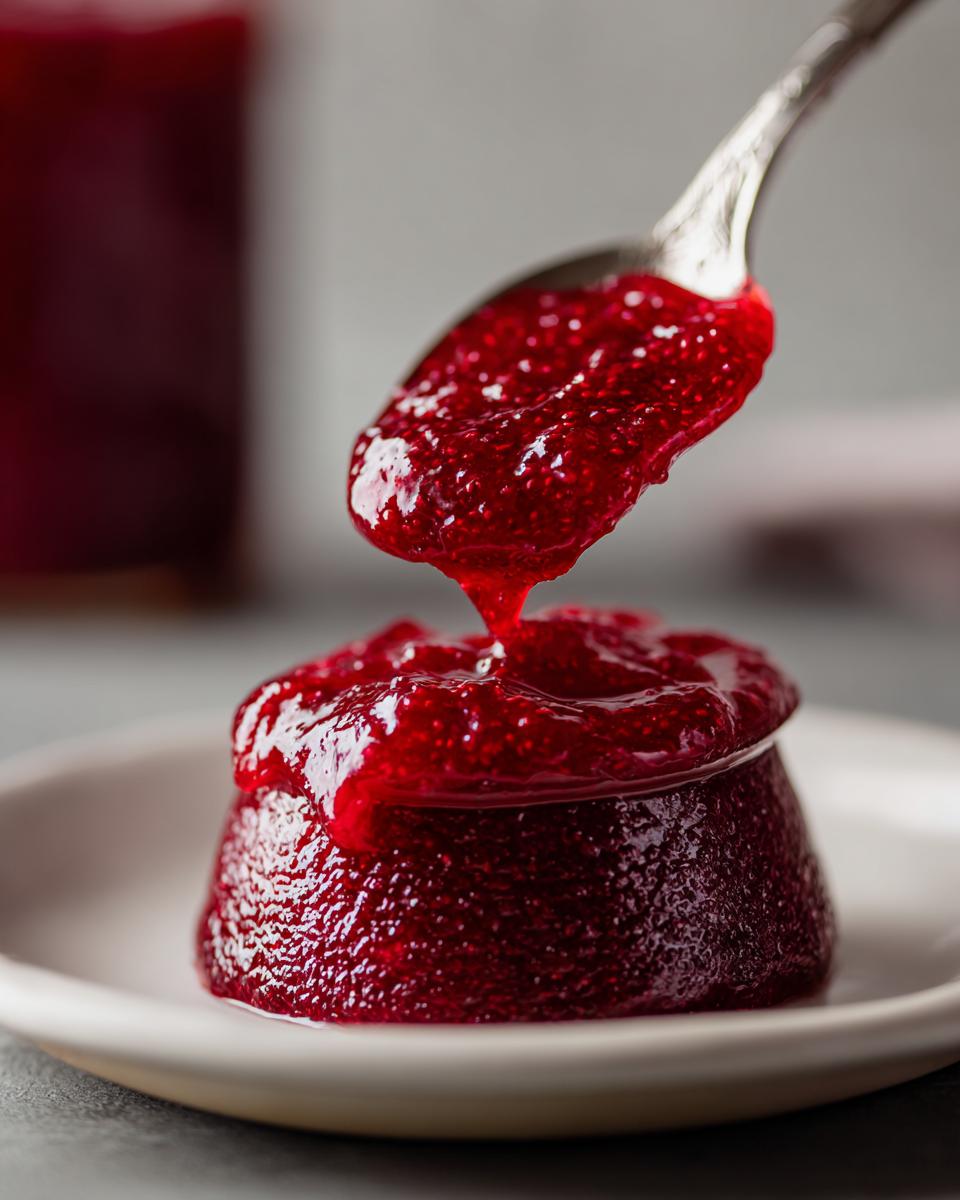
Serving Suggestions for Your Easy Freezer Jam Recipe
Once you have that delicious, perfectly set strawberry freezer jam out of the fridge, the fun really begins! Honestly, it tastes incredible just sitting on a plate next to a mug of coffee, but I want you to use it everywhere! This simple fruit spread is so versatile—it’s a way to bring that fresh, summer sweetness into your quiet moments and even your gifting.
Here are a few of my absolute favorite, no-fussy ways to enjoy this quick batch:
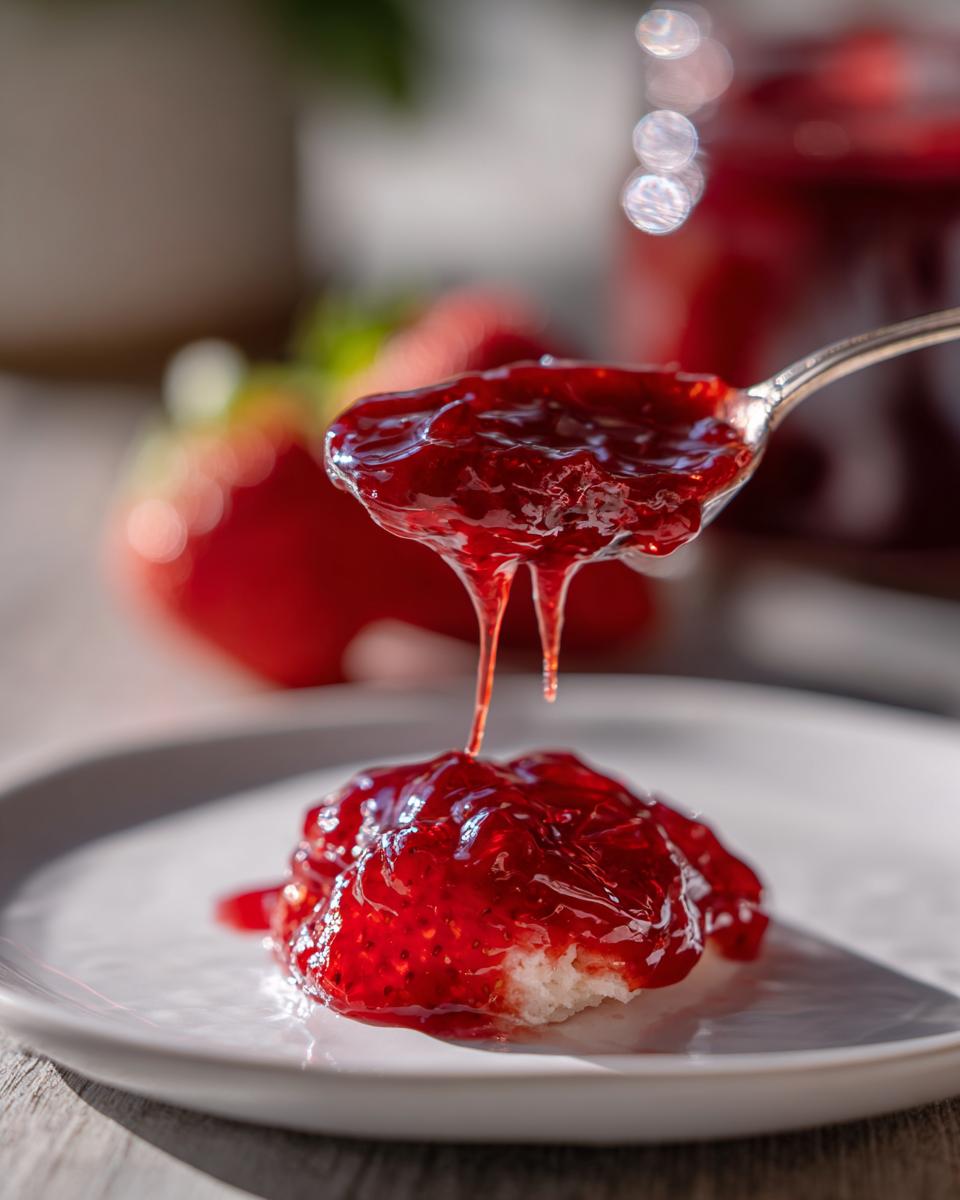
- The Ultimate Breakfast Staple: Forget boring toast! Slather this jam heavily over a warm biscuit, top a slice of my easiest avocado toast, or swirl it right into a bowl of plain Greek yogurt. The tang of the yogurt plays so nicely with the sweet strawberries.
- Ice Cream Drizzle: If you buy good quality vanilla ice cream, topping it one minute before serving with homemade jam instead of syrupy sauce is a game-changer. It’s slightly cold, slightly thawed—perfection!
- Quick Hostess Gift: Like I mentioned before, this makes for such thoughtful, beautiful homemade gifts from the kitchen. Put a pretty ribbon around a jar of jam, maybe tie a little handwritten tag on it, and suddenly you have a lovely offering for a neighbor or a friend who needs a little cheering up. Everyone loves receiving something made just for them!
You’ll find yourself reaching for these jars all the time, whether you need a quick breakfast topping or something special to dress up a simple dessert.
FAQ About Making Freezer Jam
It feels like every time I share this recipe, I get the same wonderful questions! It’s smart to check in before you start mixing, especially since this is such a hands-off method. I want you to feel totally confident about turning those beautiful berries into delicious, long-lasting preserves. Let’s clear up a few common things I hear about this classic quick jam tutorial.
Can I make this beginner jam making recipe with other fruits like blackberry freezer jam?
Oh yes, you absolutely can! The principles of using the powdered pectin are the same whether you’re doing strawberries, or maybe trying a batch of blackberry freezer jam or even peach freezer jam ideas. However, I always warn folks that the amounts of sugar and pectin might shift a little bit depending on how much natural juice and acid the other fruit has. For this specific recipe, stick to the strawberry amounts my grandmother perfected. If you swap to blueberries or peaches, you’ll want to double-check the pectin package directions for those specific fruits, just to make sure you get that perfect gel!
What is the difference between this and how to make jam without water bath canning?
That’s a fantastic question that gets right to the heart of why this recipe is such a lifesaver! When people ask how to make jam without water bath canning, they usually mean they want to skip the high heat sterilization. This recipe is the answer! Traditional canning uses that boiling water bath to kill potential bacteria and create a true vacuum seal, giving you room-temperature storage. Because we are using commercial pectin and sugar for immediate setting, and then relying 100% on the freezer for preservation, we skip the heat entirely. That’s how we keep that incredible fresh berry flavor!
How do I ensure my jam sets if I want a no pectin freezer jam version?
If you look online, you’ll see recipes for a no pectin freezer jam, but honestly, that method is a completely different beast! Without the powdered pectin doing the magic really fast, you have to rely on the natural pectin in the fruit, which means you have to cook the fruit down slowly for a long, long time until it naturally thickens up. Since the whole beauty of this recipe is that it’s a no cook jam recipe ready in minutes, you really need that packaged pectin to make it work the way I’ve written it. If you want the quick, fresh taste, stick to the pectin!
Estimated Nutritional Data for Strawberry Freezer Jam
I always remind folks that since this is such a simple, quick recipe, the numbers are pretty straightforward, but they are estimates! We only use five ingredients, so nothing too complicated is sneaking in there. This information is based on one serving size of two tablespoons.
- Serving Size: 2 tablespoons
- Calories: About 100
- Total Fat: 0g
- Total Carbohydrates: 26g (mostly sugar)
- Protein: 0g
Keep in mind that because we skip cooking and use the full measurement of sugar needed for the gel to set, the sugar content is naturally high, but that’s what keeps this amazing freezer jam fresh tasting!
Share Your Homemade Gifts from the Kitchen
I truly hope you love pulling those jars out of the freezer on an unexpected cold morning, or that you’re eyeing them now, ready to tie a pretty ribbon on them for a neighbor. When you make this easy freezer jam recipe, you’re making something special that just screams summer sunshine, and I want to hear all about it!
Please, please, let me know how your batch turned out! Did you use your trusty potato masher or blend them slightly? Head down to the comments section and tell me what you think. Rating the recipe right there tells me it worked perfectly for you, which helps other busy home cooks feel confident trying it out. You can always reach out to me directly through the contact page if you have any private questions.
If you snap a picture of your beautiful jars—especially if you’re packaging them up as homemade gifts from the kitchen—I’d love to see them! Tag me or send me a message. You can also find inspiration for trying out other seasonal jams, like strawberry-rhubarb, over at Amy Sue’s wonderful site: The Best Freezer Jam Recipes for Every Season. Go on, get jamming!
PrintEasy Strawberry Freezer Jam Recipe: No Canning Needed
Make homemade strawberry freezer jam in under 30 minutes. This beginner-friendly, no-cook recipe captures fresh berry flavor for year-round enjoyment without water bath canning.
- Prep Time: 15 min
- Cook Time: 0 min
- Total Time: 15 min
- Yield: About 5 half-pint jars 1x
- Category: Preserves
- Method: No Cook
- Cuisine: American
- Diet: Vegetarian
Ingredients
- 4 cups fresh strawberries, crushed
- 7 cups sugar
- 1 package (1.75 oz) powdered fruit pectin (like Sure-Jell)
- 1/2 teaspoon lemon juice (optional, for brightness)
Instructions
- Wash and hull the strawberries. Crush them using a potato masher or a food processor until you reach the desired consistency.
- In a large bowl, combine the crushed strawberries and the sugar. Stir well until the sugar dissolves, about 2 minutes. Let this mixture sit for 10 minutes.
- In a separate small bowl, whisk the powdered fruit pectin with the lemon juice, if using.
- Add the pectin mixture to the strawberry and sugar mixture. Stir vigorously for 3 minutes to fully combine the pectin. This step is important for setting the jam.
- Immediately pour the jam mixture into clean, freezer-safe containers, leaving about 1/2 inch of headspace at the top.
- Wipe the rims clean, cover the containers tightly, and let them sit on the counter for 30 minutes to allow the mixture to start setting.
- Place the containers in the freezer. Your easy freezer jam recipe is ready to store for up to one year.
Notes
- For best flavor, use firm, ripe strawberries.
- This recipe makes a small batch perfect for quick preserving.
- Thaw jam overnight in the refrigerator before serving. Once thawed, use within 3 weeks.
- If you prefer a jam without commercial pectin, you must cook the fruit down significantly, which changes this from a quick, no-cook recipe.
Nutrition
- Serving Size: 2 tablespoons
- Calories: 100
- Sugar: 25
- Sodium: 5
- Fat: 0
- Saturated Fat: 0
- Unsaturated Fat: 0
- Trans Fat: 0
- Carbohydrates: 26
- Fiber: 1
- Protein: 0
- Cholesterol: 0