
When that first cool snap hits and you start craving real comfort food, forget messing with tricky pie dough! I mean it. Nothing beats the scent of baked fruit and spices filling the house, and that’s where my Classic Old-Fashioned Apple Crisp comes in. This recipe is what my mother, Rosa, always turned to when the Midwest harvest meant apples galore but the evening was too short for anything fussy.
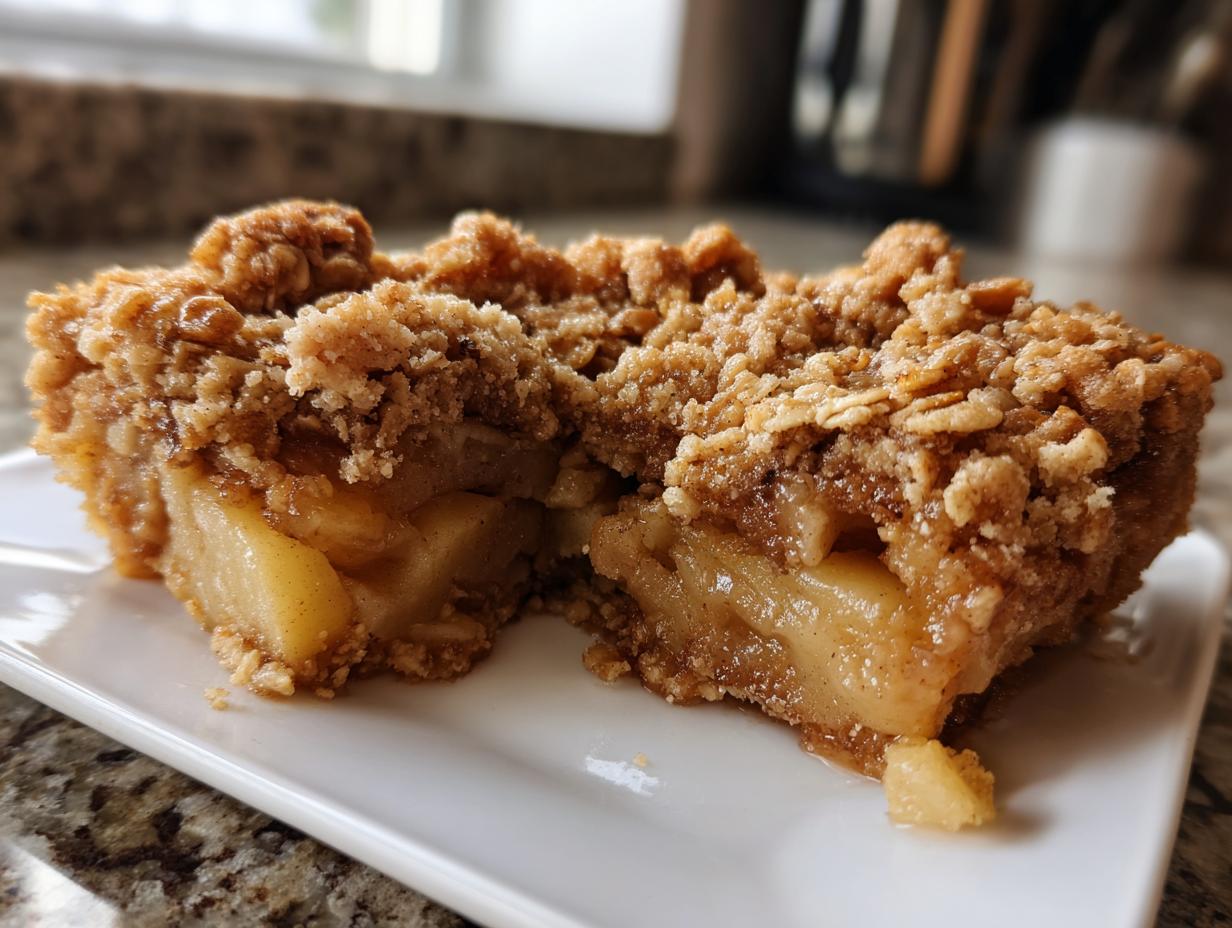
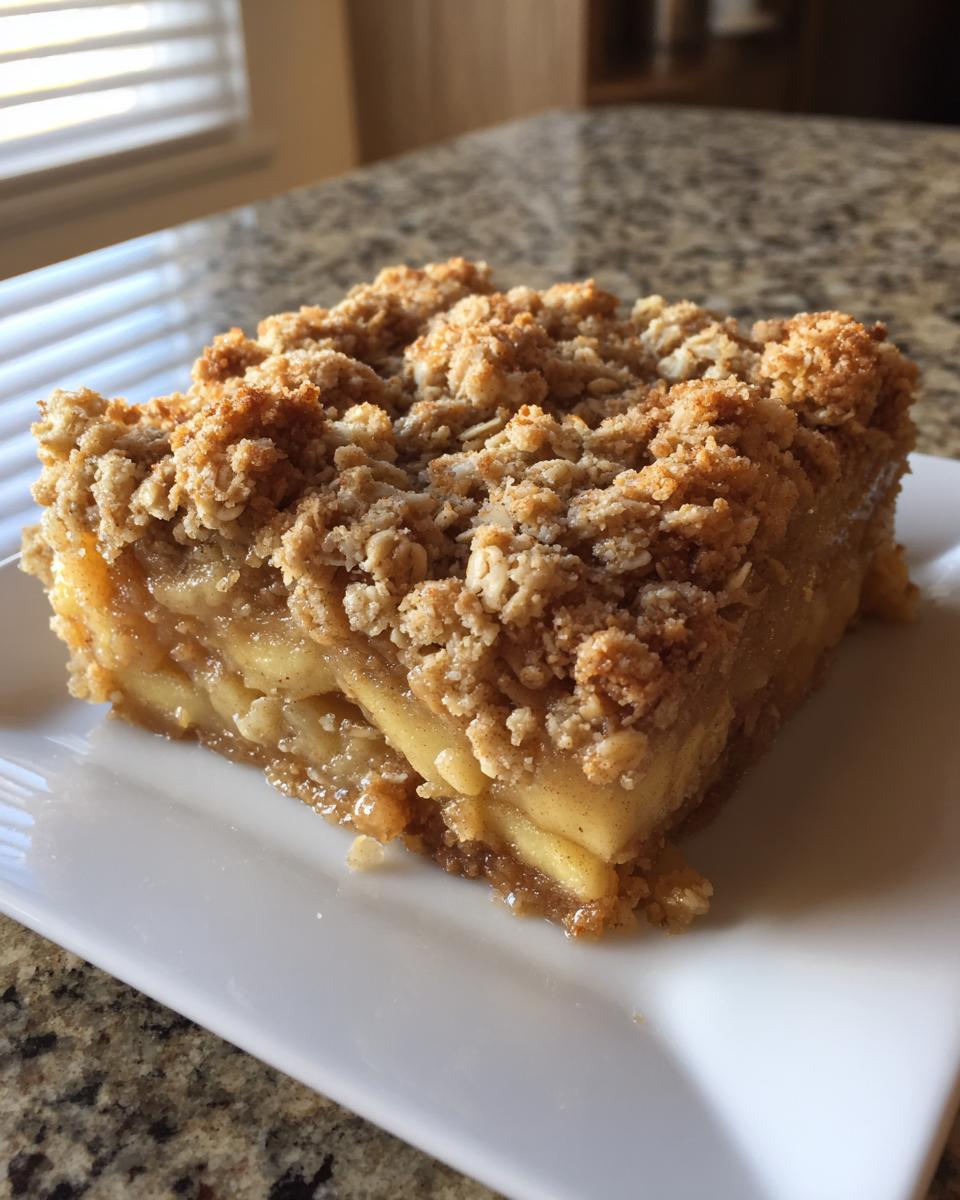
This is everything you want in an apple crisp: tender, cinnamon-spiced apples bubbling under a crunchy, buttery oat topping. It’s ridiculously easy, usually done prepping in about 15 minutes flat, making it perfect for a busy weeknight or a last-minute addition to your fall baking ideas. Seriously, this is the classic, homemade apple dessert you’ve been searching for!
- Why This Classic Old-Fashioned Apple Crisp is Your New Favorite Fall Dessert Recipes
- Ingredients for the Ultimate Apple Crisp
- How to Prepare the Best Apple Crisp Recipe Step-by-Step
- Tips for Success When Making Apple Crisp
- Serving Suggestions for Your Homemade Apple Dessert
- Storage and Reheating Instructions for Leftover Apple Crisp
- Frequently Asked Questions About This Easy Apple Crisp
- Nutritional Estimates for This Apple Crisp
- Share Your Old Fashioned Apple Crisp Experience
Why This Classic Old-Fashioned Apple Crisp is Your New Favorite Fall Dessert Recipes
When you need a reliable, soulful dessert that tastes like autumn itself, stop scrolling. This is truly the best apple crisp recipe I have, and I promise, it delivers every time—that’s the reliability our kitchen stands for!
- It’s the definition of a comfort food dessert; warm, sweet, and perfectly spiced.
- It’s simple enough for a weeknight but always impresses guests during holiday gatherings.
- It’s the definitive quick apple dessert; no fuss, no complicated layering.
I trust this one implicitly, and I know you will too. For more great fall dessert recipes, check out this site, but stick around, because ours is special!
Quick Prep Time for Easy Apple Crisp
My favorite part, honestly, is the speed! While the oven is warming up, you’re already tossing apples and mixing your topping. We’re talking 15 minutes of hands-on time maximum. Who needs fancy layered baking when you can have this incredible result so fast?
The Perfect Buttery Crisp Topping Recipe
The contrast is everything here, right? You bite through that wonderfully crunchy, buttery crisp topping recipe, and suddenly you hit the soft, melting apples underneath. Make sure your butter is straight from the fridge and cold when you cut it in. That’s what gives you those perfect, distinct little crunchy crumbs instead of just a sandy layer!
Ingredients for the Ultimate Apple Crisp
Okay, ingredient time! I’ve laid out exactly what you need right below so you can check your pantry first. I always keep everything measured out—apples ready, topping dry ingredients mixed—before I even touch the oven. It just keeps things smooth. Trust me, having everything staged makes this apple crisp come together like lightning.
For the filling, we need tartness and structure. For the topping? Pure buttery crunch. Don’t try to fudge what I’m telling you—these measurements are how you get that amazing texture that people always ask me about!
- 6 large Granny Smith or Honeycrisp apples, peeled, cored, and sliced
- 1/4 cup all-purpose flour
- 1/2 cup packed light brown sugar
- 1 teaspoon ground cinnamon
- 1/4 teaspoon ground nutmeg
- 1 tablespoon lemon juice
- For the Topping:
- 1/2 cup all-purpose flour
- 1/2 cup packed light brown sugar
- 1/2 cup granulated sugar
- 1 cup old-fashioned rolled oats
- 1/2 cup (1 stick) cold unsalted butter, cut into small pieces
Ingredient Notes and Substitutions for Your Apple Crisp
Listen, the apples are non-negotiable if you want that perfect sweet-tart balance and soft cooked texture. Stick to Granny Smith or Honeycrisp; anything too sweet or soft will turn to mush! Also, about that butter—it absolutely must be cold, and cutting it into little cubes helps ensure the topping gets that perfect crumbly texture we want.
As for substitutions—if you only have salted butter on hand, that’s fine! Just make sure you cut down on the added salt a tiny bit, like by a quarter teaspoon in the topping mixture. Otherwise, grab what you have and let’s bake!
How to Prepare the Best Apple Crisp Recipe Step-by-Step
This is the fun part! Since this is an Old Fashioned Apple Crisp, we keep the mixing streamlined. I always start by getting the oven ready; you want it at 375 degrees Fahrenheit, and make sure that 8×8 inch baking dish gets a quick light grease spray. Don’t walk away after this step, though, because the apples can’t wait for the oven to heat up.
I always tell folks that once you see how easy this method is, you’ll forget pie crusts forever! Head over to my About Page if you want to know more about our philosophy on simple cooking, but for now, let’s get those apples mixed!
Preparing the Cinnamon Spiced Apples
Grab your biggest mixing bowl for this step. Toss in all those gorgeous sliced apples. Now, sprinkle in the flour, brown sugar, cinnamon, nutmeg, and that little splash of lemon juice. The lemon is key—it stops them from browning too fast and perks up the flavor! Gently toss everything together. I mean *gently*—we don’t want bruised apples! Make sure every single slice is hugging that sweet, spiced coating before you spread them out evenly in your greased dish.
Creating the Perfect Buttery Crisp Topping
Now for the best part: the crunch! In a separate bowl, whisk together the topping flour, both sugars, and the rolled oats. This is your dry mix. Next, you need to “cut in” that cold butter. This means pinching and rubbing the cubes of butter into the dry ingredients. Seriously, use your fingertips!
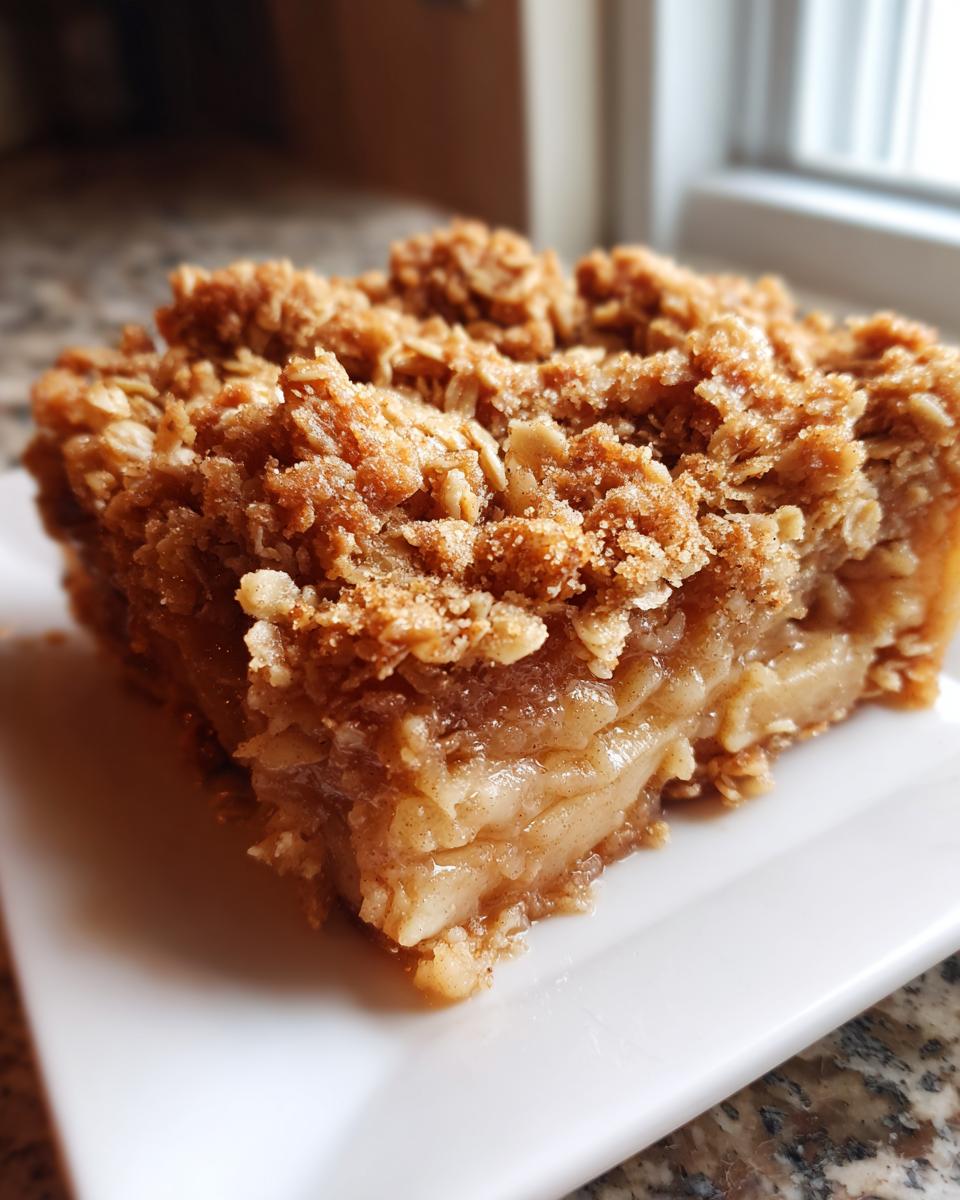
You are aiming for what the pros call ‘coarse crumbs’—imagine tiny pebbles or coarse sand, but with visible little chunks of butter still intact. Those butter pockets are going to steam and turn golden brown in the oven, giving us that glorious Oat Topping Recipe finish. Sprinkle this all over the apples, trying to cover every spot! You can peek at how others got their topping just right right here, but remember, a few bigger clusters are always welcome!
Tips for Success When Making Apple Crisp
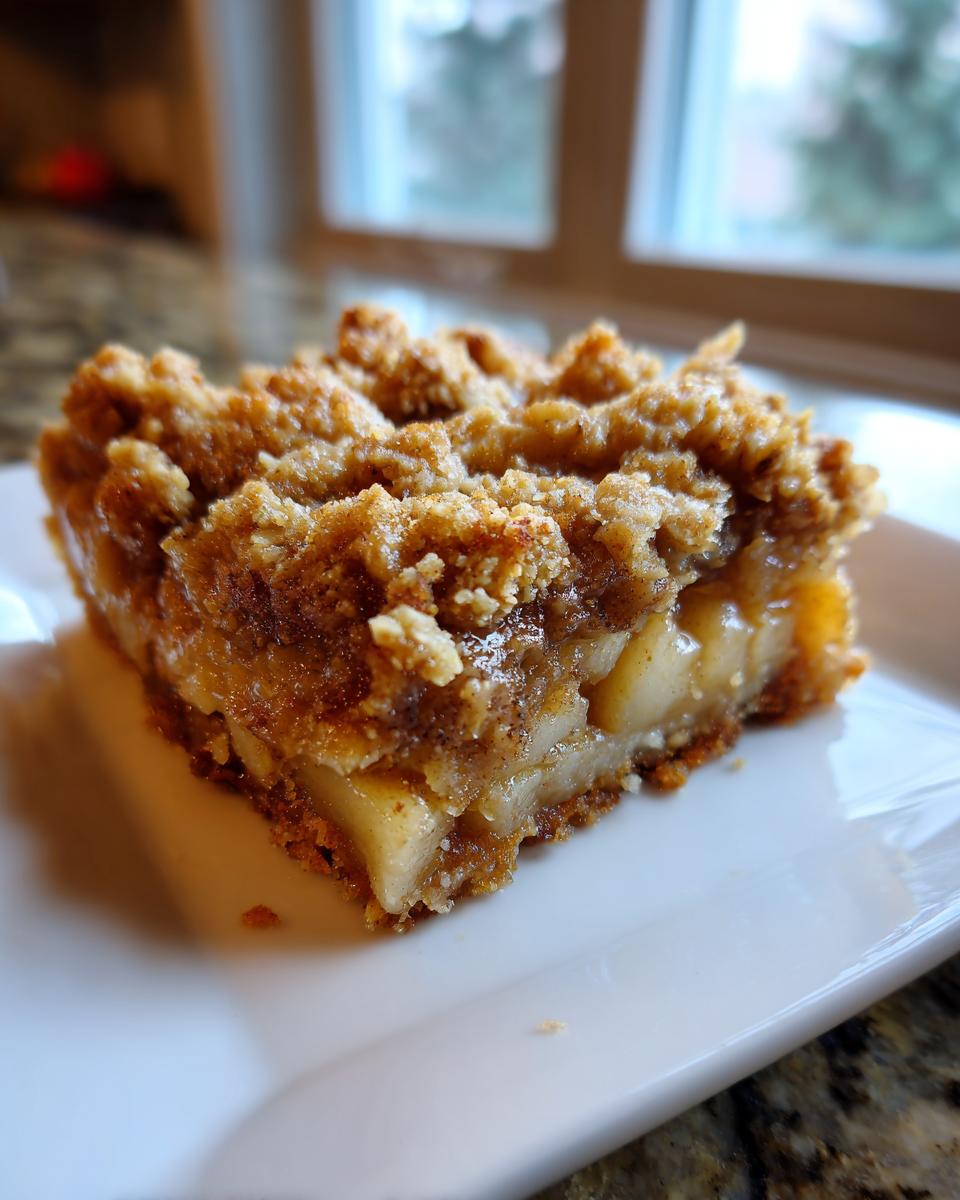
Baking is fun, but getting that perfect texture takes a little know-how, right? Since this is one of those quintessential Warm Desserts for Fall, we want the apples gloriously soft and the topping perfectly crisp. My number one worry with any baked fruit dessert is always a soggy bottom layer, and I have a few tricks to fight that off.
First, don’t skip the flour we added to the apple mixture! That little bit of flour absorbs extra liquid released by the apples while they cook down. That’s the secret weapon against soupiness. Also, make sure you let the crisp rest for a good 15 to 20 minutes after it comes out of that hot oven. I know, waiting when it smells that good is torture! But resting lets the juices settle down and thicken up, so when you scoop it, it’s a lovely spoonful of fruit and crumble, not a runny mess. Peek at how someone else got their topping just right over here!
Baking Time Adjustments for Your Apple Crisp
The recipe says 40 to 45 minutes, but remember, every oven is unique. You shouldn’t just pull it out when the timer rings! You need to look for two big signs of doneness. One, you should see the fruit filling bubbling fiercely up through the edges of that golden brown topping. That bubbling means things are hot enough to cook the apples through. Two, take a fork—or even better, a thin skewer—and poke a slice of apple right near the edge. If it slides in easily with no resistance, your apples are tender!
If the topping starts looking too dark but the apples aren’t soft yet, don’t panic! Just loosely tent a piece of aluminum foil over the top. This shields the beautiful crumble while letting the heat keep working on those tough apples underneath until they are perfectly melt-in-your-mouth tender.
Serving Suggestions for Your Homemade Apple Dessert
Now that you’ve pulled this beautiful, warm dessert out of the oven, the real question begins: what are we putting on top? You absolutely cannot go wrong with a big, cold scoop of good vanilla ice cream melting right into those hot, spiced apples. It’s the iconic pairing for a reason!
If you want to make it extra decadent, drizzle some salted caramel sauce over the top before serving. That combination of warm, tart, cold, and sweet is just heavenly.
For something a little lighter—though I’m not sure why you’d choose light after all that hard work!—a dollop of freshly whipped cream works wonders. Seriously, check out this inspiration; it screams apple dessert with ice cream perfection!
Storage and Reheating Instructions for Leftover Apple Crisp
Don’t worry if you have leftovers—which, if I’m honest, almost never happens in my house! This apple crisp keeps beautifully, though we have to be smart about how we store it so that topping stays crunchy for tomorrow.
If you have any left over that same night, you can actually just leave it right on the counter, covered tightly with aluminum foil, for up to six hours. But if you’re saving it past that, pop it straight into the fridge. Make sure it’s covered well, or the oats will soak up fridge smells, and nobody wants that!
The next day, we absolutely must reheat it our special way. If you try to microwave this cozy autumn treat, the topping turns to soggy sadness, and that’s a crime against baking, in my opinion. We need to bring back that glorious crunch!
Restoring the Crunch: Reheating Your Apple Crisp
For the absolute best results, you need dry heat. Pull your portion out of the fridge and let it sit on the counter for about 30 minutes to take the chill off.
Pop it into a moderate oven—say, 350 degrees—for about 10 to 15 minutes. You’re just warming it through, not cooking it again. If you have an air fryer (and let’s be real, I love mine!), a small piece reheats perfectly at 325 degrees for about 5 minutes. It brings that buttery oat crumble right back to life!
If you are desperate and must use the microwave, I won’t stop you, but only use it for about 30 seconds max, and be prepared: you’ll want to eat it with a fork and a big scoop of ice cream to hide the texture difference!
Frequently Asked Questions About This Easy Apple Crisp
I get so many questions every time I post this recipe, especially as we head into cooler weather and everyone starts hunting for their go-to Autumn Baking Ideas. It’s totally normal to have questions when you’re trying a new favorite! Here are a few things I hear all the time about getting this perfect.
Can I make this apple crisp ahead of time?
Oh yes, you absolutely can, especially if you are planning for big meals like Thanksgiving! For the best results avoiding a soggy topping, I recommend two ways. You can assemble the entire apple crisp—apples mixed, topping sprinkled—in your baking dish, cover it tightly with plastic wrap, and stick it in the fridge for up to 24 hours. When you’re ready to bake, just add about 10 more minutes to the baking time since it’s starting cold.
Alternatively, you can bake it completely, let it cool, and then store it covered. Then, when it’s time to serve, you reheat it in a moderate oven to bring that topping back to life!
What is the difference between apple crisp and apple crumble?
It’s a great question, and honestly, most people use the terms interchangeably now, but there’s a traditional difference! A true Simple Apple Crumble just has a topping made of flour, sugar, and butter rubbed together (no oats!).
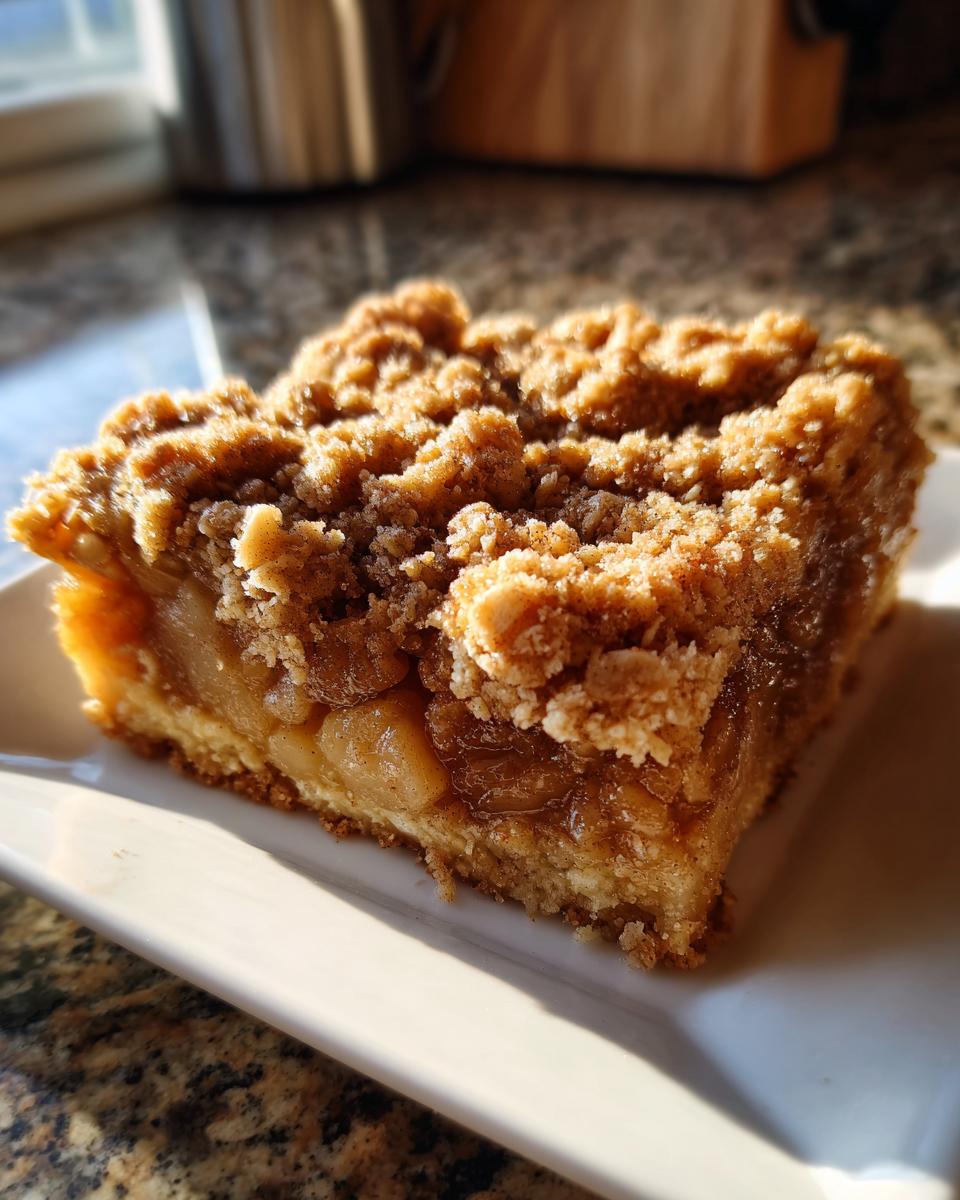
Because ours includes those hearty rolled oats in the topping for that extra bite, it officially becomes an apple crisp! I love the texture the oats give it, which is why I stick to this crisp format, but either way, it’s delicious and certainly qualifies as a warm comfort food dessert!
We also have usage guides and terms you might want to check out right here if you have any technical questions about our site!
Nutritional Estimates for This Apple Crisp
Okay, let’s chat about the numbers! I know some of you are tracking things closely, and while I am absolutely not a registered dietitian—I’m just a home cook who loves butter!—I can give you our best estimate for a single serving of this glorious apple crisp.
Keep in mind, these numbers are calculated based on those specific ingredients I listed, assuming fairly standard measurements. If you load up on extra butter for the topping, or use a sweeter apple, those numbers will definitely shift! It’s just a guide for you, my dear cooks.
- Serving Size: 1 serving
- Calories: 380
- Sugar: 35g (That’s mostly from the apples and brown sugar, naturally!)
- Fat: 19g
- Saturated Fat: 11g
- Carbohydrates: 52g
- Protein: 4g
If you’re looking for our official site policies regarding data usage, you can review that over on our Privacy Policy page. But for now, just know that this deliciousness contributes great flavor to your day!
Remember, since this is mostly fruit and oats, you’re getting a nice bit of fiber in there too. This Homemade Apple Dessert really feels like a splurge, but it fits right in for a cozy night, even if you are watching those numbers closely. Enjoy it warm!
Share Your Old Fashioned Apple Crisp Experience
Now that you have the recipe for what I truly believe is the best apple crisp on the internet—one that tastes like pure nostalgia and autumn air—I really need to know what you think!
Baking should always be a conversation, not a monologue! Seriously, when you whip up this Old Fashioned Apple Crisp, come back here right away and let me know how it went. Did you serve it for a big crowd, maybe for Thanksgiving festivities? Did you use Granny Smiths like I insisted, or dare to try another apple?
Please, take a moment to leave a star rating right down below. That feedback helps other home cooks like you know they are in safe hands with this recipe! Hearing about your triumphs, maybe seeing a picture of your perfectly bubbly filling, honestly makes my day.
If you have any questions at all—maybe about substituting the oats or just wanting to say thank you for a dessert that made your family happy—drop it in the comments! I try to answer everyone. If you need to reach out directly for something specific, you can always send me a note through the contact page. Happy baking, and I can’t wait to hear all about your warm, buttery, cinnamon-spiced creation!
PrintClassic Old-Fashioned Apple Crisp with Buttery Oat Crumble

Make this easy apple crisp recipe for a comforting fall dessert. It features tender, cinnamon-spiced apples under a crunchy, buttery oat topping. It is simpler than pie and perfect served warm with vanilla ice cream.
- Prep Time: 15 min
- Cook Time: 45 min
- Total Time: 60 min
- Yield: 6 servings 1x
- Category: Dessert
- Method: Baking
- Cuisine: American
- Diet: Vegetarian
Ingredients
- 6 large Granny Smith or Honeycrisp apples, peeled, cored, and sliced
- 1/4 cup all-purpose flour
- 1/2 cup packed light brown sugar
- 1 teaspoon ground cinnamon
- 1/4 teaspoon ground nutmeg
- 1 tablespoon lemon juice
- 1/2 cup all-purpose flour (for topping)
- 1/2 cup packed light brown sugar (for topping)
- 1/2 cup granulated sugar (for topping)
- 1 cup old-fashioned rolled oats
- 1/2 cup (1 stick) cold unsalted butter, cut into small pieces
Instructions
- Preheat your oven to 375 degrees Fahrenheit. Lightly grease an 8×8 inch baking dish.
- In a large bowl, combine the sliced apples, 1/4 cup flour, 1/2 cup brown sugar, cinnamon, nutmeg, and lemon juice. Toss gently until the apples are evenly coated.
- Spread the apple mixture evenly into the prepared baking dish.
- In a separate medium bowl, prepare the topping. Combine the 1/2 cup flour, 1/2 cup brown sugar, granulated sugar, and rolled oats. Mix well.
- Cut in the cold butter using a pastry blender or your fingertips until the mixture resembles coarse crumbs.
- Sprinkle the oat topping evenly over the apple mixture in the baking dish.
- Bake for 40 to 45 minutes, or until the topping is golden brown and the apple filling is bubbly and tender when pierced with a fork.
- Let the apple crisp cool for at least 15 minutes before serving.
- Serve warm, preferably with a scoop of vanilla ice cream.
Notes
- For the best texture, use firm, tart apples like Granny Smith.
- You can substitute salted butter for unsalted butter and reduce the added salt in the topping by 1/4 teaspoon if desired.
- This recipe is a must-save recipe for your Thanksgiving apple desserts collection.
Nutrition
- Serving Size: 1 serving
- Calories: 380
- Sugar: 35g
- Sodium: 110mg
- Fat: 19g
- Saturated Fat: 11g
- Unsaturated Fat: 8g
- Trans Fat: 0.5g
- Carbohydrates: 52g
- Fiber: 5g
- Protein: 4g
- Cholesterol: 45mg