
Oh, the holidays! Doesn’t the pressure of making the perfect dessert just sneak up on you every December? When I look at my pile of commitments, needing something rich, decadent, and yet totally dependable is key. That’s where this recipe steps in—it’s my absolute favorite Christmas chocolate cream pie because hello, it’s nearly all no-bake! Much like Rosa Sterling, I learned years ago balancing life means you need shortcuts that taste gourmet. This pie is so reliable, you can make it completely ahead of time, and it tastes even better the next day. Trust me, this solves at least one massive dessert headache!
- Why This Christmas Chocolate Cream Pie Recipe Shines for the Holidays
- Gathering Ingredients for Your Holiday Chocolate Pie Recipe
- Step-by-Step Instructions for No Fail Chocolate Cream Pie
- Tips for the Best Whipped Cream Chocolate Pie Presentation
- Storage and Serving Instructions for Make Ahead Christmas Desserts
- Frequently Asked Questions About This Holiday Chocolate Pie Recipe
- Estimated Nutritional Data for Your Christmas Chocolate Cream Pie
- Share Your Festive Christmas Dessert Ideas
Why This Christmas Chocolate Cream Pie Recipe Shines for the Holidays
When you’re juggling everything from wrapping presents to making sure the turkey is timed right, you don’t need a fussy dessert. This pie is genuinely what I turn to when I need an easy holiday pie recipe that still looks fancy. It’s one of my favorite make ahead Christmas desserts because it forces you to relax the day of!
- It’s completely no-bake, meaning zero oven time used!
- The filling sets up beautifully thanks to the instant mixes—no tempering eggs here, thank goodness.
- It tastes even better after a full night in the fridge, which is a baker’s dream.
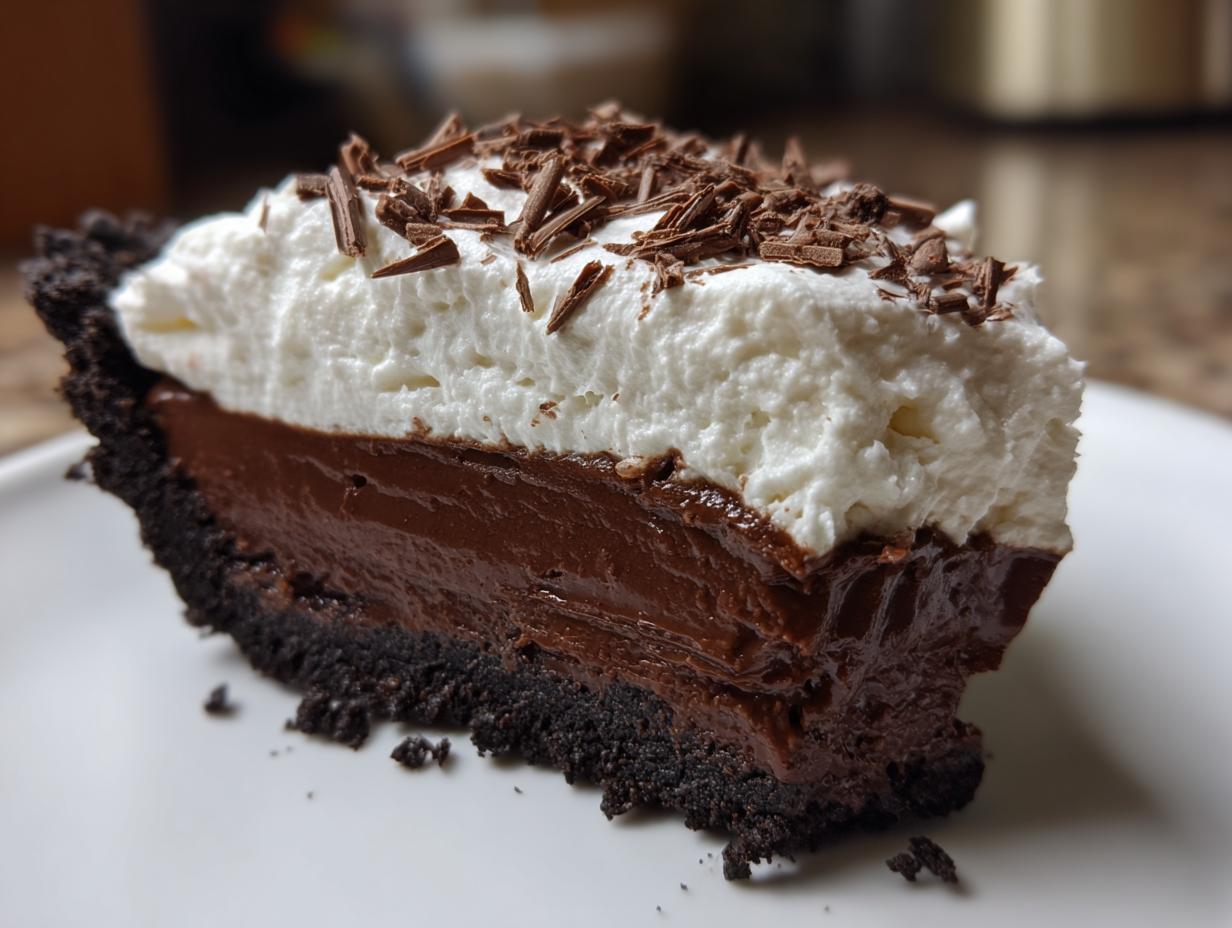
Simple Oreo Crust Chocolate Cream Pie Assembly
We want festive, not frustrating, right? The base for this entire glorious creation is just Oreos and butter pressed firmly into the pan. Seriously, that’s it! You just freeze that puppy, and you have a sturdy, rich base ready for your beautiful Christmas chocolate cream pie filling. No rolling pins required, thank goodness.
Perfect Make-Ahead Christmas Chocolate Cream Pie Timing
This is the real magic trick for holiday sanity! You mix the filling, pour it in, and forget about it. I always aim for an overnight chill. That extra time ensures the filling is rock solid and beautiful when you go to slice it, meaning your presentation for the big Christmas dinner is flawless. It means less work on Christmas morning!
Gathering Ingredients for Your Holiday Chocolate Pie Recipe
Okay, let’s talk shopping! Remember our cooking philosophy here at Rosa’s Tasty Kitchen: reliable food made with things you can actually find at your neighborhood store. You won’t need any fancy imported powders for this spectacular holiday chocolate pie recipe. Everything we use—from the cookies to the pudding mixes—is readily available!
Crust Components and Substitutions
For the base, we’re using Oreos, which are so easy to crush up—don’t even worry about taking out the cream filling! If you suddenly run out of Oreos (which happens to the best of us the day before Christmas!), you can definitely swap them for graham cracker crumbs. Just remember that if you switch to graham crackers, you’ll want to dial back that melted butter slightly from six tablespoons down to just four. Simple switch, same great result!
Creating the Rich Chocolate Filling
The key to that incredible texture and dual-chocolate flavor is mixing TWO types of instant pudding: the regular chocolate one, and often, a vanilla or even a white chocolate mix. That second flavor bulb is my little secret kicker—it makes the chocolate taste deeper! You absolutely must make sure your milk is icy cold when you start whisking everything together. If the milk isn’t cold, instant pudding just won’t set up right. We need that mixture to thicken enough that it truly holds its shape.
Step-by-Step Instructions for No Fail Chocolate Cream Pie
Follow these steps exactly, and I promise you this is a no fail chocolate cream pie. Even if you’re rushing through holiday prep, take your time during the mixing stages because that’s where the instant pudding magic happens! This recipe follows the methods I learned from watching my mom—technique matters almost as much as ingredients. You can check out more about our philosophy on simple reliability over at our story page if you get a second!
Preparing and Chilling the Oreo Crust
First up is the crust, and this is where you need to put some muscle in! Mix your crushed Oreos right into that melted butter until everything looks like damp, dark sand. Press that mixture down firmly into your 9-inch pie plate. I mean really press it—use the bottom of a measuring cup to packed it tight along the bottom and push it slightly up the sides. This prevents the crust from crumbling apart when we slice it on Christmas day. Pop that whole thing into the freezer for a solid 15 minutes while you deal with the filling. That quick chill sets the butter beautifully.
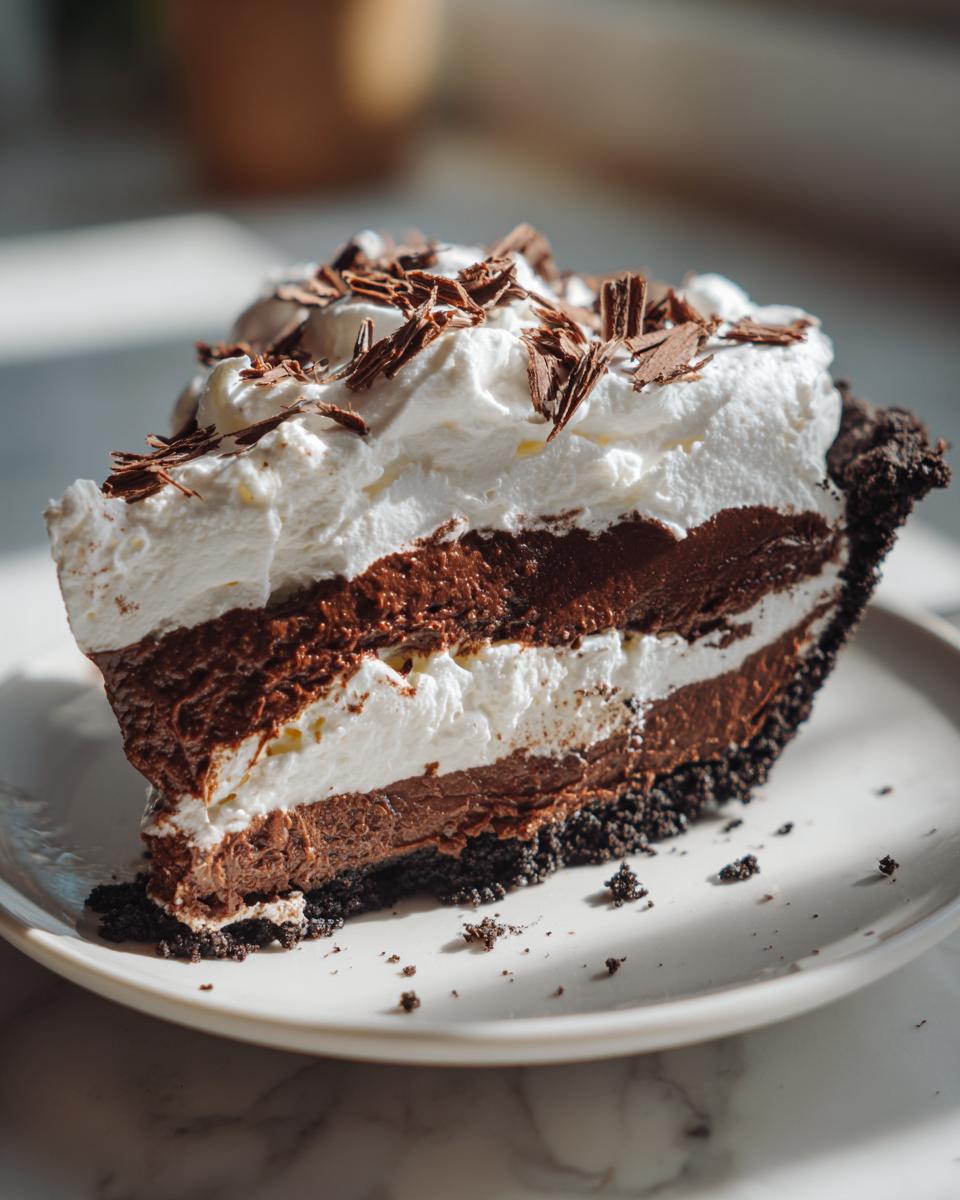
Mixing the Pudding and Folding in Topping
Grab a big bowl, because we’re combining the chocolate and vanilla instant pudding mixes first. Then, slowly start drizzling in your cold milk while you whisk! You need to whisk continuously for about two full minutes—you’ll know it’s ready because the mixture will start getting noticeably thick, almost like thick mousse. Once thickened, stir in your vanilla extract. Now, keep your wrist gentle! Take about half of your *thawed* whipped topping and fold it in carefully. We aren’t beating it; we are *folding* it! This is what gives us that lighter, airier texture instead of a dense block of pudding.
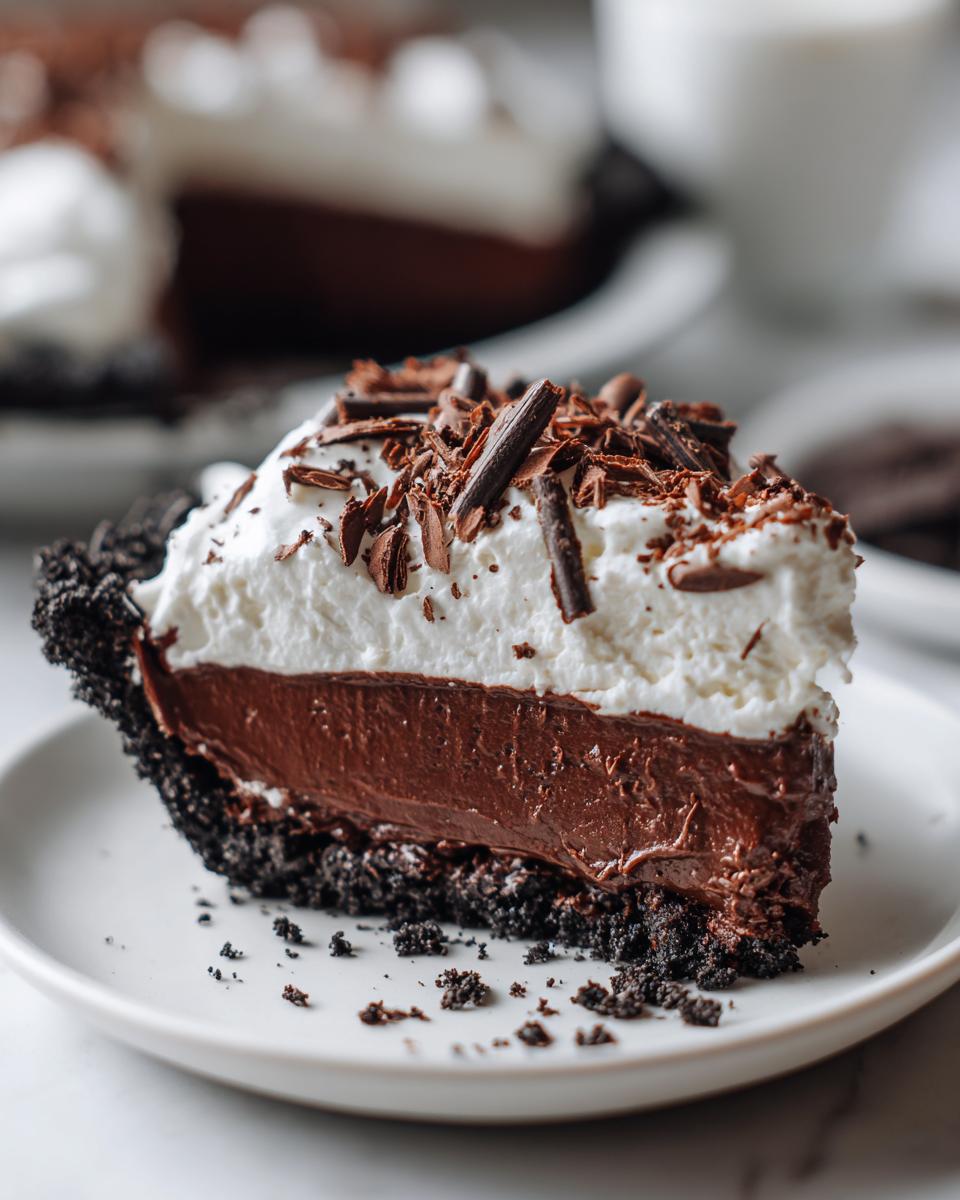
Tips for the Best Whipped Cream Chocolate Pie Presentation
Presentation matters, especially when this whipped cream chocolate pie is the star of your holiday dessert table! Since we chilled this beauty for hours, the filling is perfectly firm, which gives us a beautiful canvas for decorating. Want that tall, bakery-style topping? Listen close, because the topping choice makes a big difference in how festive it looks.
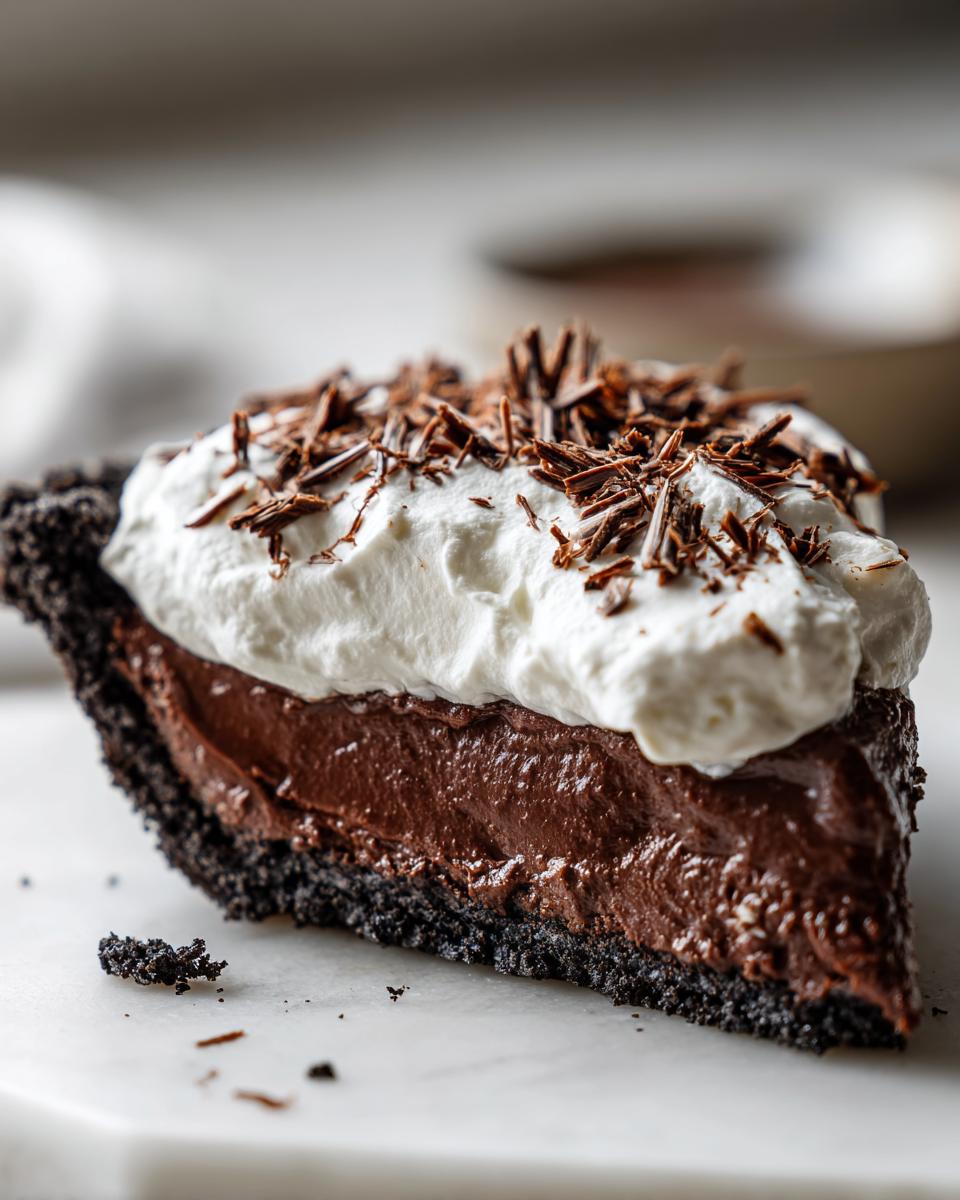
Achieving Perfect Whipped Cream Topping
You have two routes here, and both are delightful. If you use the thawed tub topping, just make sure it’s mostly thawed, but still cold, and spread it gently with an offset spatula to cover the whole pie. Now, if you’re like me and want that extra rich flavor, go homemade! Beat one cup of heavy cream until it starts getting bubbly, then add two tablespoons of powdered sugar and half a teaspoon of vanilla. Keep whipping until you get stiff peaks that stand up straight when you lift the beater. That stiffness holds up so much better!
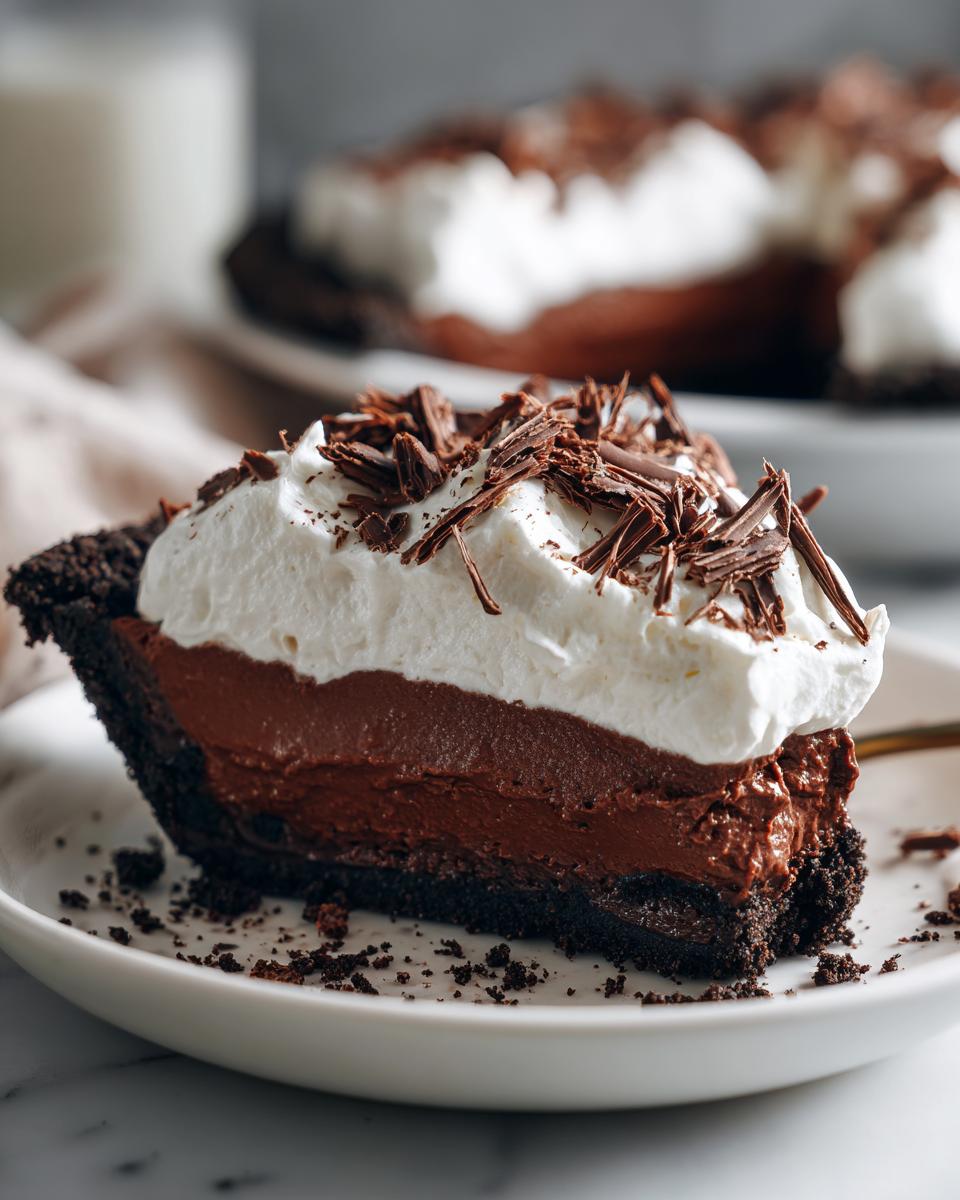
Festive Garnishes for Your Christmas Chocolate Cream Pie
Basic chocolate shavings are nice, but we’re aiming for a festive Christmas dessert idea here! Once your whipped cream is on, go for color. I always keep a small jar of bright red and green sprinkles on hand just for moments like this. You can dust the edges lightly, or if you have a piping bag, pipe little dollops around the edge and sprinkle those dollops heavily. A quick, light dust of cocoa powder right before serving also gives it a lovely shadow effect.
Storage and Serving Instructions for Make Ahead Christmas Desserts
The best part about this pie is that it practically begs you to make it early! You absolutely need a minimum of four hours chilling time before you even think about slicing it. Honestly, though, I always aim to assemble this whole Christmas chocolate cream pie the day before Christmas. When it chills overnight, the filling really firms up, and the flavors just meld together beautifully.
When you cover it, make sure you don’t press the plastic wrap right down onto that beautiful whipped topping. If you do, you’ll get sticky condensation spots, and that wrecks the festive look! Just tent the plastic loosely over the edges of the pie plate. Then, keep it tucked away in the fridge until you’re ready to announce dessert. It’s the ultimate stress reliever for your big make ahead Christmas desserts plan!
Frequently Asked Questions About This Holiday Chocolate Pie Recipe
I know when I’m planning a big holiday meal, I end up with a million little questions! It’s always better to ask now than try to fix something right before guests arrive on Christmas. Here are some things people often ask about getting this holiday chocolate pie recipe just right.
Can I use real milk instead of whole milk for the filling?
That’s a great question about the milk! Whole milk is definitely recommended because the extra fat helps stabilize that rich chocolate filling and ensures it sets up nice and firm. If that’s all you have, go ahead and use it! However, if you use 2% milk, you might find the filling is a touch softer when you go to slice it. If you use 2%, just make sure you commit to chilling it the full overnight recommendation to give it as much time as possible to get firm.
How long can I keep this Christmas chocolate cream pie refrigerated?
Since this is one of our go-to make ahead Christmas desserts, storage is important! Because we used instant pudding and the crust is made from Oreos, this pie does really well in the fridge. You can safely store it, covered loosely, for up to three days. After day three, the whipped topping might start to weep a little, but honestly, who has pie left over after three days anyway? It’s always gone fast at my house!
What is the easiest way to slice this pie cleanly?
Oh, slicing a whipped cream chocolate pie cleanly can feel like a huge accomplishment! Here is my favorite trick: Grab a nice, long, sharp knife—not a dull butter spreader! Dip that knife deep into a mug of very hot water for about 10 seconds. Wipe the blade completely dry with a clean dish towel. Then, make your cut straight down. That hot, clean blade zips right through the cream and the firm filling without sticking or dragging. Rinse the knife, dry it, and repeat for every single slice. It makes beautiful servings every time!
Estimated Nutritional Data for Your Christmas Chocolate Cream Pie
Now, listen, I’m not a nutritionist—I’m a home cook who loves feeding people good things! So, take these numbers with a grain of salt because they are estimates based on standard brands and serving sizes. This is a decadent treat, not a side salad, which is why we love it at Christmas!
This breakdown is based on roughly 1/8th of the entire Christmas chocolate cream pie.
- Serving Size: 1 slice
- Calories: Around 410
- Total Fat: About 24g (Watch that saturated fat, it comes from the rich filling and the Oreo crust!)
- Carbohydrates: Roughly 48g
- Protein: About 5g
- Sugar: Yep, about 38g. It is a holiday pie, after all!
The key takeaway here is that this is a special occasion dessert, meant to be truly satisfying. Don’t worry about the numbers; just worry about making sure everyone gets a big slice!
Share Your Festive Christmas Dessert Ideas
Wow, we made it! You’ve got the recipe for what I truly believe is the most stress-free, rich, and festive addition to any holiday table. Now tell me—how did your Christmas chocolate cream pie turn out? Did you stick with the simple chocolate shavings, or did you go wild with those festive sprinkles?
I absolutely love hearing about your holiday baking adventures! When you try this, please come back and leave a quick star rating—it helps other busy folks like us know this recipe is a winner, too. If you ran into any tricky moments, or if you discovered a genius little twist of your own, drop it in the comments below. I read every single one!
And if you snap a picture of your finished, beautiful, chilled pie, I’d be thrilled to see it! Feel free to send any questions or share your photos by reaching out through our contact page. Happy holidays, and happy eating!
PrintChristmas Chocolate Cream Pie with Oreo Crust

Make this rich chocolate cream pie with a simple Oreo crust for an easy, make-ahead holiday dessert.
- Prep Time: 20 min
- Cook Time: 0 min
- Total Time: 4 hr 20 min
- Yield: 8 servings 1x
- Category: Dessert
- Method: No Bake
- Cuisine: American
- Diet: Vegetarian
Ingredients
- 1 1/2 cups crushed Oreo cookies (about 25 cookies)
- 6 tablespoons unsalted butter, melted
- 1 package (3.9 ounces) instant chocolate pudding mix
- 1 package (3.4 ounces) instant vanilla or white chocolate pudding mix
- 3 cups cold milk (whole milk recommended)
- 1 teaspoon vanilla extract
- 1 tub (8 ounces) frozen whipped topping, thawed (or 2 cups homemade whipped cream)
- Chocolate shavings or holiday sprinkles, for topping
Instructions
- Prepare the crust: Mix the crushed Oreo cookies and melted butter in a bowl until fully combined. Press the mixture firmly and evenly into the bottom and up the sides of a 9-inch pie plate. Chill the crust in the freezer for 15 minutes while you prepare the filling.
- Make the chocolate filling: In a large bowl, whisk together the instant chocolate pudding mix and instant vanilla pudding mix. Gradually whisk in the cold milk until the mixture is smooth and begins to thicken, about 2 minutes. Stir in the vanilla extract.
- Fold in whipped topping: Gently fold half of the thawed whipped topping into the chocolate mixture until just combined. This lightens the filling.
- Assemble the pie: Pour the chocolate filling into the chilled Oreo crust, spreading it evenly.
- Chill: Cover the pie loosely with plastic wrap and refrigerate for at least 4 hours, or preferably overnight, until the filling is firm.
- Top and serve: Before serving, spread the remaining half of the whipped topping evenly over the set filling. Decorate the top with chocolate shavings or holiday sprinkles. Slice and serve cold.
Notes
- You can make this pie one day ahead of time. Keep it covered in the refrigerator until you are ready to serve it.
- For a homemade whipped topping, beat 1 cup of heavy cream with 2 tablespoons of powdered sugar and 1/2 teaspoon of vanilla extract until stiff peaks form.
- If you do not have Oreos, you can substitute with graham cracker crumbs and reduce the melted butter to 4 tablespoons.
Nutrition
- Serving Size: 1 slice
- Calories: 410
- Sugar: 38g
- Sodium: 350mg
- Fat: 24g
- Saturated Fat: 14g
- Unsaturated Fat: 10g
- Trans Fat: 0g
- Carbohydrates: 48g
- Fiber: 2g
- Protein: 5g
- Cholesterol: 35mg