
Oh man, Thanksgiving is looming, and are you already having nightmares about that dry, chalky turkey breast? I totally get it! That’s why I lean so heavily on my trusty turkey brine recipe—it’s simple, reliable, and practically guarantees moisture. Rosa Sterling knows that home cooks are busy, so she adapted her grandmother’s ancient techniques into this straightforward method that keeps every single bite juicy. This is your secret weapon against a dry bird!
- Why This Simple Turkey Brine Recipe is a Thanksgiving Classic
- Essential Ingredients for Your Turkey Brine
- How to Make Turkey Brine: Step-by-Step Instructions
- Post-Brining Steps: Rinsing and Drying for Perfect Skin
- Tips for Success with Your Turkey Brine Recipe Easy
- Storage and Make-Ahead Instructions for Turkey Brine
- Frequently Asked Questions About Turkey Brine
- Estimated Nutritional Data for Turkey Brine
- Share Your Juicy Thanksgiving Classic Results
Why This Simple Turkey Brine Recipe is a Thanksgiving Classic
If you really want a showstopper centerpiece, you need this simple recipe in your life. This turkey brine isn’t some complicated chemistry experiment; it’s designed to be easy, proving Rosa’s point that the best food doesn’t come from complexity, but from reliability. We rely on this method every year because it transforms potentially dry white meat into something incredibly flavorful and incredibly moist. It’s truly become our family’s **Thanksgiving classic**!
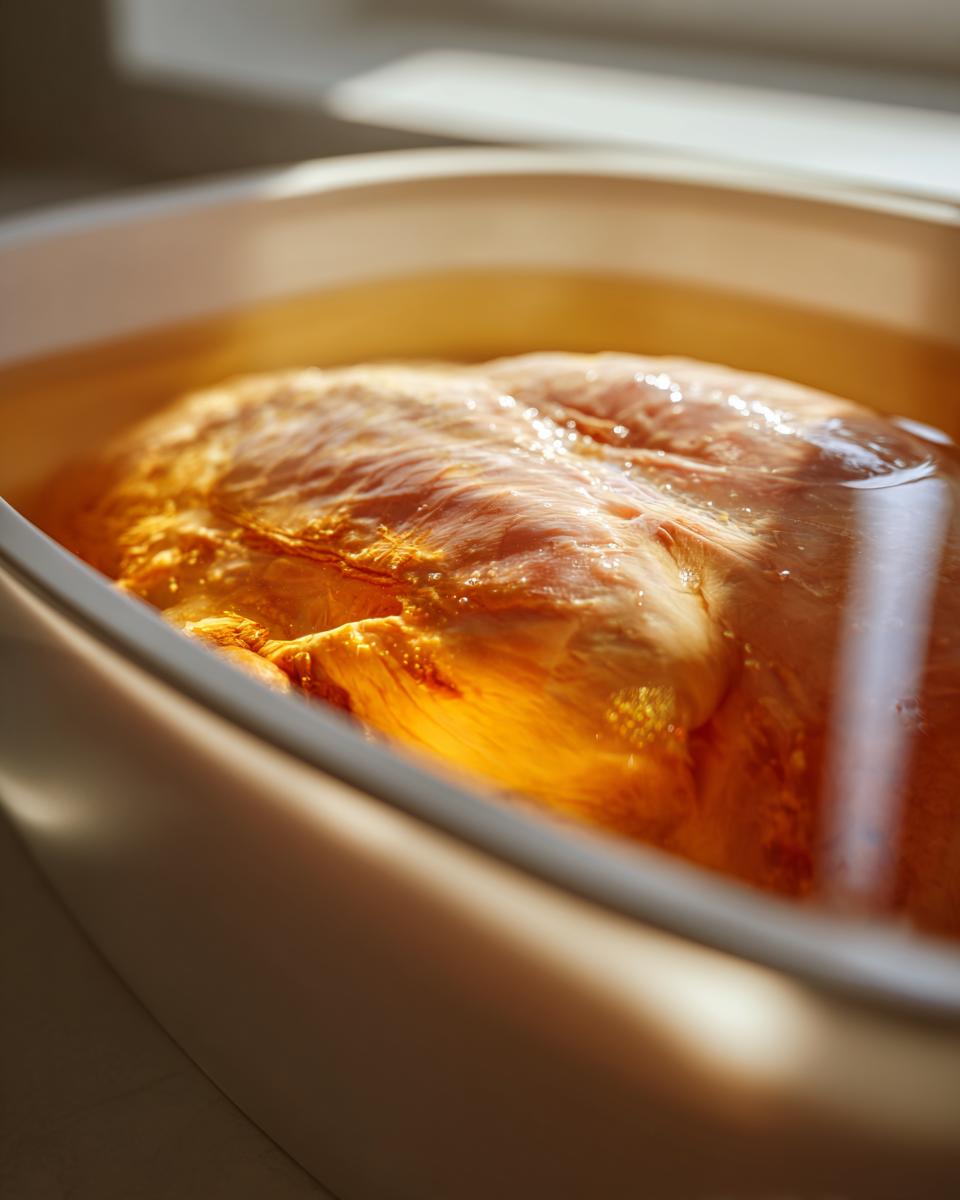
When you soak that big bird in this seasoned water solution, you’re giving it a massive infusion of flavor and, more importantly, locking in moisture before it even sees the oven. Forget stressful carving moments; this brine saves the day!
Achieving the Juiciest Turkey Possible
See, turkey breast gets dry because those long cooking times squeeze all the natural water right out of the muscle fibers. That’s where our turkey brine steps in! The salt and sugar work to gently denature the proteins just a bit, allowing the meat to soak up liquid and hold onto it during the roast. It’s like giving the turkey a big drink before a long walk. The result is meat that stays tender and juicy no matter how long your carving takes!
Essential Ingredients for Your Turkey Brine
Okay, now for the fun part! You don’t need to run to some specialty spice shop for this. Rosa’s whole deal is making great flavor accessible, which means every single item in this turkey brine recipe comes from your regular supermarket. It takes about 15 minutes of hands-on prep time, and this batch is built to flavor one whole turkey (Yield: 1 turkey). Seriously, just grab your biggest stockpot and let’s go!
Ingredient Notes and Substitutions for Your Turkey Brine
A quick word on the salt: I highly recommend kosher salt. It dissolves nicely and it’s much easier to measure accurately than table salt, which can make your brine way too harsh! If you happen to have fresh rosemary sprigs, toss them in—the fresh flavor is just unbeatable compared to dried. If, heaven forbid, you run out of brown sugar, you can cheat by using plain white sugar mixed with a tablespoon or two of molasses to mimic that rich, caramelizing depth. Don’t skip the peppercorns and allspice; those tiny things bring that classic warming spice that really makes the holiday flavor profile pop.
How to Make Turkey Brine: Step-by-Step Instructions
Alright, let’s get down to the actual mixing—this is how you learn exactly **how to make turkey brine** like a pro! First things first, grab your biggest pot. You’re going to combine roughly four cups of your water supply right there in the pot with all that kosher salt and brown sugar. We put this over medium heat just to help things along.
Here’s where you listen closely: you need to keep stirring until you see that salt and sugar completely vanish into the water. But listen, and I mean *really* listen: **Do not boil it!** Boiling is too aggressive; we just want them melted. Once everything is dissolved, take that pot right off the burner immediately. Then, you toss in your flavor buddies—the peppercorns, the allspice, the rosemary, and that halved head of garlic. Let that steep for a minute to pull all that lovely aroma out.
Now, this part is critical for safety. Pour that hot liquid into your absolute largest container—we’re talking bigger than your turkey! Then, you add the rest of the cold water. This is our secret quick-cool method! The reason we do this is because you ABSOLUTELY must get that brine mixture down below 40 degrees Fahrenheit before that turkey ever touches it. If it’s warm, you’re just asking for trouble with bacteria growth. Trust me, Rosa hammered this point home!
Cooling and Submerging the Turkey in the Turkey Brine
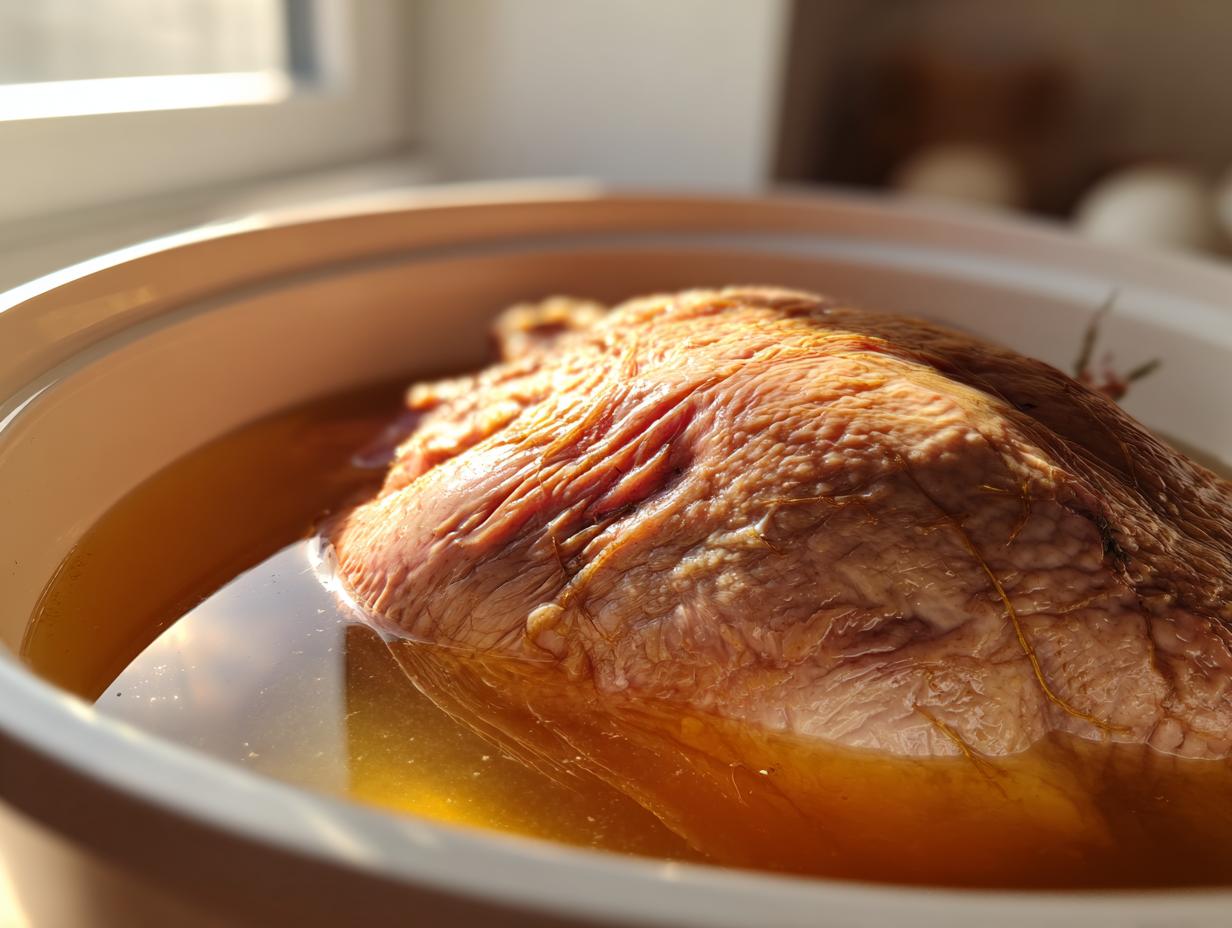
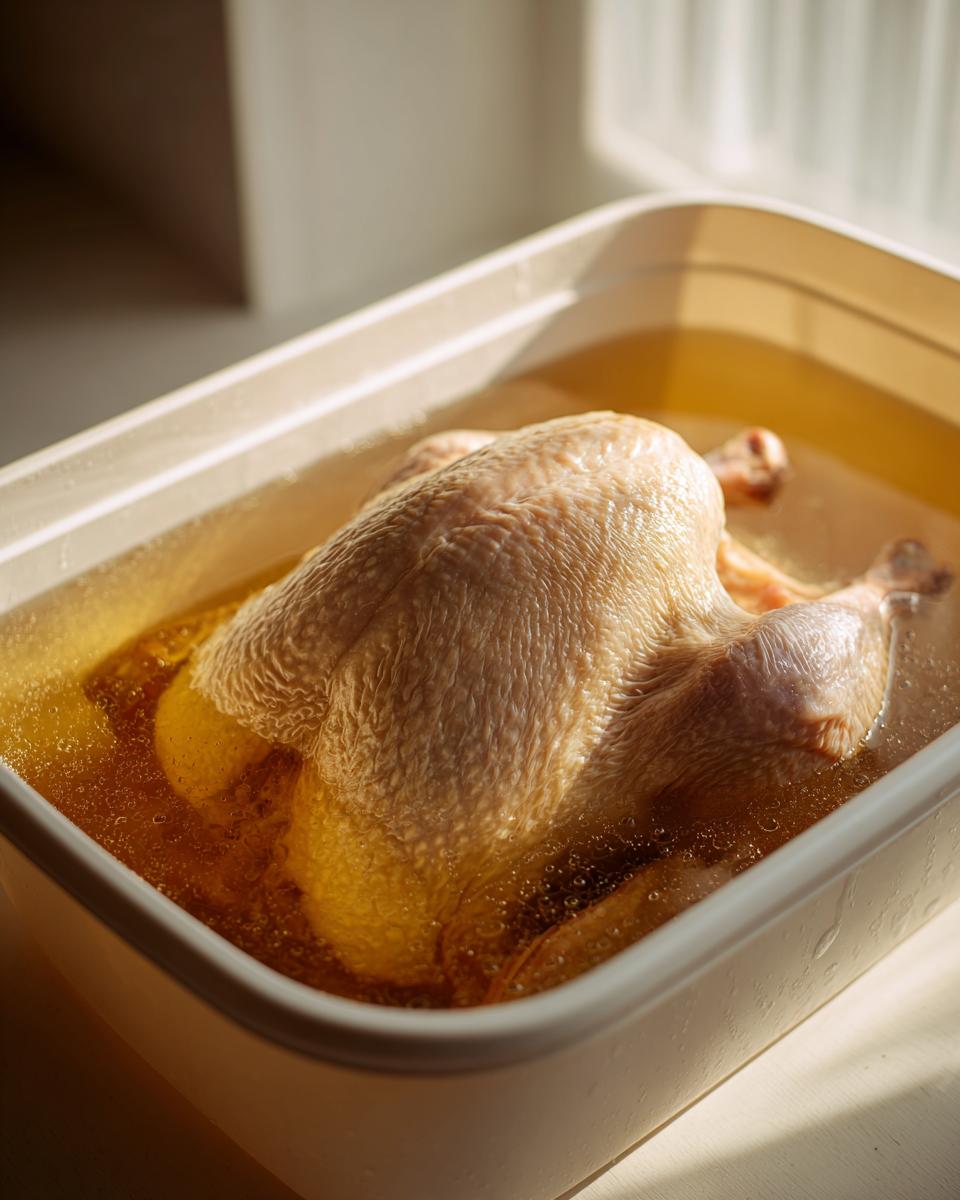
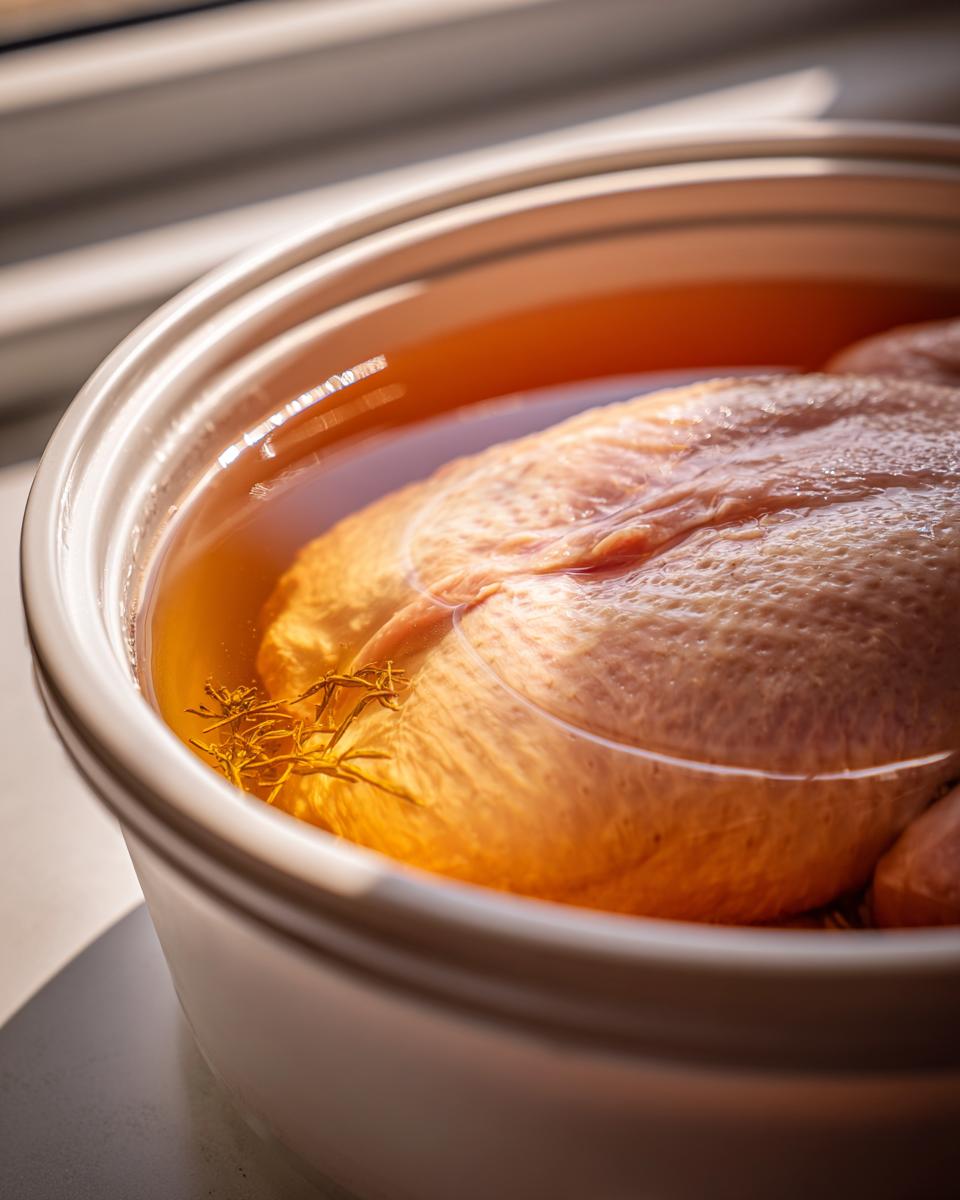
Once the brine is totally chilled—I check it with a thermometer just to be sure—it’s time for the main event. Gently lower your beautiful, thawed bird right into the cold solution. Make sure it’s completely submerged; if it’s floating weirdly, use a plate or a heavy plastic bag filled with water to keep it under. Cover that whole setup and tuck it into the fridge.
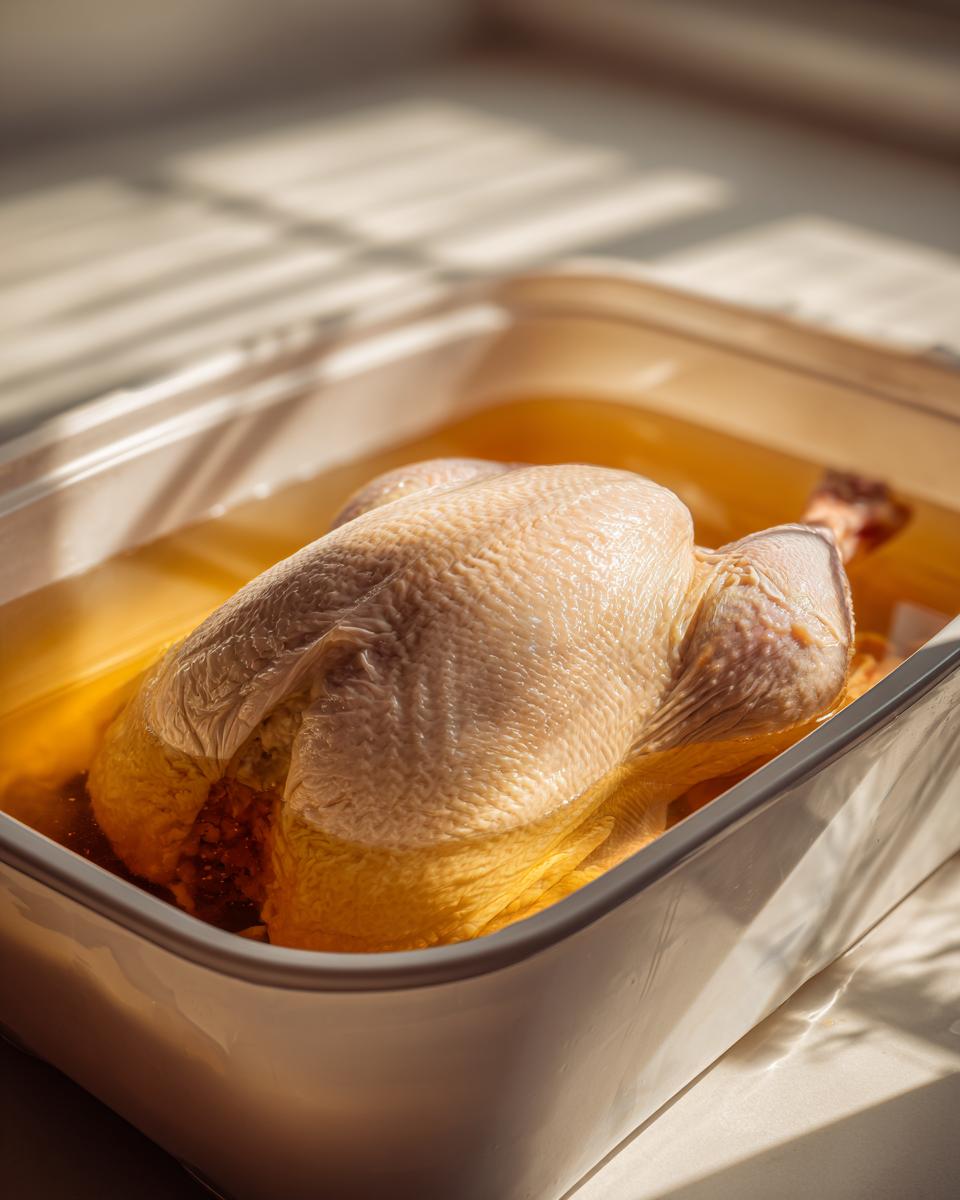
The timing here depends on the size of your bird. For a standard 12-pound turkey that your family usually eats, 12 hours is plenty of time to get all that flavor locked in. But if you’ve got a giant bird this year, you can let it rest happily in that amazing **turkey brine** for the full 24 hours. The longer it sits, the more those spiced flavors soak right down into the meat!
Post-Brining Steps: Rinsing and Drying for Perfect Skin
Okay, your turkey has soaked up all that wonderful flavor, but we are not quite ready for the oven yet! You absolutely must rinse that bird thoroughly when you pull it out of the **turkey brine**. I know it feels counterintuitive after making it so salty, but you need to wash off all that excess surface salt. If you skip this, your skin will taste way too aggressive, trust me on this one.
After the rinse, this next step is probably the most crucial if you want that picture-perfect golden-brown finish we all dream about. Take loads of paper towels and just blot, blot, blot! You need the skin to be bone-dry—I mean really, really dry. Any moisture left on the skin just turns to steam your oven, and steam guarantees soggy skin. Patting it completely dry is the non-negotiable ticket to getting that beautiful, crispy texture everyone fights over on Thanksgiving!
Tips for Success with Your Turkey Brine Recipe Easy
Because we want this **turkey brine recipe easy** to work perfectly for everyone, I have a few extra little tips from Rosa’s playbook. First off, if you’re panicking because your stockpot isn’t big enough to hold the whole gallon of water *plus* the turkey, don’t stress! You can make a super-concentrated brine using only four cups of water to dissolve everything. Then, just top it off with a ton of ice until you hit that gallon mark and the temperature gets cold enough. That’s a real lifesaver!
Also, and this is huge: make sure your turkey is completely, utterly thawed before it goes into the bath. If you try to brine a partially frozen bird, the parts that are frozen won’t absorb the brine evenly, and you’ll end up with salty spots next to bland ones. We want perfection here!
Determining the Correct Brining Time for Your Turkey
Figuring out the right soak time is key to mastering this method. While we gave a general 12 to 24-hour window, the real magic number is usually about one hour for every two pounds of turkey your bird weighs. So, if you have a modest 14-pound bird, you’re probably looking at seven hours, max. If you go much past 24 hours, even with rinsing, your turkey can start tasting overly salty and the texture might get a little mushy, which is the opposite of what we want! Stick to the guide based on size for the best results from this simple recipe.
Storage and Make-Ahead Instructions for Turkey Brine
One of the best things about getting ahead for Thanksgiving is knowing you can prep the **turkey brine** solution days in advance! If you want tomorrow to be less stressful, go ahead and mix up the brine solution today. Once you’ve fully dissolved the salt and sugar and added your flavorings, just let it cool down completely—below 40°F is the rule—and store it covered in the fridge.
If you make it way ahead, say three or four days, you might notice the herbs—like that rosemary—start to lose a little oomph. So, if you prepare it more than 48 hours out, I actually recommend just dissolving the salt and sugar first, chilling that base, and then adding your fresh garlic and herbs just 12 hours before you plan to dunk the turkey. That keeps everything smelling and tasting super vibrant!
Now, what about the turkey itself once it’s been bathing? Once you pull the bird out of the **turkey brine** bath, you MUST rinse it and pat it dry, right? After that initial dry, you need to use it relatively soon. I wouldn’t let a rinsed and dried turkey sit in your fridge for more than 24 hours before roasting it. It loses some of that awesome moisture benefit the longer it sits uncovered, even refrigerated. So, brine the day before, rinse and dry the morning you roast, or brine early Wednesday and roast late Thursday morning. That timing keeps things fresh and easy for you!
Frequently Asked Questions About Turkey Brine
I know you might have a few lingering questions before you commit to letting your massive bird soak! That’s totally normal, especially when you’re trying something new for your big **Thanksgiving classic**. We want you to feel 100% confident stepping into this **turkey brine** process, so here are a few things people ask me all the time in the comments.
Can I use a wet turkey brine on a self-basting or pre-injected turkey?
Oh, please don’t! This is an important one for your health and your tastebuds. If you buy a turkey labeled “self-basting” or “enhanced” or “injected with solution,” that means it already has a saltwater mixture pumped right into the meat at the processing plant. It’s already been brined, sometimes heavily! If you put that bird into our **turkey brine** recipe, you are going to end up with a turkey that tastes like the bottom of the Dead Sea. The sodium level would be incredibly high, and frankly, you risk messing up the texture.
What is the difference between this salt water brine and a dry brine?
That’s a great question! This method, the wet **turkey brine**, is where you totally submerge the bird in a flavored solution, which is fantastic for infusing flavor deep into big, thick cuts like the breast meat. You get massive moisture retention from the liquid it’s soaking in.
Dry brining, on the other hand, is when you just rub the salt mixture all over the exterior of the turkey and let it sit in the fridge uncovered for a couple of days. Dry brining is honestly amazing for getting super crispy skin because the salt draws moisture out first, and then that moisture dissolves the salt and gets reabsorbed, but the exposed skin dries out nicely in the fridge uncovered. For me, though, when I’m nervous about dryness, nothing beats the full soak of this classic **turkey brine** method!
Estimated Nutritional Data for Turkey Brine
Now, I know some of you are watching those macros even when preparing a festive bird! Remember, these numbers are just estimates based on the base ingredients in our **turkey brine** recipe—specifically for one cup of the liquid solution you’re using.
Since most of this liquid doesn’t get fully absorbed by the turkey, you don’t stress about consuming it all! If you look at the numbers, you’ll see that the sodium content is quite high, which is exactly what we want for flavor penetration, but remember this is for the *brine* itself, not the final roasted bird after rinsing. For us, this recipe is all about flavor and moisture, not counting calories in the salty bath!
- Serving Size: 1 cup brine
- Calories: 50
- Sugar: 15g
- Sodium: 3500mg
- Fat: 0g
Just as a little reminder, because I always want to be totally upfront with my cooks: these figures are estimates! Your exact salt brand, the specific bag of brown sugar you grab, and how much water actually evaporated during the heating process will change things slightly. But honestly, when you are aiming for that perfect juice factor in your **Thanksgiving classic**, the science takes a little backseat to the flavor payoff we get in the end!
Share Your Juicy Thanksgiving Classic Results
I truly hope this simple, reliable **turkey brine** recipe saved your Thanksgiving centerpiece this year! Rosa and I pour so much care into making sure these techniques work perfectly, even when you’re running around trying to coordinate a giant holiday meal. Now that your bird is potentially soaking away, I’d love to hear all about it.
Did this method finally conquer your fears of dry turkey breast? Did the peppercorns and rosemary really come through the way you hoped? Don’t keep the success a secret!
Please take a moment and let me know how it went! You can leave a rating right here on the recipe card—a quick five stars lets me know you nailed that moisture level. More importantly, drop a comment below and tell me what you thought of your results. The best part of cooking is sharing the joy!
If you snapped a picture of that beautifully roasted and incredibly moist bird fresh from its brine bath, please tag us! We thrive on seeing your successes online. You can connect with me directly if you have feedback or just want to send virtual high-fives by heading over to our contact page. Happy roasting, my friends, and I can’t wait to hear about your perfectly juicy **Thanksgiving classic**!
PrintSimple Turkey Brine Recipe for Juicy Thanksgiving Bird
Follow this easy turkey brine recipe to ensure your holiday turkey stays moist and flavorful.
- Prep Time: 15 min
- Cook Time: 0 min
- Total Time: 12 hr 15 min
- Yield: 1 turkey 1x
- Category: Poultry Preparation
- Method: Brining
- Cuisine: American
- Diet: Low Fat
Ingredients
- 1 gallon water
- 1 cup kosher salt
- 1 cup brown sugar
- 1 tablespoon black peppercorns
- 1 tablespoon whole allspice berries
- 2 sprigs fresh rosemary
- 1 head garlic, halved
Instructions
- In a large pot, combine 4 cups of water, kosher salt, and brown sugar. Heat over medium heat, stirring until the salt and sugar fully dissolve. Do not boil.
- Remove the pot from the heat. Add the peppercorns, allspice berries, rosemary, and garlic.
- Pour the hot brine mixture into a very large container (larger than your turkey). Add the remaining 12 cups of cold water to cool the brine quickly.
- Once the brine is completely cool (below 40 degrees Fahrenheit), submerge your fully thawed turkey in the brine.
- Cover the container and refrigerate for 12 to 24 hours. For a 12-pound turkey, 12 hours is sufficient. For larger birds, use the full 24 hours.
- Remove the turkey from the brine. Rinse the turkey thoroughly inside and out with cold water. Pat the skin completely dry with paper towels before roasting.
Notes
- You must cool the brine completely before adding the turkey to prevent bacterial growth.
- If you do not have a container large enough, you can make a concentrated brine using less water and then add ice to reach the required volume and temperature.
- Patting the skin dry after brining is essential for achieving crispy skin when roasting.
Nutrition
- Serving Size: 1 cup brine
- Calories: 50
- Sugar: 15
- Sodium: 3500
- Fat: 0
- Saturated Fat: 0
- Unsaturated Fat: 0
- Trans Fat: 0
- Carbohydrates: 15
- Fiber: 0
- Protein: 0
- Cholesterol: 0