

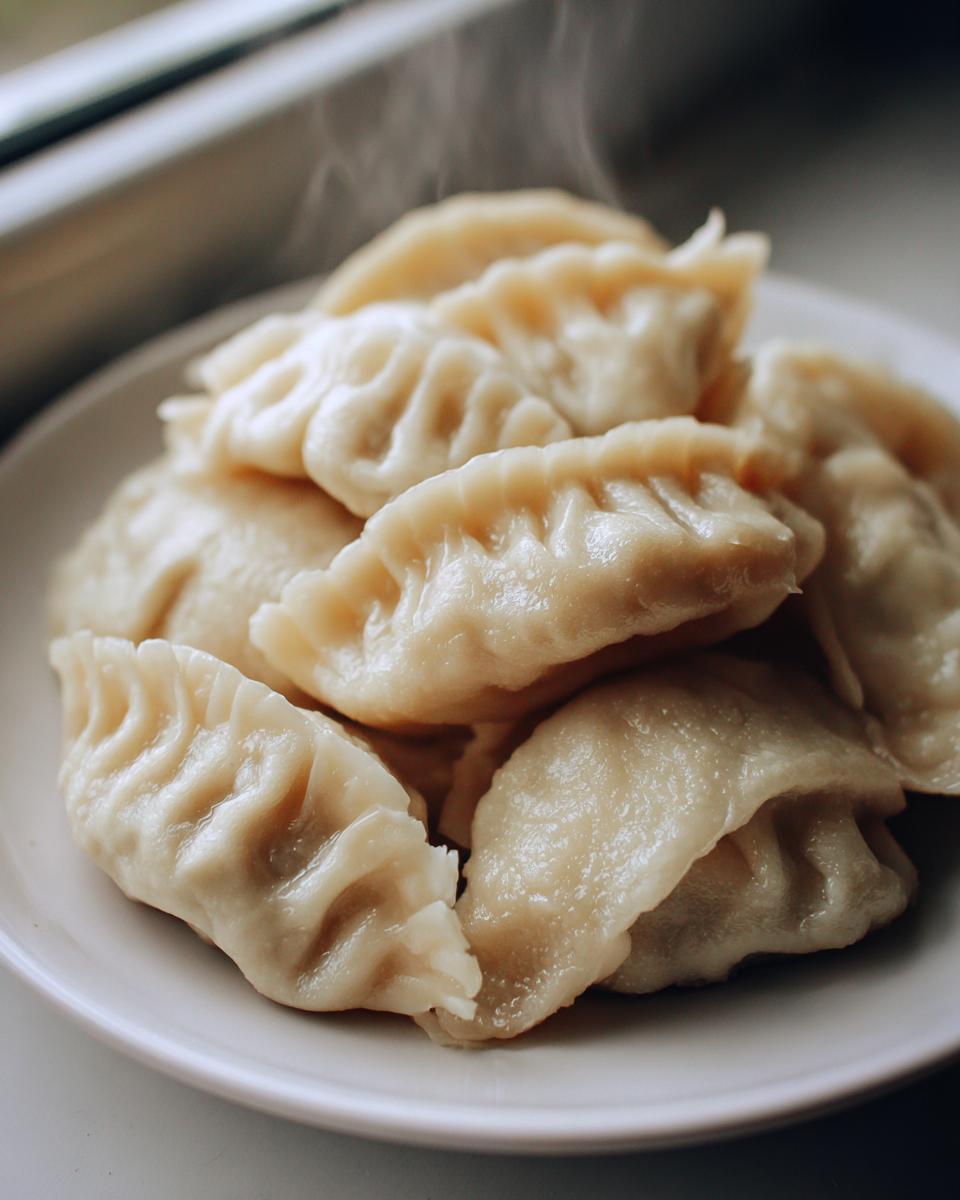
Oh, there is just nothing that beats taking that first bite of something you truly made from scratch, right? I know juggling everything in a busy week is tough—I remember those evenings when the kids were little and I was still trying to fit great flavor into a short dinner time. That’s why I’m so excited to share these Traditional Chinese Dumplings with you!
We aren’t cutting corners here; we are making the wrappers ourselves because that slightly chewy, perfect texture is non-negotiable for true, authentic jiaozi. Whether you need a huge batch for the Lunar New Year celebration or just crave something amazing on a Tuesday night, this recipe is reliable. As an educator who lived the busy home-cook life, I promise these instructions are crystal-clear. I’ve tested and tweaked this *Chinese dumplings recipe* so many times to make sure it delivers maximum comfort and clarity. You deserve food that tastes incredible without feeling overwhelming.
- Why You Will Make These Traditional Chinese Dumplings Again and Again
- Gathering Ingredients for Authentic Jiaozi
- Mastering the Homemade Dumpling Wrappers for Traditional Chinese Dumplings
- Step-by-Step Assembly: Shaping Your Traditional Chinese Dumplings
- Cooking Methods for Perfect Boiled Chinese Dumplings
- Ingredient Notes and Substitutions for Your Pork Cabbage Dumplings
- Making Traditional Chinese Dumplings Freezer Friendly
- Frequently Asked Questions About Chinese Dumplings Recipe
- Estimated Nutritional Snapshot for Traditional Chinese Dumplings
- Share Your Traditional Chinese Dumplings Creations
- Estimated Nutritional Snapshot for Traditional Chinese Dumplings
- Share Your Traditional Chinese Dumplings Creations
Why You Will Make These Traditional Chinese Dumplings Again and Again
I want you to know that even though we are rolling our own wrappers—yes, really!—this process is actually meditative once you get into the rhythm. Don’t let that scare you away from making the absolute best pork cabbage dumplings! Here is why I think this recipe will become a staple in your house:
- Real Flavor Punch: The combination of fresh ginger, savory soy sauce, and ground pork creates that restaurant-quality taste you just can’t replicate with pre-made fillings.
- Surprisingly Quick Dough: The dough for these *homemade dumpling wrappers* only needs flour and water! It comes together faster than you think, and the resting time handles most of the work for you.
- The Ultimate Freezer Friendly Dumplings: You can make a massive batch, and I highly recommend you do! Freeze them uncooked, pull them out whenever you need a fast, incredible dinner.
- Perfect for Celebrations: This is my absolute go-to recipe when I’m preparing for my lunar new year dumplings feast. They look stunning when pleated correctly.
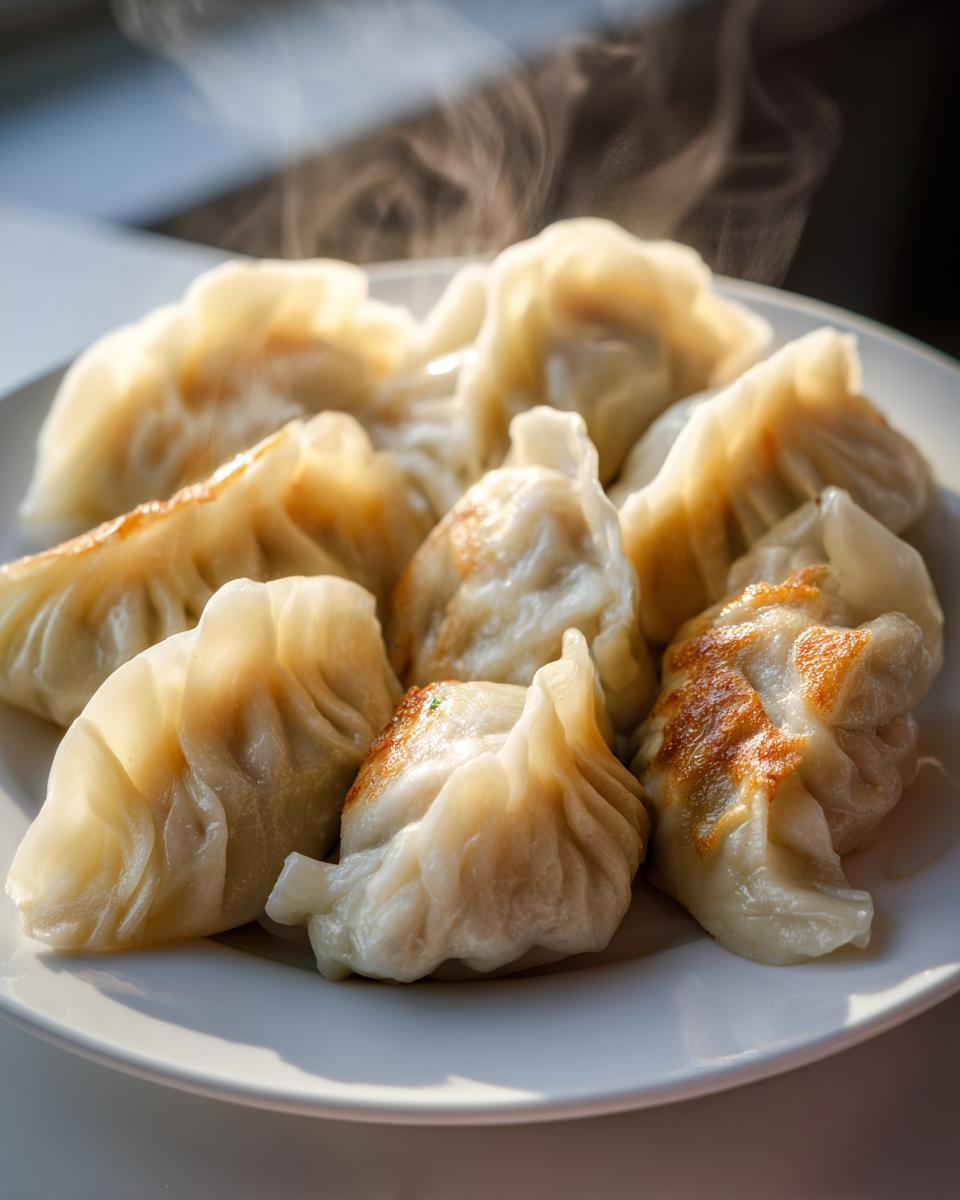
- Versatility in Cooking: We are boiling them today for that tender, classic experience, but these little beauties crisp up beautifully if you decide to pan-fry them next time!
- Satisfyingly Hands-On: There is something so incredibly rewarding—and yes, even relaxing—about folding your own dough. It pulls you right into the kitchen!
Gathering Ingredients for Authentic Jiaozi
Okay, let’s talk shopping! Remember, the secret to these Traditional Chinese Dumplings tasting super authentic isn’t some fancy technique; it’s having the right building blocks. Most of this you can grab at your regular grocery store, but keep an eye out for the rice wine—that little touch of Shaoxing wine, or a dry sherry if you must, really deepens the flavor profile in a way nothing else does. So, grab your list! We need a few simple things for the wrappers and then the goodness for the filling.
For the Homemade Dumpling Wrappers
You won’t believe how basic this part is. Truly, you just need two things that probably live in your pantry right now! This is where we start our journey to perfect homemade dumpling wrappers.
- 2 cups all-purpose flour
- 3/4 cup warm water (keep a tiny bit extra just in case—flour varies, you know!)
For the Pork Cabbage Dumplings Filling
This is where all the savory magic happens for our pork cabbage dumplings. Make sure you chop that cabbage finely! When mixing this, and this is important: mix everything strictly in one direction. If you swirl it around randomly, you won’t get that beautiful, cohesive texture we’re looking for.
- 1 pound ground pork
- 2 cups finely chopped napa cabbage
- 1/4 cup finely chopped scallions
- 2 tablespoons soy sauce
- 1 tablespoon Shaoxing rice wine or dry sherry
- 1 teaspoon sesame oil
- 1 teaspoon grated fresh ginger
- 1/2 teaspoon salt
- 1/4 teaspoon white pepper
Mastering the Homemade Dumpling Wrappers for Traditional Chinese Dumplings
Okay, I know rolling your own dough sounds like the scary part of making Traditional Chinese Dumplings from scratch, but trust me, this is where you prove yourself! This is where the magic really starts, and honestly, it’s just flour and water, so you can’t mess it up too bad! When you mix the flour and water together, it will look messy at first—like a shaggy mess. Don’t panic! That’s exactly what we want before we get our hands in there.
The real work comes next: kneading. I want you to knead this dough vigorously, either by hand or with a dough hook, for a full 8 to 10 minutes. You are building structure here, so don’t cheat this step! When it’s done, it should feel smooth and alive under your palms. Then, the most important thing you can do—and I mean it—is cover it up tightly with plastic wrap and let it chill out for 30 minutes minimum. That rest period lets the gluten relax, making the dough super easy to roll later on. If you skip the rest, you’ll be fighting the dough the whole time, and nobody wants that!
Tips for Rolling Perfect Homemade Dumpling Wrappers
Once that dough has had its nap, it’s time for the fun part that makes these homemade dumpling wrappers so special. First, roll that big chunk of dough into a nice, long rope, about an inch thick. Then, think about how big you want your dumplings; I cut mine into 1-inch pieces. Each little piece becomes one wrapper!
Now, here’s the pro trick for easy sealing: when you roll out that little piece into a thin circle—aim for about 3 inches across—you have to make sure the center is slightly thicker than the edges. I use a tiny bit of pressure on the rolling pin just around the circumference. When you fill them, those thinner edges fold over and seal beautifully! If the center is too thin, the filling might tear right through when you try to pleat them shut. Practice makes perfect with the pleating, but easy sealing comes from that thin edge!
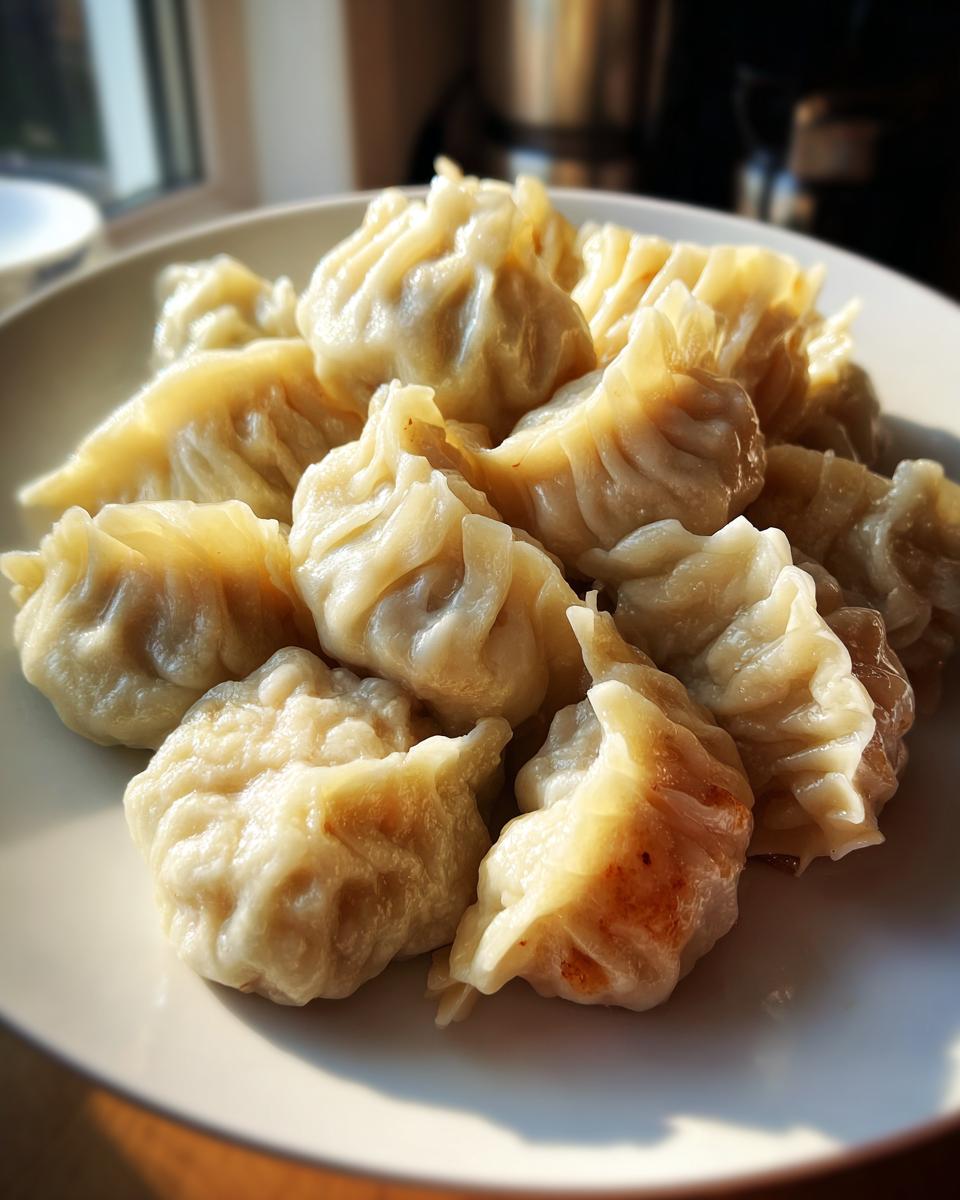
Step-by-Step Assembly: Shaping Your Traditional Chinese Dumplings
Now that our dough is happy and our filling is seasoned perfectly, it’s time for the fun part of making these Traditional Chinese Dumplings—the assembly! Don’t worry if your first few look a little wonky; that’s totally normal. Honestly, the best-looking dumplings I ever made came after I had already folded about fifty of them! They are certainly more about deliciousness than perfect aesthetics, but practice definitely helps the final look.
Take about one teaspoon of that gorgeous pork cabbage dumplings filling and place it right in the center of your perfectly rolled wrapper. Another crucial little step here: get a tiny bit of water—I just use my fingertip—and brush it lightly all around the edge of the wrapper. Moisture is what makes things stick!
Next, fold the wrapper in half right over the filling to create that classic half-moon shape. But we aren’t stopping there! You need to seal it up tight so none of that amazing juice leaks out while cooking. Press those edges together right at the top center first, and then you can start your crimping and pleating process. Work from that center seal outwards, making those little folds—the pleats—along one side of the edge while you press it against the flat edge of the other side. It takes a minute to get the rhythm down, but that tight seal is what guarantees you get all that flavor inside when you cook your authentic jiaozi.
Once you seal them, set them immediately on a lightly floured tray so they don’t stick to your counter while you finish up the rest. You will be amazed how fast you get into a groove once you start cranking these little pockets of joy out!
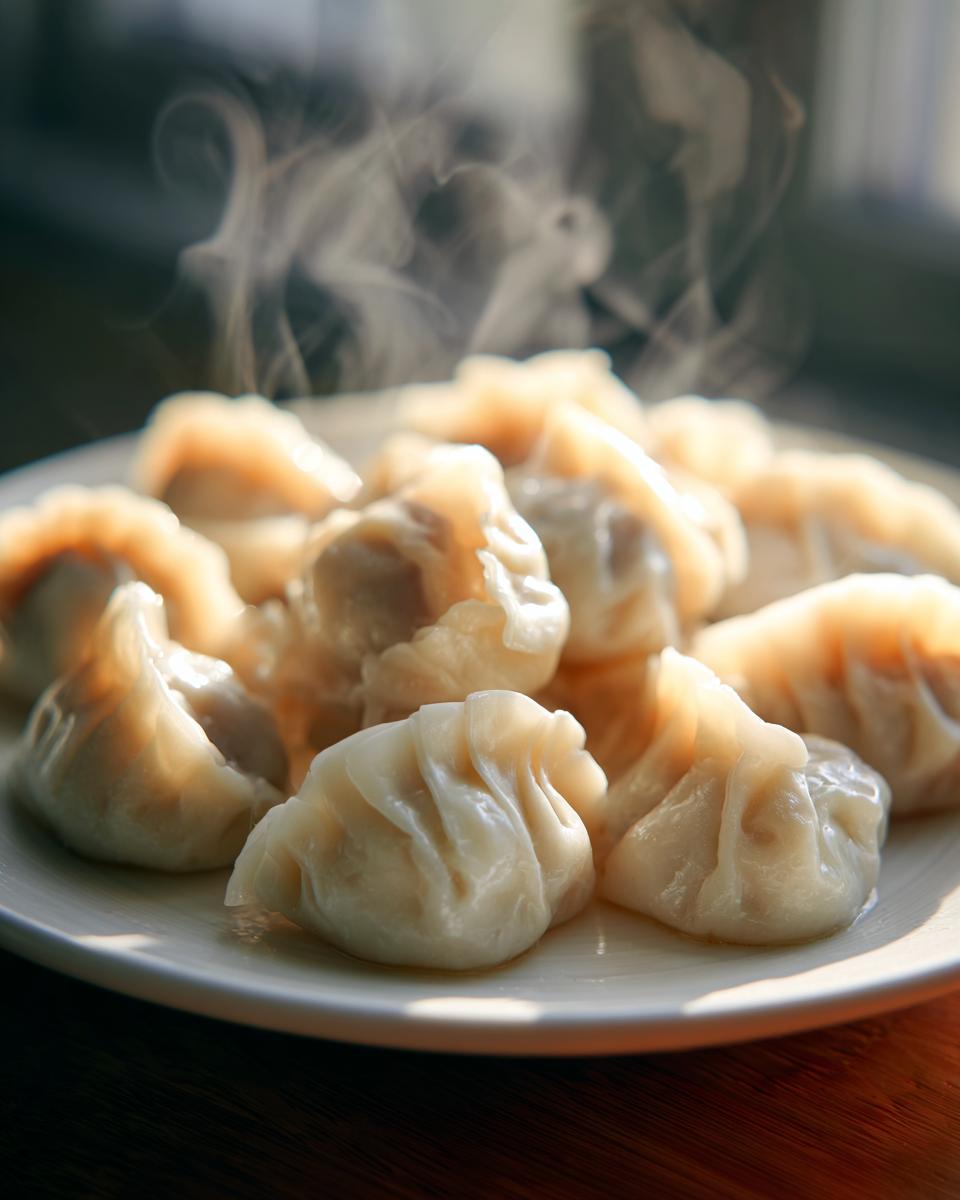
Cooking Methods for Perfect Boiled Chinese Dumplings
For me, the most traditional way to enjoy these pork cabbage dumplings is by boiling them. This method keeps the wrapper tender and showcases the juicy filling perfectly. Forget just dumping them in and hoping for the best! We use a specific technique here that keeps the dumplings plump and stops them from bursting open when they hit the heat. That’s the secret to getting beautiful boiled Chinese dumplings.
Fill a big pot with plenty of water and bring it to a full, rolling boil—we need lots of space for them to swim! Gently drop your uncooked dumplings in, maybe 15 or so at a time so you don’t drop the water temperature too much. Give them a very gentle stir right away so they don’t cling to the bottom of the pot. They will start to sink before floating up.
Once the water comes back up into a boil, that’s your cue! Before it gets too rough, pour in about half a cup of cold water. This lowers the temperature just enough so the wrapper cooks slowly without the moisture inside exploding. When it boils up again, add another half cup of cold water. Repeat that *one last time*. After the third boil starts, they are usually done—they float up high and look slightly soft and translucent. That whole process takes maybe 5 to 7 minutes total. This way, your filling is cooked through beautifully inside that tender wrapper. You can check out our policy on sticking if you run into trouble, but this three-step boil is fail-safe!
Ingredient Notes and Substitutions for Your Pork Cabbage Dumplings
I know everyone’s pantry looks a little different, and sometimes you just can’t find Napa cabbage or maybe you’re stuck with what the store had that day. It’s totally okay! Remember, my whole goal here is to make great food achievable, not impossible. We don’t want you stressing over one missing ingredient in this Chinese dumplings recipe.
If you find yourself short on Napa cabbage, don’t sweat it. You can absolutely use regular green cabbage. The trick, though, is that regular cabbage holds way more water than Napa, and soggy filling equals sad dumplings! If you sub that out, you have to blanch the chopped green cabbage quickly in boiling water, drain it super well, and then squeeze every last drop of moisture out before it hits that pork mixture. If you skip the squeeze, you’ll end up with loose filling.
Also, if you want to take your authentic jiaozi flavor up a notch next time—maybe you’re making a huge batch for the freezer and have extra time—try swapping out half of that ground pork for ground pork belly, if you can find it. That extra fat renders down beautifully and makes the filling unbelievably rich and tender. It’s worth the hunt!
Flavor Boosts for Authentic Jiaozi Filling
Beyond the basics, there are a couple of little tricks I use when I feel like making my filling extra special. These additions blend right in, but they add such a lovely depth of flavor!
First, instead of just standard regular soy sauce, try using a mix of regular soy sauce and just a teaspoon of dark soy sauce. The dark stuff doesn’t add much salt, but it gives the filling a richer color and a deeper, almost mushroomy background note—it’s wonderful!
Second, if you happen to have dried shiitake mushrooms sitting around, grab just one or two. Soak them in hot water until they are soft, squeeze them completely dry, and mince them up super fine before adding them to the pork. It gives that savory ‘umami’ punch that really makes people ask, “What *is* in this filling?” These little tweaks still respect the spirit of the classic pork cabbage dumplings but give them a little something extra special!
Making Traditional Chinese Dumplings Freezer Friendly
This is maybe my favorite part of making a big batch of Traditional Chinese Dumplings! Honestly, finding the time to make these from scratch is a commitment, so if you’re going to do all this work, you absolutely have to make enough to stock the freezer!
It might seem complicated, but making them freezer friendly dumplings is actually super straightforward, provided you follow one key rule: you must freeze them individually first. Don’t just scoop all your finished jiaozi into one big bag—they will weld together into a giant, inedible dumpling brick! Yuck!
Here is my foolproof method. As soon as you finish pleating your authentic jiaozi, place them on a baking sheet that you’ve already lined with parchment paper. Make sure there is at least a half-inch of space between every single dumpling. Pop that tray right into the coldest part of your freezer—no peeking! You want them frozen solid, which usually takes about two hours. This is the flash freeze step, and trust me, it’s essential.
Once they are hard as little ice pebbles, you can gently gather them up and transfer them straight into a heavy-duty freezer bag or an airtight container. They won’t stick together now! You can pull out just three or four whenever a craving hits. When you cook these frozen guys, just add maybe two or three extra minutes to the boiling time we talked about, and you have perfect, homemade dumplings ready to go!
Frequently Asked Questions About Chinese Dumplings Recipe
I know you probably have a few lingering questions after diving deep into making these fantastic pork cabbage dumplings from scratch! That’s what FAQs are for, right? When I first started making authentic jiaozi, I had a million tiny worries, so here are the things I get asked about most often. Hopefully, this helps you feel totally confident with your next batch!
Can I use store-bought wrappers for this pork cabbage dumplings recipe?
Listen, if you are in an absolute rush, yes, you sure can grab those pre-made wrappers at the store. It cuts down on about 30 minutes of your time, and it means dinner can happen faster. However, and please hear me on this, while the flavor of the filling will still be fantastic—that’s the star of the show—the *texture* you get just isn’t the same as using our homemade dumpling wrappers.
The texture of a wrapper made from just flour and water that you roll thin yourself has this beautiful chewiness when boiled that the commercial ones just can’t match. It’s worth the effort at least once, I promise! But for weeknights when you are exhausted? Go ahead and use store-bought, and still enjoy that amazing pork and cabbage filling!
What is the best way to reheat leftover boiled Chinese dumplings?
Leftovers! That’s the best, because you already have perfect boiled Chinese dumplings ready to go. Reheating them in the microwave is always an option if you’re desperate, but the texture gets a little rubbery, and nobody wants a gummy dumpling!
I highly recommend pan-frying them for the best result. Take your leftover boiled dumplings, toss a little oil in a non-stick skillet over medium heat, and fry them for about two minutes per side until they get beautifully golden brown and crispy. That contrast—tender on the side that didn’t touch the pan, crisp on the other—is just heaven!
Alternatively, if you want them soft again, put them in a steamer basket over simmering water. Cover it up and steam for about 5 minutes until they are hot all the way through. If you need quick answers on anything else about this whole Chinese dumplings recipe, feel free to reach out to me!
How do I make sure my filling stays juicy when cooking?
This is the million-dollar question for any dumpling maker! People fear dry filling more than anything. The moisture in this recipe comes primarily from three places: the fat in the pork, the salt, and the finely chopped cabbage. The cabbage releases moisture as it cooks, which keeps the meat from drying out. To really lock that in, make sure you are mixing your filling thoroughly in just one direction until it gets sticky—that’s what makes the proteins bind together, creating a barrier that holds onto the juices while it cooks. And please, don’t overcook them! That five-to-seven-minute boil time is perfect for plumpness.
Making a huge batch of these Traditional Chinese Dumplings is less of a chore and more of a celebration, really. You’ve taken the time to make the wrappers, mix the filling, and shape every single one of those perfect little triangles. Doesn’t that feel good?
This recipe proves that even elaborate-seeming meals, like these authentic jiaozi, can fit into a busy life when you use good techniques. I always find myself making double batches now so that I have freezer friendly dumplings waiting for me another day. Grab your favorite dipping sauce, sit down, and enjoy the fruits of your labor. If you made these, I would love it if you could leave a rating below and tell me how your pleating turned out!
Estimated Nutritional Snapshot for Traditional Chinese Dumplings
Now look, I teach because I want people to eat well, but I’m not a nutritionist! These numbers are just an educated guess based on the ingredients for our Traditional Chinese Dumplings, calculated for a serving size of six dumplings. As you can see, they are actually quite balanced for a dinner option, which is great!
These estimates already account for the fat rendered from the pork during the boiling process. If you decide to pan-fry them later for reheating, that fat content might go up a touch more. But honestly, when you are eating something this delicious, I try not to worry too much about the fine print!
- Serving Size: 6 dumplings
- Calories: 350
- Fat: 15g (mostly unsaturated content here!)
- Carbohydrates: 35g
- Protein: 20g
- Sodium: 450mg
For more detailed information on our recipe standards and how we calculate food data, you can always check out our Nutrition Policy Page. We focus on transparency for my readers!
Share Your Traditional Chinese Dumplings Creations
I am genuinely so proud of you for making these Traditional Chinese Dumplings! Seriously, it takes dedication to make those homemade dumpling wrappers, and you deserve applause. Now that you’ve mastered the art of the pork cabbage dumplings, I want to see them!
Pop over to our Contact Page or tag us on social media if you share photos. It makes my day to see your beautiful kitchen creations. Did you find the trick to that one-directional mixing for the filling? Or maybe you have a clever pleating hack I haven’t thought of? Share your success stories, rate the recipe, and let’s keep that love of authentic jiaozi going strong!
Estimated Nutritional Snapshot for Traditional Chinese Dumplings
Now look, I know you are here for the taste, and believe me, this is the best part of the recipe you’ve made, but sometimes people want to know the basics of what fills them up. I’m Rosa, and outside of the kitchen, I was a teacher, so I believe in transparency! These numbers are just my best guess, based on the ingredients for our lovely pork cabbage dumplings, calculated for a serving where you get about six little beauties.
I always tell people not to get too hung up on the exact milligrams when you’re making something from scratch—because how much salt *you* use can change things! But for general reference, this is what we are looking at. It’s actually a pretty great meal overall, packed with protein for the energy you need to keep up with the family!
- Serving Size: 6 dumplings
- Calories: 350
- Fat: 15g (I like to think most of that is needed for flavor!)
- Carbohydrates: 35g
- Protein: 20g
- Sodium: 450mg (This is where your soy sauce choice really matters!)
We keep the sugar low because we aren’t adding any funny business to the authentic jiaozi filling—it’s just the natural flavor of pork and cabbage singing together! If you want to see more about how we calculate this stuff or check our general guidelines for what goes into our recipes, you can always peek at our Privacy Policy Page. We like keeping things honest around here!
Share Your Traditional Chinese Dumplings Creations
I am genuinely so proud of you for making these Traditional Chinese Dumplings! Seriously, it takes dedication to make those homemade dumpling wrappers, and you deserve applause. Now that you’ve mastered the art of the pork cabbage dumplings, I want to see them!
Pop over to our Contact Page or tag us on social media if you share photos. It makes my day to see your beautiful kitchen creations. Did you find the trick to that one-directional mixing for the filling? Or maybe you have a clever pleating hack I haven’t thought of? Share your success stories, rate the recipe, and let’s keep that love of authentic jiaozi going strong!
PrintTraditional Pork and Cabbage Jiaozi (Chinese Dumplings)
Make authentic Chinese pork and cabbage dumplings from scratch, including instructions for making the wrappers and freezing leftovers.
- Prep Time: 45 min
- Cook Time: 10 min
- Total Time: 55 min
- Yield: 4 servings 1x
- Category: Dinner
- Method: Boiling
- Cuisine: Chinese
- Diet: Low Fat
Ingredients
- 2 cups all-purpose flour
- 3/4 cup warm water (plus more if needed)
- 1 pound ground pork
- 2 cups finely chopped napa cabbage
- 1/4 cup finely chopped scallions
- 2 tablespoons soy sauce
- 1 tablespoon Shaoxing rice wine or dry sherry
- 1 teaspoon sesame oil
- 1 teaspoon grated fresh ginger
- 1/2 teaspoon salt
- 1/4 teaspoon white pepper
Instructions
- Make the wrappers: In a bowl, mix the flour and warm water until a shaggy dough forms. Knead the dough on a lightly floured surface for 8 to 10 minutes until smooth. Cover the dough with plastic wrap and let it rest for 30 minutes.
- Prepare the filling: In a large bowl, combine the ground pork, napa cabbage, scallions, soy sauce, rice wine, sesame oil, ginger, salt, and white pepper. Mix the ingredients thoroughly in one direction until the mixture becomes sticky and cohesive.
- Shape the wrappers: Divide the rested dough into four equal pieces. Roll each piece into a long rope, about 1 inch thick. Cut each rope into 1-inch pieces. Roll each piece into a thin circle, about 3 inches in diameter, keeping the edges slightly thinner than the center.
- Assemble the dumplings: Place about 1 teaspoon of filling in the center of a wrapper. Moisten the edge of the wrapper with water. Fold the wrapper in half over the filling to create a half-moon shape. Crimp and pleat the edges to seal the dumpling securely.
- Cook the dumplings: Bring a large pot of water to a rolling boil. Gently drop the dumplings into the boiling water, ensuring they do not stick together. Stir gently. When the water returns to a boil, add 1/2 cup of cold water. Repeat this process two more times. The dumplings are done when they float and look slightly translucent, about 5 to 7 minutes total.
- Serve immediately with your preferred dipping sauce.
Notes
- To freeze the dumplings: Place uncooked dumplings on a baking sheet lined with parchment paper, ensuring they do not touch. Freeze until solid, then transfer them to a freezer bag. Cook directly from frozen, adding a few extra minutes to the cooking time.
- For a richer flavor, substitute half the ground pork with ground pork belly.
- If you do not have napa cabbage, use regular green cabbage, but blanch and squeeze out excess water before mixing into the filling.
Nutrition
- Serving Size: 6 dumplings
- Calories: 350
- Sugar: 2
- Sodium: 450
- Fat: 15
- Saturated Fat: 5
- Unsaturated Fat: 10
- Trans Fat: 0
- Carbohydrates: 35
- Fiber: 2
- Protein: 20
- Cholesterol: 60