
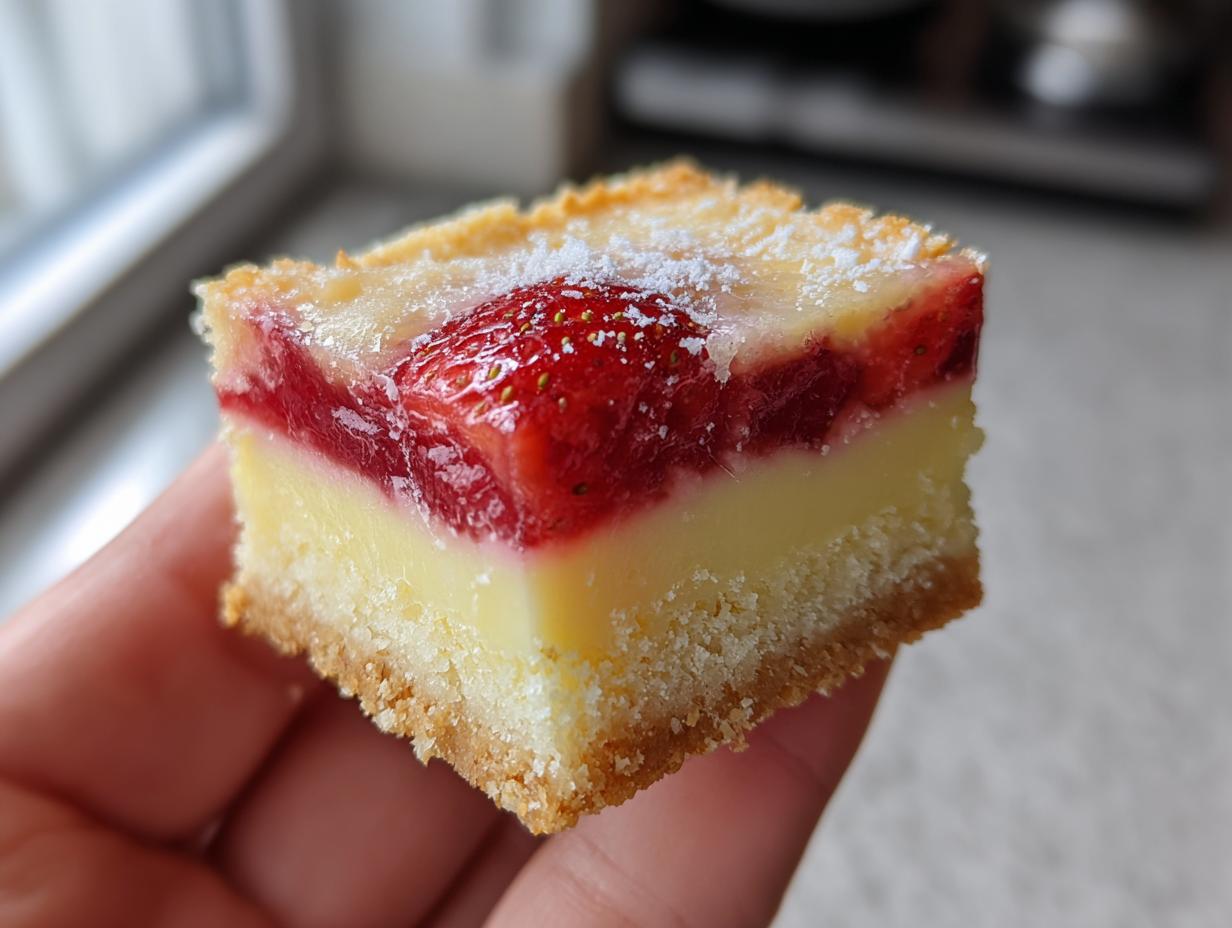
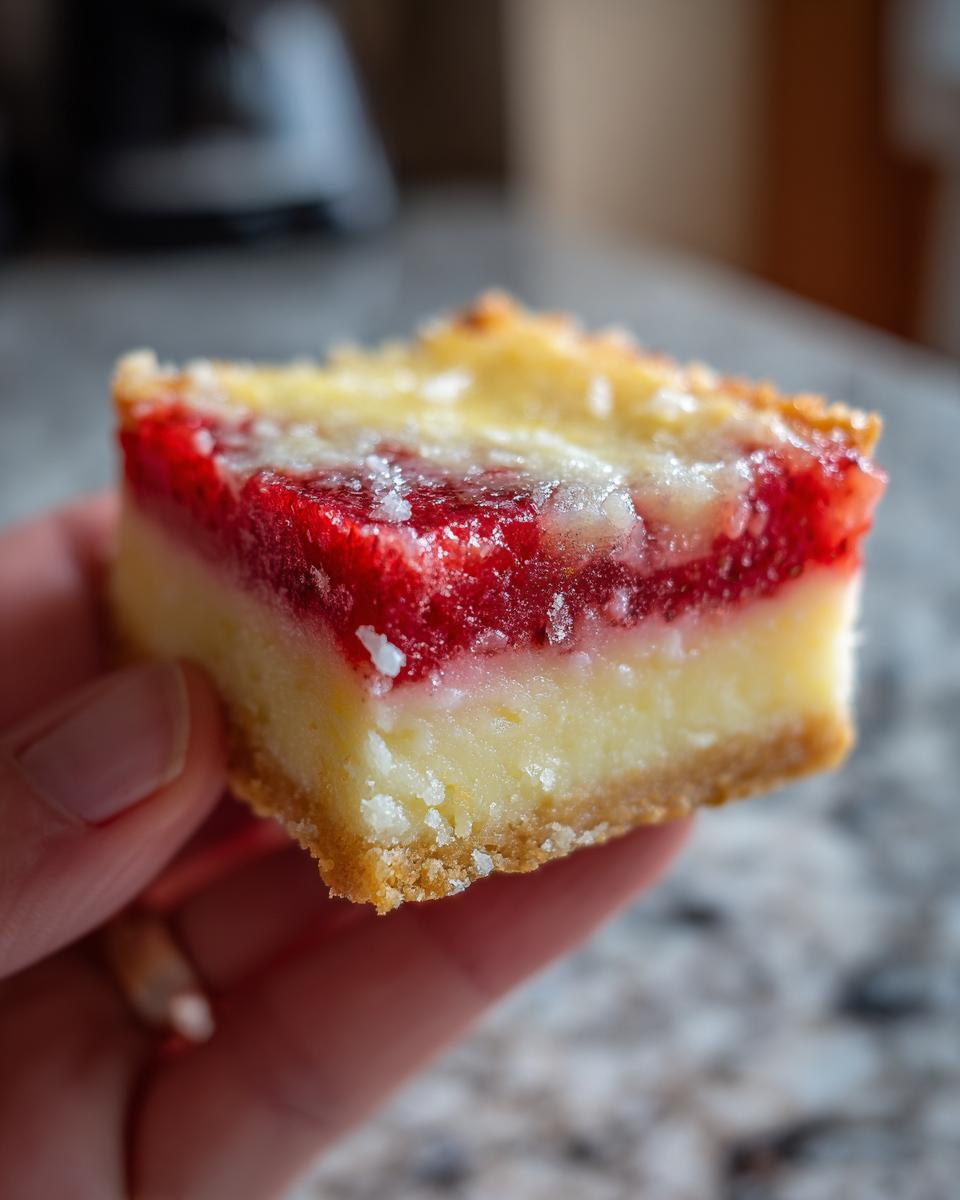
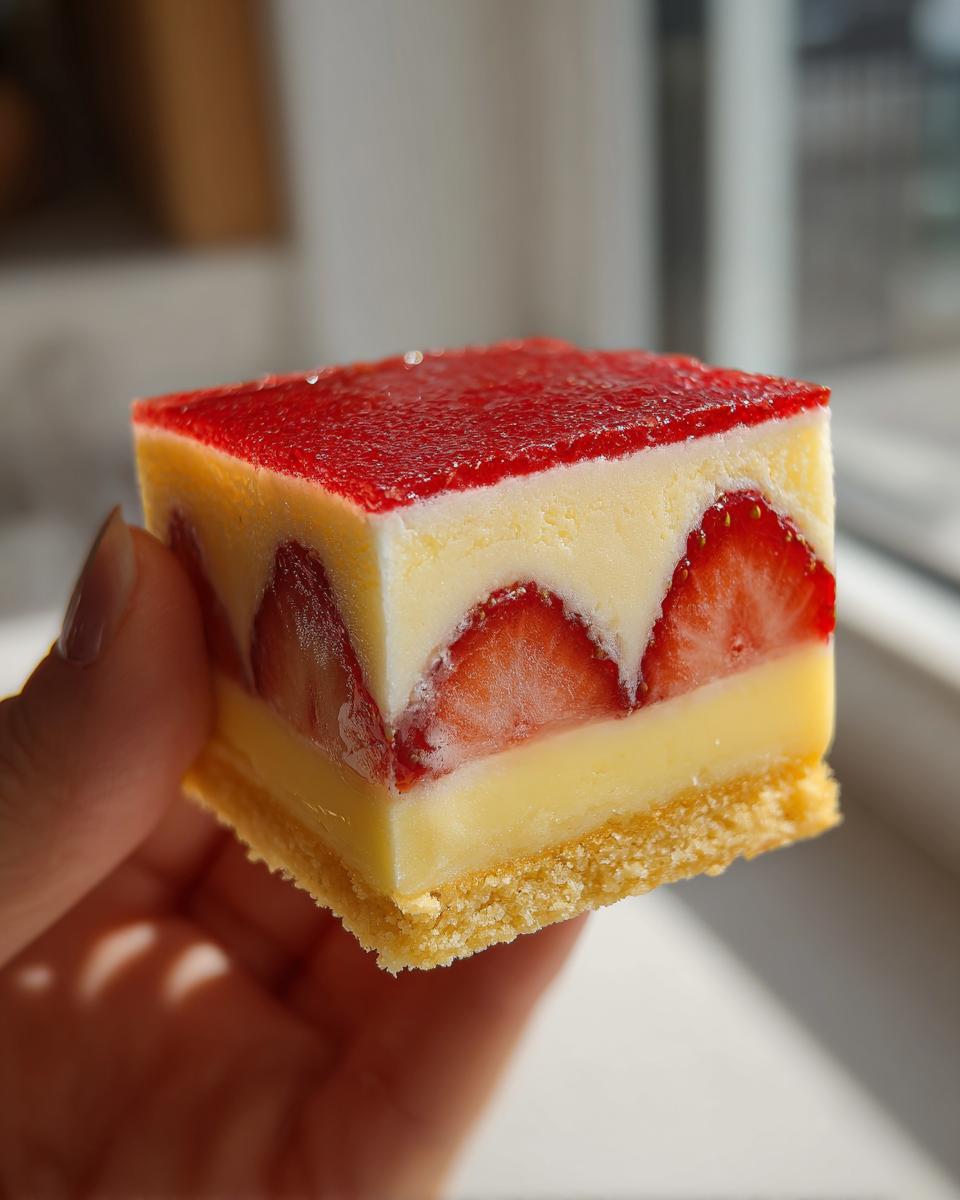
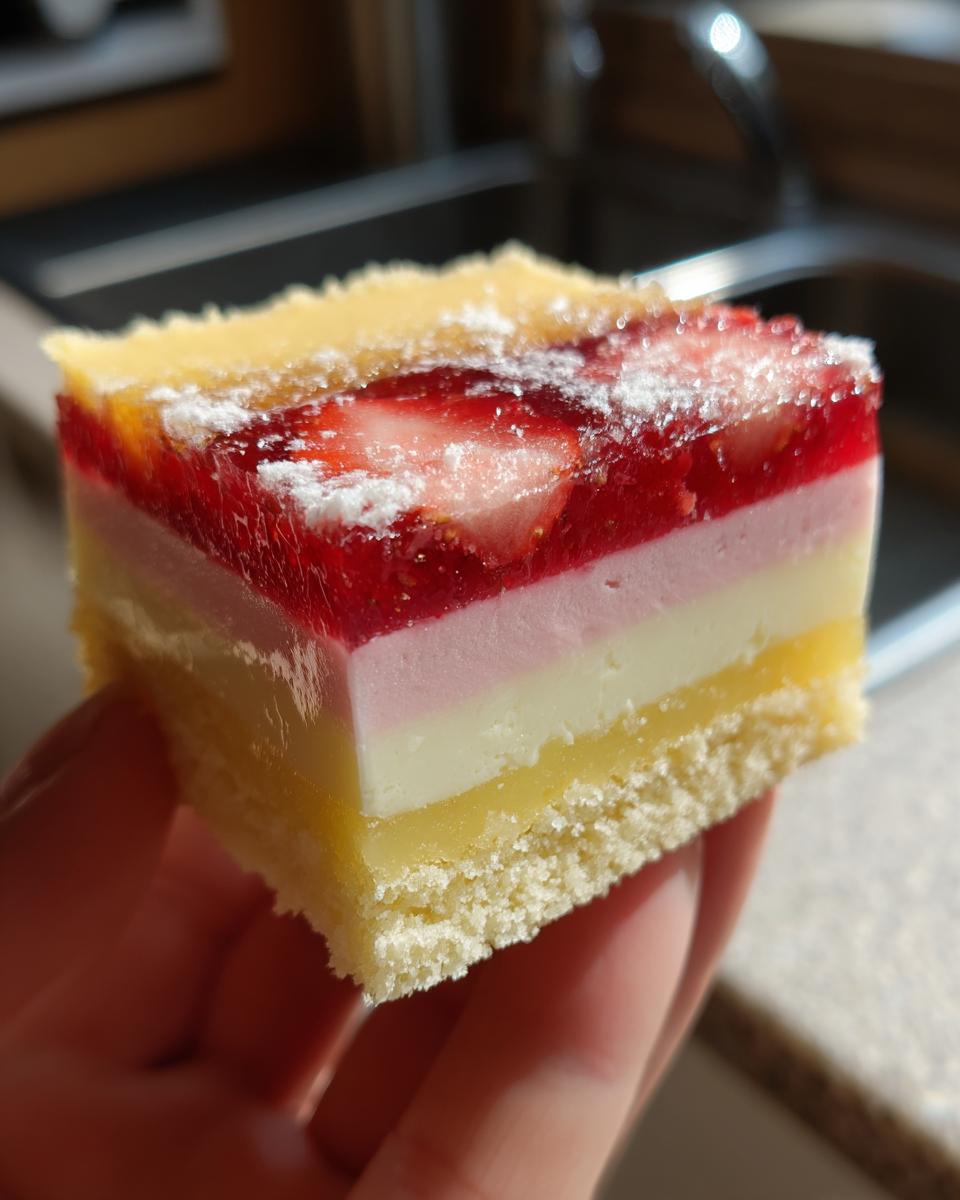
Sometimes, you just need a dessert that feels like a warm hug, right? Something wonderfully comforting that doesn’t require hours of fussing. That’s exactly where Rosa’s classic strawberry custard bars shine! When Rosa started adapting family recipes for her busy life as a teacher and mom, she focused on big flavor without the complexity. These bars are the perfect example of that philosophy in action. You get three gorgeous, distinct layers: a buttery shortbread base, a bright homemade strawberry filling, and a super creamy vanilla custard on top. It’s simple, it’s gorgeous, and it uses ingredients you can trust. You can find more of my favorite easy dessert ideas right here!
- Why You Will Love These Strawberry Custard Bars
- Ingredients Needed for Perfect Strawberry Custard Bars
- Step-by-Step Instructions for Layered Dessert Bars
- Tips for Success with Your Strawberry Custard Bars
- Ingredient Notes and Substitutions for Baked Custard Desserts
- Storage and Make Ahead Fruit Desserts Guidance
- Serving Suggestions for Simple Afternoon Tea Treats
- Frequently Asked Questions About Strawberry Custard Bars
- Nutritional Estimates for Rosa's Strawberry Custard Bars
- Share Your Success with Rosa's Tasty Kitchen
Why You Will Love These Strawberry Custard Bars
I’m telling you, these are the best summer fruit bars! Rosa designed them for maximum payoff with minimum effort. You’ll want to make a batch every week once you realize how easy these creamy fruit squares are to handle.
- They are the ultimate easy custard bars because the shortbread base recipes is a breeze.
- You get that wonderful contrast between the tart homemade strawberry filling and the sweet, smooth custard.
- Perfectly portable layered dessert bars—great for picnics or potlucks!
- These simple afternoon tea treats come together faster than you think.
Ingredients Needed for Perfect Strawberry Custard Bars
I know, I know—the ingredient list can sometimes look intimidating, but trust me, this is straightforward pantry stuff! Rosa always said that the real key to success, especially with layered dessert bars, is making sure your ingredients are prepped right. Having everything measured out before you start mixing saves so much stress when you have three separate components coming together. We’re building this masterpiece layer by layer, and this shortbread base recipes gives us the perfect sturdy foundation. You can find my favorite tutorial on making thick fillings, similar to what we use here, if you ever need a deep dive into fruit fillings!
For the Shortbread Base
- 1 cup all-purpose flour
- 1/2 cup cold unsalted butter, cubed
- 1/4 cup granulated sugar
- 1/4 teaspoon salt
For the Homemade Strawberry Filling
- 1 cup fresh or frozen strawberries, hulled and sliced
- 1 tablespoon cornstarch
- 1/4 cup water
For the Creamy Custard Layer
- 1 package (3.4 ounces) instant vanilla pudding mix
- 1 1/2 cups cold milk
- 1 teaspoon vanilla extract
Step-by-Step Instructions for Layered Dessert Bars
Okay, this is where the magic really happens! Don’t let the layers intimidate you; we’re taking this nice and slow so you get those perfect, clean divisions. Remember what Rosa always said? Patience is the best spice. We are building a truly reliable recipe here, and following these steps exactly means you avoid any soggy bottoms. If you’re looking for another fantastic, easy recipe to try soon after this, check out my guide for more easy custard bars!
Preparing and Pre-Baking the Crust
First thing first, get your oven warming up to 350 degrees Fahrenheit. You’re going to need an 8×8 inch baking pan, and please, line it with parchment paper! Make sure that paper has an overhang on two sides—this is your ‘handle’ for lifting those gorgeous baked custard desserts out later, saving you huge headaches. Combine your flour, sugar, and salt, then cut in that cold, cubed butter. Keep working it with your hands or a pastry blender until it looks just like coarse, wet sand. Press this firmly and evenly into the bottom of your prepared pan. Pop that crust in to bake for about 15 minutes, just until the edges start looking lightly golden. Don’t walk away; watch it!
Cooking the Simple Strawberry Filling
While that base is getting happy in the oven, let’s whip up the homemade strawberry filling. Grab a little saucepan and toss in your sliced strawberries, the cornstarch, and the water. You need to cook this over medium heat, and here’s the key: stir constantly! We don’t want the cornstarch to clump at the bottom. After about 3 to 5 minutes, you’ll see it completely bubble and thicken up nicely. Once it’s thick, pull it right off the heat and spread that warm, jammy layer evenly right over your slightly cooled crust.
Assembling and Baking the Strawberry Custard Bars
Now for the creamy custard layer! In a separate bowl, grab your instant vanilla pudding mix and whisk it vigorously with the cold milk. It thickens up shockingly fast—we only need about 2 minutes of fast whisking. Stir in that vanilla extract for a little extra warmth. Then, very gently, spread this rich mixture right over the warm strawberry layer you just made. It’s okay if it sinks in a tiny bit; that just means they’ll meld together beautifully. Put the whole thing back into the 350°F oven for another 20 to 25 minutes. You know they’re done when the custard layer looks completely set and the edges are just slightly kissed with gold.
Cooling and Chilling for Clean Slices
This is the hardest part, I promise you. You must let the bars cool completely on a wire rack before you even think about slicing them. If you cut them hot, you’ll end up with a runny, soupy mess, and we worked too hard for that! Once they are totally cool to the touch, wrap the pan or lift them out using that parchment handle, and move them into the refrigerator. They genuinely need at least 3 hours chilling time—seriously, aim for more! This step finishes setting the custard and ensures you get those perfect, clean squares when slicing these creamy fruit squares.
Tips for Success with Your Strawberry Custard Bars
Even the most reliable recipes sometimes need a little nudge, right? Rosa always made sure we knew the little tricks to guarantee these layered dessert bars turned out picture-perfect every single time. A lot of people skip these small steps, but they are what elevate a good treat to a great one. If things feel rushed, just remember these key pointers!
- If your shortbread base seems a little too soft before it hits the oven, pop the whole thing into the fridge for about 15 minutes first. Rosa always insisted this little chill time made the difference between a slightly crumbly base and a firm one that laughs in the face of moisture!
- Don’t panic if you’re using frozen strawberries for that homemade strawberry filling. Just skip the thawing step entirely! Toss them straight into the saucepan with the cornstarch and water; they’ll break down just fine as you cook them.
- If you aren’t a huge fan of the shortbread, don’t sweat it! This recipe is super adaptable. You can absolutely swap out the homemade crust for a simple graham cracker crust base. It gives the bars a whole different texture, which is fun.
- Seriously—this is crucial for getting those beautiful, clean cuts: Do not slice these babies until they are completely, totally chilled. Give them the full time in the fridge after cooling on the rack. That way, your creamy fruit squares hold their shape instead of squishing out the sides.
These little secrets ensure your layers look as good as they taste when you serve up these wonderful homemade desserts.
Ingredient Notes and Substitutions for Baked Custard Desserts
I love that these strawberry custard bars feel so classic, but they are actually incredibly forgiving! Rosa always believed in having reliable go-to swaps for when you’re diving into the pantry and realize you’re missing one thing. Having flexibility is so important when you’re cooking for a family on a busy weeknight. Knowing which changes work and which ones might mess up the texture is the real secret sauce of home cooking, don’t you think? We need to protect that creamy custard layer!
Let’s talk strawberries first. Whether you grab them fresh from the farmer’s market or pull a bag out of the freezer, you’re good to go. If you use frozen ones for that homemade strawberry filling, please don’t bother thawing them first! If you do, they release tons of juice, and we don’t want a runny middle layer. Just toss those frozen berries straight into the saucepan with the cornstarch and water—the cornstarch will handle breaking them down and thickening everything up nicely!
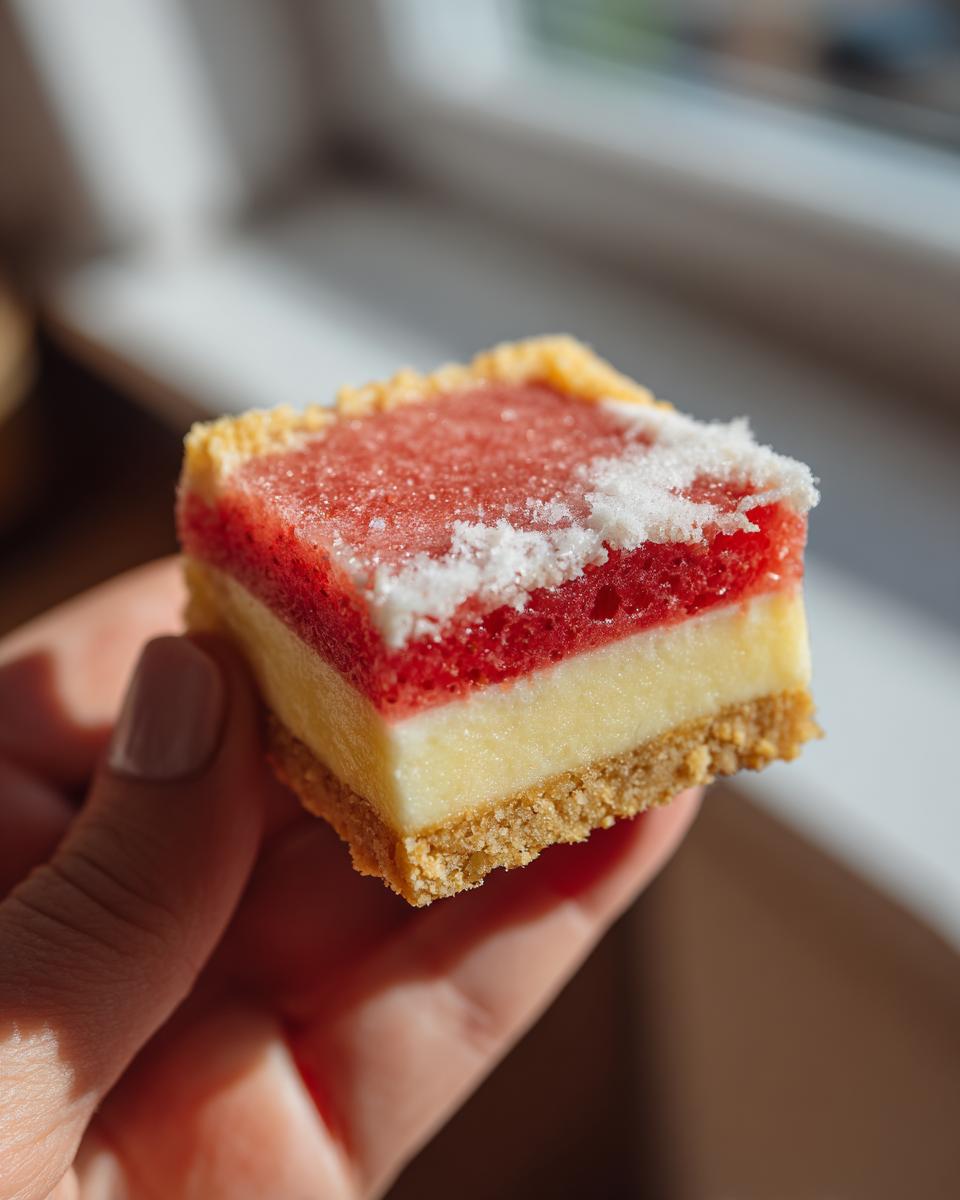
And crusts! That shortbread base recipes is wonderful, but sometimes you just want a slightly different flavor profile or you’re out of flour. You can completely switch gears and use a graham cracker crust instead! It gives these baked custard desserts a lovely, slightly salty, crumbly base that tastes amazing with the sweet strawberry and vanilla. You’ll just mix roughly 1 ½ cups of graham cracker crumbs with a quarter cup of melted butter and a tablespoon of sugar, press that down in the pan, and bake it for about 10 minutes before moving on to the strawberry layer. It’s a simple change that really alters the final flavor.
If you’re looking to try out another amazing, easy-to-handle baked treat that layers well, you HAVE to see Rosa’s absolutely perfect sugar cookie cheesecake recipe. It’s a similar layering concept but with a tangy twist!
Storage and Make Ahead Fruit Desserts Guidance
One of the things I love most about these strawberry custard bars is that they transition really well into being make ahead fruit desserts. Life gets busy, and knowing you have a lovely treat ready to go in the fridge is such a lifesaver! However, we do have that wonderful creamy custard layer to think about, so storage is super important here.
Because of the dairy in the custard—that instant pudding mix needs that cold milk to set up—these bars absolutely must be stored in the refrigerator. There’s really no way around that, especially if you plan on having them for more than just an hour or two on the counter. Just cover your 8×8 pan tightly with plastic wrap or transfer the cooled and sliced squares to an airtight container. They keep beautifully cold for about three to four days. Honestly, they taste even better the next day!
For reheating, save your energy! These are designed to be served chilled or at cool room temperature. Heating them up would just turn that gorgeous custard layer back into something soft and soupy, so we want to avoid that completely. They are truly one of the best make ahead fruit desserts because you can pull them straight from the fridge right when you need them.
If you’re looking for other delicious treats you can prepare in advance, I have a whole collection of recipes perfect for that! Check out my favorites for great make ahead fruit desserts that save you time when company arrives!
Serving Suggestions for Simple Afternoon Tea Treats
You’ve worked hard to get those perfect layers, so now it’s time to show them off! These are, in my humble opinion, some of the best simple afternoon tea treats you can whip up. Because the custard layer is so rich and creamy, you don’t need much to go alongside them—they really stand alone beautifully.
The best way to serve these strawberry custard bars is definitely chilled. That custard stays firm, holding its shape when you cut them into those neat squares, and the cool temperature is so refreshing on a warm afternoon. I love plating them up on a little tiered stand if I’m feeling fancy, or just arranging them neatly on a simple white platter.
For accompaniments, keep the drinks light and bright. A strong cup of black tea, like an Earl Grey, cuts through the sweetness of the vanilla custard perfectly. If you’re serving them later in the day, they are also fantastic with a simple, unsweetened iced coffee. If you want to add a fresh element, a tiny dollop of lightly sweetened, unsweetened whipped cream on the side is always a winner, but honestly, I usually skip it! They are perfect just as they are.
Speaking of refreshing drinks, if you are looking for something super bright to go with these, you should check out my recipe for an amazing, easy watermelon smoothie! It’s the perfect non-caffeinated contrast.
Frequently Asked Questions About Strawberry Custard Bars
I always get a million questions when people try a recipe for the first time, and that’s totally fair! These strawberry custard bars are a study in layers, and sometimes layers need a little extra guidance to make sure everything sets up beautifully. Rosa designed this recipe to be trustworthy, but here are the answers to the things I hear most often when you’re trying to nail those perfect creamy fruit squares.
Can I use fresh strawberries instead of frozen for the homemade strawberry filling?
Absolutely, yes! Using fresh strawberries is glorious when they are in season. If you’re using fresh ones, just keep an eye on the cooking time in the saucepan. Sometimes fresh berries release a little less water than frozen ones that have started to thaw, so you might see that mixture thicken up just a minute or two faster than the frozen version. Either way, you still need that cornstarch to get that perfect, thick homemade strawberry filling consistency!
Why must I chill the easy custard bars before slicing?
Oh, this is the number one rookie mistake, and I’ve done it myself on a hungry afternoon! You absolutely have to chill these bars before slicing. The custard layer—the instant vanilla pudding mix part—needs that cold time to fully stabilize and set up. If you try to slice them warm or even room temperature, the custard won’t be firm enough, and you’ll end up with a sticky, runny mess instead of those clean, pretty layered dessert bars. Give them the time they need in the fridge—it’s worth the wait!
What is the best way to store leftover strawberry custard bars?
Because of that delicious creamy center that uses milk, we have to treat this like any good dairy dessert. Once they are completely chilled and sliced, tuck them into an airtight container. You can layer them with a little piece of parchment paper between rows if you need to stack them. They must stay stored in the refrigerator, and they are fantastic for about three to four days. The best part is that they stay firm and delicious the whole time!
If you’re looking for a great cold drink to serve alongside these simple summer treats, you’ve got to check out my recipe for an amazing, easy summer drink that pairs perfectly!
Nutritional Estimates for Rosa’s Strawberry Custard Bars
Now, I’m not a registered dietitian, and Rosa certainly wasn’t! When we talk about the actual numbers here, please take these figures with a grain of salt. These estimates are based on using the ingredients exactly as listed in the recipe for standard measurements. But you know the real nutrition comes from the joy of homemade baking, right?
This is a rich, satisfying treat, so it gives you a good hit of energy. Remember, using fresh strawberries versus frozen, or choosing a different crust option, will change these numbers slightly, so consider this your baseline for these delightful, creamy fruit squares. Here’s the breakdown per bar, assuming the recipe yields nine perfect squares (which is always my preferred serving size for these layered dessert bars!):
- Serving Size: 1 bar
- Calories: 280
- Total Fat: 14g (with 8g saturated)
- Cholesterol: 35mg
- Sodium: 150mg
- Total Carbohydrates: 35g (with 1g Fiber)
- Sugar: 22g
- Protein: 4g
That sugar content comes from the shortbread base and the vanilla custard, of course, but the fresh fruit really balances things out! Enjoy it—you’ve earned these delicious strawberry custard bars!
Share Your Success with Rosa’s Tasty Kitchen
Well, that’s it! We’ve gone from a humble shortbread base to a three-layer slice of heaven. I sincerely hope you had as much fun making these strawberry custard bars as I do every time I pull them out of the fridge. Rosa always said the best part of baking is sharing, and I truly believe that!
Now, the kitchen isn’t complete until we hear from you! I really want to know how yours turned out. Did the custard set up perfectly? Did you use fresh or frozen berries? Drop a comment down below and let me know what you thought, and please, please give this recipe a star rating!
And if you snapped a picture—and I know you did because these layered dessert bars look fabulous—tag us on social media! Seeing your creations reminds me why we keep sharing these simple kitchen secrets. It makes this whole community feel like one big family gathering. If you have questions or want to chat more about substitutions or storage, you can always reach out directly through the contact page here: Let’s Connect!
Happy baking, friends. I hope these bring as much comfort and sweetness to your table as they do mine!
PrintRosa’s Classic Strawberry Custard Bars

Make these layered strawberry custard bars with a simple shortbread base for a delicious, comforting summer dessert.
- Prep Time: 20 min
- Cook Time: 40 min
- Total Time: 60 min
- Yield: 9 servings 1x
- Category: Dessert
- Method: Baking
- Cuisine: American
- Diet: Vegetarian
Ingredients
- 1 cup all-purpose flour
- 1/2 cup cold unsalted butter, cubed
- 1/4 cup granulated sugar
- 1/4 teaspoon salt
- 1 cup fresh or frozen strawberries, hulled and sliced
- 1 tablespoon cornstarch
- 1/4 cup water
- 1 package (3.4 ounces) instant vanilla pudding mix
- 1 1/2 cups cold milk
- 1 teaspoon vanilla extract
Instructions
- Preheat your oven to 350 degrees Fahrenheit. Line an 8×8 inch baking pan with parchment paper, leaving an overhang for easy removal.
- Prepare the crust: In a medium bowl, combine the flour, sugar, and salt. Cut in the cold butter using a pastry blender or your fingers until the mixture resembles coarse crumbs.
- Press the crust mixture evenly into the bottom of the prepared pan. Bake for 15 minutes, or until lightly golden. Let the crust cool slightly while you prepare the filling.
- Make the strawberry layer: In a small saucepan, combine the sliced strawberries, cornstarch, and water. Cook over medium heat, stirring constantly, until the mixture thickens, about 3 to 5 minutes. Remove from heat and spread the warm strawberry mixture evenly over the partially baked crust.
- Prepare the custard: In a separate bowl, whisk together the instant vanilla pudding mix and cold milk until the mixture thickens, about 2 minutes. Stir in the vanilla extract.
- Gently spread the prepared custard mixture over the warm strawberry layer.
- Bake the assembled bars for 20 to 25 minutes, or until the custard is set and lightly golden around the edges.
- Cool the bars completely on a wire rack. Once cooled, chill in the refrigerator for at least 3 hours before slicing into squares.
Notes
- For a firmer crust, chill the dough for 15 minutes before pressing it into the pan.
- If you use frozen strawberries, do not thaw them before cooking the filling; the cornstarch will help them break down.
- This recipe works well with a graham cracker crust if you prefer a different base flavor.
- Slice the bars only after they are fully chilled to get clean cuts.
Nutrition
- Serving Size: 1 bar
- Calories: 280
- Sugar: 22
- Sodium: 150
- Fat: 14
- Saturated Fat: 8
- Unsaturated Fat: 6
- Trans Fat: 0
- Carbohydrates: 35
- Fiber: 1
- Protein: 4
- Cholesterol: 35