
Oh, the holidays! Everyone wants that beautiful, classic pumpkin pie on the table, but halfway through making everything else, the thought of juggling eggs, flour, spices, and that tricky evaporated milk can feel like too much. Trust me, I’ve been there wrestling with the oven when I should be talking to my guests. That’s why I developed this incredible, foolproof 6-Ingredient easy pumpkin pie. Seriously, this recipe uses sweetened condensed milk, which locks in moisture and cuts out three extra steps you usually have to worry about. It’s the ultimate quick fall dessert that tastes absolutely homemade, guaranteed to earn you those compliments without the stress count! If you love reliable, comforting sweets, you should also check out my collection of best homemade desserts for other favorites.
- Why This 6-Ingredient Easy Pumpkin Pie is a No-Stress Thanksgiving Pie Made Easy
- Gathering Ingredients for Your Creamy Pumpkin Pie Recipe
- Step-by-Step Instructions for a Foolproof Easy Pumpkin Pie
- Tips for Success with Your Simple Pumpkin Pie
- Serving Suggestions for This Quick Fall Dessert Recipe
- Storage and Reheating Instructions for Your Easy Pumpkin Pie
- Frequently Asked Questions About This Easy Pumpkin Pie
- Estimated Nutritional Data for This Easy Fall Baking Idea
- Share Your Easy Pumpkin Pie Experience
- Estimated Nutritional Data for This Easy Fall Baking Idea
- Share Your Easy Pumpkin Pie Experience
Why This 6-Ingredient Easy Pumpkin Pie is a No-Stress Thanksgiving Pie Made Easy
When I look at my holiday baking schedule, I need things that are straightforward and actually work the first time. That’s exactly what this pie is! It’s my secret weapon for a busy host. We cut out all the fiddly steps and still end up with that wonderfully creamy texture everyone expects from a perfect holiday pie. It’s practically a guaranteed win! If you need something fast for another meal time, check out my easy breakfast recipes too.
- It’s genuinely foolproof. We’re talking a high success rate here which means no last-minute panic baking for Rosa!
- It comes together so fast, leaving you plenty of time to worry about, you know, the turkey or setting the table.
- All the ingredients are things I usually have in the pantry already—no emergency grocery runs needed.
Quick Prep Time for Your Easy Pumpkin Pie
Folks, you read that right: 10 minutes for prep! That includes whipping up the filling and putting it into the plain crust. Ten minutes! This is why I call it a fast pumpkin dessert recipe for sure. You spend more time opening the cans than actually mixing things up.
Minimal Ingredient Pumpkin Pie Success
We are keeping this streamlined. We only use six main things in the filling itself. The biggest shortcut? We use sweetened condensed milk instead of fussing with measuring out milk and sugar separately. That condensed milk does all the heavy lifting for sweetness and creaminess. It takes the guesswork right out of achieving that rich, velvety filling.
Gathering Ingredients for Your Creamy Pumpkin Pie Recipe
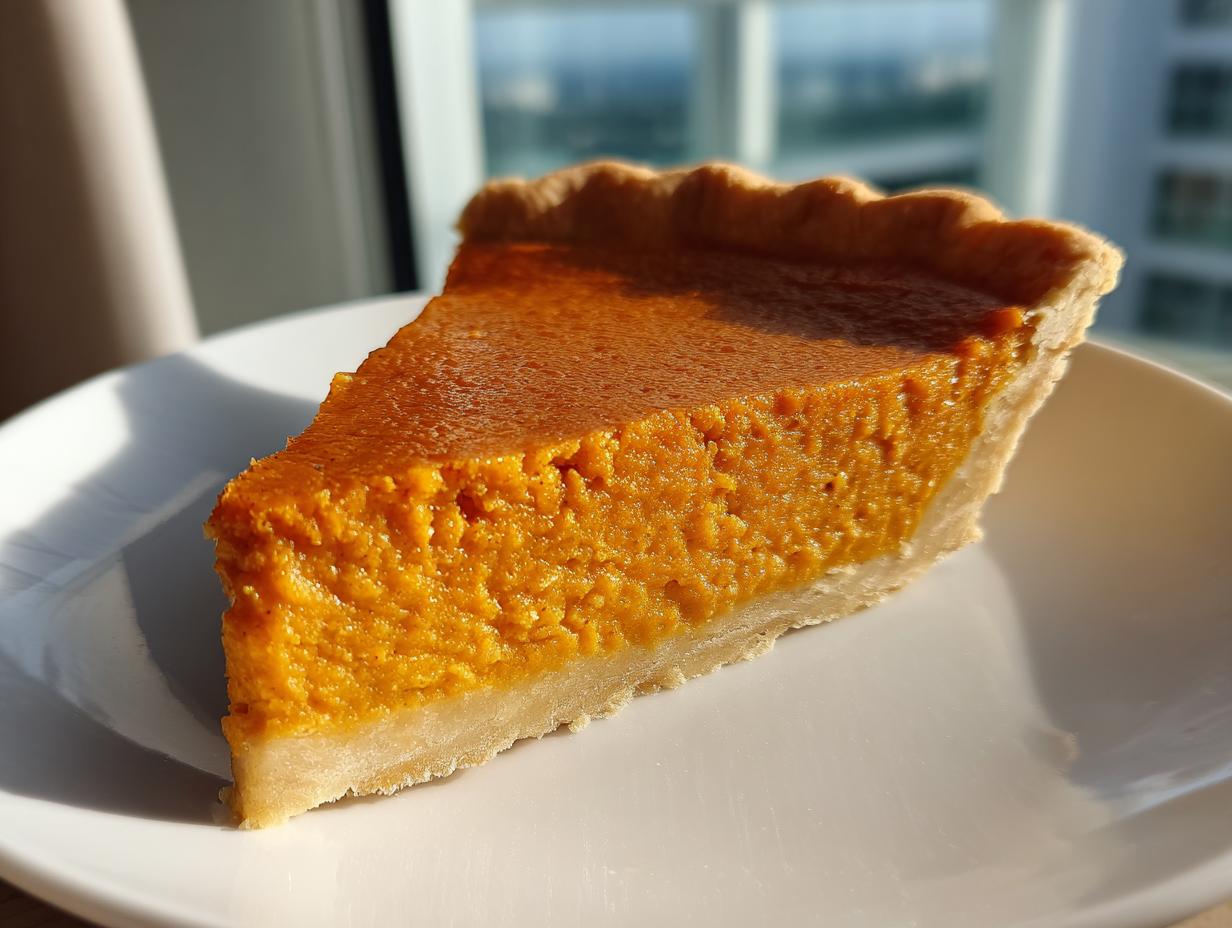
When I say this is an easy pumpkin pie, I mean it! Every single item on this list is something you can snag easily during a regular grocery trip. See? No expensive specialty shops needed here. For a truly creamy pumpkin pie recipe, we keep the core list short and sweet, relying on quality basics to do the heavy lifting.
- 1 (15 ounce) can pure pumpkin puree
- 1 (14 ounce) can sweetened condensed milk
- 2 large eggs
- 1 teaspoon ground cinnamon
- 1/2 teaspoon ground nutmeg
- 1 (9 inch) unbaked refrigerated pie crust
Ingredient Notes and Substitutions
Now, a small word of advice from my kitchen to yours, because this is where beginners sometimes trip up! Make absolutely sure you grab plain, 100% pumpkin puree. If you buy the stuff labeled “Pumpkin Pie Filling,” it already has the sugar and spices mixed in, and that throws off the whole balance here. Also, keeping this an easy fall baking idea means using that refrigerated crust. It saves so much trouble compared to making one from scratch!
Step-by-Step Instructions for a Foolproof Easy Pumpkin Pie
Alright, let’s get this pie in the oven! This process is so straightforward, it practically bakes itself. The key thing to remember here is that we are using a two-stage baking method. This is the secret behind guaranteeing a set bottom crust that doesn’t shrink away from the edges—a common issue with many simple pumpkin pie recipes! Once you get the method down, you’ll feel like a total pro. You can find lots of other reliable baking guidance if you check out my guide on easy homemade naan bread recipes!
Mixing the Creamy Filling
First things first, get your oven preheated to 425 degrees Fahrenheit, and place that refrigerated crust right into your pie plate—no fussing with blind baking necessary! In a bowl, you’re just going to whisk everything liquidy together: the pumpkin puree, the sweetened condensed milk, and those eggs. Whisk until it looks perfectly smooth, like velvet. My personal tip here, which helps make this a truly creamy pumpkin pie recipe, is making sure your eggs are room temperature. It helps them blend in without leaving any weird streaks!
Baking Time and Temperature Adjustments
Now for the crucial part that guarantees success for this beginner pumpkin pie tutorial. Pour that beautiful filling right into the unbaked crust, and pop it into that hot 425°F oven for exactly 15 minutes. This high heat sets the outer edge fast! After 15 minutes, don’t open the door—just knock that temperature way down to 350°F. Let it bake for another 35 to 40 minutes. Don’t rush this second stage! You’re looking for a knife inserted near the center to come out clean. That’s your signal; then we let it cool completely!
Tips for Success with Your Simple Pumpkin Pie
Even though this is my most straightforward, “set it and forget it” recipe, a couple of little tricks will take this easy pumpkin pie from great to absolutely show-stopping. Baking is science, and respecting the cooling process is just as important as measuring the cinnamon correctly. Remember how I said this recipe is practically foolproof? Well, these tips just nail down that last little bit of success for you.
The biggest hurdle for any custard pie is patience after it leaves the oven. You absolutely must resist the urge to slice it right away! That filling is still setting up even after you pull it out. If you try to cut it hot, you’ll get filling spilling everywhere, and that definitely won’t look like my perfect examples. My notes mention it tastes best after chilling, and I really mean that!
So, after it comes out clean, place it on a wire rack and let it cool down to room temperature. Then, cover it gently (don’t press plastic wrap right onto the top!) and move it into the fridge for at least two hours. That chilling time locks in that beautiful, firm but creamy set. You deserve this moment of calm when hosting, and this pie gives it to you. For more tips on keeping baked goods soft, take a peek at how I handle my pudding cookies!
Serving Suggestions for This Quick Fall Dessert Recipe
So, your easy pumpkin pie is perfectly chilled, beautifully set, and ready to grace the table. Great job! Now, we talk about the finishing touches. Because this pie is already so wonderfully rich and creamy thanks to that sweetened condensed milk, you don’t need a heavy, complicated topping. We want enhancements, not distractions, right?
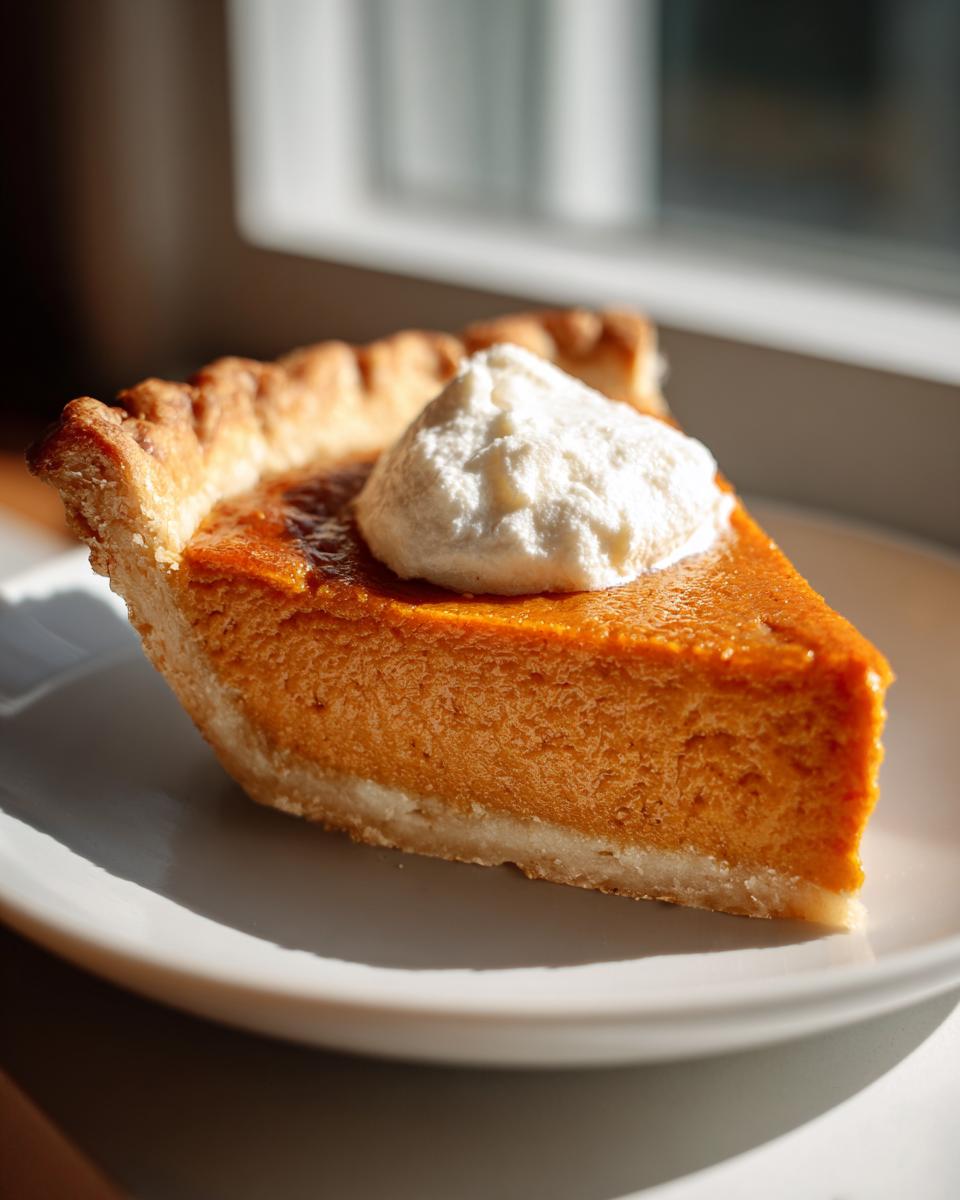
My favorite, and truly the simplest way to serve this, is just a lovely cloud of softly whipped cream on top of each slice. I usually just toss heavy cream and a little powdered sugar into my mixer and whip it until those soft peaks just start to form. Don’t beat it too long—we want that lovely, billowy texture that melts a bit into the cool pie.
If you don’t want to bother with whipping cream, a simple dusting of extra spice is absolutely elegant. Mix a little cinnamon with a tiny pinch of ground cloves, and gently sift it over the top of the whole pie just before serving. It always looks so festive and smells amazing!
It’s simple perfection, just like the pie itself. These little touches elevate the dessert without adding any extra time to your already hectic holiday schedule! If you’re looking for more simple ways to wow your guests after the main course, check out my thoughts on the best homemade desserts.
Storage and Reheating Instructions for Your Easy Pumpkin Pie
Now that you’ve got this gorgeous, creamy pumpkin pie recipe sorted out, the last thing you want to do is mess up the storage! Pumpkin pie is a custard pie, and that means it needs a little respect when it comes to cooling and chilling. Don’t worry, it’s nothing complicated, but keeping it right keeps it safe and delicious until you serve it later.
Because we are skipping the evaporated milk and using eggs, this pie absolutely needs to go into the refrigerator once it has cooled down on the counter for about an hour or so. You want it chilled thoroughly, which helps that filling firm right up. I usually cover it loosely with plastic wrap—just tented over the top so the wrap doesn’t stick to the pretty surface.
How long does it last? Well, this simple pumpkin pie keeps beautifully in the fridge for about three to four days. That’s great news if you are hosting Thanksgiving—you can totally make this the day before! It tastes even better the next day, if you ask me.
And what about reheating? Honestly, I highly advise against it when you are making this particular version. Since it relies on chilling to set that perfect creamy texture, reheating it in the oven or microwave can often make the filling break or get slightly grainy. For the best experience with this fast pumpkin dessert recipe, pull a slice out of the fridge about 20 minutes before you plan to eat it. A slightly cool slice with some whipped cream is just divine!
Frequently Asked Questions About This Easy Pumpkin Pie
It’s totally normal to have a few questions pop up when you’re trying a new recipe, especially when you’re aiming for that perfect holiday treat! Since this is designed to be such a straightforward, easy pumpkin pie, most questions revolve around ingredients or doneness. I put together the things I hear most often when people try this recipe for the first time. Don’t worry if you’re new to baking; this is the perfect place to start!
Can I make this Minimal Ingredient Pumpkin Pie crustless?
That’s a great question for anyone watching their carb intake! Because this recipe relies on the refrigerated crust to hold all that lovely custard filling while it bakes, I really, truly recommend using it so you nail that “foolproof” result we talked about. But hey, if you absolutely can’t use a crust, you can certainly scoop this filling right into buttered ramekins or small oven-safe custard cups. Just reduce that initial high baking temperature slightly, maybe start at 400°F, and watch them closely—they will cook much faster! This keeps it a delicious, minimal ingredient pumpkin pie experience.
How do I know when this Beginner Pumpkin Pie Tutorial is done baking?
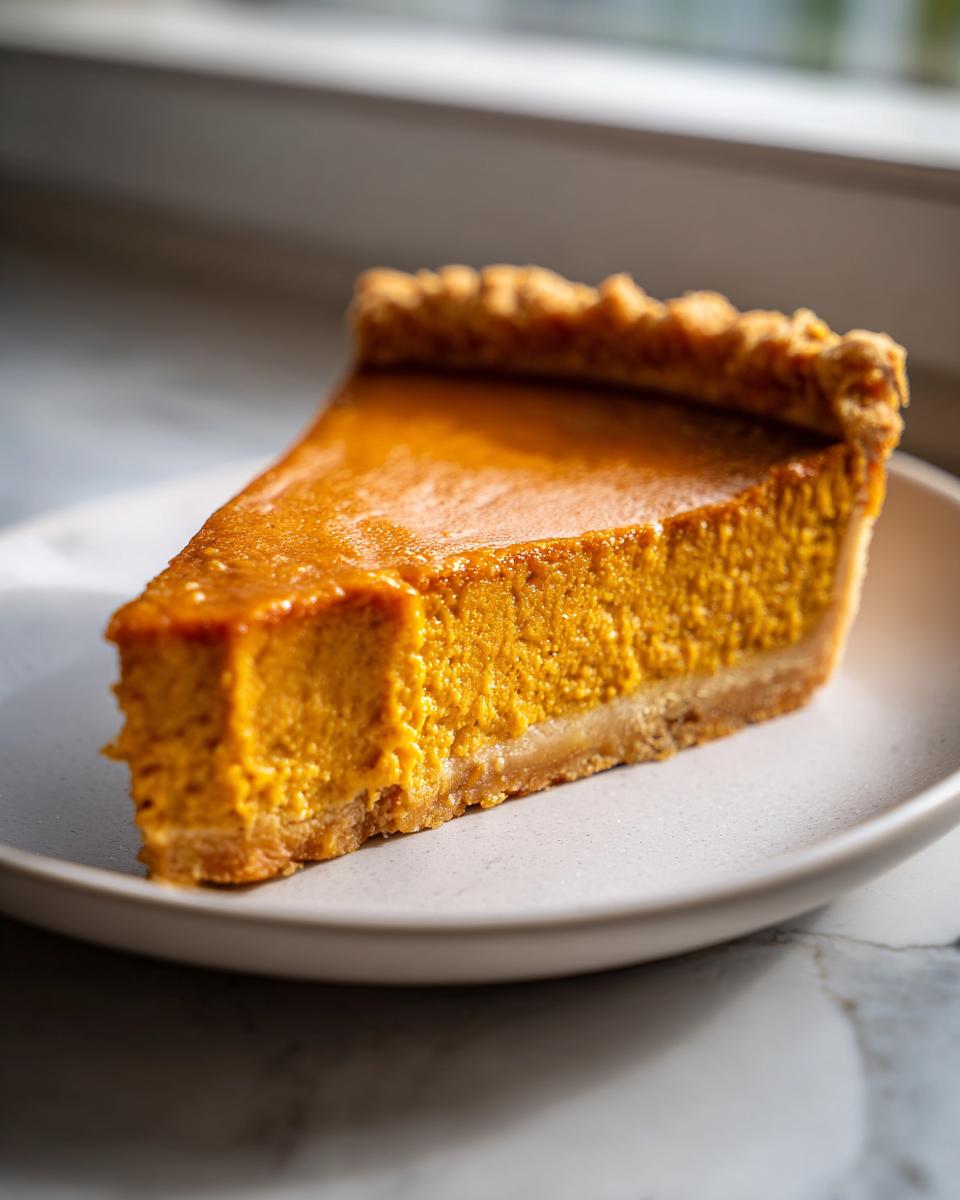
This is the number one question for any custard pie baker! We have two clues we use. First, the edges of the filling will look set, and the center might look firm but still have a *slight* wobble to it, almost like Jell-O. Second, and this is my go-to confirmation for this beginner pumpkin pie tutorial, insert a thin, clean knife about an inch or so from the center edge. If that knife comes out clean—not wet with batter, just clean—it’s done! The rest of the setting happens as it cools down on the counter and then later in the fridge. That small wiggle is what turns into perfection!
Can I substitute the sweetened condensed milk in this easy pumpkin pie?
If you want that super creamy texture and the absolute shortest prep time, stick to the sweetened condensed milk. It brings both the sweetness and the required liquid structure all in one can. If you’re out and desperate, you *can* substitute it with a can of evaporated milk, but you must add about 3/4 cup of packed brown sugar along with it to make up for the missing sweetness. Know that this technically changes the recipe slightly and adds a step, moving it away from being the super easy pumpkin pie I promise you!
If you’re looking for the full background on why I love sharing these simple recipes, you can read all about my teaching background and philosophy over on my about page.
Estimated Nutritional Data for This Easy Fall Baking Idea
I know many of you track macros or are just curious about what you’re serving up this holiday season! Here is the estimated breakdown for one slice of this rich pie based on the standard ingredients used. Remember, this is just an estimate, but it gives you a good idea of what’s in your delicious slice of this easy fall baking idea.
Serving Size: 1 slice | Calories: 320 | Sugar: 25g | Fat: 15g | Protein: 7g. It’s a holiday treat, and boy, does it taste like one!
Share Your Easy Pumpkin Pie Experience
I am so incredibly invested in your success! Making a classic dessert like this on your first try—or even your tenth—is something to celebrate. Once you pull this beautiful, creamy pie out of the oven and it sets up perfectly, please come back and tell me all about it! Did you add a dusting of cinnamon? Did your family even notice how little effort you put in? Ha!
Leave a comment below and give it a star rating so other busy hosts know this recipe is a keeper. If you snap a picture of your perfectly set, easy pumpkin pie on the holiday table, tag me! I absolutely love seeing my recipes in your lovely homes. For any questions that pop up after reading, you can always reach out through my contact page. Happy baking, friends!
PrintFoolproof 6-Ingredient Easy Pumpkin Pie

Make this creamy, classic pumpkin pie with only six simple ingredients. This recipe skips evaporated milk and delivers a rich, comforting fall dessert with minimal effort, perfect for your Thanksgiving table.
- Prep Time: 10 min
- Cook Time: 50 min
- Total Time: 60 min
- Yield: 8 servings 1x
- Category: Dessert
- Method: Baking
- Cuisine: American
- Diet: Vegetarian
Ingredients
- 1 (15 ounce) can pure pumpkin puree
- 1 (14 ounce) can sweetened condensed milk
- 2 large eggs
- 1 teaspoon ground cinnamon
- 1/2 teaspoon ground nutmeg
- 1 (9 inch) unbaked refrigerated pie crust
Instructions
- Preheat your oven to 425 degrees Fahrenheit. Place your unbaked pie crust into a 9-inch pie plate.
- In a medium bowl, whisk together the pumpkin puree, sweetened condensed milk, and eggs until the mixture is smooth.
- Stir in the cinnamon and nutmeg until they are fully combined with the filling.
- Pour the pumpkin mixture evenly into the unprepared pie crust.
- Bake at 425 degrees Fahrenheit for 15 minutes.
- Reduce the oven temperature to 350 degrees Fahrenheit. Continue to bake for an additional 35 to 40 minutes, or until a knife inserted near the center comes out clean.
- Cool the pie completely on a wire rack before slicing and serving.
Notes
- For a no-fail result, use room temperature eggs before mixing them into the filling.
- If you want a slightly faster bake time, you can use a pre-baked pie shell, reducing the total bake time by about 10 minutes.
- This pie tastes best after chilling for at least two hours before serving.
Nutrition
- Serving Size: 1 slice
- Calories: 320
- Sugar: 25g
- Sodium: 350mg
- Fat: 15g
- Saturated Fat: 8g
- Unsaturated Fat: 7g
- Trans Fat: 0g
- Carbohydrates: 40g
- Fiber: 2g
- Protein: 7g
- Cholesterol: 75mg