
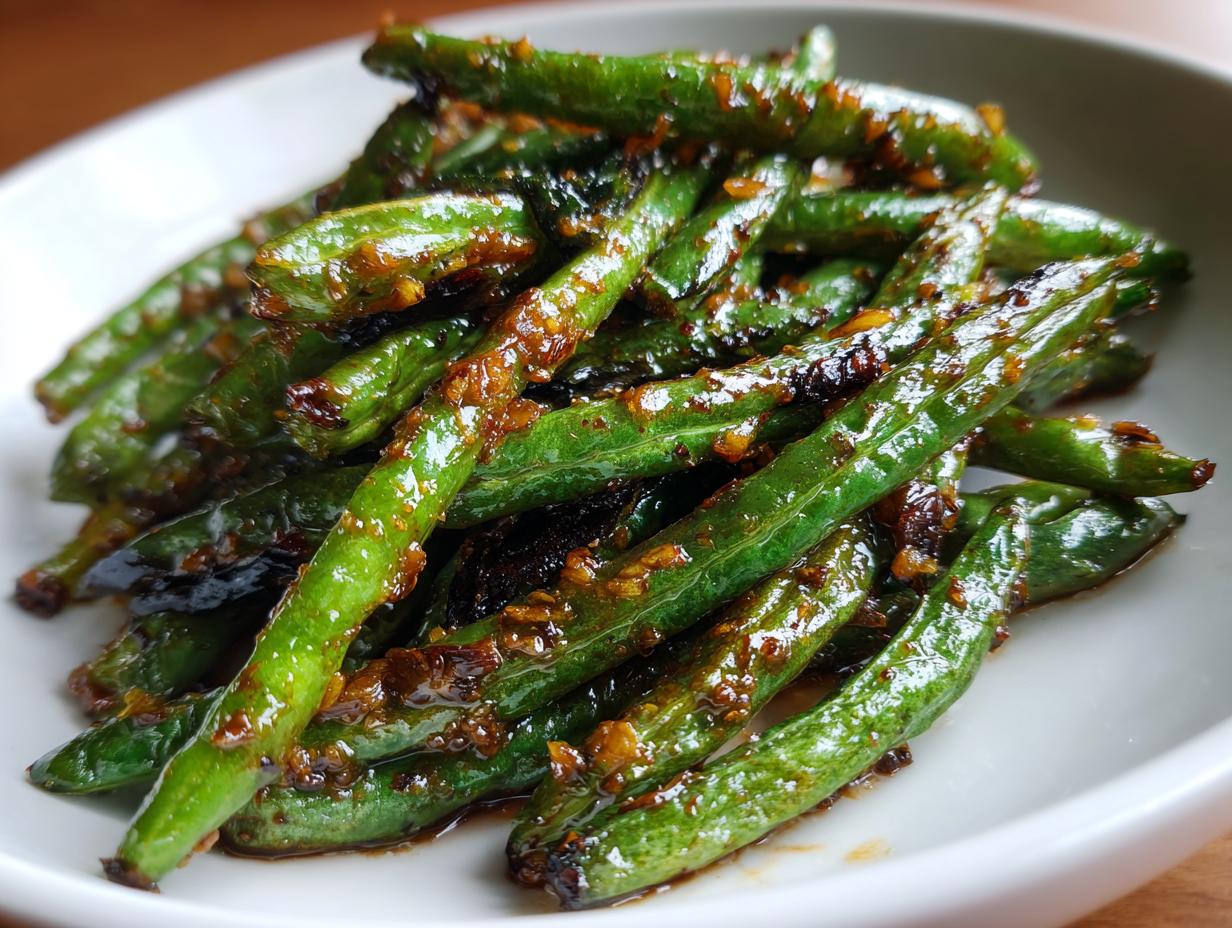
You know those nights, right? You’re staring down the barrel of dinner after school and work, and all you really want is that punchy, slightly spicy takeout flavor, but faster? Me too! That’s why I perfected this recipe for amazing chinese green beans with garlic sauce. Forget long simmering times; we’re aiming for seriously blistered green beans with that incredible charred exterior you only usually get at your favorite spot. It’s honestly my go-to speedy vegetable side dish. Trust me, getting that wok-char at home is easier than you think, and it only takes about twenty minutes shared between prep and cooking!
- Why This Chinese Green Beans with Garlic Sauce Recipe Works (Expert Tips)
- Essential Ingredients for Punchy Chinese Green Beans with Garlic Sauce
- Step-by-Step Instructions for Wok Fried Chinese Green Beans with Garlic Sauce
- Tips for Success When Making Dry Fried Green Beans
- Pairing Your Chinese Green Beans with Garlic Sauce with Main Dishes
- Storage and Reheating Instructions for Leftover Garlic Green Beans
- Frequently Asked Questions About Chinese Green Beans with Garlic Sauce
- Estimated Nutritional Information for This Recipe
- Share Your Experience with Our Chinese Green Beans Recipe
Why This Chinese Green Beans with Garlic Sauce Recipe Works (Expert Tips)
This recipe is a total game-changer for weeknights because it genuinely takes under twenty minutes from start to finish. That speed doesn’t mean we sacrifice quality though! The entire magic behind getting that restaurant-quality flavor comes down to technique—we are mimicking the high, fast heat of a commercial kitchen. That’s how we achieve truly blistered green beans that pop with flavor instead of turning soggy. If you’re looking for authentic wok fried green beans without taking out your wok every time, this method is it. It gives you that deep, slightly smoky taste that makes everyone ask where you ordered from.
Achieving the Perfect Blistered Green Beans with Garlic Sauce Texture
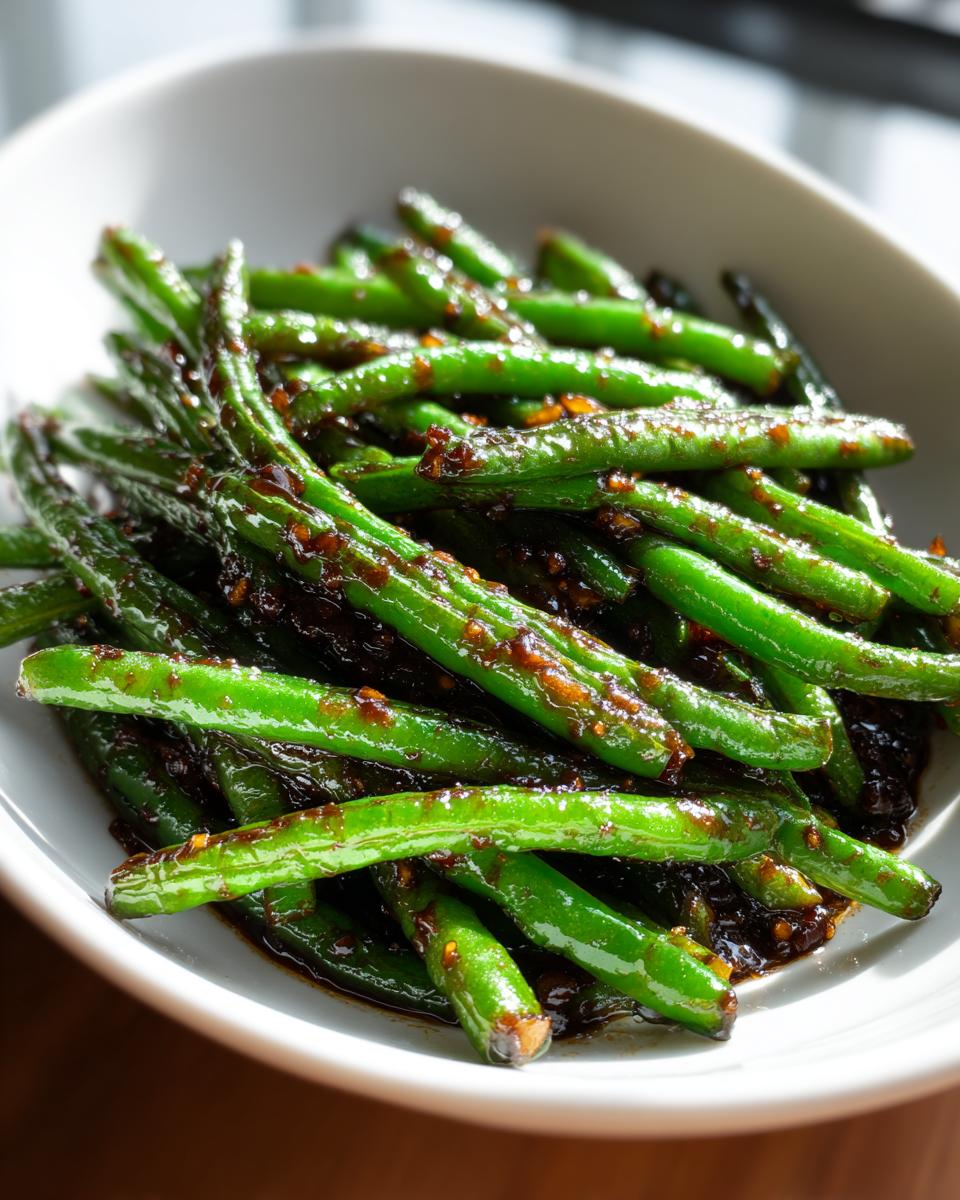
The secret ingredient here, believe it or not, is HEAT. You need your neutral oil screaming hot before those beans even touch the pan. If the heat isn’t high enough, they steam, and steamed beans are totally disappointing. Remember: we are going for char! Don’t worry if the first batch of beans turns slightly dark—that’s flavor developing! Also, if your pan is small, PLEASE work in batches. Overcrowding drops the temperature instantly, and we end up with mushy failures. If you don’t have a wok, grab your heaviest cast iron skillet; it holds heat beautifully and absolutely nails the charred texture you want for these garlic green beans.
Essential Ingredients for Punchy Chinese Green Beans with Garlic Sauce
When you’re aiming for that fast, punchy flavor, you absolutely must trust the ingredients—there’s no time to waste fixing off-flavors later! For these chinese green beans, you’ll want a solid pound of fresh beans, trimmed, of course. We use about three tablespoons of neutral oil, divided, to help us blister them properly in two stages. For the aromatics, grab four cloves of garlic and a teaspoon of freshly minced ginger. The sauce itself is incredibly simple: one tablespoon of soy sauce, just one teaspoon of sugar to balance the salt, and a half teaspoon of toasted sesame oil for that nutty finish. If you like a tiny kick, toss in a pinch of red pepper flakes—they go wonderfully with the fresh garlic!
Ingredient Notes and Substitutions for Your Garlic Green Beans
I always advise using tamari instead of regular soy sauce if you’re skipping gluten; it works exactly the same way flavor-wise. And listen, if you feel like you are using way too much oil achieving that blistered look, don’t panic! You can swap out some of that oil for an equal amount of good quality vegetable broth when you make the sauce. This keeps the flavor profile intact but cuts down on the fat slightly. See? We can have our takeout flavor *and* keep things adaptable for your needs!
Step-by-Step Instructions for Wok Fried Chinese Green Beans with Garlic Sauce
Okay, this is where the magic happens! Getting these wok fried green beans right is all about sequencing your steps so nothing sits around getting sad and soggy. First things first: crank your heat up high—we want that oil shimmering hot for the initial sear. Add two tablespoons of your oil, let it get ready, and then toss in your trimmed green beans. Here’s the critical part for that char: put them in and just leave them alone for 2 or 3 minutes! Seriously, resist the urge to stir them right away; we need the direct contact to get those beautiful dark spots forming. Keep tossing and cooking another few minutes until they are tender-crisp, and then quickly pull them out and set them aside while we build the sauce base.
Mastering the Garlic and Ginger Aromatics
Once the beans are out, drop your heat down to medium—this is important! If the pan is still blazing hot, your garlic will turn bitter before you can even smell it. Add that last bit of oil, then throw in your minced garlic and ginger. You only need about 30 seconds here! I mean it, 30 seconds! You aren’t actually cooking them through; you’re just letting them release all those amazing, powerful smells. Once you can clearly smell that sharp, sweet garlic aroma filling your kitchen, it’s time to add the beans right back in so they don’t scorch! If you need any help asking questions about the process, don’t hesitate to contact us first.
Next, quickly add your soy sauce, sugar, and pepper flakes if you’re using them. Toss everything together really fast—maybe 60 seconds—just long enough for that sauce to glaze everything nicely. Pull it off the heat and finish with a drizzle of toasted sesame oil before serving this up right away! They lose that amazing snap if they sit too long.
Tips for Success When Making Dry Fried Green Beans
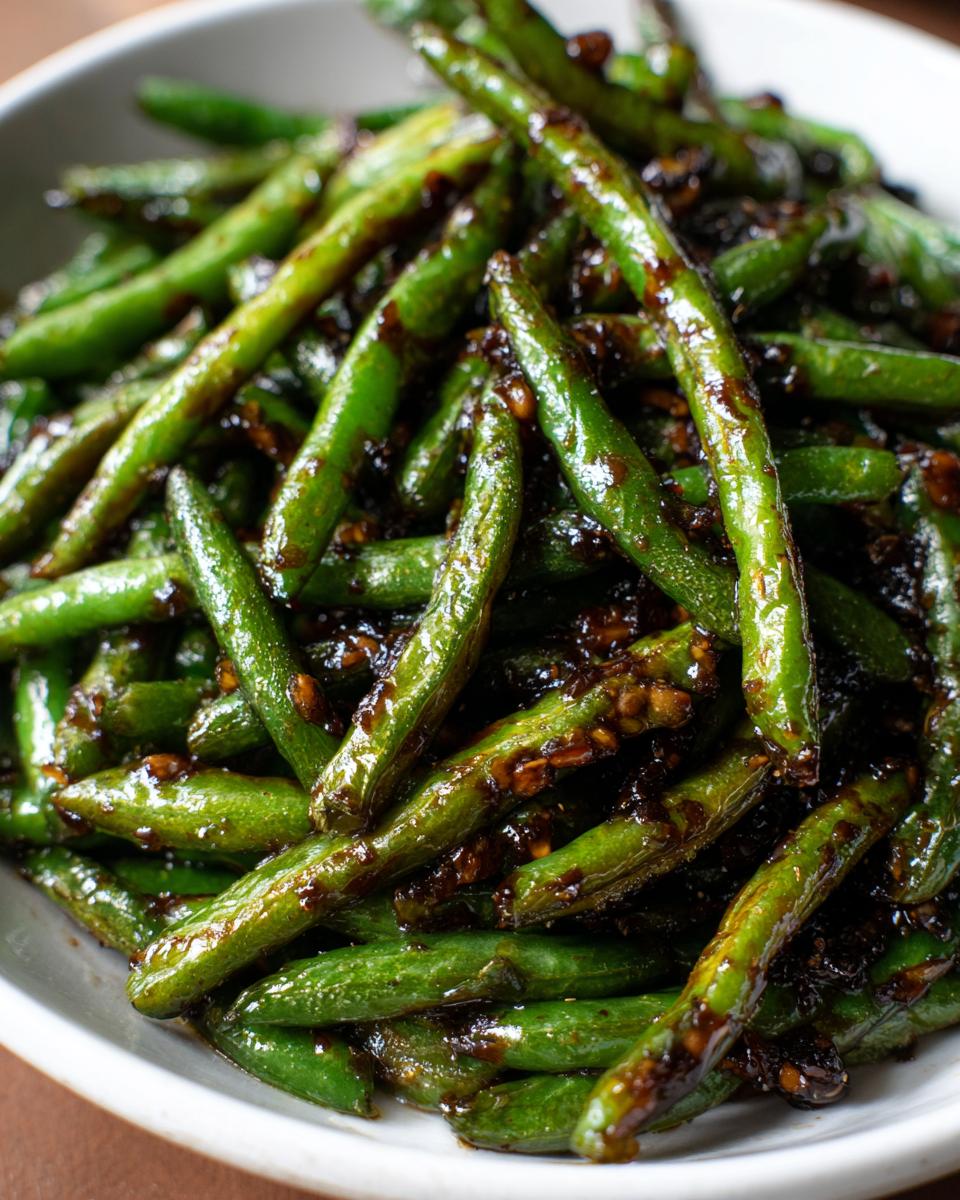
Look, I know we are moving fast, but if you want these dry fried green beans to taste anything like they do at that amazing Szechuan place downtown, you need to respect the heat! If you’re cooking for a big crowd and your wok is smaller than you’d like, don’t put everything in at once. No matter how much you want to save time, overcrowding the pan is the quickest way to generate steam instead of that beautiful char, which totally ruins the effect. Cook them in two or even three small batches if you have to—seriously, wait for that great sizzle to return between rounds.

When checking for doneness, forget setting a timer when you’re aiming for perfect texture. You’re looking for ‘tender-crisp.’ That means you bite into one, and yes, it yields easily, but it still has a satisfying little snap or crunch in the middle. They should look wrinkly and have those dark, almost black spots on the skin. If you want to read more about how I approach quick veggie tricks in the kitchen, check out our story page. Consistency is everything when you’re relying on speed!
Pairing Your Chinese Green Beans with Garlic Sauce with Main Dishes
These pungent, garlicky green beans are fantastic as a standalone star, but they really shine when sitting next to a hearty main course! Since these are such bright and savory chinese side dishes, they cut through richness beautifully. I almost always serve them when we do takeout night at home. They pair perfectly alongside anything saucy that needs a little bite to balance it out.
Think about slathering on some General Tso’s chicken or a rich, saucy beef and broccoli situation—the snap of the beans keeps things from getting too heavy. Honestly, they are equally amazing next to a giant bowl of lo mein or even just alongside some simple leftover white rice that you want to jazz up quickly. They’re hearty enough to stand up to anything you throw at them, but quick enough that they won’t slow down your dinner assembly!
Storage and Reheating Instructions for Leftover Garlic Green Beans
Now, these garlic green beans are definitely best enjoyed piping hot right out of the wok when they have maximum snap, but let’s be realistic—sometimes we have leftovers, and that’s okay! If you do have any left hanging around, pop them into a really good airtight container immediately after they cool down a touch. They usually hang out happily in the fridge for about three days before the texture starts changing too much.
When it’s time to reheat, please, for the love of flavor, avoid the microwave if you can! It’ll soften them right up. The best way to revive them is a super quick sizzle back in a hot pan with just a teaspoon of fresh oil. Toss them for sixty seconds while keeping the heat high. This wakes up the garlic flavor and brings back just enough of that satisfying texture we worked so hard to achieve in the first place!
Frequently Asked Questions About Chinese Green Beans with Garlic Sauce
It’s so funny how many questions pop up when people try making restaurant favorites at home! That’s what these garlic green beans are all about—getting the little details right to make a big impact. Here are some common things I hear after people make this recipe.
Can I make these vegan chinese sides without a wok?
Absolutely, yes! I know not everyone has a dedicated wok lying around, and honestly, I often grab my big, heavy skillet when I’m only making a small batch. The key when using a regular pan is realizing it might not hold heat quite as well as a wok does. So, if you feel like your pan is cooling down too much after you add the beans, just break the recipe into two smaller batches. Cooking in batches ensures you maintain that screaming hot temperature needed for blistering and prevents your great vegan chinese sides from turning into steamed vegetables instead.
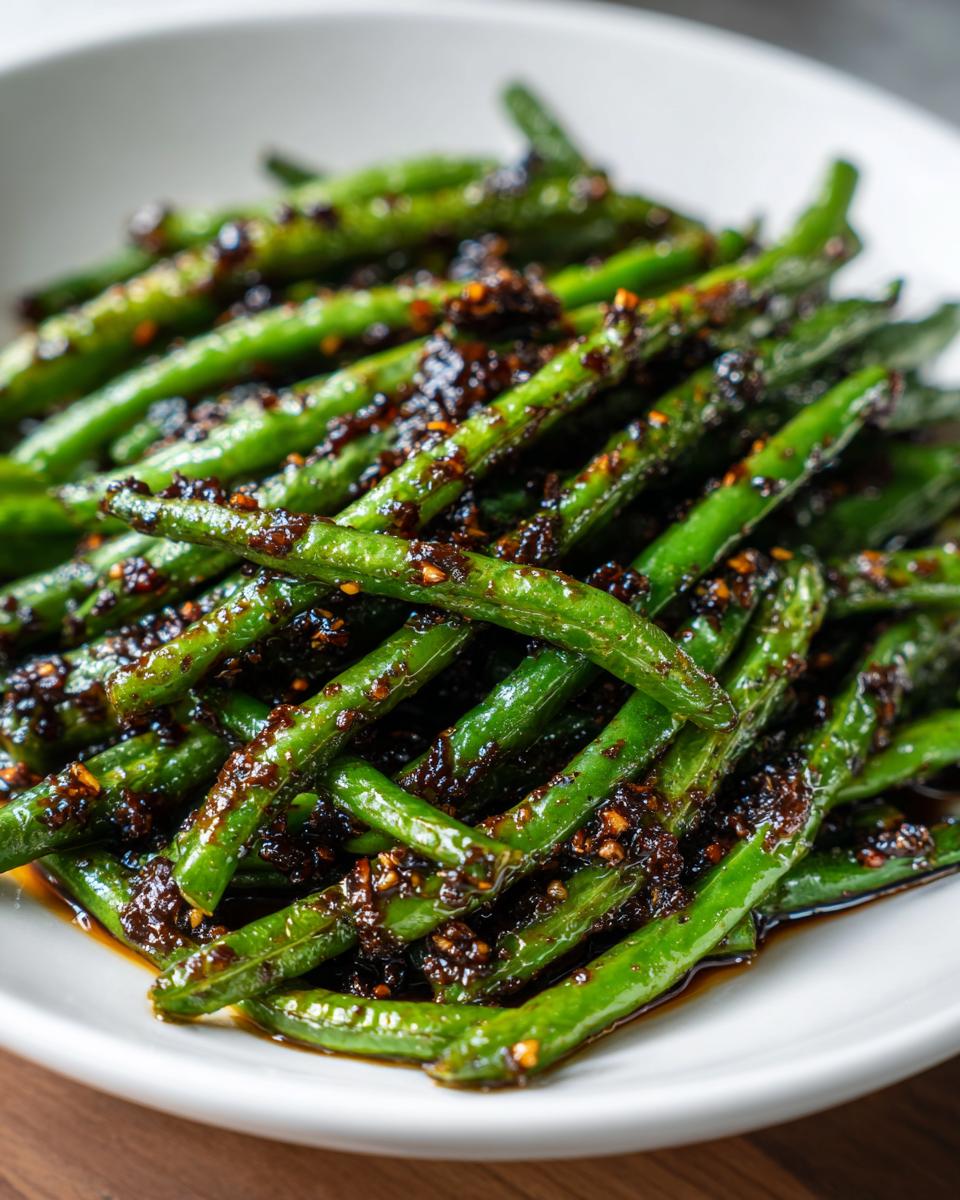
How can I make the garlic sauce spicier, like Sichuan green beans?
Oh, I love turning up the heat! If you want to transform these into something closer to fiery Sichuan green beans, you have to introduce that dry heat right at the beginning. Before you even add your fresh garlic and ginger in step four, add about a teaspoon of dried crushed chili flakes—or even better, a couple of dried whole chilies if you have them—to that initial hot oil. Let those infuse the oil for about 20 seconds before you toss in the fresh aromatics. That infuses that deep, lingering spice right into the oil, which the beans soak up beautifully. You can look over our usage terms to see how we approach spice levels across our recipes!
Estimated Nutritional Information for This Recipe
Now, I’m not a nutritionist, so take these numbers with a grain of salt—they are just a general guide based on the ingredients listed! When you’re cooking fast like this, you focus on flavor, right? Per serving, you’re looking at about 120 calories, 9 grams of fat, and 3 grams of protein. We’ve got about 9 grams of carbs in there too. Remember that if you swap out oil for vegetable broth, those fat numbers might drop a little for you! You can always check our privacy policy for more detailed ingredient sourcing information if you have specific dietary concerns.
Share Your Experience with Our Chinese Green Beans Recipe
I genuinely hope this recipe brings that punchy takeout experience right onto your weeknight table! Making these chinese green beans with garlic sauce is always a blast, but what I really want to know is how they turned out at *your* house.
Did you get that fantastic blistered texture we talked about? Did that high heat work its magic, or did you have to cook them in batches? Don’t be shy—comment below and let me know your results. Hearing how you adapted things or what you served them with is the absolute best part of this whole process for me.
If you snapped a picture of your perfectly charred garlic green beans, please tag me on social media! Seeing your wonderful home cooking makes my day. Happy cooking!
PrintGarlic Sauce Green Beans (Dry Fried Style)
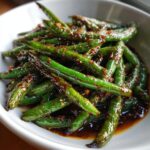
Make restaurant-style blistered green beans tossed in a punchy garlic soy sauce quickly in your wok or skillet.
- Prep Time: 10 min
- Cook Time: 10 min
- Total Time: 20 min
- Yield: 4 servings 1x
- Category: Side Dish
- Method: Stir-Frying
- Cuisine: Chinese
- Diet: Vegan
Ingredients
- 1 pound fresh green beans, trimmed
- 3 tablespoons neutral oil, divided
- 4 cloves garlic, minced
- 1 teaspoon fresh ginger, minced
- 1 tablespoon soy sauce (or tamari for gluten-free)
- 1 teaspoon sugar
- 1/2 teaspoon toasted sesame oil
- Pinch of red pepper flakes (optional)
Instructions
- Heat 2 tablespoons of the neutral oil in a wok or large skillet over high heat until shimmering.
- Add the trimmed green beans to the hot pan in a single layer if possible. Cook without stirring for 2 to 3 minutes to allow the beans to blister and char slightly.
- Toss the beans and continue cooking for another 4 to 6 minutes until they are tender-crisp and have developed dark spots. Remove the beans from the pan and set them aside.
- Reduce the heat to medium. Add the remaining 1 tablespoon of oil to the pan. Add the minced garlic and ginger. Cook for about 30 seconds until fragrant, being careful not to burn the garlic.
- Return the green beans to the pan. Add the soy sauce, sugar, and red pepper flakes, if using. Toss everything quickly to coat the beans evenly with the sauce.
- Cook for 1 minute until the sauce thickens slightly. Remove from heat and drizzle with toasted sesame oil before serving immediately.
Notes
- For a vegan alternative, ensure your soy sauce does not contain animal products. You can substitute vegetable broth for a portion of the sauce if you prefer less oil.
- If you do not have a wok, use the largest, heaviest skillet you own and cook the beans in batches to maintain high heat for proper blistering.
- Pair these garlic green beans with fried rice or your favorite takeout-style main dish.
Nutrition
- Serving Size: 1 serving
- Calories: 120
- Sugar: 3
- Sodium: 350
- Fat: 9
- Saturated Fat: 1
- Unsaturated Fat: 8
- Trans Fat: 0
- Carbohydrates: 9
- Fiber: 4
- Protein: 3
- Cholesterol: 0