
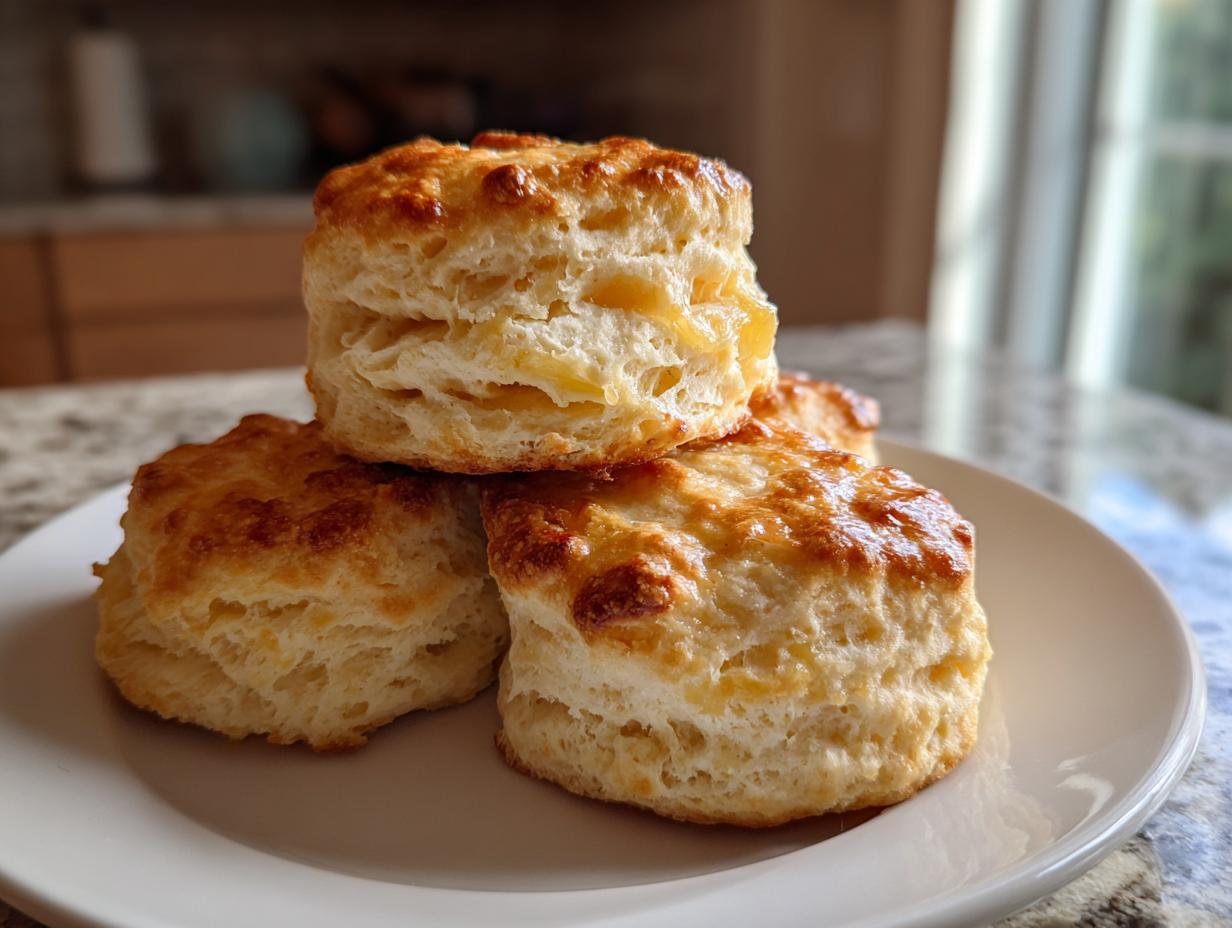
There is just nothing—absolutely nothing—that smells better than bread baking, is there? Whether you’re making a fancy dinner roll or just a plain homemade loaf, that aroma fills the whole house with comfort. For me, the ultimate comfort food baking staple has always been a perfect biscuit. I spent years trying to get mine tall enough, but my early attempts were always flat little hockey pucks! Now, I can confidently share what I know makes the Best Flaky Southern Buttermilk Biscuits, focusing specifically on achieving incredible height and those beautiful, visible layers you dream about. Learning the basics of baking when I was young, just like I show in my easy breadsticks recipe, meant I understood that simple ingredients, treated right, are always the best, and that lesson shines through in these amazing buttermilk biscuits.
- Why This Recipe Makes the Best Buttermilk Biscuits (E-E-A-T Focus)
- Ingredients for Perfect Southern Style Buttermilk Biscuits
- Step-by-Step Instructions for Homemade Buttermilk Biscuits
- Tips for Success: Mastering Your Buttermilk Biscuits
- Serving Suggestions for Your Soft Buttery Biscuits
- Storage and Make Ahead Tips for Buttermilk Biscuits
- Frequently Asked Questions About Buttermilk Biscuits
- Nutritional Estimates for Classic American Baking
- Share Your Flaky Buttermilk Biscuits Experience
Why This Recipe Makes the Best Buttermilk Biscuits (E-E-A-T Focus)
When I first started, my biggest frustration was flat biscuits. They tasted fine, but they didn’t have that satisfying lift. We’ve all been there, I promise! The reason this recipe works so well, and why I call it the best, is all about respecting a few core baking rules. It’s not complicated, just essential, which I learned early on when trying to master complicated quick and crusty French bread. This method gives you those stunning tall buttermilk biscuits every single time, just like the ones you see in the magazines.
The Secret to Tall Buttermilk Biscuits: Temperature Control
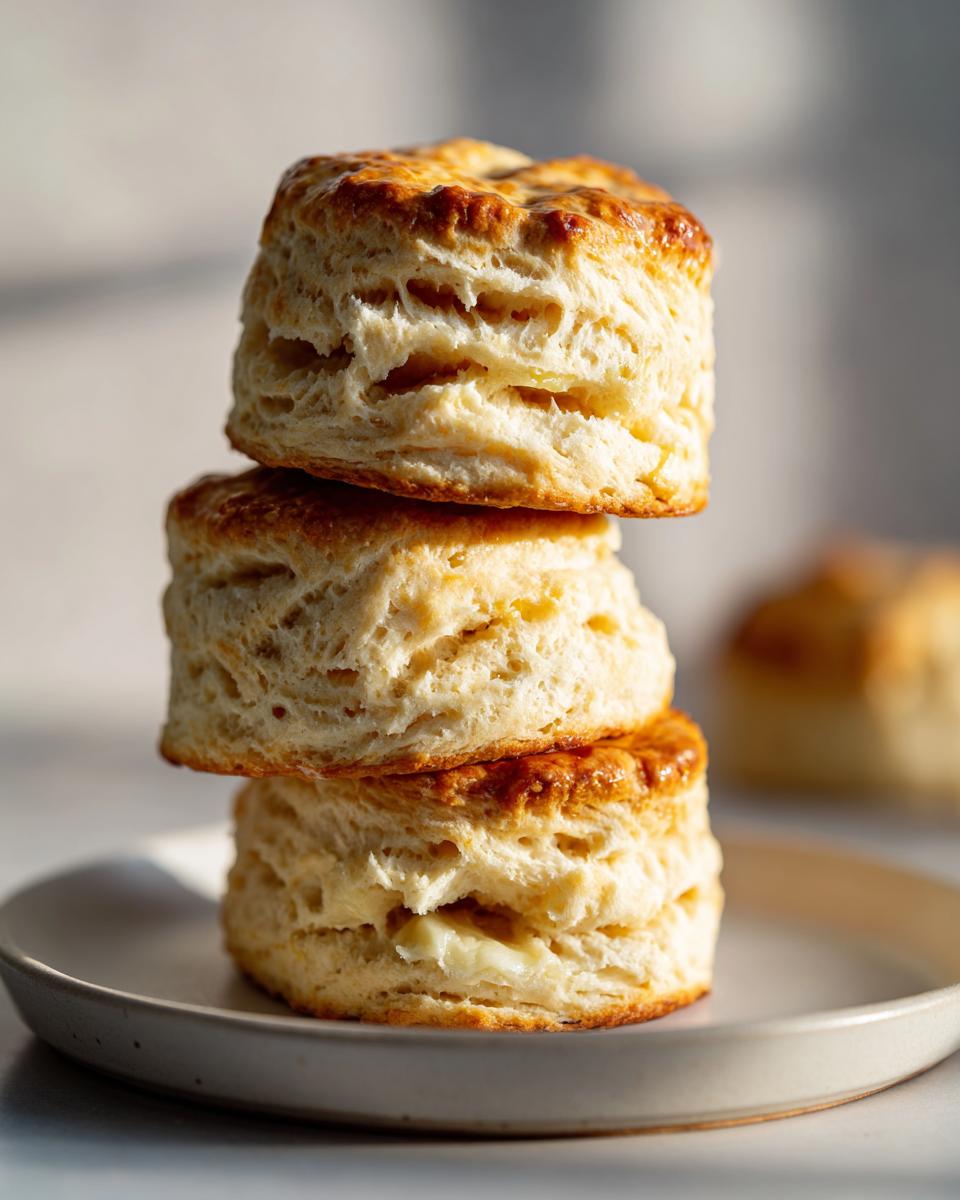
If you take one thing away from this, let it be this: your butter and your buttermilk need to be absolutely ice cold. I mean, borderline frozen cold. This technique is key to achieving those gorgeous lift and steam pockets. When the cold fat hits the heat of the 425-degree oven, it melts rapidly, creating steam that forces the dough layers apart. If your butter is even a little soft, it just blends right into the flour, and guess what? You get a dense biscuit instead of a sky-high one. Believe me, chilling everything thoroughly is worth the extra five minutes!
Achieving Flaky Biscuits Through Folding
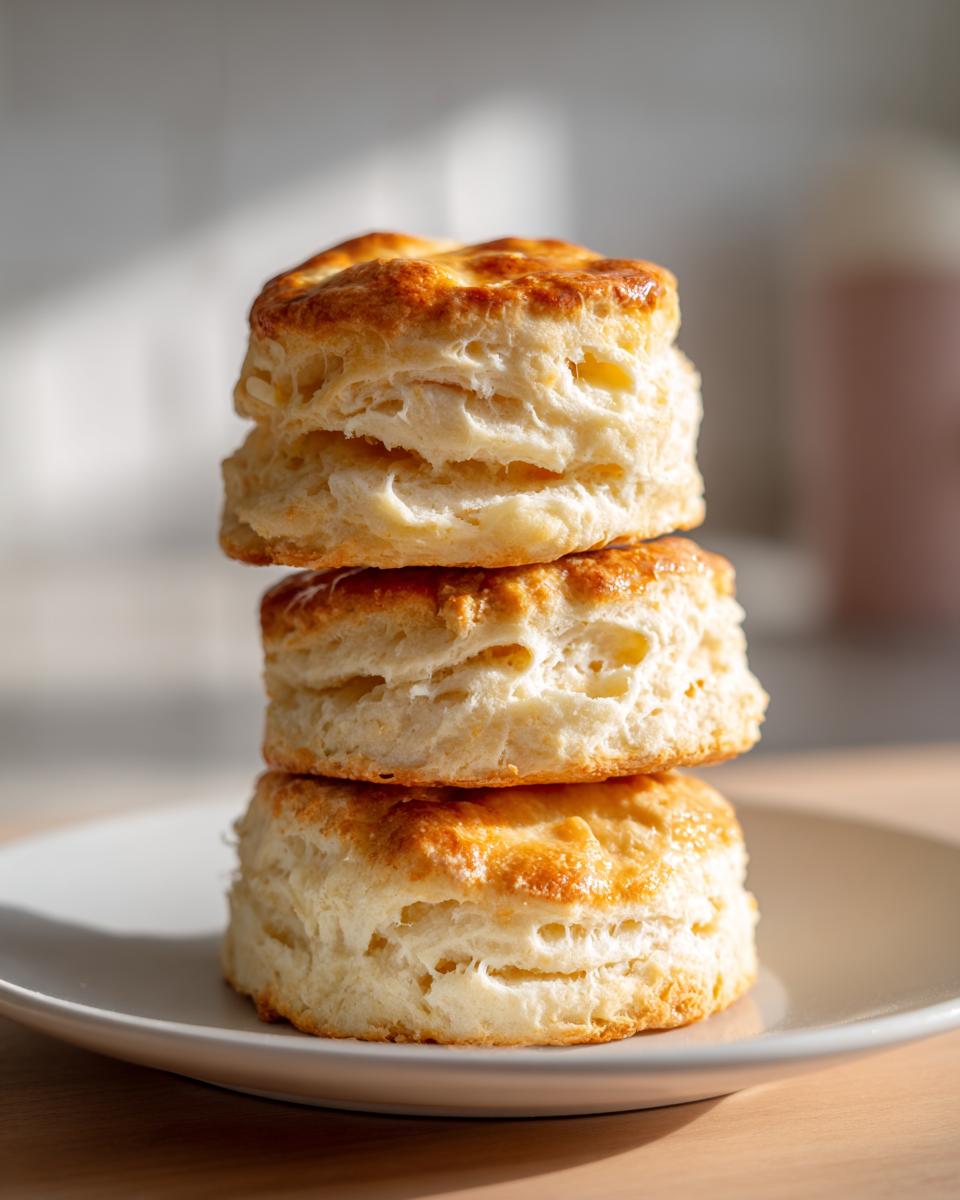
This technique is the real heart of the layered biscuits tutorial. We aren’t just punching out circles; we are deliberately building structure. By folding the dough over onto itself—like folding a letter—a couple of times, we stack those little pieces of cold butter inside thin layers of dough. As these stacks bake, they separate into the tender, flaky layers that make Southern biscuits famous. It’s a quick process, but it adds all that wonderful texture you’re looking for in truly flaky biscuits.
Ingredients for Perfect Southern Style Buttermilk Biscuits
You don’t need a giant pantry for these, which is wonderful! But accuracy matters here because we are relying on ratios for that amazing rise. You’ll need two cups of all-purpose flour, plus a tablespoon of baking powder and a teaspoon each of baking soda and salt to get the lift right. The stars, of course, are the half-cup of unsalted butter, which must be cut into small cubes and kept very cold, paired with three-quarters of a cup of ice-cold baking with buttermilk. Don’t forget that little bit of melted butter waiting at the end just for brushing the tops!
Step-by-Step Instructions for Homemade Buttermilk Biscuits
Okay, now that we have our super cold ingredients ready, let’s get this quick bread baking underway! This entire process, from start to finish, rushes along so quickly, which is why I love this recipe for busy weeknights when we need something fast for dinner. Trust me when I say that keeping the process moving and light gives you stunning results. If you’re looking for a truly reliable homemade bread recipe that comes together fast, this is it!
Mixing Dry Ingredients and Cutting in the Butter
First things first: preheat that oven to 425 degrees Fahrenheit and get your pan lined up. In a big bowl, whisk together your flour, baking powder, baking soda, and salt. That’s your base. Now for the moment that matters: add those cold, cubed butter pieces. You need to cut that butter into the flour until it truly looks like coarse meal, but here’s the kicker for those soft, buttery biscuits: you must still see some pieces about the size of small peas. Those pea-sized butter chunks are the secret to flakiness, so use a pastry blender or your fingers quickly—don’t let the heat from your hands melt anything!
Bringing the Dough Together and Creating Layers
Pour in all that cold buttermilk at once. Use a fork to gently pull things together until it just barely looks mixed. It will be shaggy and messy, and you might panic a little, but don’t overmix it! Dump that shaggy mess onto a lightly floured surface. Gently pat it out to about three-quarters of an inch thick. Now, for the magic behind those layered biscuits tutorial results: fold it like a letter—in thirds. Turn it 90 degrees and fold it in thirds again—that’s two letter folds total. This builds the structure we need.
Cutting and Baking Your Buttermilk Biscuits
Finally, pat the dough out to about one full inch thick—remember, we want them THICK! Use a 2-inch biscuit cutter and press straight down firmly, then lift straight up. Do not, I mean it, DO NOT TWIST THE CUTTER! Twisting seals the sides and stops them from rising up nice and tall. Place them close together on your sheet if you like soft sides, or further apart for crispy ones. Brush the tops with melted butter and bake them for about 12 to 15 minutes until they are beautifully golden brown. A second brush of butter when they come out just brightens everything up!
Tips for Success: Mastering Your Buttermilk Biscuits
Even with the right recipe, sometimes little things trip up a good batch of dough. But that’s okay! Part of making this a no fail biscuit recipe is knowing how to troubleshoot. The absolute biggest tip I can give you, besides keeping everything cold, is avoiding overworking the dough. As soon as that buttermilk hits the flour, you need to handle it gently. If you knead it like bread, all those beautiful layers we built by folding will mash right back together. It should still look a little rough and ragged when you go to cut it—that’s perfection in my book! For a little extra flavor boost next time, try whisking a pinch of cayenne pepper into your dry ingredients; it really makes the butter shine. You can check out my recipe for creamy horseradish sauce if you want something zesty to serve alongside these later!
Serving Suggestions for Your Soft Buttery Biscuits
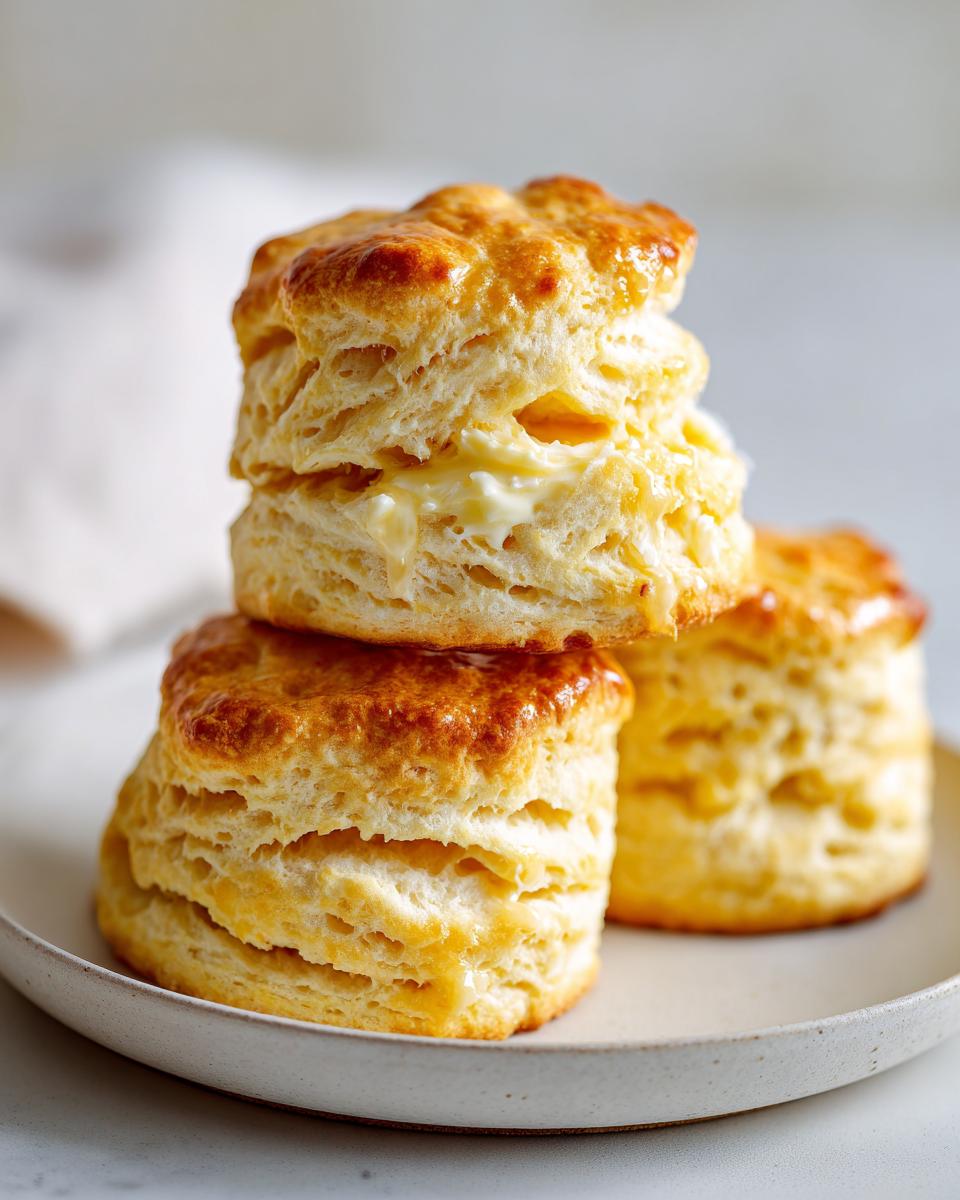
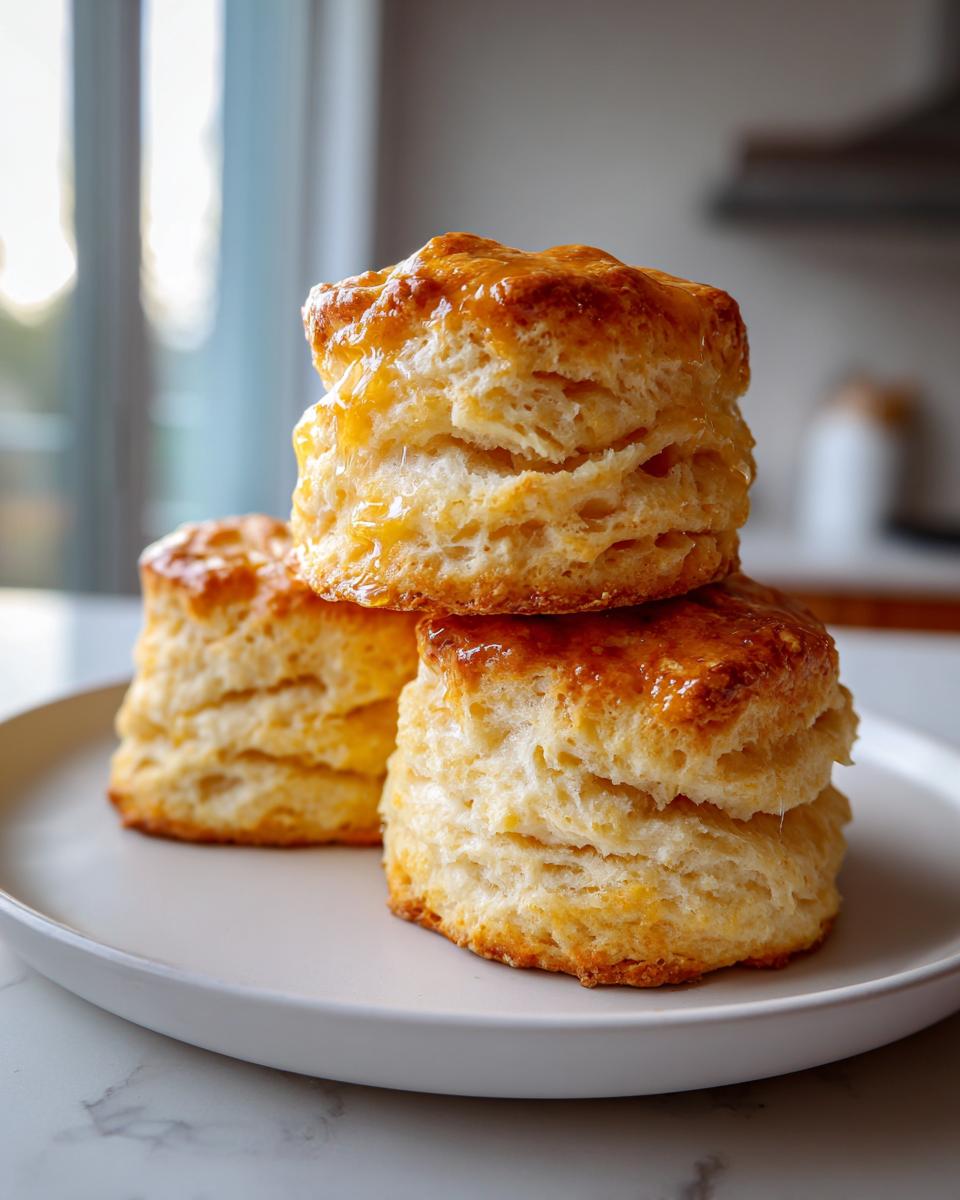
I mean, they are wonderful all by themselves, warm from the oven with just a smear of soft butter, but these soft, buttery biscuits deserve to be the star of the table! If you are making them for breakfast, they automatically become the star of your breakfast side dish lineup. They pair perfectly with eggs, bacon, or my favorite—a big pile of creamy sausage gravy. We often make a double batch just because having warm biscuits with butter sitting out while we watch a movie makes for the best kind of evening!
If you’re planning a bigger meal, these are fantastic stand-ins for dinner rolls. Imagine serving them next to a hearty pot roast or my famous homemade brown gravy for true, old-fashioned comfort. Honestly, you can never go wrong with savory; they are the definition of biscuits for gravy done right because they stand up beautifully to all that liquid without turning mushy. However, if you’re feeling sweet, they are divine split open and served warm with some local honey or even a slice of jam. They work so well with my sweet Alabama pecan bread flavor profile, too, if you want a little sweetness.
Storage and Make Ahead Tips for Buttermilk Biscuits
I know that sometimes you just don’t need a whole batch of fresh biscuits right now, or maybe morning rush hour hits and you wish you had baked them the night before! The great news is that these hold up really well. If you have leftovers, just keep them covered loosely at room temperature for a day or two—they are still lovely the next morning. But here is my favorite trick for the ultimate make ahead biscuits: prepare the dough completely, cut out all your circles, place them snugly on the baking sheet, cover that whole thing tightly with plastic wrap, and tuck it into the fridge. They can chill for a full 24 hours! When you wake up, just pop them right into the hot oven. You might need an extra minute or two of baking time, but they bake up just as wonderfully as fresh. For reheating leftovers later, a quick zap in the microwave or a few minutes in a toaster oven brings that buttery softness right back. You can read a few more fresh baking tidbits over at this guide.
Frequently Asked Questions About Buttermilk Biscuits
Can I substitute regular milk for buttermilk in these buttermilk biscuits?
Oh, that happens sometimes when you are mid-bake and realize the carton is empty! Yes, you absolutely can make a substitute, and honestly, it works really well. If you don’t have proper baking with buttermilk on hand, just take one cup of regular milk—whole milk or 2% works best—and stir in one tablespoon of white vinegar or lemon juice. Let that magic happen for about five minutes. It will look slightly curdled, and that acidity is doing the work of the acid already in buttermilk. It won’t have that deep, tangy flavor buttermilk provides, but it will absolutely give you the lift you need. Just make sure your milk mixture is still super cold when you add it to the flour!
How do I ensure my biscuits come out as Thick Biscuits?
Thickness is directly related to two things we already talked about, but it’s worth repeating because it’s so important for those satisfyingly thick biscuits! First, when you do that final patting or light rolling of the dough after all those folds, you must aim for at least one inch thick. Don’t be shy! Second, and perhaps more crucial, is the cut. When you use your biscuit cutter, press straight down hard and lift straight up. If you twist the cutter even a little bit, you’re essentially sealing the edges of your dough, and that seal doesn’t allow the biscuit to puff up evenly. It traps the layers, preventing that vertical rise we always want in our buttermilk biscuits.
Is this considered a Beginner Biscuit Recipe?
I certainly hope so! That was the entire goal in developing this recipe for my kitchen—to take a classic Southern staple that can seem intimidating and turn it into a reliable option for everyone. I truly think this is a wonderful beginner biscuit recipe because the folding technique is so straightforward once you see it written down. It’s really a no fail biscuit recipe, provided you stick to that one rule: keep the fat cold! If you can manage cubed, cold butter and cold milk, you can absolutely master this recipe on your very first try. You’ll be amazed at the results!
Nutritional Estimates for Classic American Baking
Now, I know you’re probably going to eat more than just one, but when we talk about the science behind our favorite recipes, we have to break down the averages! Since these are made from scratch with real butter and whole ingredients, they are certainly hearty. Please remember, these figures are just estimates based on the specific ingredients I listed—your brand of flour or the fat content of your buttermilk can shift things slightly. This calculation assumes a yield of 8 biscuits, making each one a substantial serving perfect for a full breakfast.
For one of these soft, flaky biscuits, you’re looking at approximately:
- Calories: 250
- Total Fat: 14g (Keep an eye on that Saturated Fat content at about 9g, because we use real butter!)
- Carbohydrates: 28g
- Protein: 5g
- Sugar: Just 1g (That’s just the natural sugars from the flour and buttermilk, which I love!)
- Sodium: Around 450mg
See? Not bad at all for something that tastes like pure comfort. These wonderful pastries provide a solid foundation for any hearty meal you’re serving up!
Share Your Flaky Buttermilk Biscuits Experience
I am honestly just so excited for you to make these! They are my secret weapon when someone asks for a truly impressive, yet easy, Southern classic. Once you pull those warm beauties out of the oven, you have to tell me how tall they got! I want to see those layers—go snap a quick picture and drop it in the comments below. Seriously, tags are my favorite part of running this kitchen; seeing your success stories makes all the testing and refining worth it.
Did you serve them with gravy, or did you keep them simple with butter and honey? I made a huge batch last weekend to go with my trifle for dessert later, and they disappeared before dinner was even served! Let me know if you tried any of my tips, like that critical “no-twist” rule for the cutter. Happy baking! I can’t wait to hear all about your results with this ultimate comfort food baking staple!
PrintThe Best Flaky Southern Buttermilk Biscuits
Make tall, soft, and buttery buttermilk biscuits from scratch. This recipe focuses on simple techniques to achieve classic, layered Southern style results.
- Prep Time: 15 min
- Cook Time: 15 min
- Total Time: 30 min
- Yield: 8 servings 1x
- Category: Breakfast
- Method: Baking
- Cuisine: American
- Diet: Vegetarian
Ingredients
- 2 cups all-purpose flour
- 1 tablespoon baking powder
- 1 teaspoon baking soda
- 1 teaspoon salt
- 1/2 cup (1 stick) cold unsalted butter, cut into small cubes
- 3/4 cup cold buttermilk
- 2 tablespoons melted butter, for brushing
Instructions
- Preheat your oven to 425 degrees F (220 degrees C). Line a baking sheet with parchment paper or lightly grease it.
- In a large bowl, whisk together the flour, baking powder, baking soda, and salt.
- Add the cold, cubed butter to the flour mixture. Use a pastry blender or your fingertips to cut the butter into the flour until the mixture resembles coarse crumbs with some pea-sized pieces of butter remaining. Keeping the butter cold is key for flaky biscuits.
- Pour in the cold buttermilk all at once. Use a fork to gently mix until just combined. Do not overmix; the dough will look shaggy.
- Turn the dough out onto a lightly floured surface. Gently bring the dough together into a rough mass.
- Pat or lightly roll the dough into a rectangle about 3/4 inch thick.
- Fold the dough into thirds, like a letter. Turn the dough 90 degrees and repeat the patting and folding process one more time. This folding creates layers.
- Pat the dough out to a final thickness of about 1 inch.
- Use a 2-inch biscuit cutter to cut straight down through the dough. Do not twist the cutter, as twisting seals the edges and prevents the biscuits from rising tall.
- Place the cut biscuits close together on the prepared baking sheet for softer sides, or further apart for crispier sides.
- Brush the tops lightly with the reserved melted butter.
- Bake for 12 to 15 minutes, or until the biscuits are golden brown and cooked through.
- Remove from the oven and brush the tops again with any remaining melted butter for extra flavor. Serve warm with butter and honey.
Notes
- For the tallest, flakiest biscuits, make sure your butter and buttermilk are very cold before mixing.
- Do not twist the biscuit cutter when cutting the dough; press straight down and lift up.
- If you want to make these ahead, you can cut the dough, place the raw biscuits on a baking sheet, cover, and chill for up to 24 hours before baking.
Nutrition
- Serving Size: 1 biscuit
- Calories: 250
- Sugar: 1
- Sodium: 450
- Fat: 14
- Saturated Fat: 9
- Unsaturated Fat: 5
- Trans Fat: 0
- Carbohydrates: 28
- Fiber: 1
- Protein: 5
- Cholesterol: 35