
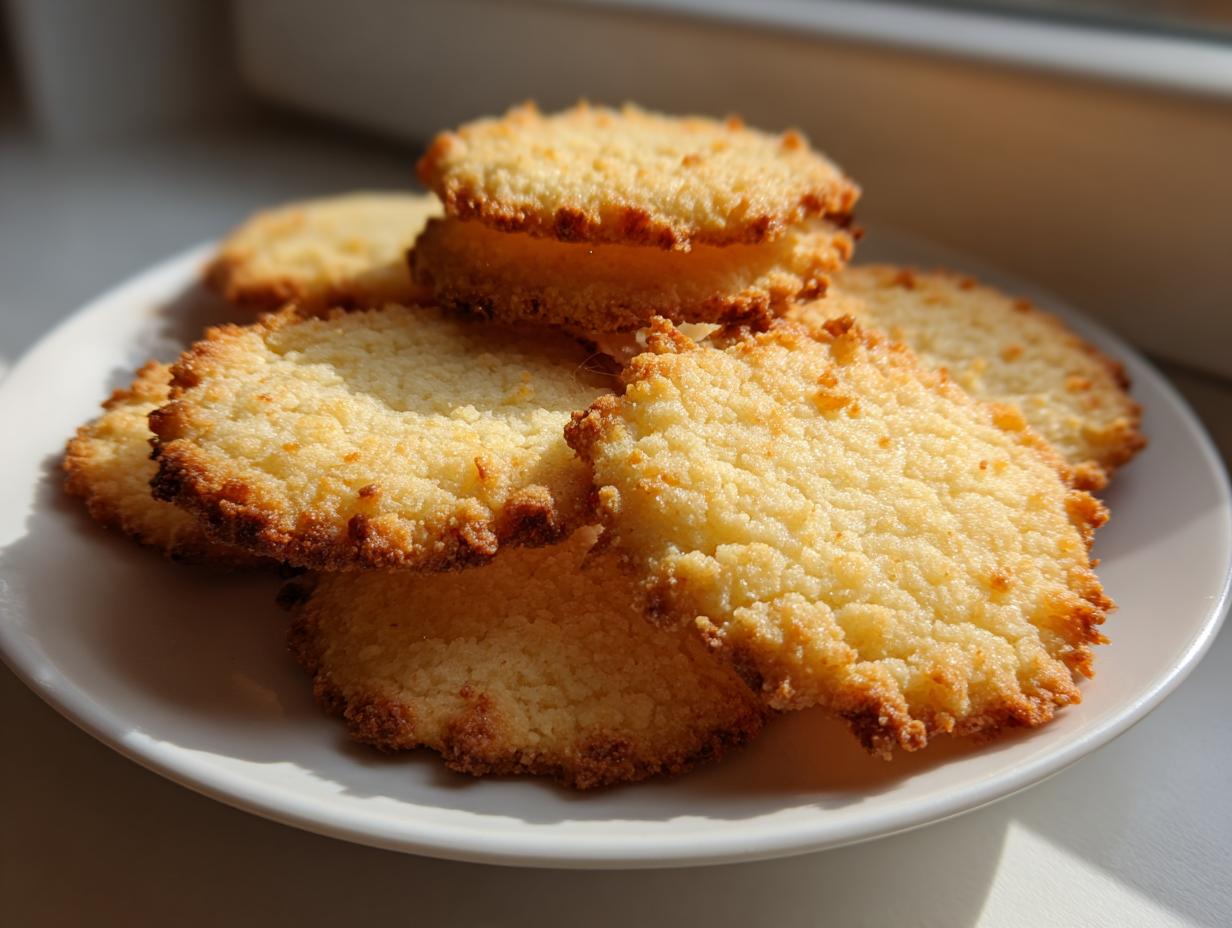
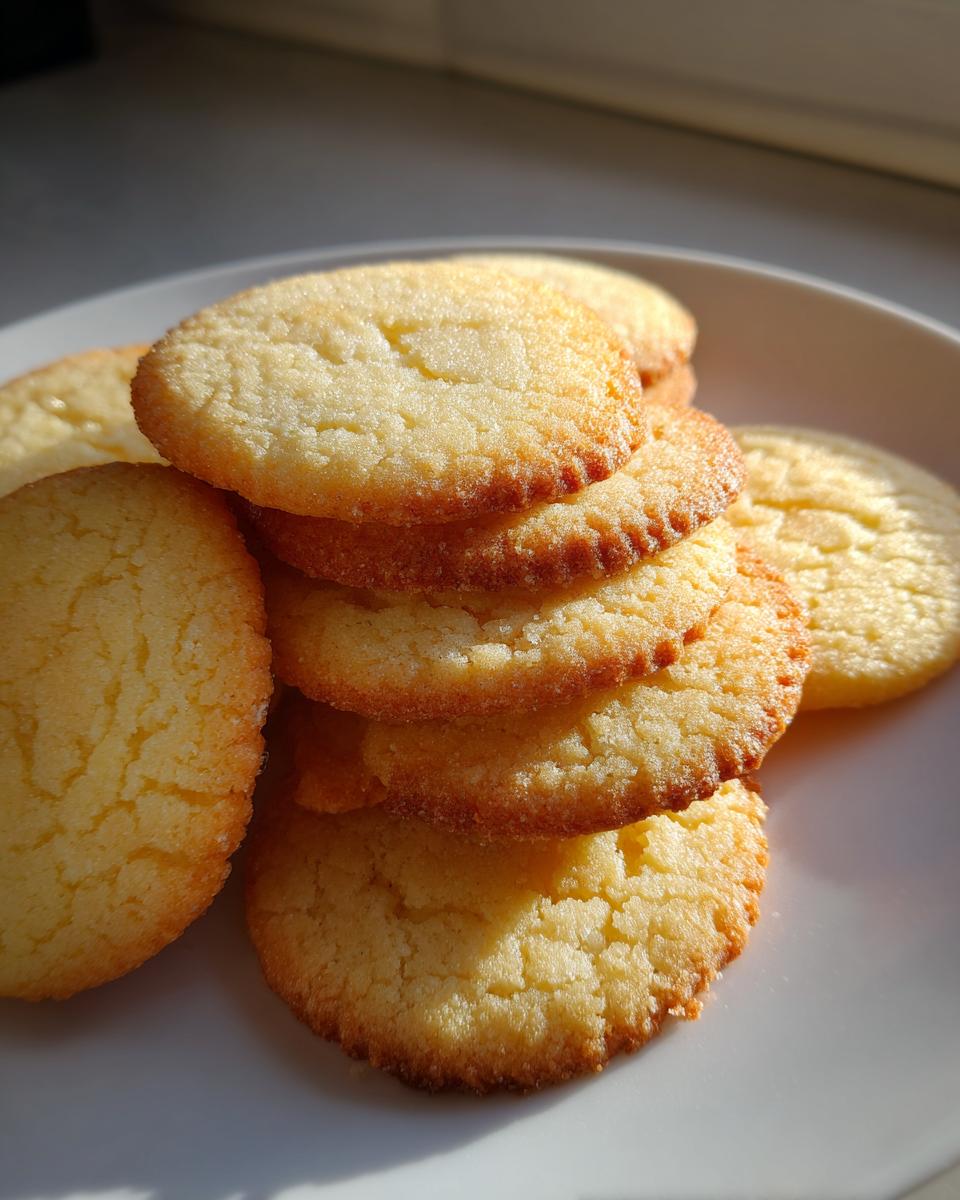
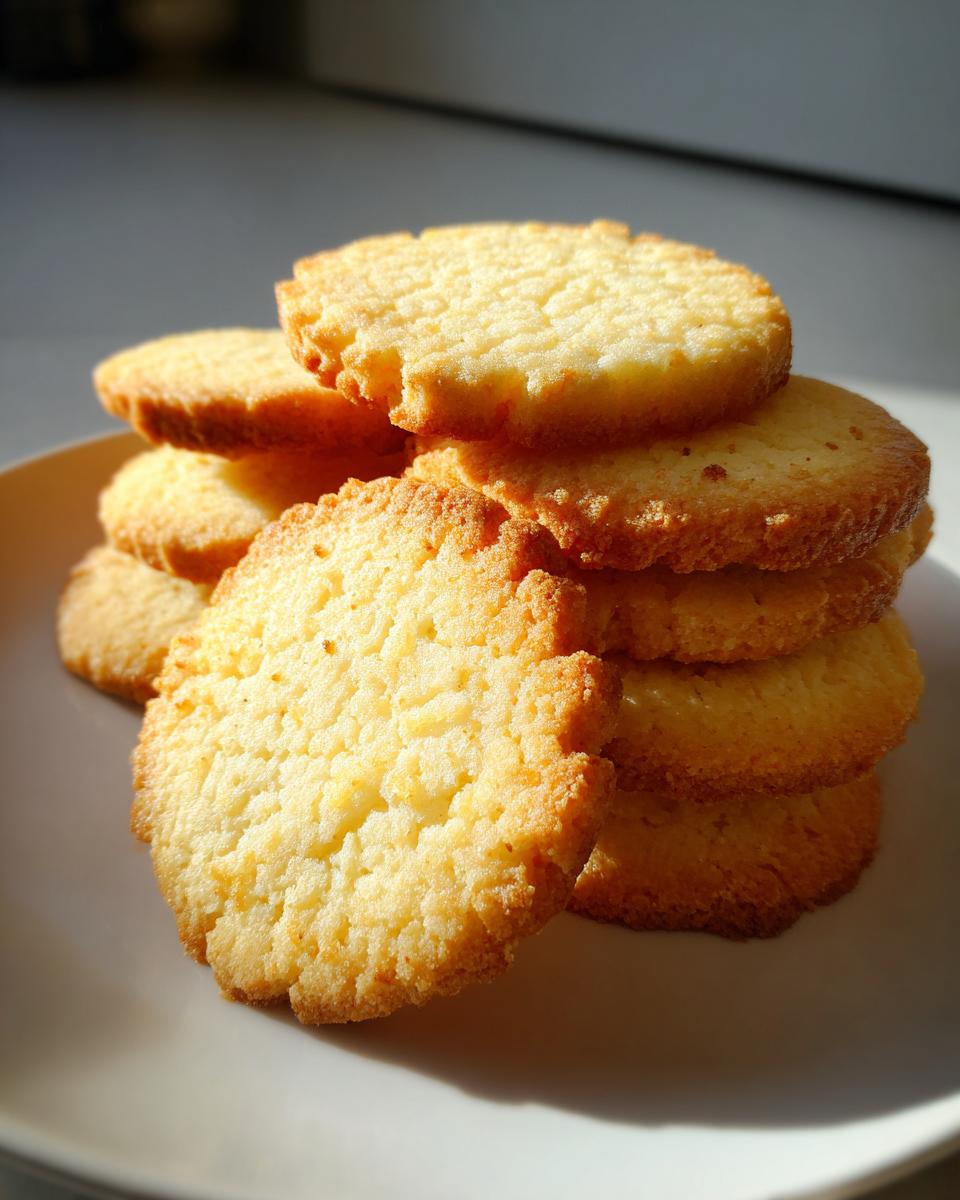
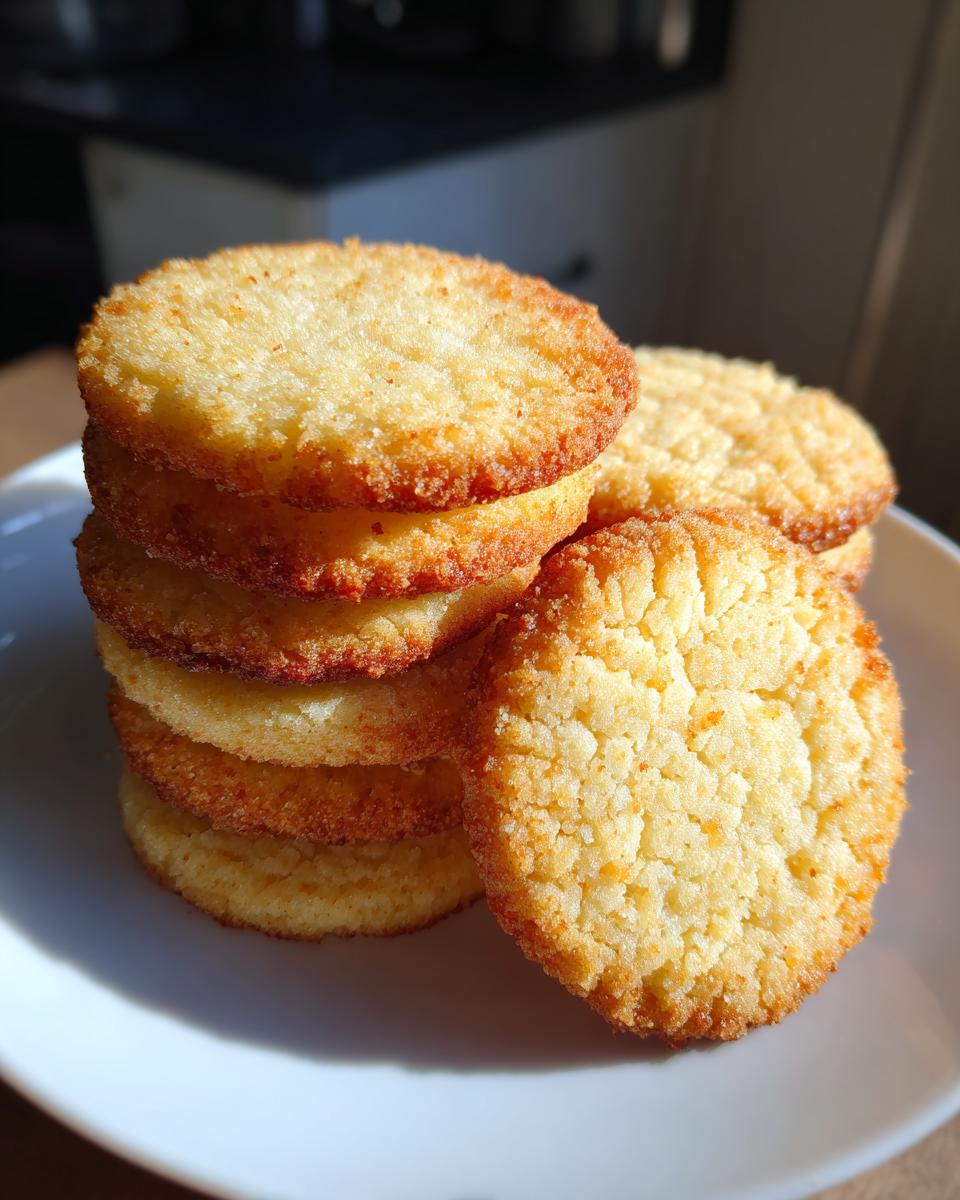
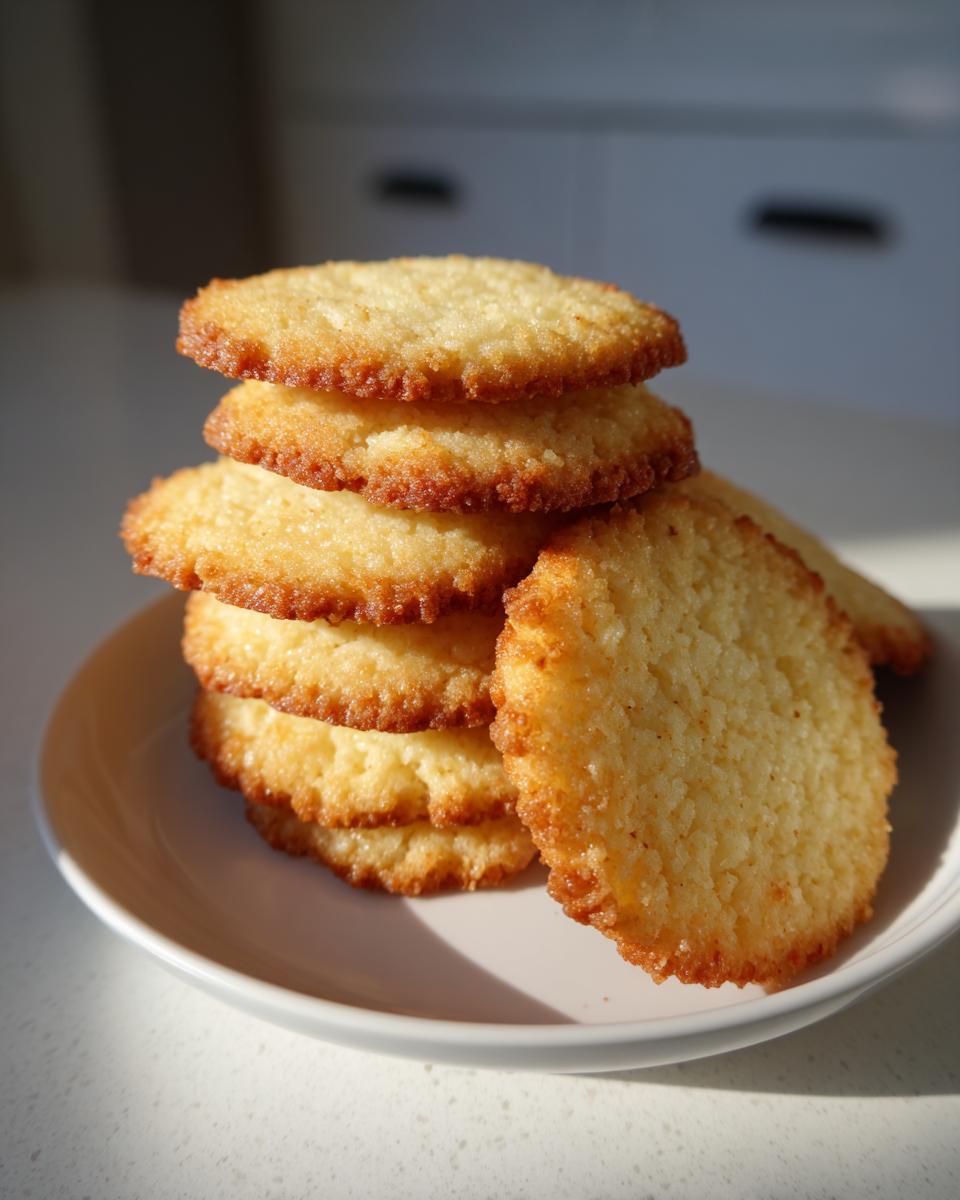
Remember those beautiful blue tins of cookies we always hoped to get during the holidays? That delicate, buttery taste is pure nostalgia, isn’t it? Well, I have cracked the code for you! I’m sharing my ultimate, easy recipe for these melt in your mouth butter cookies that taste exactly like the classic Danish ones. As a mom who always juggled a busy schedule, I learned that the best baking isn’t complicated; it’s about reliability and heart. These simple butter cookies use basic pantry ingredients and deliver that rich, buttery flavor you dream about.
- Why These Are the Best Butter Cookies You Will Ever Make
- Gathering Your Basic Pantry Ingredients for Classic Butter Cookies
- Step-by-Step Instructions for Perfect Butter Cookies
- Variations: Making Chocolate Dipped Butter Cookies for the Holidays
- Tips for Success with Your Easy Butter Cookie Recipe
- Storing and Keeping Soft Buttery Cookies Fresh
- Frequently Asked Questions About Butter Cookies
- Estimated Nutritional Value for Classic Butter Cookies
- Share Your Best Homemade Butter Cookies Creations
Why These Are the Best Butter Cookies You Will Ever Make
I want you to know exactly why these are the cookies you’ll keep coming back to. They are famous in our house because they are foolproof, which is perfect if you’re new to baking or just need something fast for a last-minute treat. We aren’t sacrificing quality for speed, though! These deliver that genuine, rich buttery flavor.
- They have that incredible texture—truly the best melt in your mouth cookies you’ll find!
- You get to choose: pipe them like the beautiful Danish butter cookies, or just scoop them out for speed.
- Simple cookie recipes should still taste luxurious, and darling, these absolutely do.
Trust me, once you master this straightforward method, you’ll see why it belongs in your collection of best homemade desserts. No more dry, crumbly cookies for us!
Achieving That Perfect Melt in Your Mouth Cookies Texture
The secret to that wonderful, tender crumb isn’t magic; it’s science, sweetie! It all comes down to two things: the quality of your butter and how long you cream it with the sugar. When you beat the softened butter and sugar together until they are light and fluffy, you are whipping air right into the dough. These tiny air pockets are what create that unbelievably light structure!
Gathering Your Basic Pantry Ingredients for Classic Butter Cookies
One of the wonderful things about this recipe is that it truly relies on simple cookie recipes. You probably have almost everything you need sitting in your pantry right now! We aren’t calling for fancy extracts or obscure flours here. We want this to be your go-to when you need a quick, comforting bake. I always keep my ingredients measured out before I even turn the mixer on.
The most important thing you’ll need to focus on preparing is the butter. It needs to be softened—I mean softened, but not soupy or melted. If your butter is too warm, the dough won’t hold its shape, especially if you plan on piping those pretty rosettes. We are aiming for that perfect state where your finger leaves an indent but the butter holds its shape against the side of the bowl.
Ingredient Clarification and Substitutions
For the best flavor control, I insist on using unsalted butter. This lets me control exactly how much salt hits the dough—and for these buttery treats, a little salt balances the sweetness beautifully. Remember, these rely on basic pantry cookie ingredients, so don’t skimp on the quality of your vanilla!
Now, about the egg yolk. That yolk is essential because it adds richness and helps bind the dough without adding too much extra liquid, which would make them spread. If you are desperately craving cookies and realize you’re out of one yolk, you can sometimes compensate by adding about a teaspoon of heavy cream. It won’t be quite the same texture as my absolute favorite, but it usually holds together!
Step-by-Step Instructions for Perfect Butter Cookies
Okay, let’s get mixing! This is where we turn those ingredients into glorious, pipeable gold. Remember, even though these are butter cookies, they take a little patience in the beginning to shine later. Don’t rush the creaming—that’s the foundation! Once you have your light and fluffy base, we move on to incorporating the flour slowly. I always tell everyone that if you dump the flour in all at once, you might end up with a gritty texture instead of that smooth dough we want.
Once the dough comes together, we need to decide: are we piping or scooping? Both work beautifully, but the technique changes slightly. I find that a stand mixer with the paddle attachment is easiest for this step, but honestly, a sturdy hand can manage it too. The key for any great cookie is to make sure the chilling happens! Don’t skip that step, or we’ll end up with flat puddles instead of beautiful shapes. The process feels a lot like making my famous pumpkin bread, where adding ingredients slowly keeps everything working together perfectly. Make sure you check out my tips for that easy, moist pumpkin bread recipe for more low-stress mixing advice!
Preparing the Pipeable Cookie Dough
If you are aiming for those gorgeous, classic shapes you see in the Danish butter cookie recipe, you’ll want a piping bag fitted with a French star tip. Transfer all your dough carefully into the bag. Pipe small rosettes onto your parchment-lined sheet—keep them about two inches apart because they will expand just a little bit! If the dough feels too sticky when you try to pipe, pop it in the fridge for ten minutes to firm up before trying again.
Baking and Cooling Your Homemade Butter Cookies
Preheat that oven to 350°F (175°C). Don’t rely on guesswork here; a consistent temperature is crucial for even baking on these richer cookies. While they bake, keep an eye out: we are looking for edges that just start to turn a pale, gentle gold. This usually takes about 12 to 14 minutes. When they come out, let your homemade butter cookies rest on the hot pan for about five minutes. This lets those slightly soft centers set up before you risk breaking them by moving them to the cooling rack. Rushing this cooling step is the fastest way to ruin a beautiful batch!
Variations: Making Chocolate Dipped Butter Cookies for the Holidays
Now remember how I mentioned that these butter cookies taste great plain? Well, when the holidays roll around, adding that bit of chocolate elevates them straight to fancy status! Making chocolate dipped butter cookies is my oldest holiday baking trick because it feels special without adding any extra steps to the dough prep. This is a fantastic way to use up any leftover cookies too.
You want to melt your semi-sweet chocolate gently. I usually use the microwave, giving it short 30-second bursts and stirring well in between. Watch it closely because chocolate scorches faster than you can blink! If you prefer the double boiler method, that works perfectly too. Dip maybe halfway up the cookie—don’t go all the way! Then, immediately—and I mean right away—sprinkle some colorful coarse sugar or festive sprinkles on that wet chocolate. Place them on parchment paper and leave them somewhere cool, like a pantry shelf, until the chocolate is completely set up. For more ideas on adding rich flavor to your holiday bakes, check out my recipe for oatmeal raisin brown butter cookies.
If these aren’t the prettiest Christmas butter cookies for your tray, I don’t know what is! If you want to see a beautiful finished product, check out how they do it over at Classic Chocolate Dipped Butter Cookies. It gives you a great visual!
Tips for Success with Your Easy Butter Cookie Recipe
Even though this is an easy butter cookie recipe, I always have a few little secrets tucked away to make sure you get perfect results every time. Think of these as little nudges from my kitchen to yours! First, let’s talk troubleshooting.
If your dough feels too soft or squishy when you try to pipe or scoop it—which usually means your kitchen is naturally warm—don’t panic! Don’t add extra flour! Just wrap the whole bowl up and stick it in the fridge for an extra 20 minutes, or until you can handle it easily. Adding flour mid-mix destroys that perfect creamy texture we worked so hard to create.
Second, the chilling step is non-negotiable, truly! Chilling isn’t just about holding the shape; it lets the flour hydrate fully, which helps prevent those cookies from crumbling when you pick them up. For storage, these keep wonderfully. Pop them into an airtight cookie tin, and they’ll stay lovely and fresh for nearly a week. They are definitely one of my favorite cookie icing recipes for when I want a slightly fancier presentation, but honestly, plain they are perfection!
Storing and Keeping Soft Buttery Cookies Fresh
These butter cookies are wonderful because they keep so well! We want to hold onto that soft buttery cookies texture for as long as possible, right? The secret is air—or rather, keeping the air OUT. Once they are completely cool, stack them gently in a sturdy, airtight cookie tin. You don’t need to put them in the fridge at all; room temperature storage works perfectly fine for up to a week.
If you’re making a big batch for the holidays, these are definitely some of the best cookie tin recipes available. The richness of the butter helps preserve them beautifully, keeping them tender even days later. Just make sure that tin has a tight lid!
Frequently Asked Questions About Butter Cookies
I know when you try a new recipe, especially one that promises the world’s best homemade butter cookies, you end up with a few nagging questions! That’s totally normal, especially when you’re getting comfortable with something new. Don’t worry, I’ve gathered the questions I always get from folks learning the ropes of beginner cookie baking.
Can I use this dough for cutout cookies?
That’s a tricky one! Because this recipe is specifically formulated for that soft, pipeable consistency—which tends to have a higher fat content—it’s not ideal for traditional cutout cookies right out of the bag. If you tried to use it as a chilled dough for rolling and cutting shapes, it might get a little floppy on you. If you’re determined to try it, you’ll definitely need to roll it out between two sheets of parchment paper and chill it for a full hour, maybe even longer! If you are struggling with dough consistency, go peek at my general guide on beginner cookie baking; sometimes a tiny, tiny sprinkle of extra flour helps!
What makes these different from buttery shortbread cookies?
Oh, that’s a great bakery question! Both are perfectly buttery, of course, but traditional shortbread is super simple: flour, butter, and sugar, usually with a 3-to-2-to-1 ratio. They are very dense and crumbly, relying only on fat for their texture. My recipe for these classic butter cookies differs because we use an egg yolk and a touch of baking powder, which acts as a slight leavener. That small addition is what gives you that wonderful “melt in your mouth cookies” feeling rather than the hard snap of a pure shortbread. It also allows us to pipe them, which you absolutely cannot do safely with a shortbread dough!
Estimated Nutritional Value for Classic Butter Cookies
I always like to give you an idea of what you’re whipping up, but please remember, this is just an estimate! Since every oven runs a little differently, and how much chocolate you dip matters, these numbers are based strictly on the recipe yielding about 3 dozen cookies. Keep this in mind when you’re serving up these wonderful rich buttery desserts.
Here is the breakdown for one serving (one medium-sized cookie, plain):
- Calories: Approx. 110
- Fat: Approx. 7g
- Carbohydrates: Approx. 11g
- Protein: Approx. 1g
It’s a straightforward bake, relying on those basic pantry cookie ingredients we talked about! Enjoy them knowing they are a simple pleasure from my kitchen to yours.
Share Your Best Homemade Butter Cookies Creations
I truly hope you adore rolling out and piping these simple butter cookies as much as I do! If you made a batch (whether you went for the chocolate dipped look or kept them classic), please let me know how they turned out. It means the world to me when you rate the recipe with 5 stars down below! Tell me in the comments—do you eat them plain, drizzle them with extra chocolate, or maybe pair them with a lovely cup of coffee? I can’t wait to see what you bake! If you need a different flavor profile next time, check out my easy banana bread recipe for a change of pace!
PrintClassic Melt-in-Your-Mouth Butter Cookies (Pipeable or Scoopable)
Make rich, buttery cookies that taste just like the ones from the blue tin. This easy recipe uses basic pantry ingredients and works well for piping or scooping, making it perfect for beginners and holiday baking.
- Prep Time: 20 min
- Cook Time: 14 min
- Total Time: 54 min
- Yield: About 3 dozen cookies 1x
- Category: Dessert
- Method: Baking
- Cuisine: American
- Diet: Vegetarian
Ingredients
- 1 cup (2 sticks) unsalted butter, softened
- 1/2 cup granulated sugar
- 1 large egg yolk
- 1 teaspoon vanilla extract
- 2 1/2 cups all-purpose flour
- 1/4 teaspoon salt
- Optional: 4 ounces semi-sweet chocolate, melted (for dipping)
- Optional: Sprinkles or coarse sugar (for topping)
Instructions
- In a large bowl, cream the softened butter and granulated sugar together with an electric mixer until light and fluffy. This takes about 3 minutes.
- Beat in the egg yolk and vanilla extract until just combined. Scrape down the sides of the bowl as needed.
- In a separate bowl, whisk together the flour and salt. Gradually add the dry ingredients to the wet ingredients, mixing on low speed until a soft dough forms. Do not overmix.
- For pipeable dough (like Danish butter cookies): Transfer the dough to a piping bag fitted with a large star tip. Pipe small rosettes or strips onto baking sheets lined with parchment paper.
- For scoopable dough: Use a small cookie scoop or roll the dough into 1-inch balls and place them on parchment-lined baking sheets. Gently press down on the tops with the bottom of a glass.
- Chill the shaped cookies in the refrigerator for at least 30 minutes. This step helps the cookies hold their shape during baking.
- Preheat your oven to 350°F (175°C).
- Bake the chilled cookies for 10 to 14 minutes, or until the edges are lightly golden brown. The centers should still look pale.
- Let the cookies cool on the baking sheet for 5 minutes before transferring them to a wire rack to cool completely.
- If dipping in chocolate, melt the chocolate according to package directions. Dip half of each cooled cookie into the chocolate and immediately top with sprinkles or coarse sugar, if using. Let the chocolate set completely before serving or storing.
Notes
- For the best melt-in-your-mouth texture, use room temperature butter that is soft but not melted.
- If you want to make chocolate dipped butter cookies for Christmas, prepare the chocolate dipping step after the cookies are completely cool.
- These homemade butter cookies store well in an airtight cookie tin for up to one week.
Nutrition
- Serving Size: 1 cookie
- Calories: 110
- Sugar: 6
- Sodium: 45
- Fat: 7
- Saturated Fat: 4
- Unsaturated Fat: 3
- Trans Fat: 0
- Carbohydrates: 11
- Fiber: 0
- Protein: 1
- Cholesterol: 25