
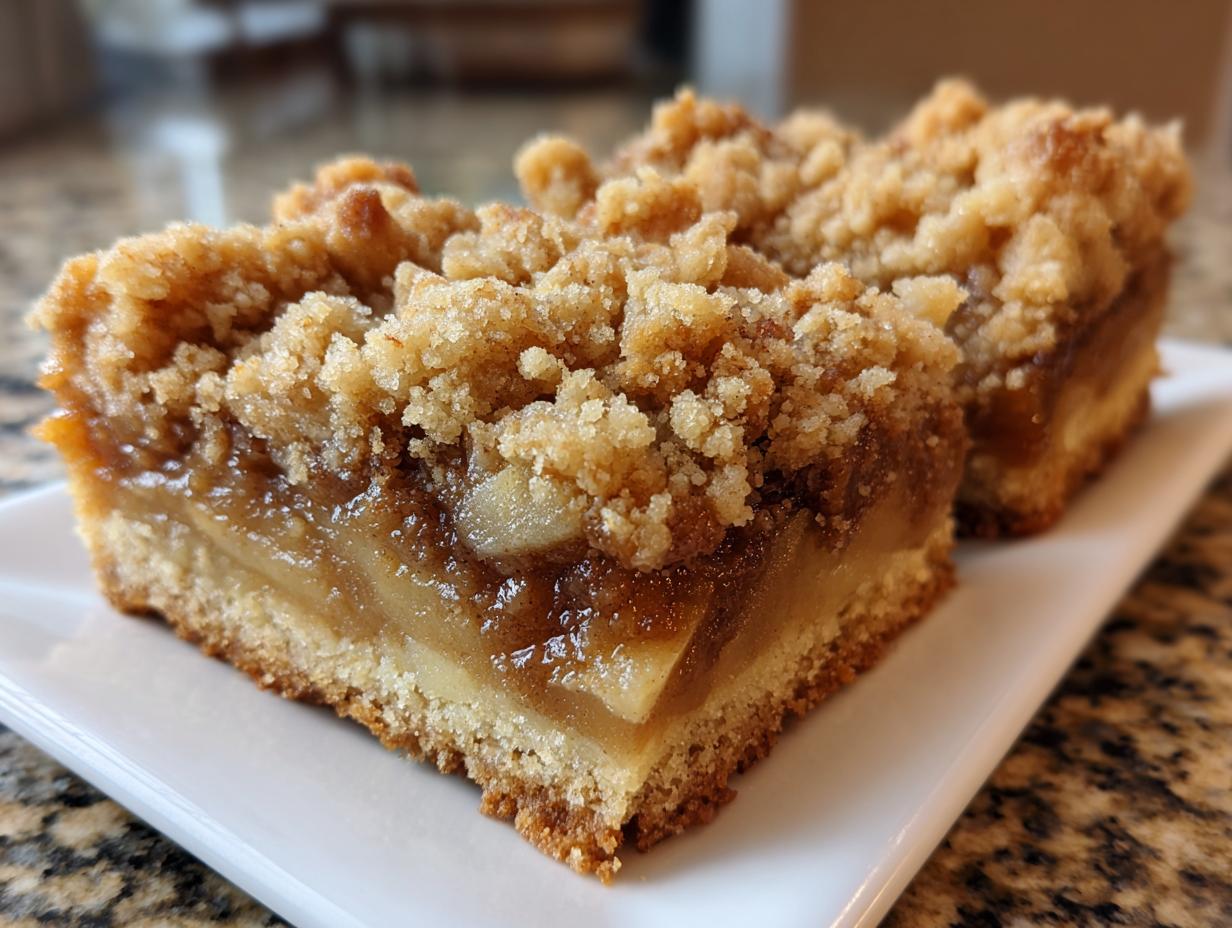
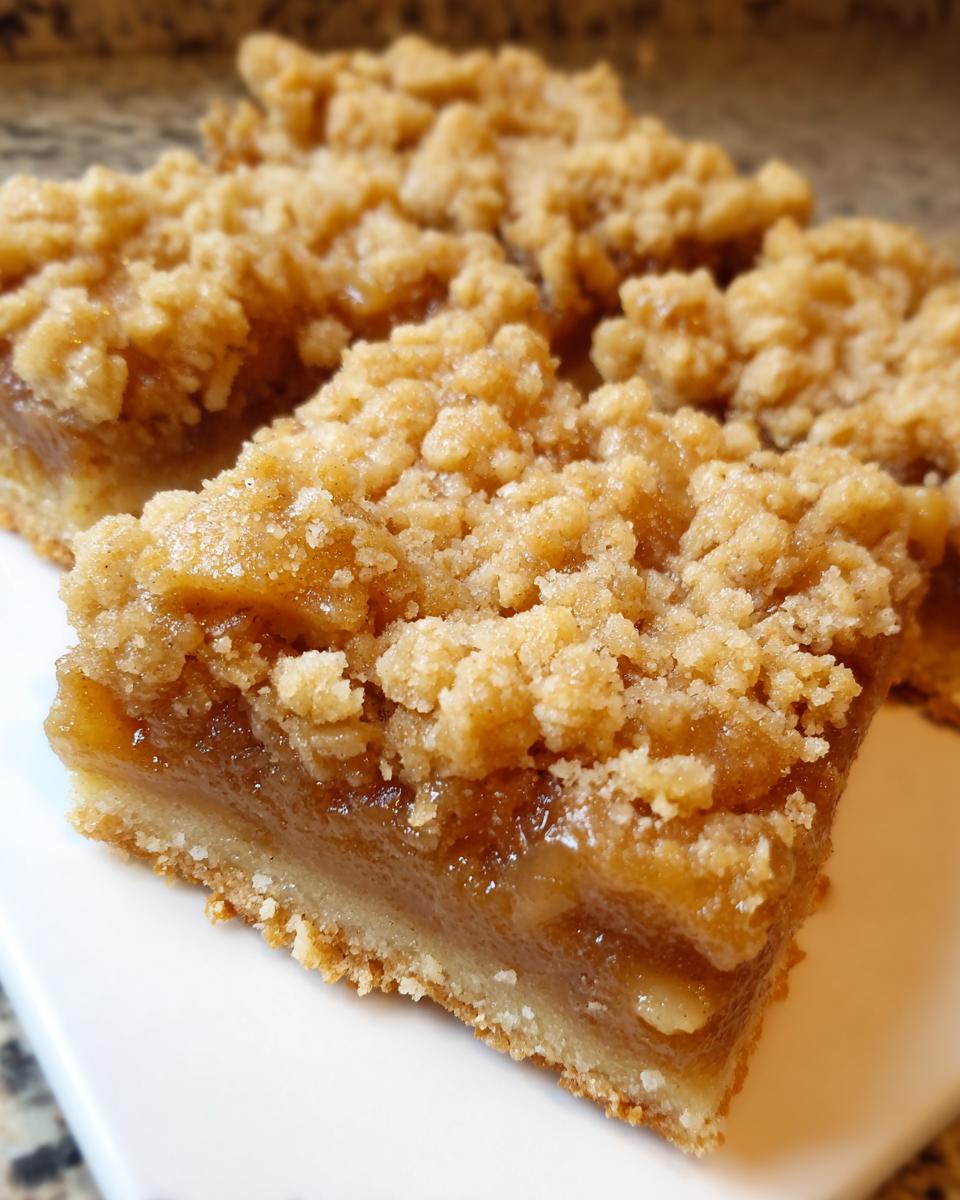
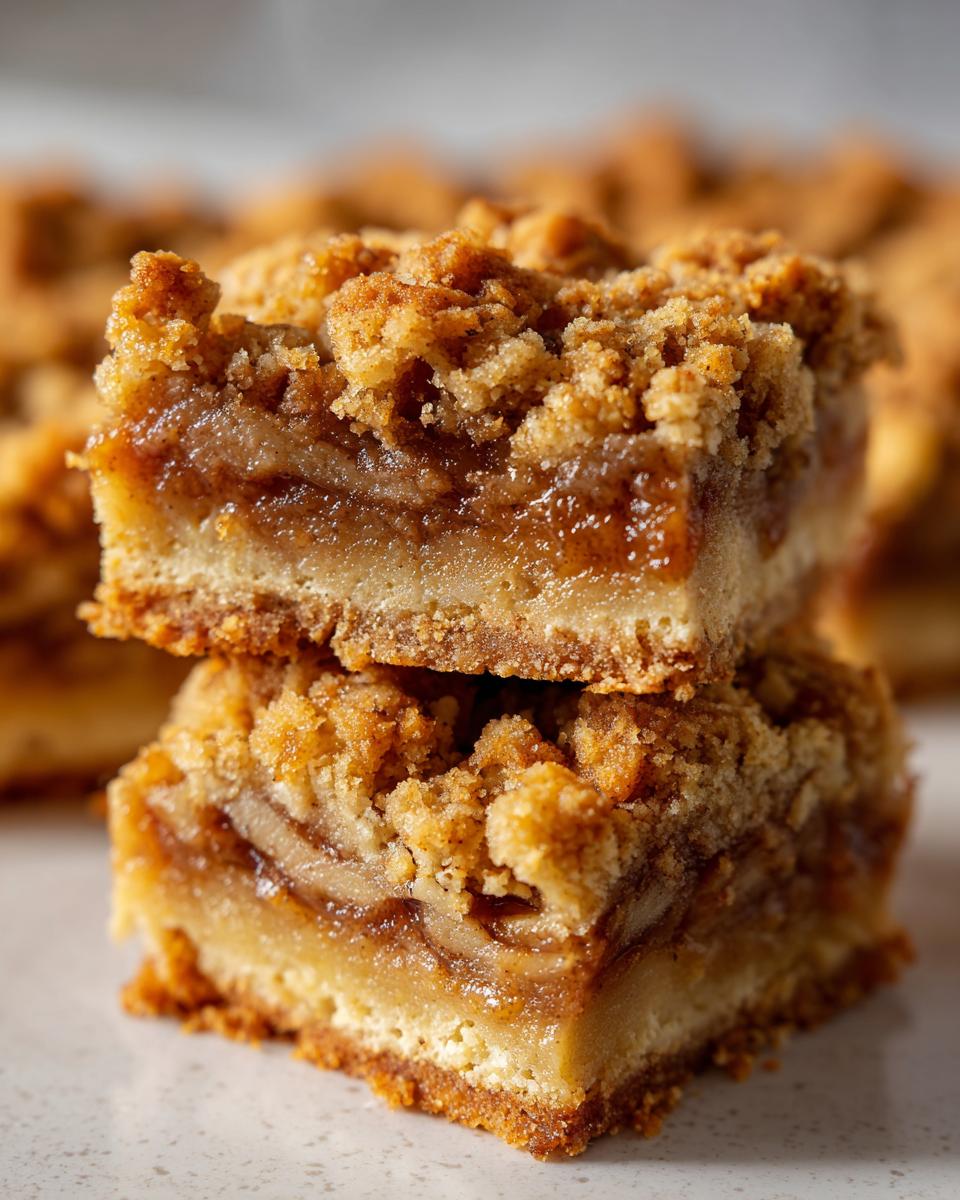
Oh, friends, do I have a treat for you today that skips all the fuss of rolling out pie dough but delivers that same incredible, cozy flavor! If you adore the combination of warm cinnamon apples nestled under a buttery, crumbly topping, then you’ve found your new favorite recipe. We are making the Ultimate Sheet Pan apple pie bars, crowned with a classic streusel. As a former teacher and now a busy kitchen manager for my own family, believe me when I say this recipe was perfected during those chaotic weeknights. It’s my promise to you: reliable, straightforward, and absolutely delicious comfort food every single time. If you are looking for more fantastic baked goods, check out my guide to the best homemade desserts!
- Why These Apple Pie Bars Are Better Than a Traditional Pie (Rosa’s Expert View)
- Ingredients for the Best Apple Pie Bars Recipe
- How to Make Apple Pie Bars Step-by-Step
- Tips for Success Making Incredibly Easy Apple Bars
- Variations: Customizing Your Cinnamon Apple Bars
- Storage and Reheating for Your Fall Baked Treats
- Frequently Asked Questions About Apple Dessert Bars
- Nutritional Estimate for One Serving of Apple Pie Bars
- Share Your Perfect Apple Pie Bars Experience
Why These Apple Pie Bars Are Better Than a Traditional Pie (Rosa’s Expert View)
Honestly, when the fall weather hits, I want that classic apple pie taste, but I do *not* want to deal with a crimped edge or slicing a wobbly dessert onto someone’s paper plate. That’s why these easy apple pie bars became a permanent fixture in our rotation. They are the ultimate portable apple snacks for school events or picnics!
My girls call them “no-fuss pie.” I remember trying to serve a traditional pie at my nephew’s soccer banquet last year—it was a disaster; everything slid right off the serving tray! Now? I bake everything in one sheet pan, wait for it to cool, and slice perfect squares. It takes half the effort but delivers 100% of the comfort. If you’re looking for other quick food fixes, you should see my easy freezer jam recipe!
Achieving That Perfect Buttery Crust Texture
The real magic here is the crust—it’s everything! We aren’t aiming for a delicate, thin pie shell; we are going for something sturdy, crumbly, and deeply satisfying. These truly are buttery apple pie bars because that cold butter, cut into the flour mixture, creates those lovely flaky layers, even beneath the sweet apples. It’s all about getting that perfect melt-in-your-mouth texture against the spiced filling, which is hard to achieve without the structure of a bar shape.
Ingredients for the Best Apple Pie Bars Recipe
Getting these apple pie bars right starts right here in the ingredient list. You don’t need any fancy extras, just good quality components treated the right way. I always put these ingredients on my list when I plan my weekly shop for baking recipes with apples. It’s important to follow the measurements closely here because the balance between the crust ingredients and the fruit is what sets these apart from just any apple dessert bars.
For the Buttery Apple Pie Bars Crust and Crumble
Remember that butter needs to be truly cold—I mean, rock hard! This makes all the difference when you are cutting it into the flour mixture. If it’s even slightly soft, you just won’t get that beautiful, independent crumble texture we are aiming for.
- 2 1/2 cups all-purpose flour
- 1 teaspoon salt
- 1 cup (2 sticks) cold unsalted butter, cut into cubes
- 1 cup granulated sugar
- 1/2 cup packed light brown sugar
- 1 large egg
For the Spiced Apple Filling
When it comes to the apples, Granny Smith is my go-to because they hold their shape well and give you that beautiful tartness to cut through the sweetness of the crust and brown sugar. But if I have Honeycrisp on hand, I’ll mix them in too! Thin slicing is key here so they soften nicely during baking.
- 6 medium apples (like Granny Smith or Honeycrisp), peeled, cored, and thinly sliced
- 1/2 cup granulated sugar
- 1/4 cup packed light brown sugar
- 2 tablespoons all-purpose flour
- 1 teaspoon ground cinnamon
- 1/4 teaspoon ground nutmeg
- 1 tablespoon lemon juice
How to Make Apple Pie Bars Step-by-Step
Alright, this is the fun part! Making these apple pie bars is truly satisfying because you build them in layers, just like a fancy dessert, but without any of the finicky pastry work. We are going to mix the base, pre-bake it lightly, layer on the spiced apples, and top it all with that glorious reserved crumble. Trust me, watching this bake up in the sheet pan is way better than wrestling with a pie crust.
Prepping the Pan and Oven for Your Apple Pie Bars
First things first, let’s get our workspace ready. Preheat your oven up to 375 degrees F. This hits that sweet spot where the crust gets golden but the apples have time to soften perfectly. Next, grab your 9×13 baking pan. You absolutely must line it with parchment paper, but here’s my trick: leave a good overhang on the long sides. This acts like little handles so you can easily lift the cooled bars right out of the pan later. Give that parchment a light little grease so nothing sticks, not even a crumb!
Creating the Crust and Separating the Streusel Topping
Now we move to the dry stuff for the crust and topping. Whisk together your flour, salt, both sugars in a big bowl. Then, it’s cold butter time. You need to cut that butter right into the mixture. I use a pastry blender, but honestly, if you pinch it in with your fingers really fast, that works too! You are aiming for a coarse crumb—like little peas floating around. Once it looks like that, measure out 2 cups of that mixture right into a separate bowl. This is crucial for making great apple streusel bars!
Take the remaining dough mix that is left in the large bowl and add that egg now. Mix it until it just clumps together into a shaggy dough. Don’t beat it! We want that tender texture, so we stop mixing the second it forms a cohesive, albeit rough, ball.
Baking the Base and Preparing the Apple Filling
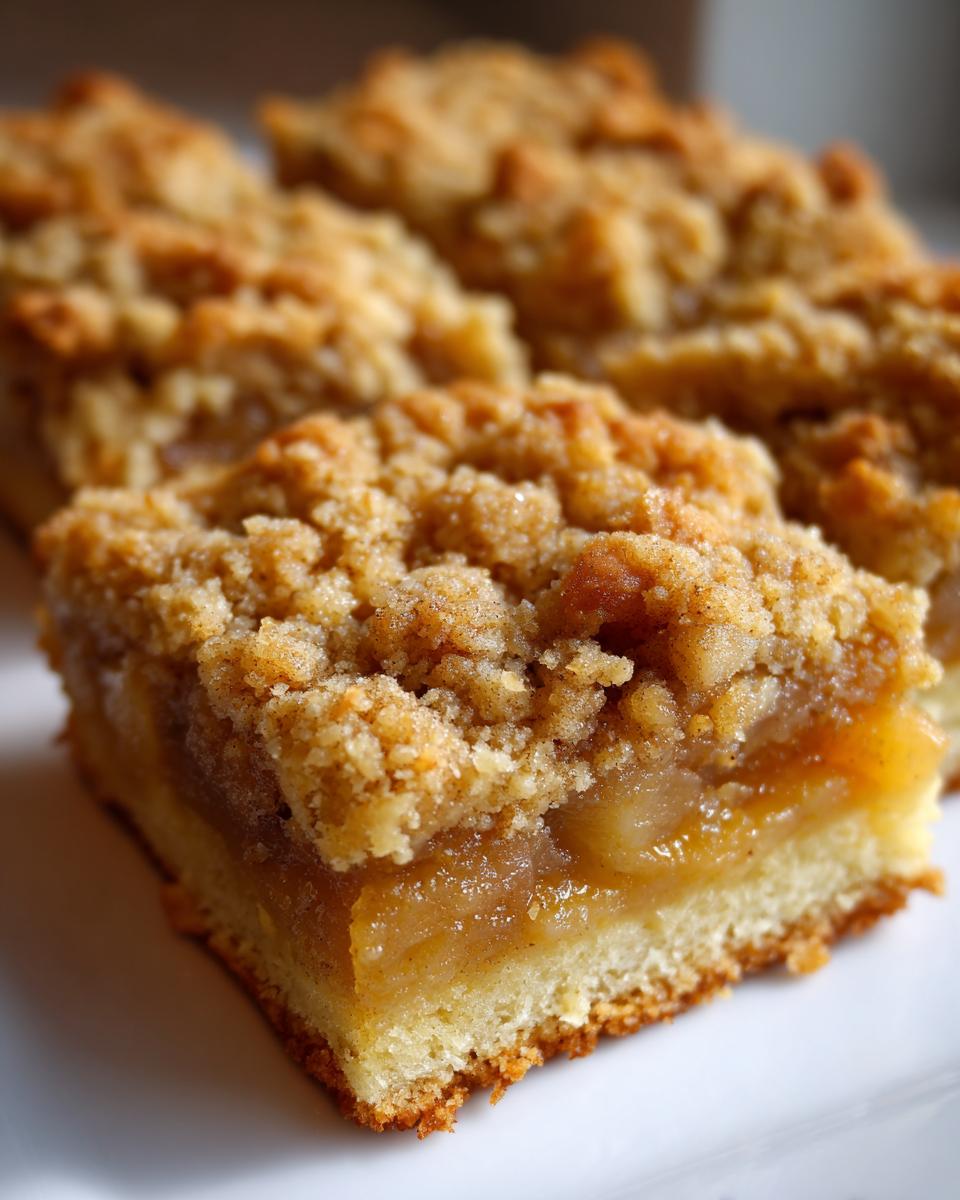
Take this bottom dough and press it firmly and evenly into the bottom of that prepared 9×13 pan. This is your foundation! Pop it into the 375°F oven for exactly 15 minutes until you see the edges just starting to turn a pale gold color. While that crust is setting up, you mix your filling. Toss those thinly sliced apples with the remaining sugars, flour, cinnamon, nutmeg, and lemon juice until every slice is happy and coated. This blend is what guarantees the wonderful flavor in your apple pie bars.
Assembly and Final Bake for Perfect Apple Pie Squares
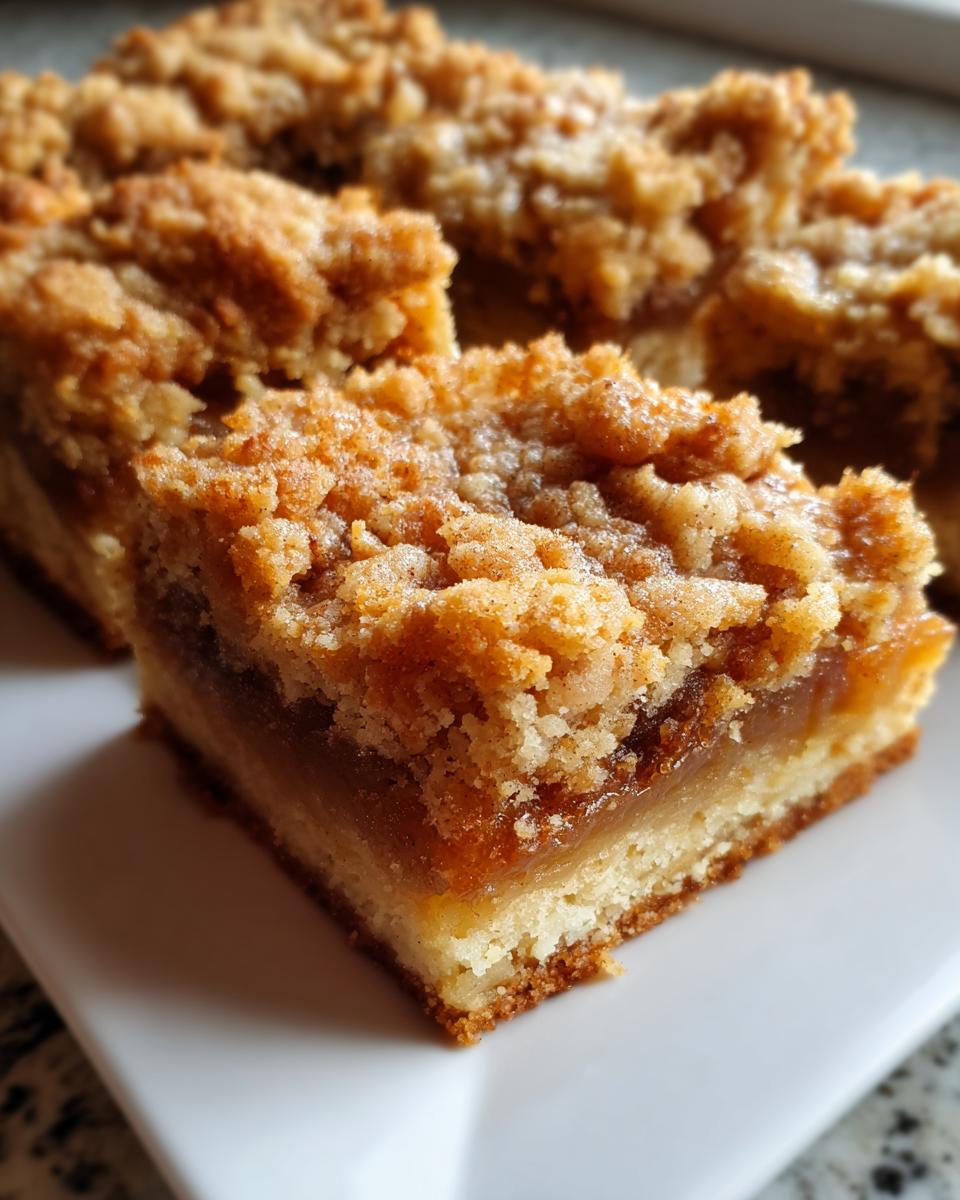
Once the crust has its initial 15-minute head start, pull it out carefully. Spread that spiced apple filling evenly right over the partially baked crust. Now, take that reserved 2 cups of crumb mixture—your streusel—and gently sprinkle it all over the apples. Don’t press it down! Let it stay loose and crumbly. Bake the pan again for about 40 to 45 minutes. You’ll know it’s done when the topping looks beautifully golden brown and you see the apple filling bubbling up happily around the edges. Here is a link to a similar recipe that does a great job on the streusel, too: apple pie bars. But trust me, ours is better!
This next step is the hardest part of the entire process, but you must follow it for beautiful apple pie squares: Pull the pan out and let it cool completely on a wire rack. If you try to slice them warm, they will just fall apart! Be patient; they set up as they cool, making slicing clean and easy later on. If you need some good spice inspiration for these bars, you might enjoy my recipe for cinnamon sugar french toast muffins!
Tips for Success Making Incredibly Easy Apple Bars
Even with an easy recipe like this, a few little secrets can take your apple pie bars from great to absolutely unforgettable. I always rely on the professional notes I scribbled down years ago to make sure everything sets up perfectly for serving. Remember that little tip about chilling the butter? That’s not just suggestion fluff; it’s vital for getting that flaky crust texture everyone raves about!
The Importance of Cooling Before Slicing Your Apple Pie Bars
This is where most people rush things, and then they end up with a gooey, messy puddle instead of tidy apple pie squares! You absolutely must let these cool completely on the wire rack. Seriously, wait until they are barely warm or even room temperature. As they cool, the starches in the crust and the cooked-down apple filling firm up. If you slice them early, the melted butter and setting sugars are still too soft, and you’ll lose all the shape. If you need a great bread recipe for another time, try my guide on easy homemade naan bread!
If you are in a hurry, you can pop the pan into the fridge for about an hour while they firm up. That speeds up the setting process significantly, but they just don’t taste quite as good as when they set naturally on the counter. For more ways people are enjoying these kinds of treats, check out this great inspiration on buttery apple pie bars.
Variations: Customizing Your Cinnamon Apple Bars
While I stand by the classic look of our apple streusel bars, these are so versatile! Once you have that perfect, sturdy base, you can really play around with the flavors. If you want a little something extra crunchy, toss in about half a cup of chopped pecans or walnuts with the apple filling—they toast up so nicely in the oven. For a richer, deeper flavor profile, you could look into making caramel apple pie bars by drizzling a homemade salted caramel sauce right over the apples before the crumble goes on; you can find some inspiration for that sort of depth over at Sally’s site for salted caramel apple pie bars.
If you prefer a sweeter, shinier finish instead of the rustic streusel, you can skip adding the reserved crumb mixture and instead make a simple glaze. To get those beautiful glazed apple pie bars, just whisk together about 1 cup of powdered sugar with two tablespoons of milk and a splash of vanilla until it’s totally smooth. Drizzle that over the bars once they are completely cool. It makes them look so polished! If you try out different fruit fillings, like my pumpkin cheesecake bars, you’ll see how easy it is to just swap things out in this base recipe format.
Storage and Reheating for Your Fall Baked Treats
Because these are structured as sturdy, portable apple snacks, they are great for keeping around the house. Store your cooled apple pie bars in an airtight container at room temperature for up to three days. Honestly, they disappear faster than that around here! If you absolutely must keep them longer—say, for up to a week—the fridge works, but make sure they are tightly sealed so they don’t absorb any funny smells.
If you want that fresh-out-of-the-oven experience again, just microwave a square for about 10 to 15 seconds. That melts the butter back in the crust and softens the filling just right. It’s a perfect little reheat trick! For more pantry staple recipes, check out my post on easy freezer jam recipe for later this summer.
Frequently Asked Questions About Apple Dessert Bars
I always get so many questions about these bars, especially the first time people try them. It makes perfect sense! Baking can be tricky, and you want to make sure you get that wonderful classic taste without any guesswork. It’s great that you’re digging into the details before you start mixing everything up. If you’re looking for quick meal solutions outside of dessert, my guide to weeknight dinner ideas might give you some inspiration!
Can I substitute the butter for oil in these apple pie bars?
Oh, dear, please don’t! I know oil seems like an easy shortcut sometimes, but for this recipe, the butter is non-negotiable if you want the real deal. Remember how we talked about that beautiful, flaky, slightly sandy texture? That comes directly from cutting in that cold butter. If you swap it for oil, you’ll end up with something much more akin to a moist cake, and you’ll lose that signature shortbread quality that makes these apple shortbread bars so special. Stick with the butter for the best results!
What is the best apple to use for apple crumble bars?
This is where you can really play with the overall flavor balance! If you only use super sweet apples, the bars can taste a little one-note and overly sugary. I always recommend a mix. My favorite combination for these apple crumble bars is about two-thirds Granny Smith—because that tartness helps the flavor really pop—and one-third Honeycrisp or Fuji for sweetness and softer texture. As one commenter mentioned over at Yum To Bite, the balance is everything for great apple dessert bars!
If you want to learn more about delicious apple treats, you might want to check out the great tips people share on easy indulgent dessert recipes online!
Nutritional Estimate for One Serving of Apple Pie Bars
Now, I always tell folks that baking for your family is about love first, calories second, right? But if you are counting things out, I wanted to give you a general idea of what’s in one of these delicious squares. Please remember these numbers are just estimates, based on my standard ingredient amounts mentioned above. They change a little depending on the size of your apples!
- Serving Size: 1 bar
- Calories: 310
- Sugar: 25g
- Fat: 16g
- Carbohydrates: 40g
- Protein: 3g
It’s a decent treat, but remember, these apple pie bars are made with real butter and sugar, just like the comforting treats we grew up loving. Enjoy them happily!
Share Your Perfect Apple Pie Bars Experience
And there you have it—the blueprint for our Ultimate Sheet Pan apple pie bars! We’ve gone from raw ingredients to a stunning, sliceable dessert that tastes just like a slice of classic pie without all the heartache. I truly hope you wrap your hands around a warm square soon and take a moment to enjoy that buttery crust and spiced apple filling. I know my kitchen always smells like heaven when these are cooling on the rack!
Now, I would absolutely love to know how these turned out for you and your family. Did you stick to the classic streusel, or did you jazz them up with pecans? Did you manage to let them cool completely before slicing, or did you sneak a warm one? Please, give this recipe a 5-star rating if it brought you some comforting joy, and tell me all about your baking adventure in the comments below. Your feedback helps me keep perfecting these recipes for all of us! If you ever need to reach out with a specific question, don’t hesitate to use my contact page.
Happy baking, everyone!
PrintUltimate Sheet Pan Apple Pie Bars with Classic Streusel Topping
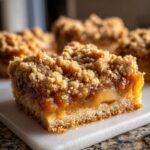
Make the best apple pie bars featuring a buttery crust, spiced apple filling, and a satisfying streusel topping. This recipe delivers classic apple pie flavor in an easy, portable bar format.
- Prep Time: 25 min
- Cook Time: 60 min
- Total Time: 85 min
- Yield: 24 servings 1x
- Category: Dessert
- Method: Baking
- Cuisine: American
- Diet: Vegetarian
Ingredients
- For the Crust/Crumble: 2 1/2 cups all-purpose flour
- 1 teaspoon salt
- 1 cup (2 sticks) cold unsalted butter, cut into cubes
- 1 cup granulated sugar
- 1/2 cup packed light brown sugar
- 1 large egg
- For the Filling: 6 medium apples (like Granny Smith or Honeycrisp), peeled, cored, and thinly sliced
- 1/2 cup granulated sugar
- 1/4 cup packed light brown sugar
- 2 tablespoons all-purpose flour
- 1 teaspoon ground cinnamon
- 1/4 teaspoon ground nutmeg
- 1 tablespoon lemon juice
Instructions
- Preheat your oven to 375 degrees F. Line a 9×13 inch baking pan with parchment paper, leaving an overhang on the sides for easy removal. Lightly grease the paper.
- Prepare the crust and streusel mixture: In a large bowl, whisk together the flour, salt, granulated sugar, and brown sugar for the crust/crumble.
- Cut in the cold butter using a pastry blender or your fingertips until the mixture resembles coarse crumbs.
- Measure out 2 cups of this mixture and set it aside for the topping.
- To the remaining mixture in the bowl, add the egg and mix until the dough just comes together. Do not overmix.
- Press the dough evenly into the bottom of the prepared 9×13 inch pan to form the crust. Bake for 15 minutes until lightly golden.
- While the crust bakes, prepare the apple filling: In a separate bowl, toss the sliced apples with the granulated sugar, brown sugar, flour, cinnamon, nutmeg, and lemon juice until the apples are evenly coated.
- Spread the apple filling evenly over the partially baked crust.
- Sprinkle the reserved 2 cups of crumb mixture evenly over the apples to create the streusel topping.
- Return the pan to the oven and bake for 40 to 45 minutes, or until the topping is golden brown and the apple filling is bubbly.
- Remove the pan from the oven and let the apple pie bars cool completely in the pan on a wire rack before slicing. Cooling fully helps them set for clean cuts.
- Once cool, use the parchment overhang to lift the bars out and cut them into squares.
Notes
- For a flakier crust, chill the butter cubes for at least 15 minutes before mixing.
- If you want a glazed apple pie bars finish, drizzle a simple powdered sugar glaze over the cooled bars.
- Use a mix of tart and sweet apples for the best flavor balance in your apple filling.
Nutrition
- Serving Size: 1 bar
- Calories: 310
- Sugar: 25
- Sodium: 150
- Fat: 16
- Saturated Fat: 10
- Unsaturated Fat: 6
- Trans Fat: 0
- Carbohydrates: 40
- Fiber: 2
- Protein: 3
- Cholesterol: 55