
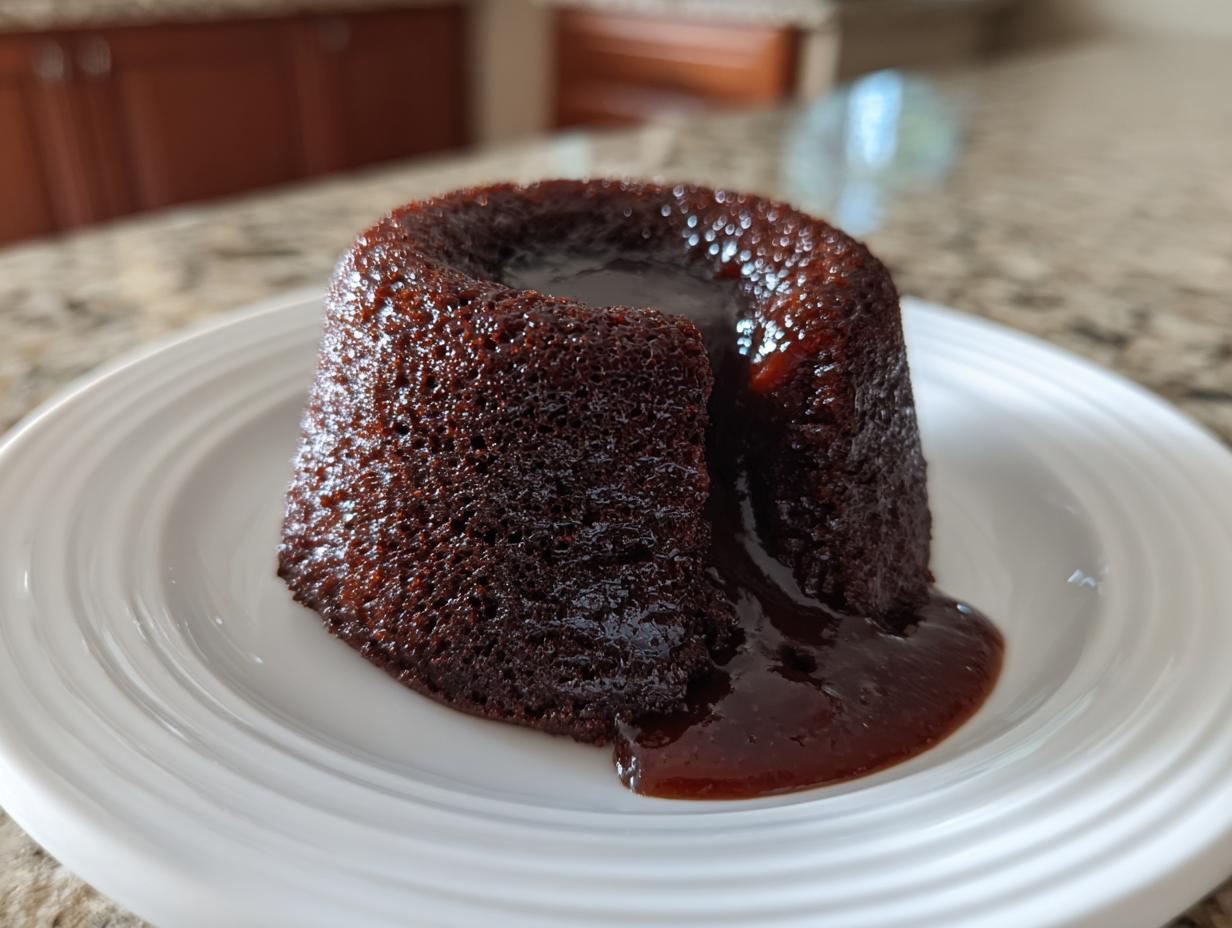
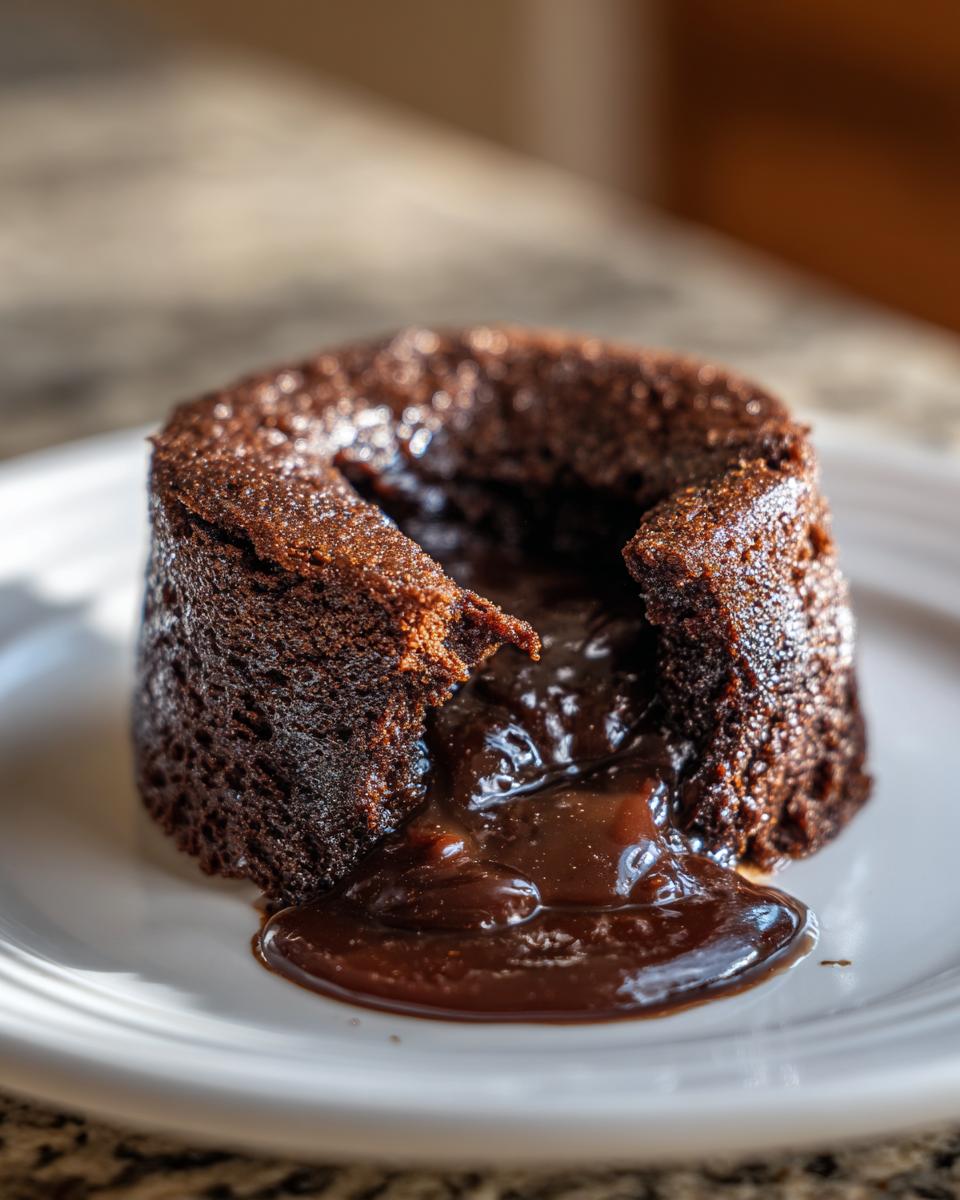
Oh my goodness, if you need a truly show-stopping, last-minute decadent dessert, stop what you’re doing and pay attention. We’re talking about the magic of the chocolate lava cake! I know, it sounds fancy, like something you only order when you’re out, but here at Rosa’s Tasty Kitchen, we change that. My whole mission is proving that complex flavors don’t need complex methods. This recipe is my absolute go-to for date nights or when company drops by unexpectedly. It’s ridiculously easy—seriously, you whip it up faster than ordering takeout—and that gooey, flowing center? It’s the most reliable, rich dark chocolate dessert you’ll ever make in your own kitchen. Trust me, you’re going to nail that signature molten center on your very first try!
- Why This Chocolate Lava Cake Recipe Works Every Time (E-E-A-T)
- Gathering Ingredients for Your Chocolate Lava Cake
- Step-by-Step Instructions for Making Chocolate Lava Cake
- Tips for Success: Mastering the Molten Chocolate Cake Recipe
- Serving Suggestions for Your Gooey Chocolate Dessert
- Storage and Reheating Instructions
- Variations on the Classic Chocolate Lava Cake
- Frequently Asked Questions About Individual Chocolate Cakes
- Nutrition Estimates for This Warm Chocolate Dessert
Why This Chocolate Lava Cake Recipe Works Every Time (E-E-A-T)
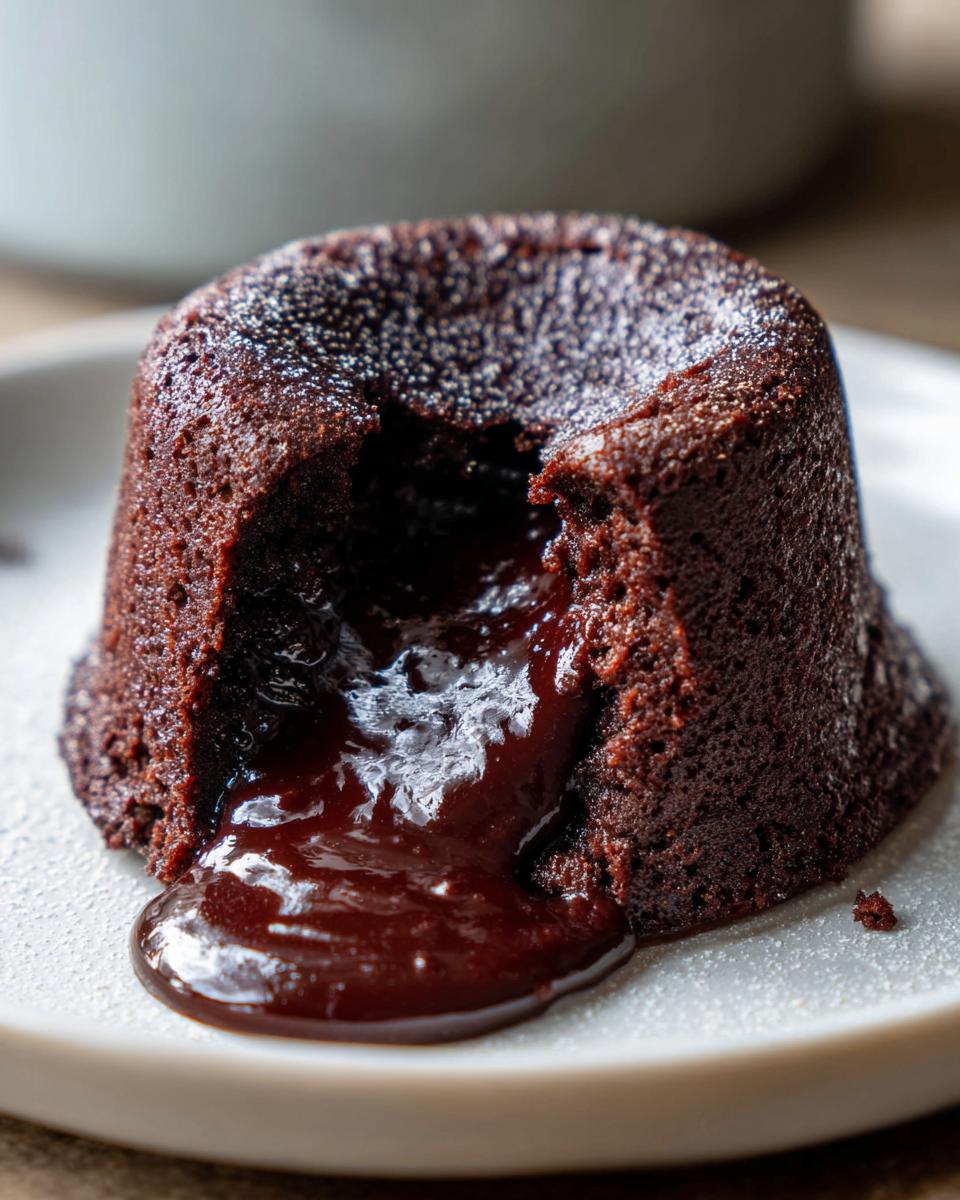
When you’re aiming for that perfect, dramatic flow of warm ganache inside, you need reliability, not guesswork. That’s why Rosa perfected this recipe after testing dozens of batches—because we don’t have time for dessert failures! The secret to guaranteeing that signature molten center comes down to two things: the richness of the batter and the precision of the bake. We use whole eggs plus that extra hit of egg yolk. Honestly, the extra yolk is what builds just enough structure around the edges to hold everything together while the very center stays beautifully liquid. It keeps the final product rich, almost fudgy, which families just adore.
You can check out some of my other go-to favorites for home baking over at our best homemade desserts collection, but this lava cake is special because it merges professional results with kitchen simplicity.
Key Elements of a Perfect Chocolate Lava Cake Center
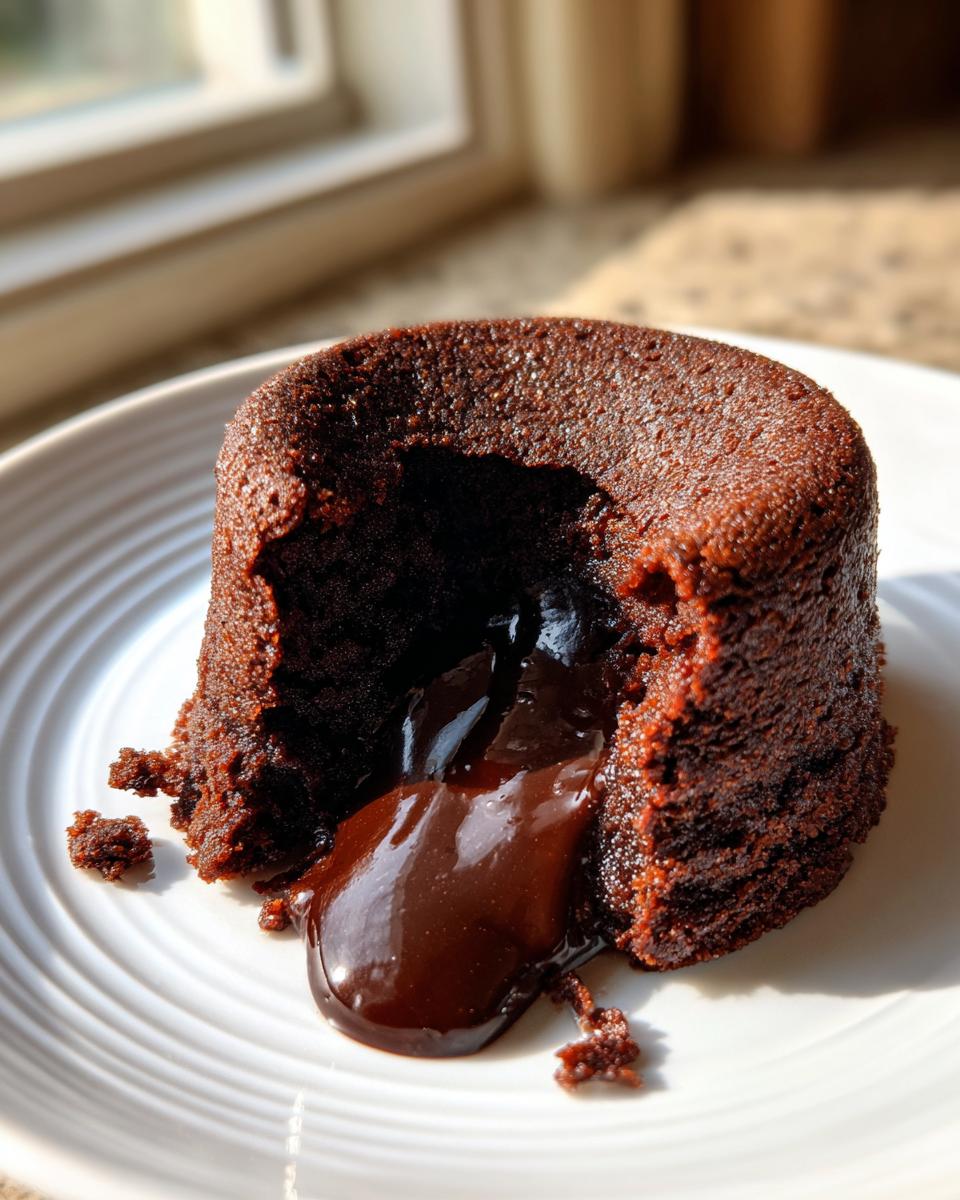
The timing here is everything, folks. It’s a quick blast in a hot oven—we’re talking 425 degrees Fahrenheit. Don’t panic! That high heat sets the outside edges fast, turning them into a traditional cake texture, but it doesn’t have enough time to cook the center all the way through. You’ll be pulling these out between 12 to 14 minutes. If you see the sides pulling gently away from the ramekin but the top still looks soft and a little jiggly in the middle? Ding, ding, ding! That means you nailed it for that gooey chocolate dessert flow you’re after.
Gathering Ingredients for Your Chocolate Lava Cake
Okay, before we get these beauties in the oven, we need to talk supplies. Because this is such a quick bake, the quality of your ingredients really shines through. You absolutely must spring for good quality bittersweet chocolate here. Don’t skimp! That rich dark chocolate dessert flavor comes straight from that bar you choose. It makes all the difference between good cake and mind-blowing cake.
Ingredient List for Chocolate Lava Cake
Here’s what you need for four individual servings. Remember, we whisk this up in practically no time!
- 4 ounces good quality bittersweet chocolate, chopped
- 4 ounces unsalted butter
- 2 large eggs
- 2 large egg yolks
- 1/4 cup granulated sugar
- 2 tablespoons all-purpose flour
- Pinch of salt
- Butter and cocoa powder for preparing ramekins
Step-by-Step Instructions for Making Chocolate Lava Cake
Alright, time to put the magic together! Getting these individual chocolate cakes ready is straightforward, but you need to be gentle once those flours start going in. Remember, we’re trying to keep this batter light and airy so the center stays gloriously liquid. We’re using a baking sheet underneath the ramekins; trust me, melted chocolate on the bottom of your oven is nobody’s idea of a fun cleanup! Because this is such a quick bake, make sure you have everything ready to go before you start mixing. You can find the full guide to this super easy chocolate lava cake right here.
Preparing Ramekins for Easy Release
This step right here separates the triumphant baker from the heartbroken one! First thing, get your oven roaring to 425 degrees Fahrenheit. Now, those ramekins need a serious coating. Generously butter the insides—get right up into those corners. Then, dust them with cocoa powder, using the cocoa instead of flour so you don’t get a white residue on your beautiful, dark cake. Tap out the extra! And here’s a little tip from my recipe notes: if you have time, pop these buttered and dusted ramekins into the fridge for 15 minutes before you pour the batter in. That chilling helps them release like a dream!
Mixing the Chocolate Lava Cake Batter
Next, we melt. You need that chopped chocolate and butter smooth as silk. You can use a double boiler, which is fancy, or just use your microwave in those short 30-second bursts, stirring in between—just watch it carefully so it doesn’t scorch! Once it cools a little, whisk your whole eggs, yolks, and sugar together until they look pale and slightly fluffy. That takes about two minutes of good whisking! Now, gently pour that melted chocolate into the eggs and whisk until it just barely combines. Finally, sift in your flour and salt, and gently fold with a spatula until you can’t see white streaks anymore. Stop mixing right then! Seriously, don’t keep going.
Baking and Serving Your Chocolate Lava Cake
Divide that gorgeous batter evenly among your four prepared ramekins sitting on that baking sheet. Now, listen closely: bake them for exactly 12 to 14 minutes. The edges should look like actual cake, but the very center needs to still look soft, maybe even jiggle a tiny bit when you gently nudge the pan. Let them set for just one minute—no longer! Immediately run a thin knife around the edge, put your serving plate upside down over the ramekin, and flip! Lift that ramekin off carefully. This warm chocolate dessert is best served right away while that gooey chocolate dessert lava is still hot and flowing!
Tips for Success: Mastering the Molten Chocolate Cake Recipe
You’ve got the easiest quick chocolate dessert recipe steps down, but I want to save you from any heartbreak! Even though this recipe is simple, these little details make the difference between a good cake and a truly decadent dessert memory. If you follow these, you’re guaranteed success every time you bake them.
Ingredient Quality for a Rich Dark Chocolate Dessert
I mentioned it before, but I have to stress it again: the chocolate is the star! Since we aren’t using a ton of flour or much sugar, that high-quality bittersweet chocolate has to carry the whole flavor team. If you use anything less than great, the final taste will be flat. I always grab one with at least 60% cocoa solids for that intense, rich dark chocolate dessert punch. It melts better, too—no grainy bits around here!
Troubleshooting Common Baking Tips for Molten Cake
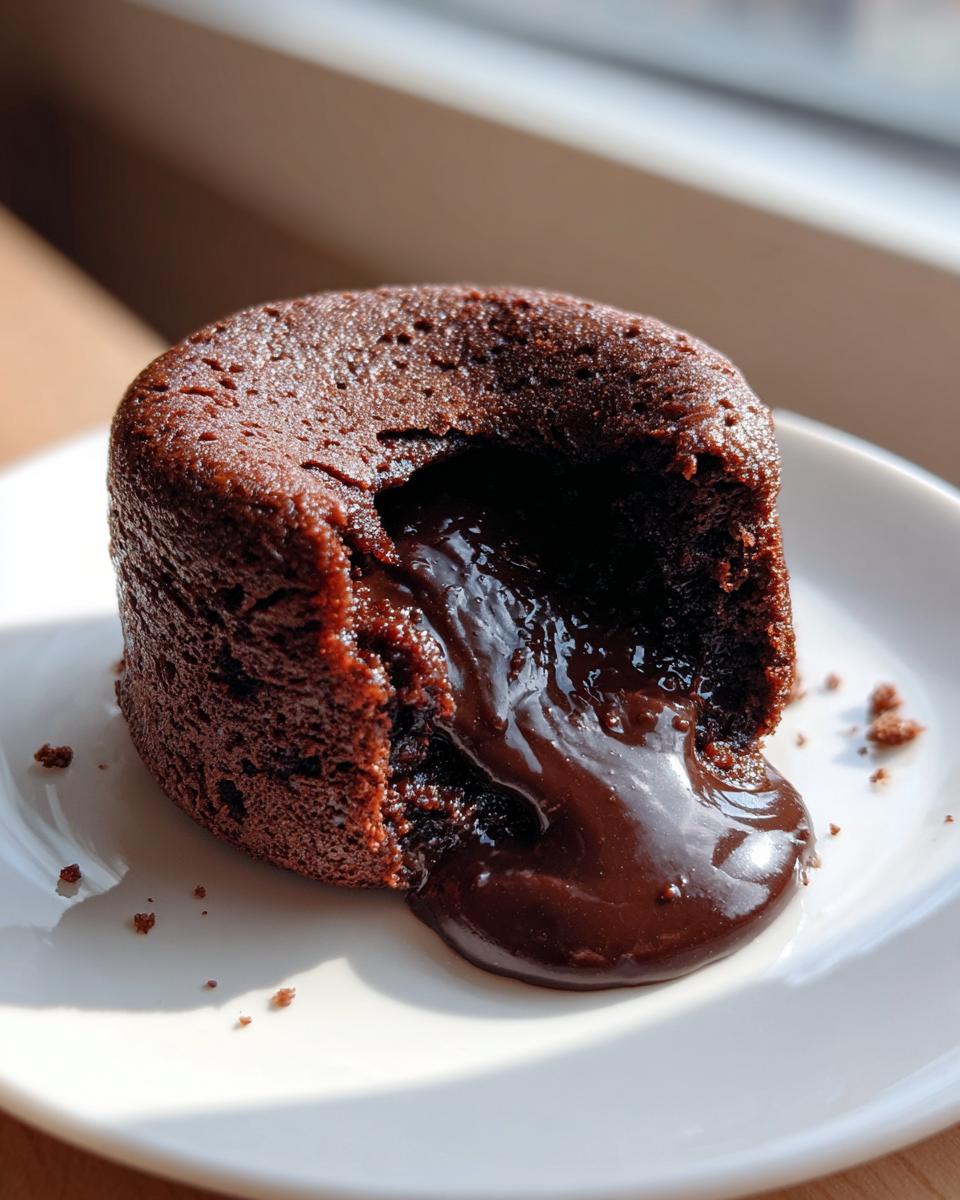
Now about those tricky bits! If your cake sticks, I’m betting the ramekin prep wasn’t quite thorough enough. Go heavy on the butter and cocoa powder next time! The biggest mistake people make with this gooey chocolate dessert is overbaking. If you bake it until a toothpick comes out clean, oops! You’ve just made a lovely, dense chocolate cupcake instead of a lava cake. You want those edges set firm, but if you gently wobble the pan, the middle should still look slightly wet, almost like it’s barely holding itself together. That’s the molten magic waiting to happen!
Serving Suggestions for Your Gooey Chocolate Dessert
Pulling these individual chocolate cakes out of the ramekin is the best part, but what you serve them with totally elevates the whole experience! Of course, you can’t go wrong with a simple scoop of good vanilla bean ice cream—the coldness against the warm, flowing center is just heavenly. Fresh raspberries are another winner; their tartness cuts right through the richness of this rich dark chocolate dessert.
If you’re feeling extra fancy, try a drizzle of salted caramel sauce—it’s fantastic! Or, for a totally different take, dusting the plate with cocoa powder and adding a dollop of lightly sweetened whipped cream makes for a beautiful presentation. Check out some more inspiration for decadent finishers on our best homemade desserts page. Remember, this warm chocolate dessert deserves a little flourish!
Storage and Reheating Instructions
So, what if you baked four of these amazing cakes but only two of you ate them? Hey, I understand! These individual chocolate cakes are decadent, so leftovers happen. The great news is that both the leftover batter and any fully baked cakes store pretty well. If you have leftover batter, just cover those ramekins tightly with plastic wrap—a little spritz of cooking spray right before covering helps prevent sticking—and pop them in the fridge. They can hang out there for up to a day.
If you already baked them and they cooled down, just cover those finished cakes and keep them chilled. Now, here’s the trick to reheating and getting that beautiful liquid center back. Don’t just throw the baked cake in the microwave for a long time; that’ll dry out the edges instantly! For a leftover baked cake, zap it for just 10 to 15 seconds on medium power. You want it warmed through gently so the center melts again, but you don’t want the entire thing cooked again. If you’re reheating the raw batter, you might need to add a minute or two to the baking time since it’s starting cold, so keep a close eye on those edges!
Variations on the Classic Chocolate Lava Cake
While I absolutely stand by this base recipe—it’s perfect, simple perfection—sometimes, you just want to shake things up, right? That’s what I love about having such a reliable foundation. Because the flavor profile is so intensely chocolatey, it takes on mix-ins beautifully without needing a whole new recipe card.
My favorite little trick for those mornings when I need an extra caffeine kick is adding espresso powder. Before you melt the chocolate, just stir about half a teaspoon of instant espresso powder right into the chopped chocolate and butter. When it melts together, it deepens that rich dark chocolate flavor and makes the whole cake taste like it came from a fancy French chocolate shop dessert experience. It’s subtle, but wow, what a difference!
Another fun one, especially if you’re looking to bake something a little different for the holidays, is mint. Just drop half a teaspoon of pure peppermint extract into the batter right when you’re folding in the flour. Make sure it’s pure extract, not imitation flavor, to keep that high-quality taste. You get this wonderful cool finish against the warm, gooey center. It’s a lovely twist, and I even use similar flavor profiles when I make my chocolate cheesecake trifle, so I know this flavor combo works!
Frequently Asked Questions About Individual Chocolate Cakes
It’s so common when we dive into a new recipe—there are always loose ends! Because these individual chocolate cakes are so fast, people often wonder about timing and consistency. I’ve gathered the questions I get most often about making the perfect dessert for two recipes like this one.
Can I make the chocolate lava cake batter ahead of time?
Yes, you absolutely can! This is one of my favorite tricks for busy nights. You mix the batter, pour it into your prepared ramekins, cover them tightly, and pop them in the fridge. I usually start them chilling in the morning. If you’re baking from cold, though, you need to count on adding a couple of extra minutes to the oven time. Don’t be tempted to crank up the heat, just watch those edges slowly set!
What happens if I overbake my molten chocolate cake recipe?
Oh, it happens to everyone once! If you overbake it, the center cooks all the way through. Honestly, you end up with a fantastic, rich, dense chocolate cake—which is still delicious, by the way! But you lose that signature lava flow. That’s why keeping a close eye on those 12 to 14 minutes is so vital for this specific molten chocolate cake recipe. When in doubt, pull it out early!
Can I use different sized ramekins for this gooey chocolate dessert?
You can, but I seriously advise against it for your first try! This recipe is perfectly balanced for those 6-ounce ramekins at a high temp. If you use much larger or deeper dishes, the heat simply won’t penetrate fast enough, and you risk burning the outside before the inside even warms up. Stick to the size I recommend for this amazing gooey chocolate dessert, and you’ll get that perfect molten center without any fuss!
Nutrition Estimates for This Warm Chocolate Dessert
Now, I’m just a home cook, not a registered dietitian, so please take these numbers with a grain of salt—or maybe a dusting of powdered sugar! These are just my estimates based on the good quality ingredients I use in this warm chocolate dessert recipe. Since we are using rich, dark chocolate, the fat content is naturally a bit higher to get that beautiful melt, but wow, is it worth it!
This is meant to be a truly decadent dessert experience, so we aren’t counting calories too closely, but here’s a general breakdown for one serving:
- Calories: Around 410
- Total Fat: About 28g (with 17g being saturated fat from that lovely butter and chocolate!)
- Carbohydrates: Roughly 34g
- Protein: About 7g
- Sugar: Around 25g
It’s important to remember that this is based on using the four servings exactly as defined. If you share it with someone else—which is a lovely idea for a dessert for two recipe!—the numbers change. Just enjoy the moment; you deserve this rich, wonderful treat!
PrintEasy Molten Chocolate Lava Cake Recipe
Follow these straightforward steps to make rich, individual chocolate lava cakes with a signature gooey, liquid center.
- Prep Time: 15 min
- Cook Time: 14 min
- Total Time: 29 min
- Yield: 4 servings 1x
- Category: Dessert
- Method: Baking
- Cuisine: American
- Diet: Vegetarian
Ingredients
- 4 ounces good quality bittersweet chocolate, chopped
- 4 ounces unsalted butter
- 2 large eggs
- 2 large egg yolks
- 1/4 cup granulated sugar
- 2 tablespoons all-purpose flour
- Pinch of salt
- Butter and cocoa powder for preparing ramekins
Instructions
- Preheat your oven to 425 degrees Fahrenheit. Generously butter four 6-ounce ramekins. Dust the inside of each buttered ramekin with cocoa powder, tapping out any excess.
- Place the chopped chocolate and butter in a heatproof bowl set over a saucepan of simmering water (or use a microwave in 30-second intervals). Stir until completely smooth. Remove from heat and let cool slightly.
- In a separate bowl, whisk together the whole eggs, egg yolks, and granulated sugar until the mixture is pale and slightly thickened, about 2 minutes.
- Gently whisk the slightly cooled chocolate mixture into the egg mixture until just combined.
- Sift the flour and salt over the chocolate mixture. Fold the dry ingredients in gently until just incorporated. Do not overmix.
- Divide the batter evenly among the prepared ramekins.
- Place the ramekins on a baking sheet. Bake for 12 to 14 minutes. The edges should look set, but the center should still look soft and jiggly. This timing is key for the liquid center.
- Let the cakes cool in the ramekins for exactly 1 minute. Run a thin knife around the edge of each cake. Place a small serving plate upside down over the ramekin, then carefully invert the cake onto the plate. Lift the ramekin away.
- Serve immediately while warm.
Notes
- For easy release, chill the buttered and dusted ramekins for 15 minutes before filling them with batter.
- Use high-quality dark chocolate for the best flavor in this rich dark chocolate dessert.
- If you prefer a slightly firmer center, bake for an extra minute, but watch carefully to avoid overbaking.
- Serve this warm chocolate dessert with vanilla ice cream or fresh raspberries.
Nutrition
- Serving Size: 1 cake
- Calories: 410
- Sugar: 25g
- Sodium: 105mg
- Fat: 28g
- Saturated Fat: 17g
- Unsaturated Fat: 11g
- Trans Fat: 0.5g
- Carbohydrates: 34g
- Fiber: 3g
- Protein: 7g
- Cholesterol: 145mg