
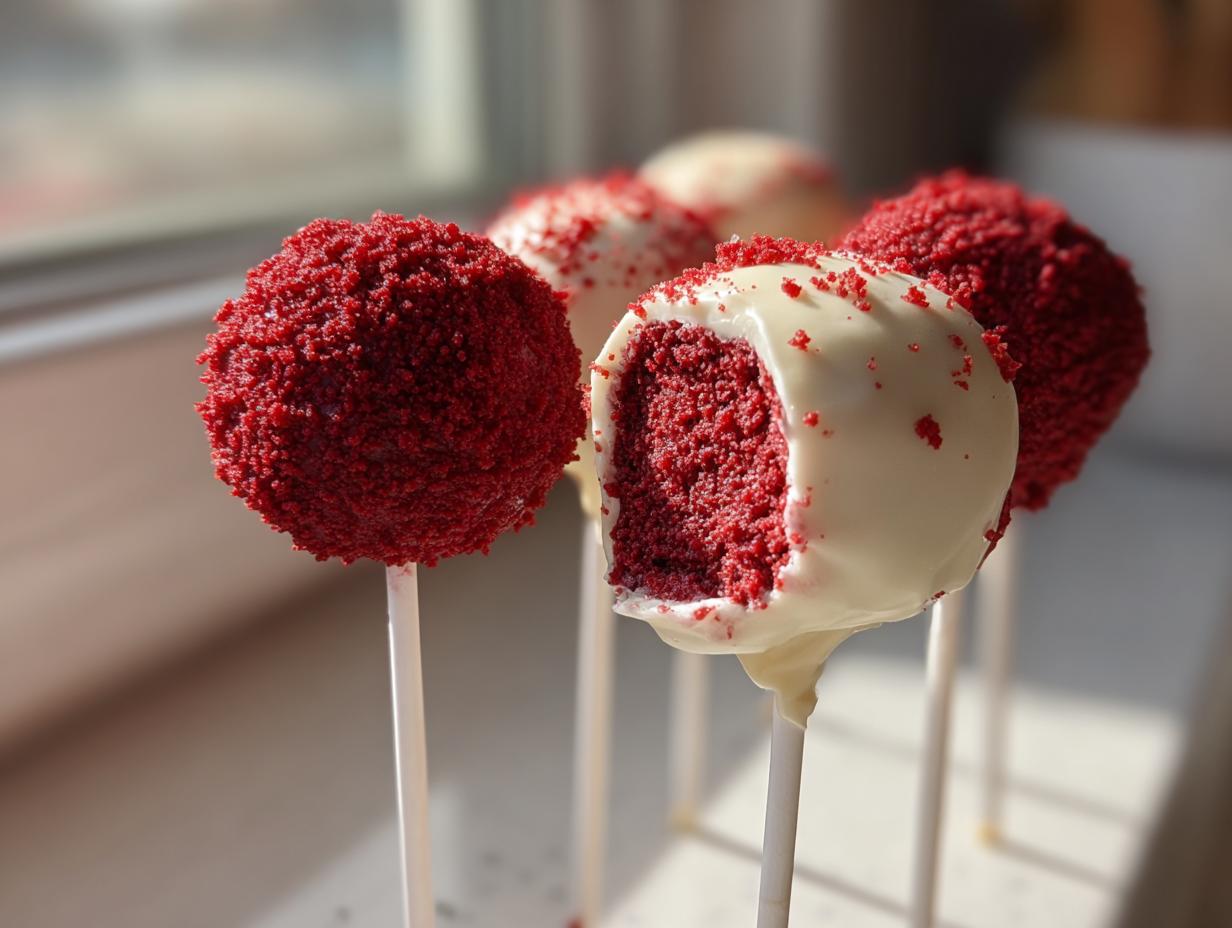
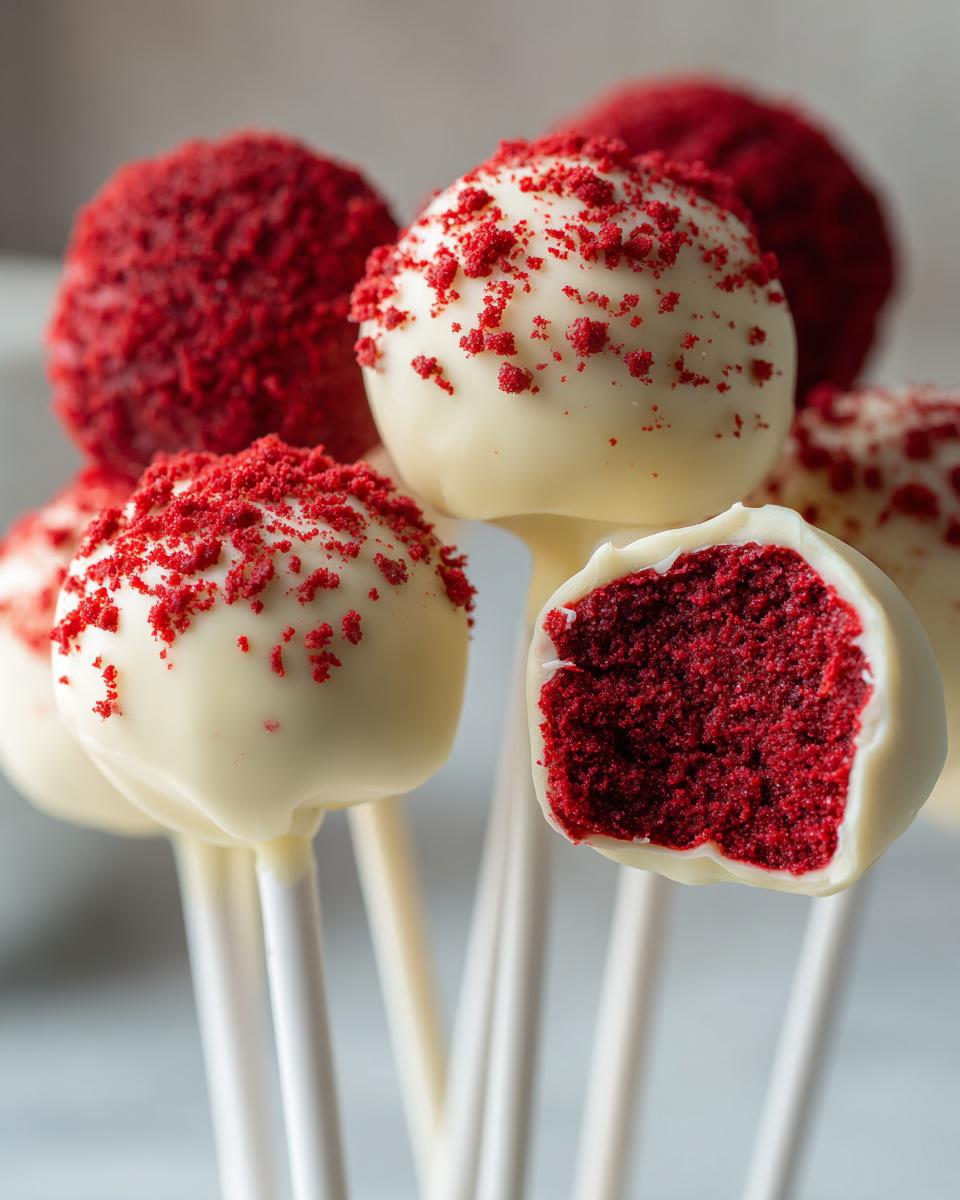
Oh, who can resist a perfect little bite of something decadent? When I was teaching elementary school and juggling bedtime stories, I needed desserts that packed a huge flavor punch without demanding hours of my evening. That’s exactly where these amazing **red velvet cake pops** came from! They capture that classic, deep red velvet flavor we all crave, combined with the barely-there tang of rich cream cheese frosting, all sealed up tight in a creamy white chocolate shell. Trust me, these are totally reliable, incredibly moist, and certainly qualify as one of the best Party Dessert Ideas. They’re simple enough for a weeknight treat but elegant enough for any celebration!
- Why You Will Love This Easy Red Velvet Cake Pops Recipe
- Essential Ingredients for Perfect Red Velvet Cake Pops
- How to Make Moist Red Velvet Cake Pops: Step-by-Step Tutorial
- Tips for Success When Making Red Velvet Cake Pops
- Storage and Serving Suggestions for Your Party Dessert Ideas
- Variations on Red Velvet Cake Pops: Beyond the Classic
- Frequently Asked Questions About Red Velvet Cake Pops
- Nutritional Estimates for Red Velvet Cake Pops
- Share Your Festive Cake Pops Creations
Why You Will Love This Easy Red Velvet Cake Pops Recipe
When I adapted this recipe to move faster in the evenings, I needed results that felt special without the fuss. These cake pops deliver every single time. Here’s why they landed firmly in my permanent rotation:
- Incredibly Moist Cake Pop Crumb: We use cream cheese frosting mixed right into the cake crumbs, which keeps them tender and prevents that dry texture you sometimes get with store-bought cake.
- Super Easy Assembly: We start with a cake mix! It cuts the prep work in half, so you get maximum flavor in minimum time. This is my go-to Easy Cake Pop Recipe for busy Saturdays.
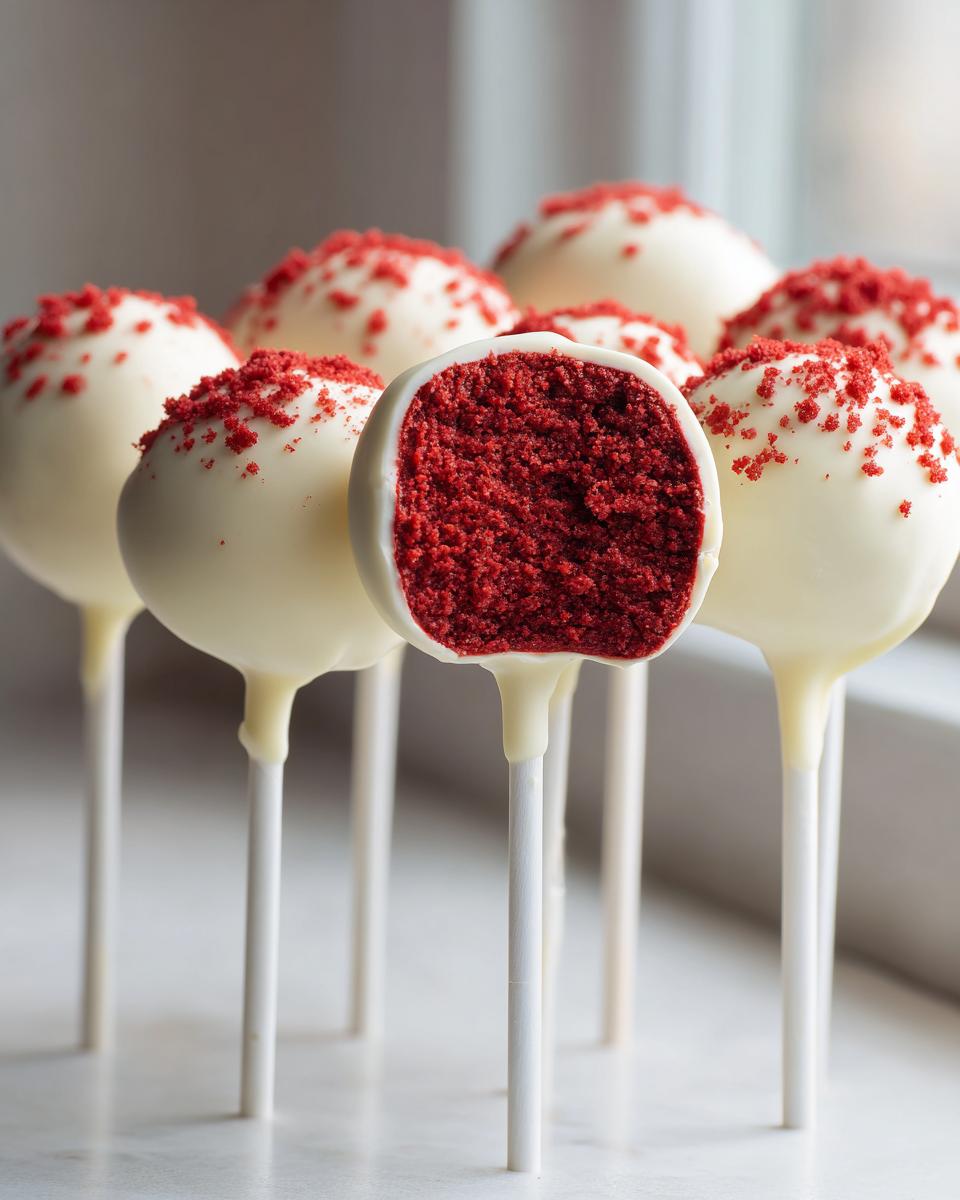
- Vibrant Color: That classic deep red color is stunning enough on its own, making them the perfect Bite Sized Red Desserts for holidays like Valentine’s Day or Christmas.
- Perfect Party Dessert Ideas: Since they are already portioned and on a stick, cleanup is a breeze for any gathering, from birthdays to just because!
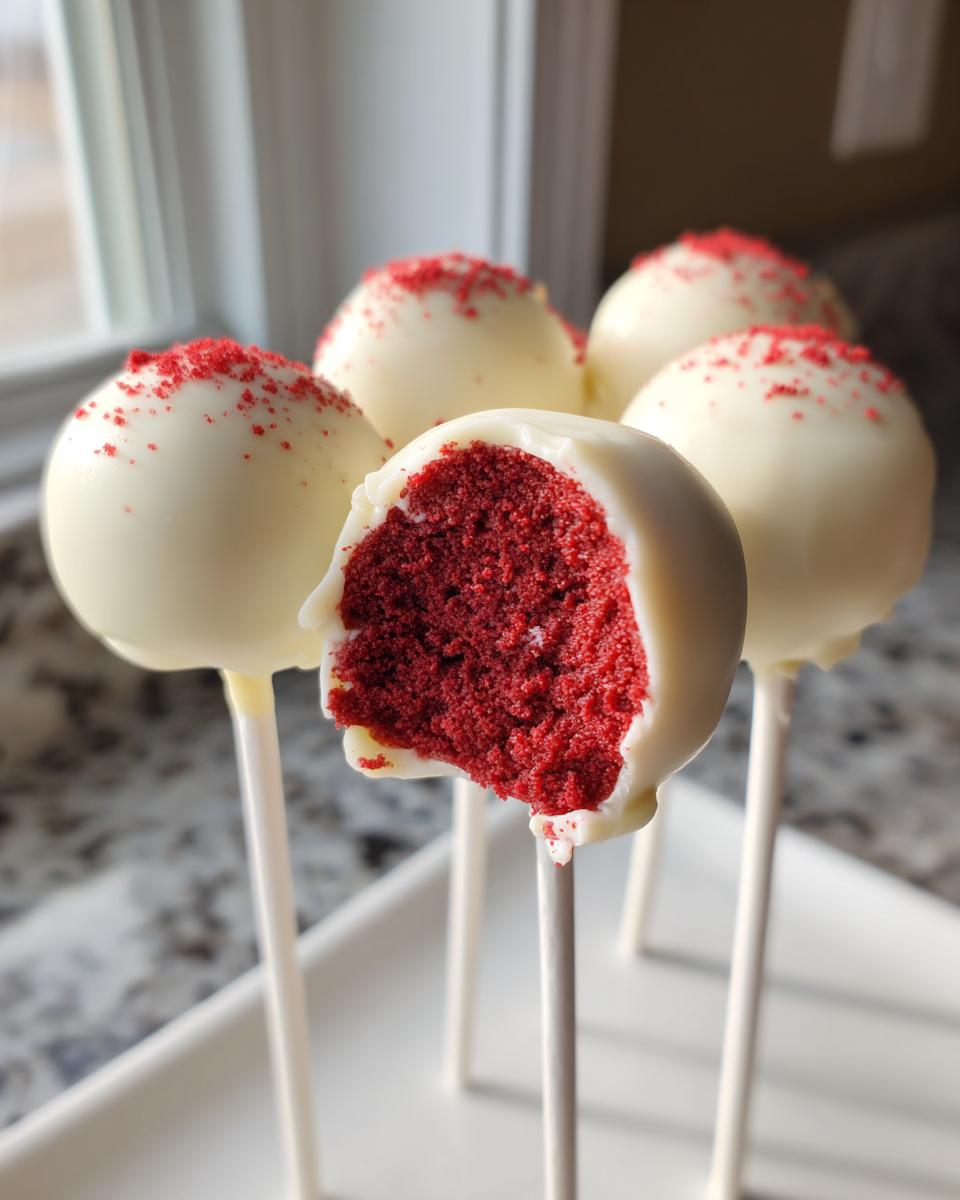
- Creamy White Chocolate Finish: The smooth, crisp shell of white chocolate seals in all that moisture and looks so elegant. People always think these take hours!
- Festive Cake Pops: They look beautiful even without extra decorating. A simple dip yields these beautiful, Festive Cake Pops ready for any special occasion.
Essential Ingredients for Perfect Red Velvet Cake Pops
When I developed this method, I kept my pantry stocked so I could whip these up anytime. The beauty of this recipe is that most of this list comes straight from the standard grocery store, which is exactly what I needed when juggling the after-school rush! Using a cake mix eliminates so much guesswork, leaving us to focus on the binding magic. That said, the cream cheese frosting isn’t just for flavor—it’s absolutely crucial because it adds the fat and moisture needed to turn those dry crumbs into a perfect, moldable dough for your red velvet cake pops.
For the Cake Base and Binding
This is the heart of the treat right here. Don’t skimp on the frosting!
- One standard box (15.25 oz) of red velvet cake mix.
- Whatever the cake mix box calls for—usually a couple of eggs, some oil, and water. Follow the instructions on the box for baking!
- One full tub (8 oz) of your favorite cream cheese frosting. This is our binder!
For the White Chocolate Coating and Dipping
Getting the coating right is what makes these visually appealing and sturdy enough to handle. This creates that satisfying snap for your White Chocolate Dipped Treats.
- 12 ounces of white chocolate melting wafers or candy coating. I prefer wafers because they melt so smoothly.
- One teaspoon of vegetable shortening, or a tiny bit of coconut oil, if you have it. This is my secret weapon for ultra-thin, drip-free dipping!
- Pop sticks (lollipop sticks) for handling.
- Optional decorations, because who doesn’t love red sprinkles or edible glitter?
- Change the Shape: If you’re making these for Valentine’s Day, don’t just roll them into a ball! When the cake-frosting mixture is chilled but still pliable, take a heart-shaped cookie cutter and gently press a piece of the mixture before inserting the stick. Then, dip immediately as you normally would. They look so charming and thoughtful when they come out heart-shaped!
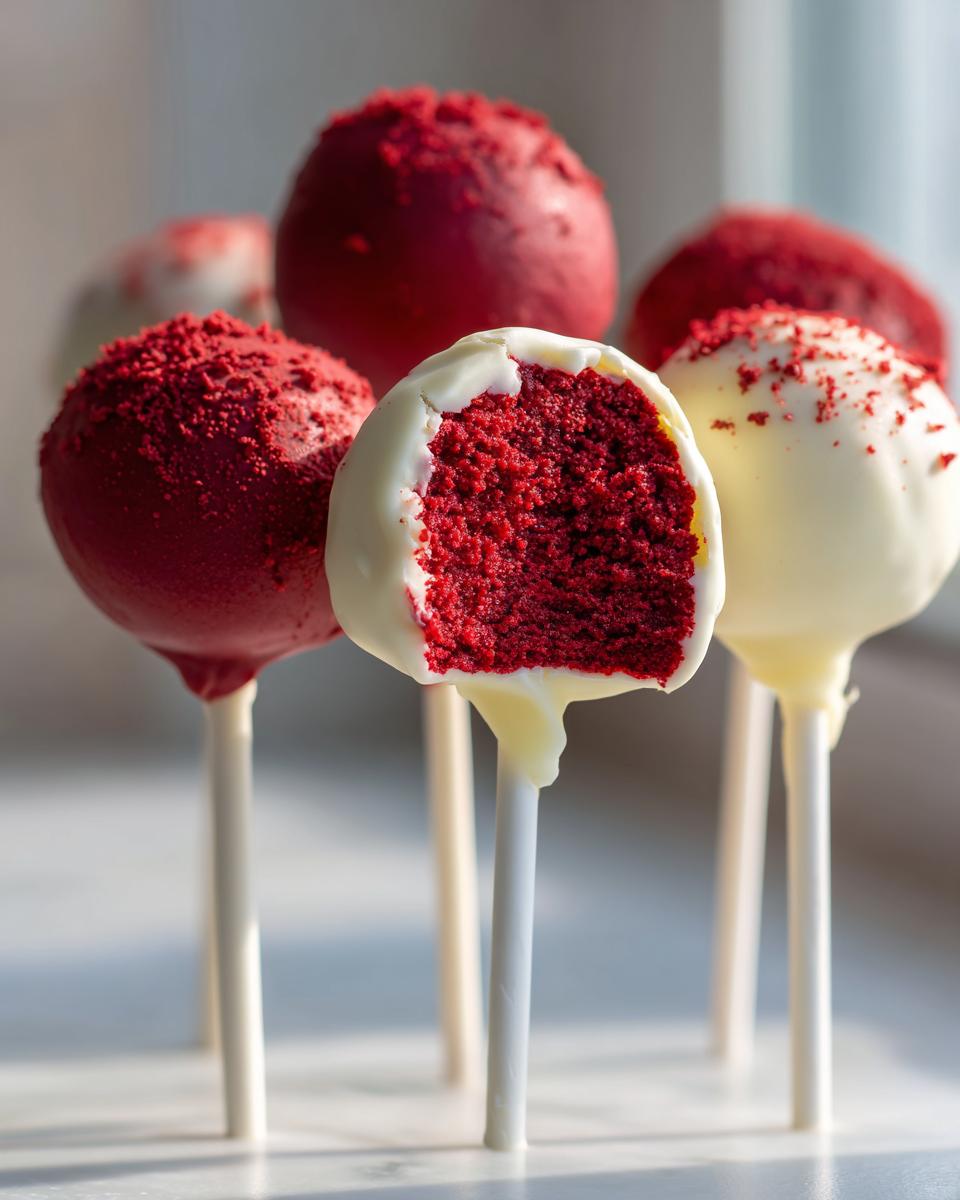
- Ditch the White Chocolate: While the white chocolate coating is classic, try using high-quality dark chocolate for a richer contrast with the tangy red cake, or even use a pink or ruby-red candy coating for an extra pop of color that screams celebration.
- Sprinkle Overload: This is the easiest step! Instead of just plain sprinkles, try crushing up freeze-dried raspberries or small pink/red sanding sugar over the wet coating. You can also gently drizzle a contrasting chocolate (like dark chocolate) over the hardened white coating in thin little zig-zags for an elegant touch.
- Flavor Infusion: For a little extra something in the coating itself, mix a tiny bit of peppermint extract or a splash of almond extract into your melted white chocolate wafers. It complements the cocoa notes beautifully!
- Serving Size: 1 pop
- Calories: 250
- Sugar: 25g
- Sodium: 150mg
- Fat: 15g
- Saturated Fat: 8g
- Unsaturated Fat: 7g
- Trans Fat: 0.5g
- Carbohydrates: 28g
- Fiber: 1g
- Protein: 3g
- Cholesterol: 20mg
- Prep Time: 30 min
- Cook Time: 30 min
- Total Time: 90 min
- Yield: 24 servings 1x
- Category: Dessert
- Method: No-Bake Assembly
- Cuisine: American
- Diet: Vegetarian
- 1 box (15.25 oz) red velvet cake mix
- Ingredients called for on cake mix box (usually eggs, oil, water)
- 1 tub (8 oz) cream cheese frosting
- 12 oz white chocolate melting wafers or candy coating
- 1 teaspoon vegetable shortening (optional, for smoother dipping)
- Lollipop sticks
- Optional decorations: red sprinkles, edible glitter
- Prepare the red velvet cake according to the package directions, using the required eggs, oil, and water. Bake the cake in a 9×13 inch pan for a thin layer. Let the cake cool completely.
- Crumble the cooled cake into fine crumbs in a large bowl. Discard any overly browned edges.
- Add the entire tub of cream cheese frosting to the cake crumbs. Mix with your hands or a sturdy spoon until the mixture is fully combined and holds together like a thick dough.
- Roll the cake and frosting mixture into uniform balls, about 1 to 1.5 inches in diameter. Place the balls on a parchment-lined baking sheet.
- Chill the cake balls in the refrigerator for at least 30 minutes. This step helps them hold their shape during dipping.
- Prepare the white chocolate coating. Melt the white chocolate wafers according to package directions, stirring in the vegetable shortening if using. Keep the chocolate warm and fluid.
- Dip the tip of a lollipop stick into the melted chocolate and insert it about halfway into a chilled cake ball. Dip the stick about halfway into the chocolate first to act as glue. Return the pops to the refrigerator for 5-10 minutes to set the stick.
- Hold the stick and dip the entire cake ball into the melted white chocolate, rotating it to coat completely. Tap the stick gently against the side of the bowl to remove excess chocolate.
- Immediately add any desired sprinkles or decorations before the chocolate sets.
- Place the finished cake pops upright in a styrofoam block or cake pop stand to dry completely.
- For the smoothest white chocolate coating, use high-quality melting wafers or add a small amount of coconut oil or shortening to thin the chocolate slightly.
- If you prefer a no-bake option, you can use a store-bought, fully baked red velvet cake instead of baking from scratch.
- Store finished cake pops in an airtight container in the refrigerator for up to one week. Let them come to room temperature for 15 minutes before serving for the best texture.
- Serving Size: 1 pop
- Calories: 250
- Sugar: 25
- Sodium: 150
- Fat: 15
- Saturated Fat: 8
- Unsaturated Fat: 7
- Trans Fat: 0.5
- Carbohydrates: 28
- Fiber: 1
- Protein: 3
- Cholesterol: 20
How to Make Moist Red Velvet Cake Pops: Step-by-Step Tutorial
Okay, this is the fun part! Don’t worry about making things perfect here—we are going for delicious and reliable first. Since these aren’t baked right before assembly, the texture of the ‘dough’ we create is the most important part. If you want to read up on how to keep things perfectly tender, you can check out my thoughts on achieving the best texture here, but the method for these red velvet cake pops is slightly different, focusing on cohesion!
Baking the Cake and Creating the Moist Cake Pop Crumb
First things first: bake the cake according to the box instructions, but use a 9×13 inch pan. We want a thin layer because that maximizes our cake-to-frosting ratio, which is what keeps them moist. Once it’s totally cool—and I mean *totally* cool, or they’ll just turn into sludge—you’re going to crumble it all up in a big bowl. You can use your hands like I do, or a fork. Just break up any overly brown edges you don’t want in there. That crumb is the base for everything!
Mixing with Cream Cheese Frosting Cake Pops Dough
Now for the binding magic! Dump that whole tub of cream cheese frosting right in with your beautiful red crumbs. Mix it up until it’s all incorporated. Seriously, use your hands here—that’s the best way to tell when it’s right. You aren’t looking for batter; you want a dense, moldable mixture that feels sort of like thick cookie dough. When you squeeze a piece between your fingers, it should hold its shape perfectly. After that, roll them out into uniform little balls, about an inch or so across, and put them on parchment paper.
Chilling and Preparing Sticks for Dipping
This chilling step is non-negotiable if you want to avoid heartbreak later! Pop those rolled balls into the fridge for at least half an hour. They need to firm up so they don’t fall apart when they hit the warm chocolate. While those chill, melt your white chocolate wafers down, maybe stirring in that tiny bit of shortening for smoothness. Here’s a key tip for your Homemade Cake Pops Tutorial: before sticking them, dip the tip of the stick into the melted chocolate first and insert it about halfway into the chilled cake ball. Pop them back in the fridge for about five minutes. That chocolate acts like cement holding your stick in place!
Achieving a Smooth White Chocolate Dipped Treats Coating
Once the sticks are secure, it’s time for the grand finale dip! Hold the stick and carefully submerge the cake pop entirely into the warm white chocolate. You want to go smoothly! Once it’s fully coated, gently lift it out and lightly tap the stick against the edge of your bowl. That gentle tap helps the extra chocolate drip off, giving you a much cleaner finish on your White Chocolate Dipped Treats. If you’re using sprinkles, toss them on immediately before that shell sets. Then, stand them up right in a styrofoam block until they are totally dry and firm!
Tips for Success When Making Red Velvet Cake Pops
Even with the best recipe, sometimes the chocolate decides it doesn’t want to behave, or maybe you’re just too rushed to bake a whole cake. That’s normal! In my years of baking for school events and family treats, I’ve picked up a few tricks to make sure your red velvet cake pops turn out beautiful and delicious without any major headaches. Remember, we are aiming for the joy of feeding people, not kitchen stress!
Coating Consistency for Red Velvet Cake Pops
This is probably the number one complaint I hear about cake pops: the coating is too thick, or worse, it seizes up into a gritty lump! When you’re melting those white chocolate wafers, make sure they are nice and fluid. If your chocolate seems too thick for dipping, I highly recommend stirring in just a touch—a half-teaspoon at most—of coconut oil or that vegetable shortening we mentioned earlier. It doesn’t affect the flavor, but it lowers the viscosity, allowing the coating to flow beautifully over those vibrant red cake balls. This ensures you get that super smooth finish on your red velvet cake pops without having to scrape off globs outside the bowl.
Alternative Methods: No Bake Cake Pops
If you’re reading this and realize you don’t have an hour to bake a cake (I’ve been there!), don’t close the browser! You can absolutely make these into No Bake Cake Pops. The process is simpler because you skip the first instruction entirely. Instead of baking the mix, just grab a store-bought, fully baked red velvet cake—the unfrosted kind is best, but you can work around it. Crumble that up just like you would the homemade version, and then proceed with mixing in the cream cheese frosting. It saves you that 30 minutes of oven time, making this truly one of the fastest Easy Cake Pop Recipes out there for instant gratification!
For more helpful tips on making quick, crowd-pleasing treats, check out my favorite way to make soft pretzels, which also relies on simple ingredients working together perfectly: Easy Homemade Soft Pretzel Bites.
Storage and Serving Suggestions for Your Party Dessert Ideas
Now that you have these gorgeous, bite-sized beauties, the big question is how to keep them perfect until the party starts! Since we mixed that lovely cream cheese frosting in there, these aren’t quite like hard candy; they need a little chill time. For storage, always keep your red velvet cake pops in an airtight container. I know it’s tempting to leave them out on a cute platter, but to keep that moist crumb from drying out, they must live in the refrigerator. They’ll last up to a whole week that way, which is fantastic for making ahead of time for big events like birthdays!
But here is the most crucial part of serving: You absolutely cannot serve them rock solid straight from the fridge! If they are too cold, the cake will feel dense, and the chocolate coating won’t have that perfect little snap. About fifteen to twenty minutes before your guests arrive, pull them out and let them sit on the counter at room temperature. That little warming period totally brings the flavor and texture back to life.
When I make these for Valentine Day Cake Pops Ideas, I always use a simple, white ceramic pedestal stand, which really makes that deep red color pop against the white chocolate. For big birthday bashes, I’ll use a styrofoam block covered in silver foil and stick them in tight so they look like a colorful bouquet. They are just such fun Bite Sized Holiday Treats because they feel so celebratory and special without needing a fork or a plate!
If you are looking for another fantastic make-ahead dessert that looks fancy but is surprisingly easy, you should definitely try my Caramel Streusel Apple Cheesecake Bars. They hold up wonderfully in the fridge too!
Variations on Red Velvet Cake Pops: Beyond the Classic
Look, I love the classic look, but sometimes you need to put your own little spin on things, right? Once you master the core technique for these red velvet cake pops—getting that perfect crumb and that smooth, crisp shell—you can really start playing around! These little bites are perfect canvases for customization, and I’ve noticed over the years, small changes make them feel brand new every time I serve them.
Since these pair so well with anything creamy or tangy, the sky’s the limit for making them your own unique version of Delicious Red Velvet Desserts. Don’t be afraid to try something new, especially if you’re making them for someone special!
Here are a few ways I like to shake things up when the basic white chocolate dip starts to feel a little too familiar:
If you love red velvet but want to try it in a different, softer format—maybe something requiring zero dipping?—you simply must try my Red Velvet Cinnamon Rolls recipe. They are gooey, rich, and just as comforting!
Frequently Asked Questions About Red Velvet Cake Pops
It’s totally normal to have questions when you’re trying something new, especially when you want the result to be perfect for a party or just a sweet indulgence! I’ve gathered the things people ask me most often about keeping these red velvet cake pops just right. We want reliability in the kitchen, even with treats!
Can I use a different frosting instead of cream cheese for these red velvet cake pops?
That’s a great question for anyone who isn’t stocked up on cream cheese frosting! While the tanginess and fat content of cream cheese frosting is what locks in that signature moisture for these Cream Cheese Frosting Cake Pops, yes, you can swap it out if you absolutely must. Vanilla buttercream will work as a binder, but it is generally sweeter and a bit firmer than cream cheese when chilled. The finished dough might feel a little more crumbly, so you might need to chill it slightly longer before rolling. Just know your final texture won’t have that subtle, satisfying tang we get with the traditional recipe!
How long do homemade cake pops with candy coating last?
Because we are using cream cheese frosting, these definitely don’t last on the counter all week like some dry cookies might. For the best quality—meaning the moistest crumb and the firmest coating—you should store your finished homemade cake pops with candy coating in an airtight container right in the refrigerator. They’re perfectly good for about a week! The trick to making them taste just-made is pulling them out about 15 to 20 minutes before serving. Let them warm up just a bit so the cake softens up again. That little time out of the fridge makes a huge difference!
What is the best way to store my finished red velvet cake pops?
Well, the container is key here! You need something airtight, whether that’s a Tupperware container with a good seal or a large zip-top bag. The goal is to keep the cold air in and the refrigerator smells out! I always arrange them with a layer of parchment paper between any layers so they don’t stick together. This keeps them firm and perfect for transport. If you are traveling with them to a party, keep them cool—I sometimes use a small cooler bag without ice packs. They need to stay firm so they don’t smear, making sure they stay beautiful Bite Sized Holiday Treats!
If you ever have chili leftovers that need a quick, flavorful pairing, this 30-Minute Black Bean Chili is my go-to weeknight meal!
Nutritional Estimates for Red Velvet Cake Pops
Now, I want to be super honest with you all. As a busy mom and former teacher, I focused more on making sure my treats were made with love and tasted amazing than I did on meticulous calorie counting! I’ve provided the estimates below based on the standard ingredients we used (cake mix, standard frosting, and white chocolate wafers). Please know that these numbers are just a guideline—a rough idea of what’s in one of these delicious little treats. Your actual numbers will change depending on the brand of cake mix or the exact amount of chocolate you use!
When I make these red velvet cake pops, I think of them as a special indulgence, not an everyday snack, so I try to keep the focus on the joy they bring!
Remember, these estimates are based on the recipe using the full tub of cream cheese frosting! If you decide to use my ‘No Bake Cake Pops’ shortcut and use a store-bought cake instead of baking, that might slightly adjust the numbers, too. Enjoy these marvelous Bite Sized Red Desserts guilt-free, knowing they were made with care!
Share Your Festive Cake Pops Creations
Bringing food from my kitchen to your family table, or seeing your creations pop up online, is truly the highlight of running Rosa’s Tasty Kitchen! I learned years ago that sharing food is just another way of sharing love, and these festive little bites are just too cute not to show off.
If you made these red velvet cake pops and they turned out beautifully—maybe you even shaped them into hearts for Valentine’s Day, or used a fun color coating—I would absolutely love to see them! Don’t be shy! Take a quick picture and tag me on social media. Seeing your beautiful work always inspires me for the next recipe I develop.
And please, if this recipe worked for you and helped you pull off an easy, elegant dessert for your party or family snack time, leave a quick rating right here on the page. Five stars lets me know that my methods are working for busy home cooks like you. It helps other people feel confident diving into recipes that might seem intimidating, like these dipped treats!
Thank you so much for cooking with me today. For more reliable and delicious recipes that keep life sweet and simple, check out my roundup of the Best Homemade Desserts. And if you loved the red velvet flavor profile, you might want to see how The Cooking Sisters tackle them too; they have a lovely version right here if you want to compare notes!
PrintEasy & Moist Red Velvet Cake Pops Coated in Creamy White Chocolate

Make these moist Red Velvet Cake Pops using a simple method. These bite-sized treats combine rich red velvet cake with cream cheese frosting, all dipped in a smooth white chocolate shell. They are perfect for parties or gifting.