
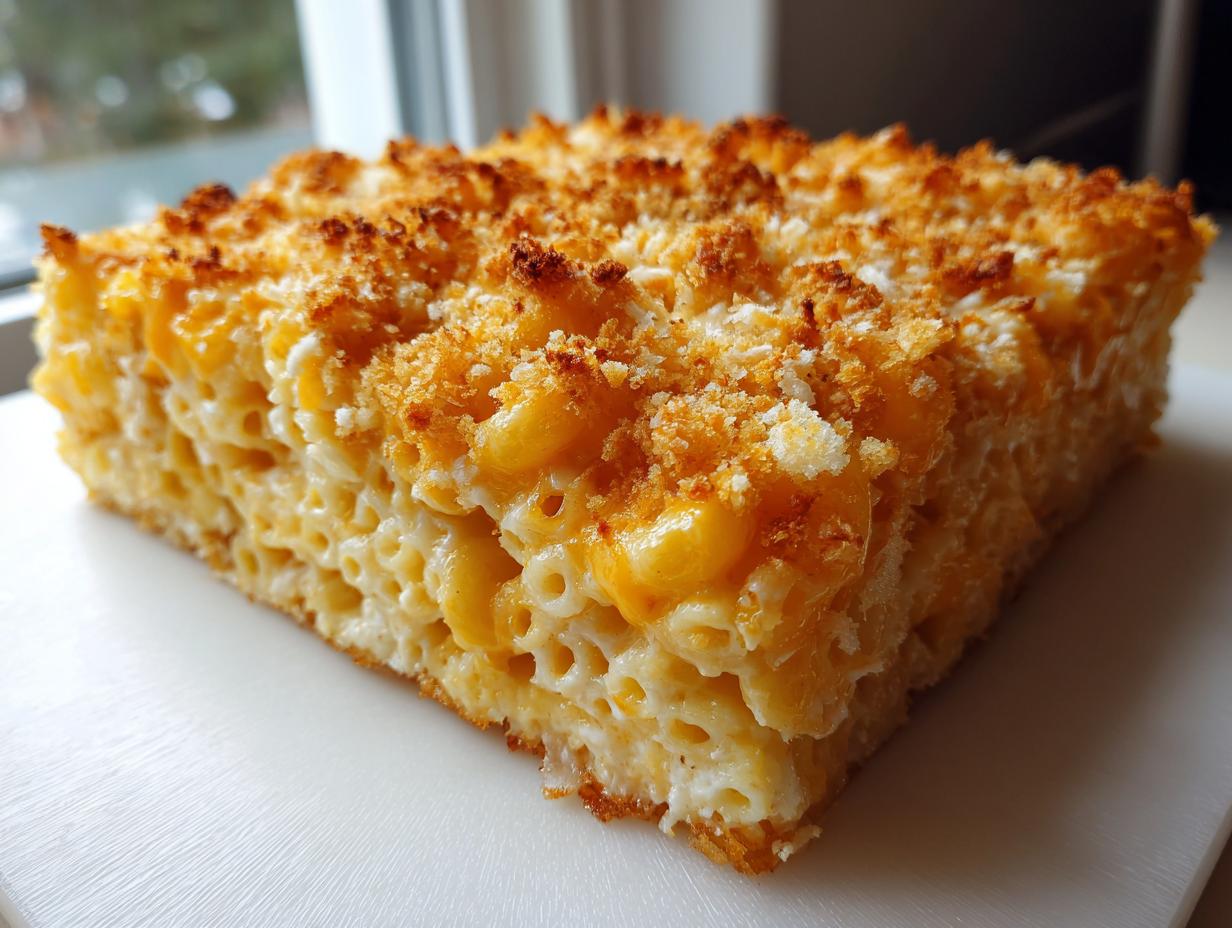
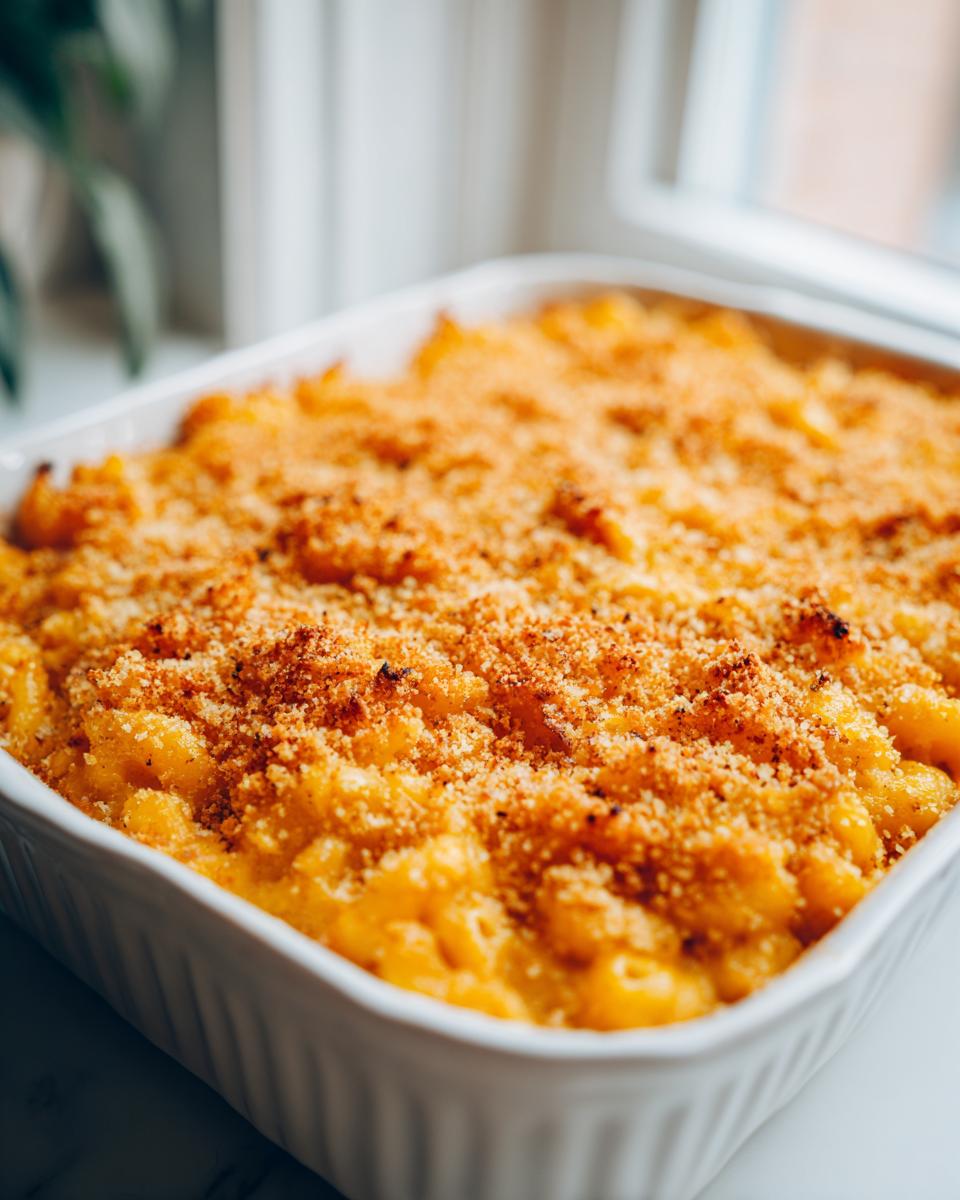
If you’re anything like me, when the day is long, the first thing you crave is something that tastes like a warm hug, right? For my family, that’s always macaroni and cheese. But not just any mac and cheese—I’m talking about the showstopper, the kind that makes everyone stop chatting and just dig in. That’s why I’m sharing my ultimate baked mac and cheese recipe today. Forget dried-out pasta; this version is unbelievably creamy on the inside, thanks to my special cheese blend, and it boasts that perfectly golden, crunchy topping everyone fights over. When I was juggling teaching and motherhood, I needed family-favorite meals that didn’t take up my entire evening, and this recipe is proof you don’t have to choose between speed and real, honest-to-goodness flavor. You deserve this cheesy bliss, and finding reliable weeknight dinner ideas like this one makes all the difference!
- Why This Creamy Baked Mac and Cheese Recipe Works Every Time
- Ingredients for the Ultimate Baked Mac and Cheese Recipe
- How to Prepare Our Creamy Baked Mac and Cheese Recipe
- Tips for the Best Homemade Macaroni and Cheese
- Variations for Your Baked Mac and Cheese Recipe
- Serving Suggestions for this Cheesy Pasta Bake
- Storage and Reheating Instructions for Leftover Baked Mac and Cheese
- Frequently Asked Questions About This Baked Mac and Cheese Recipe
- Estimated Nutritional Data for This Comfort Food Recipe
- Share Your Experience with This Baked Mac and Cheese Recipe
- Estimated Nutritional Data for This Comfort Food Recipe
- Share Your Experience with This Baked Mac and Cheese Recipe
Why This Creamy Baked Mac and Cheese Recipe Works Every Time
When I put a recipe forward for you to try, especially something as important as the perfect mac and cheese, I guarantee it works. I wouldn’t offer this up if I didn’t trust it during my busiest evenings!
This version is a keeper because it checks every box for what comfort food should deliver. It’s reliable, straightforward, and always results in that dreamy texture we all chase. Here’s why you can lean on this recipe:
- Unbeatable Creaminess: We use three different cheeses here! That blend ensures a complex flavor profile but, more importantly, keeps the sauce velvety smooth and never grainy, even after baking.
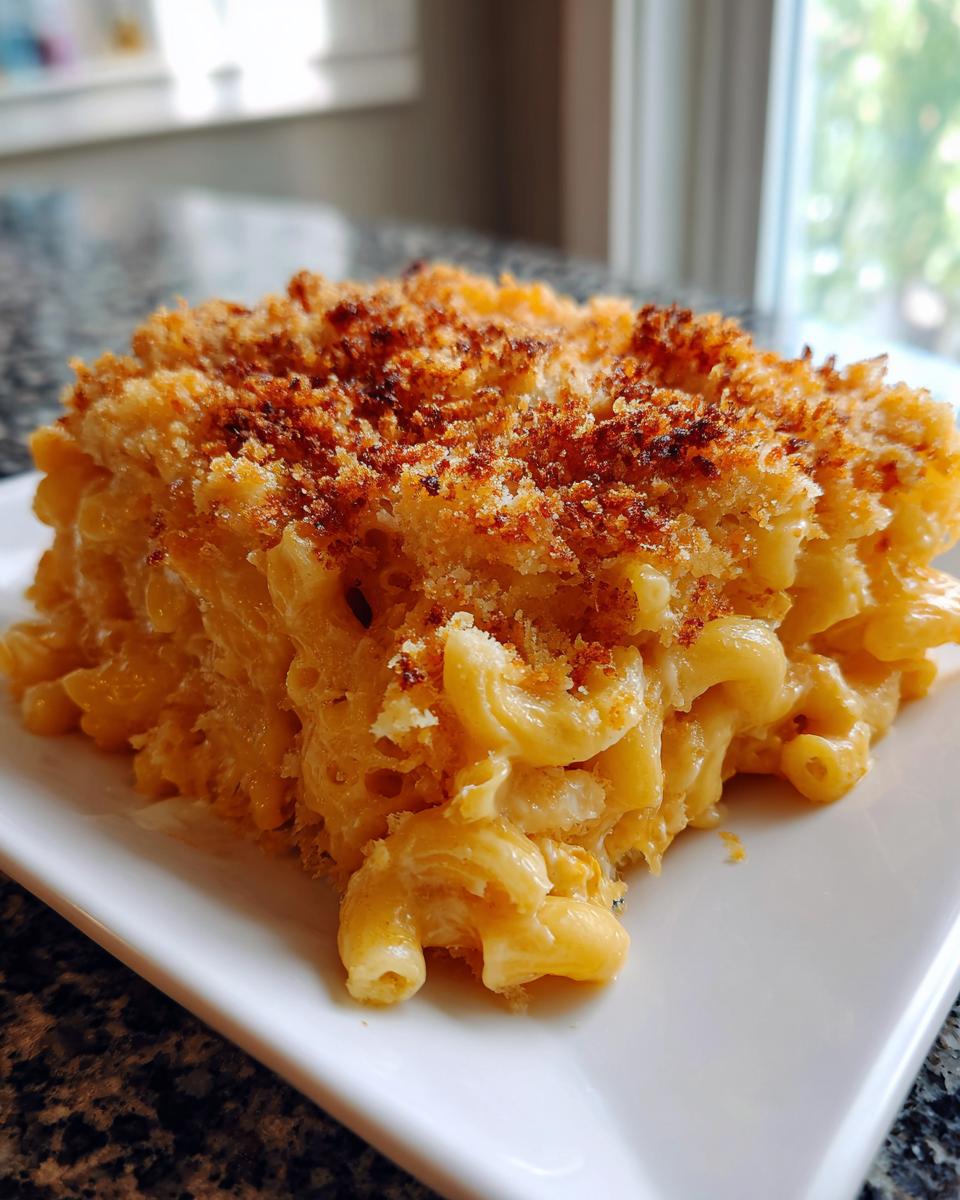
- The Perfect Crunch Factor: Using Panko breadcrumbs tossed in butter creates a shattering crisp top layer. It’s the textural contrast that makes people ask for seconds.
- Family Approved, Fast Finish: It’s simple enough for a Tuesday night but special enough for Sunday supper. It comes out of the oven bubbly and gorgeous in under an hour total!
Ingredients for the Ultimate Baked Mac and Cheese Recipe
Okay, let’s talk about what goes into this magic pot. When I was experimenting with cheese sauces, I learned quickly that ingredients matter—especially when you’re trying to achieve that *ultra cheesy pasta* consistency. You’ll need to gather everything before you start making the roux, trust me on this one; otherwise, you’ll be running around while your butter burns!
This recipe uses a few specific cheeses because they each play a role that keeps the interior perfectly creamy and delicious. If you’re serious about the sauce not turning grainy, please take a moment to buy blocks of cheese and shred them yourself. Pre-shredded cheese has starches in it—anti-caking agents—that just make the béchamel sauce feel gritty instead of smooth. It’s worth the extra ten minutes of grating!
Here is what you need for this baked mac and cheese recipe:
- 1 pound elbow macaroni (or whatever sturdy shape you love!)
- 6 tablespoons unsalted butter, divided (keep four tablespoons for the sauce and two tablespoons separate for the topping later)
- 1/2 cup all-purpose flour
- 4 cups whole milk, warmed (warming the milk helps prevent lumps in the sauce—a tiny trick I picked up!)
- 1 teaspoon salt
- 1/2 teaspoon black pepper
- 1/4 teaspoon nutmeg (This subtle warmth changes everything, don’t skip it!)
- 1/4 teaspoon cayenne pepper (Just a hint for depth, I promise it won’t taste spicy!)
- 8 ounces sharp cheddar cheese, shredded (This is for that classic, slightly tangy flavor)
- 4 ounces Gruyere cheese, shredded (My secret for gourmet flavor and incredible meltability!)
- 4 ounces American cheese, cubed (Yes, the processed kind! It’s the secret stabilizer for that liquid-gold texture. You can use a good quality mild cheddar here if you must, but American melts beautifully.)
- 1 cup Panko breadcrumbs (These create the superior crunch)
- 2 tablespoons melted butter (for tossing with the Panko topping)
If you found this section helpful, you might also love learning how to make my ultra-creamy homemade mayonnaise. It shows you the power of a good emulsion, which is exactly what we’re building in that cheese sauce!
How to Prepare Our Creamy Baked Mac and Cheese Recipe
This is where the magic happens, folks! Getting this right means you skip the dry, sad macaroni casserole failures of the past. We are building a sturdy foundation for our sauce, then folding in the pasta gently for that signature creamy result. Don’t rush the sauce phase—that’s the core of a fantastic skillet cornbread, and it’s the heart of this mac and cheese too!
Prepping Pasta and Baking Dish
First things first, get your environment ready. We need the oven heated to 375 degrees Fahrenheit, and grab that 9×13 inch baking dish. Give it a good light greasing—I use a little butter spray or whatever you have handy. Next, get your elbow macaroni cooking. Here’s the key: cook it slightly less than the package suggests. We want it perfectly *al dente*—a little firm. Remember, it’s going to bake for another 25 minutes, and we don’t want mush! Once it’s ready, drain it really well and set that aside while we tackle the sauce.
Creating the Smooth Cheese Sauce for Your Baked Mac and Cheese Recipe
Time to build the base! Grab a large saucepan and put it over medium heat. Melt four tablespoons of that beautiful butter right in there. As soon as it’s melted, sprinkle in the flour. This mixture is called a roux, and it’s what thickens everything up without any weird lumps. Whisk this together constantly for about one minute—we want to cook out that raw flour taste. Now, slowly whisk in your warmed milk, adding just a little bit at a time so the roux can absorb it smoothly. Keep stirring! You’ll cook this until the sauce is thick enough to coat the back of a spoon. If you drag your finger across the spoon, the line should hold clear for a second or two. This careful whisking is what guarantees a rich, velvety interior for your baked mac and cheese recipe.
Melting Cheese and Assembling the Cheesy Pasta Bake
Once that sauce is perfectly smooth, take the whole thing off the heat—this is super important! If the heat is too high when you add the cheese, it can separate and look oily. Stir in your salt, pepper, nutmeg, and cayenne. Now toss in the shredded cheddar, the Gruyere, and those cubes of American cheese. Stir patiently until everything is completely melted into one gorgeous, gooey river. Seriously, watch that transformation! Now, gently fold in your drained macaroni. Don’t over-stir; we just want every piece coated. Pour all that amazing, creamy casserole mixture into your prepared baking dish.
Achieving the Perfect Panko Topping and Baking
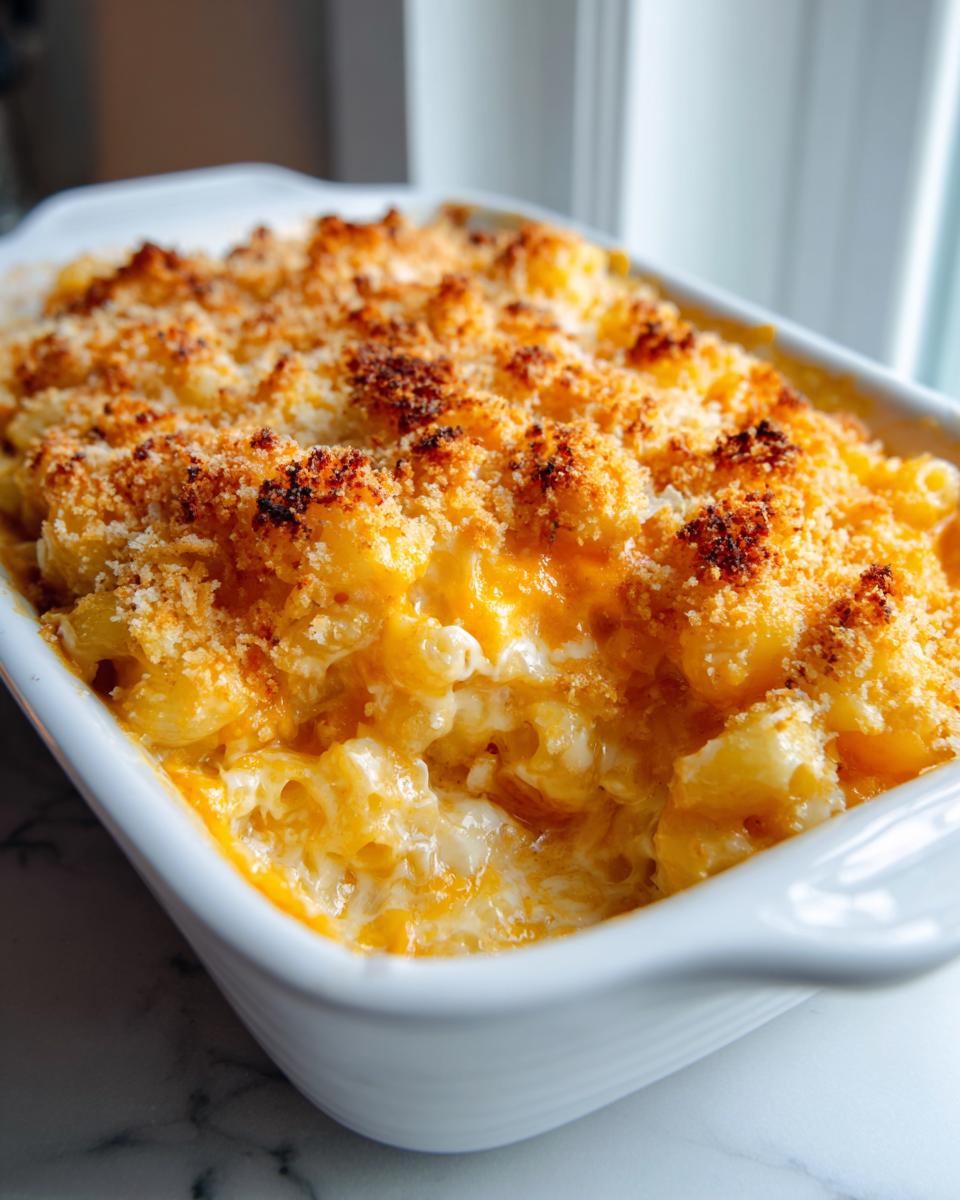
Almost done! Take the remaining two tablespoons of butter and melt it down. Pour that melted butter over the Panko breadcrumbs in a small bowl, and toss them until every crumb looks lightly coated—that butter toasts them up perfectly. Sprinkle this buttery Panko evenly right over the top of the pasta mixture in the dish. Slide it into your preheated 375°F oven. Bake it for about 20 to 25 minutes. You want to see the edges bubbling up happily and that topping turning a rich, inviting golden brown. When you pull it out, let it sit on the counter for about five minutes before you dive in. This lets the sauce settle and firm up just a touch!
Tips for the Best Homemade Macaroni and Cheese
Listen, friends, I’ve made enough cheese sauces in my life to know the little moments that turn a good dish into a *great* one. If you want the absolute best results from this homemade macaroni and cheese, you need to pay attention to a couple of things I noted from my own trials and errors.
First, let’s circle back to that cheese. I cannot stress this enough: shred it yourself! Pre-shredded cheese is a shortcut that steals joy from your sauce. Those anti-caking agents I mentioned just don’t dissolve right, leaving you with a texture that’s just… disappointing. For truly premium results, always buy the blocks. Also, if you want to lean into that deep, soulful flavor profile, try making it a southern style mac and cheese by mixing in a tiny splash of your favorite hot sauce right before you melt the cheese in. It doesn’t make it spicy, it just wakes up the flavor of the cheddar!
And speaking of flavor, when grabbing ingredients for these comfort food recipes, always try to get the sharpest cheddar you can find. It resists breaking down too much during baking and gives you that bold cheese punch you need under all that richness. If you need more reliable tips on ingredient choices, check out my thoughts over on my sugar cookie recipe post—the same principles about quality flour and butter apply here!
Variations for Your Baked Mac and Cheese Recipe
One thing I love about a great base recipe, like this dependable baked mac and cheese recipe, is that it’s just waiting for you to make it your own! While my blend of Cheddar and Gruyere is my gold standard for that ultimate creamy texture, this dish is fantastic for tinkering. Don’t ever feel trapped by the ingredient list; cooking is about joy and making things taste right to *your* family.
If you’re feeling adventurous or just need to use up what’s in the fridge, here are a few ways I like to switch things up:
Swapping Out the Cheese Blend:
- Want a smokier note perfect for a cold evening? Try swapping the Gruyere for smoked Gouda. Be warned, though—smoked Gouda is quite strong, so maybe use a little less Gruyere to balance it out.
- For a touch of tang, Fontina melts like a dream! It’s milder than Gruyere but gives you that beautiful pull when you serve it.
- If you want it extra sharp, you can double up on the sharp cheddar and skip the American cheese, but remember you might need an extra splash of milk or a tiny bit more salt since American cheese adds creaminess and saltiness.
Texture Tweaks for the Topping:
We talked about Panko, but sometimes you don’t have them on hand. Regular breadcrumbs work just fine, but you’ll need a touch more melted butter to make sure they brown nicely instead of just drying out. If you want something truly decadent, crumble up some Ritz crackers or even stale tortilla chips into those crumbs before tossing them in butter. That salty crunch is addictive!
Mix-Ins for Extra Flavor:
I often sneak in colorful veggies or savory meats when I’m serving this as a main dish instead of a side. Chopped, cooked bacon folded in with the pasta is always a huge hit. You could also mix in steamed broccoli florets or caramelized onions. Once you master the core sauce, anything goes! If you’re looking for other great flavor profiles to try after mastering this cheesiness, you might enjoy the richness in my creamy Tuscan chicken. It uses a similar technique for building a deep, flavored sauce!
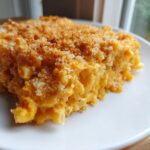
Serving Suggestions for this Cheesy Pasta Bake
Now that you have this glorious, decadent, and ultra-cheesy dish hot from the oven, you might be wondering, “What goes with it?” Honestly, sometimes this cheesy pasta bake is the whole show, and that’s perfectly okay! It’s hearty enough to stand on its own as a fantastic Friday night feast, especially when you’re dealing with picky eaters. It just screams family friendly meals, doesn’t it?
However, if you are like me and like to balance out the richness a bit, especially if you’re taking this to a potluck or serving it alongside other main dishes, you need something bright and simple. The richness of five kinds of cheese needs something zesty or green to cut through it!
Here are my favorite ways to serve up this rich comfort:
- Simple Green Salad: You can’t go wrong with a light vinaigrette. Something with lemon or red wine vinegar is perfect to refresh your palate between bites of that cheesy goodness. Don’t complicate the greens; a mix of romaine and maybe a handful of baby spinach will do the trick.
- Roasted Veggies: If you aren’t making a salad, roast up some simple vegetables. Broccoli, asparagus, or Brussels sprouts tossed only with olive oil, salt, and pepper are ideal. Roasting brings out their natural sweetness, which pairs lovely with the tang of the cheddar.
- Lean Protein Contrast: If you’re serving this as a side dish for a larger gathering, pair it with something lean so the whole meal isn’t too heavy. A simple grilled chicken breast or some baked salmon provides a great counterpoint without competing with the cheese flavor. For a fun, easy dinner idea, I once served bowls of leftover mac and cheese alongside my chicken vegetable soup, and it was oddly perfect for a cold night!
Remember, this really shines as a side dish during the holidays—thanksgiving, Christmas, name a holiday—but I swear, it’s one of my favorite comfort food dinner mains when the weather turns chilly. Just make sure you have plenty of napkins handy!
Storage and Reheating Instructions for Leftover Baked Mac and Cheese
Now, I know what you’re thinking right after you manage to stop eating this straight from the pan: “How do I save this glorious thing for later?” Bless your heart, thinking ahead! Good news: this recipe holds up beautifully, but you have to treat leftovers with respect. We are protecting that legendary creaminess, so forget microwaving a huge brick of it!
The main goal when saving any great cheesy pasta bake is to prevent it from drying out or becoming grainy during the reheat. We want it just as comforting the next day. If you need freezer storage tips for jams, you can check out my process over on my freezer jam recipe hub, but for mac and cheese, refrigeration is usually best for the short term.
Storing Your Cheesy Leftovers
Once the mac and cheese has cooled down completely—and I mean truly cool, not even warm—you need to transfer it immediately to an airtight container. Do not leave it sitting on the counter for hours; cheese dishes need swift refrigeration for safety. You should see great results keeping it covered tightly in the fridge for about three to four days, tops. If you try to use a piece cut from the middle of a big casserole dish that’s been sitting out, you risk drying out the rest of your portion by cutting into it too soon!
Reheating for Optimal Creaminess
This is where most people mess up rich casseroles! If you use the microwave, you’ll likely end up with pasta that’s rubbery on the edges, hot on the outside, and cold in the middle. We want to reheat this gently.
Oven Method (My Favorite):
- Take out the amount you want to eat and place it in a small, oven-safe dish.
- Add just a tiny splash of milk or even a pat of butter right on top of that portion. This sounds silly, but it steams the dish slightly, bringing back moisture.
- Cover the dish tightly with foil. This traps the steam and keeps the topping from burning before the center heats up.
- Bake at a low temperature, maybe 325°F, for about 15 to 20 minutes. If the topping starts looking too brown, take the foil off for the last five minutes only.
Stovetop Method (The Quick Fix):
If you only have a small portion to reheat, sometimes the saucepan works best. Put your portion in a pan over medium-low heat. Add that splash of milk or a tablespoon of cream. Stir it very frequently until it’s heated through. Keep the heat low! This method is hands-on, but it lets you monitor the creaminess perfectly.
Whatever you do, avoid blasting it on high power. Slow and steady wins the race when you are reheating the best comfort food recipes!
Frequently Asked Questions About This Baked Mac and Cheese Recipe
I knew you’d have questions! Cooking delicious, cheesy food like this is simple once you know the little secrets, but there are always little things that pop up when you are trying something new. I’ve pulled together the most common things people ask me when they are preparing this dish for the first time. Since this is the ultimate baked mac and cheese recipe, I want to make sure your first try is a roaring success!
Can I prepare this dish ahead of time for a gathering?
Absolutely, and I actually recommend it if you’re serving a crowd! Here’s my assembly trick: follow all the steps right up until the topping. Mix the pasta with the cheese sauce, put it into your greased baking dish, and cover it tightly with plastic wrap. You can refrigerate the assembled, unbaked casserole for up to 24 hours. When you’re ready to bake, pull it out of the fridge about 30 minutes before you want to pop it in the oven, add your buttered Panko topping, and then add about 5 to 10 extra minutes to the baking time since it’s starting cold.
What is the best pasta shape besides elbow macaroni?
Elbows are classic for a reason—they cup the cheese sauce just right! But truly, any short pasta will work miracles in this gooey dish. I often use shells because they hold so much sauce inside, making every bite extra flavorful. You could also look for cavatappi or even medium shells. Just make sure whatever you choose is sturdy enough that it doesn’t turn to complete mush when you cook it *al dente* for our recipe!
My cheese sauce always breaks or gets grainy. How do I prevent that with this recipe?
Oh, I hear you! That happens when the cheese gets too hot and the proteins seize up. My foolproof method involves two things we covered above! First, the American cheese is our stabilizer—it’s sneaky but powerful in keeping things smooth. Second, and most importantly: always, always take the sauce completely off the heat before adding *any* of your shredded cheeses. Let the residual heat melt them slowly. If you want to see other places where building a smooth base is crucial, check out my tips for making homemade naan bread—it’s all about gentle heat!
Is this considered a main dish or a side dish for Family Friendly Meals?
It depends on the day and how much I’m making! Honestly, for us, it’s usually the star of the show—a main course that satisfies that deep-seated need for carbs and cheese. If you add some protein like cooked ham, shredded chicken, or bacon bits to the pasta before baking, it’s a complete, hearty meal. If you are serving it alongside a big turkey or ham for a holiday, then it definitely steps into the perfect cheesy side dish role. It’s versatile, which I love for stocking up on good family friendly meals!
Estimated Nutritional Data for This Comfort Food Recipe
Now, I want to be super clear here, because I’m a home cook, not a registered nutritionist! The figures below are just rough estimates based on the standard measurements of the ingredients listed in our recipe. They don’t account for any variations you toss in, like adding extra bacon or swapping out whole milk for half-and-half. Think of this as a general guide for our beloved comfort food recipe.
For one standard serving (the recipe yields about 8 generous portions):
- Calories: Around 550
- Fat: Roughly 32 grams (Yes, it’s rich, but oh so worth it!)
- Protein: About 25 grams
- Carbohydrates: Approximately 48 grams
If you are interested in balancing out your meals a bit more deeply, you can see how I plan my cooking around healthier profiles on my guide to anti-inflammatory dinners. But sometimes, you just need the cheese, right?
Share Your Experience with This Baked Mac and Cheese Recipe
That’s it, my friends! You have everything you need to take your mac and cheese game from “good” to legendary. I absolutely love hearing back from you when you try one of my family-tested recipes. When you serve this up, whether it’s for a casual weeknight or a big holiday potluck, I want to know how it went!
Please tell me what you thought! Did your family love the Gruyere edge? Did you decide to sneak in some bacon? Drop your star rating by the recipe card below and leave a comment. It helps other home cooks know this is the trusted, reliable recipe to choose when they need serious comfort food. Happy cooking, and come back soon!
PrintThe Ultimate Creamy Baked Mac and Cheese with Crispy Panko Topping
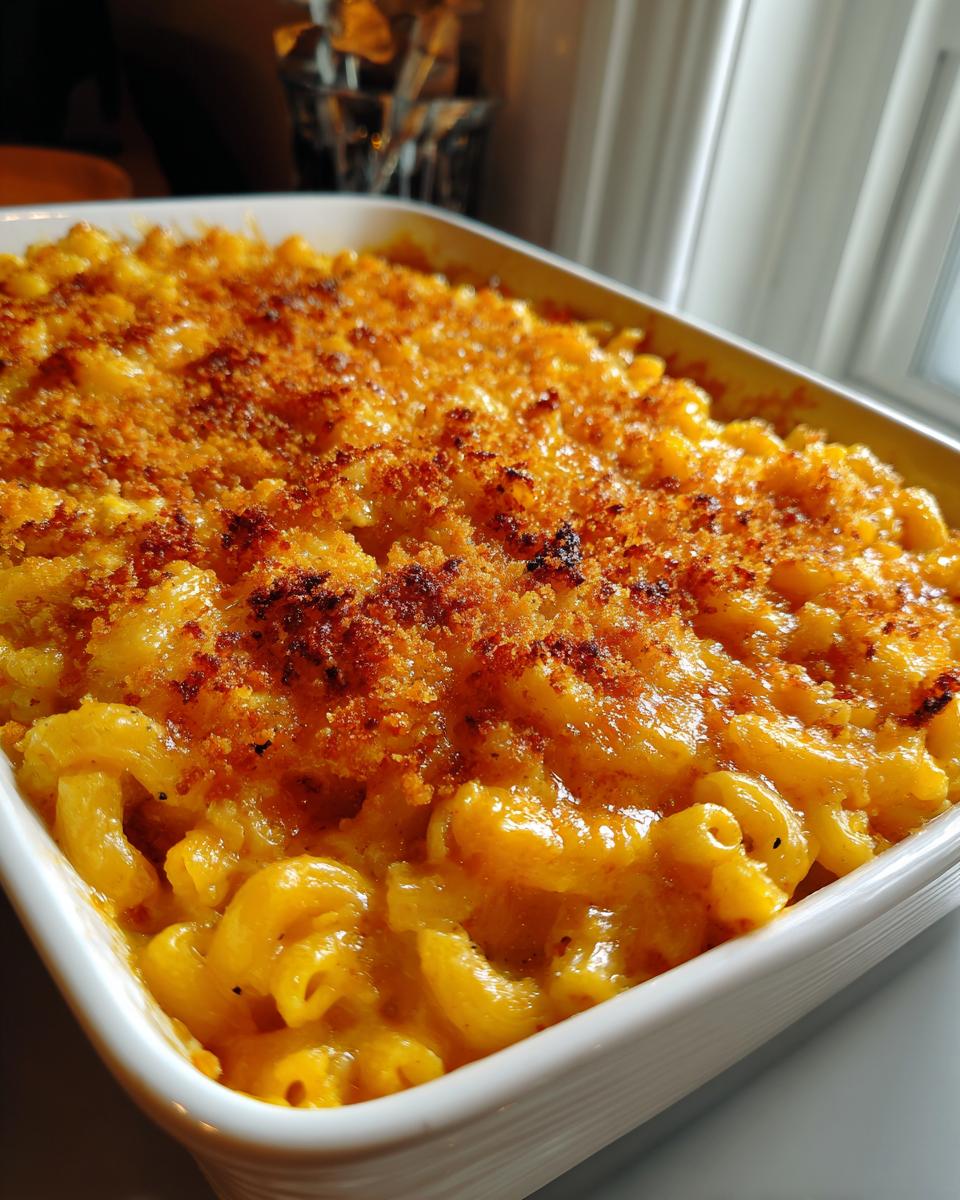
This baked mac and cheese recipe delivers a rich, creamy interior using a blend of sharp cheddar and Gruyere, topped with a perfectly golden, crunchy panko crust. It is simple to prepare and ideal for weeknight dinners or family gatherings.
- Prep Time: 15 min
- Cook Time: 25 min
- Total Time: 40 min
- Yield: 8 servings 1x
- Category: Dinner
- Method: Baking
- Cuisine: American
- Diet: Vegetarian
Ingredients
- 1 pound elbow macaroni
- 6 tablespoons unsalted butter, divided
- 1/2 cup all-purpose flour
- 4 cups whole milk, warmed
- 1 teaspoon salt
- 1/2 teaspoon black pepper
- 1/4 teaspoon nutmeg
- 1/4 teaspoon cayenne pepper
- 8 ounces sharp cheddar cheese, shredded
- 4 ounces Gruyere cheese, shredded
- 4 ounces American cheese, cubed
- 1 cup Panko breadcrumbs
- 2 tablespoons melted butter (for topping)
Instructions
- Preheat your oven to 375 degrees Fahrenheit. Lightly grease a 9×13 inch baking dish.
- Cook the macaroni according to package directions until al dente. Drain well and set aside.
- While the pasta cooks, make the cheese sauce. In a large saucepan over medium heat, melt 4 tablespoons of butter. Whisk in the flour and cook for one minute, stirring constantly.
- Gradually whisk in the warm milk until the mixture is smooth. Continue cooking, stirring often, until the sauce thickens enough to coat the back of a spoon, about 5 to 7 minutes. Do not let it boil rapidly.
- Remove the saucepan from the heat. Stir in the salt, pepper, nutmeg, and cayenne pepper.
- Add the shredded cheddar, Gruyere, and cubed American cheese to the sauce. Stir until all the cheese is completely melted and the sauce is smooth and creamy.
- Fold the cooked, drained macaroni into the cheese sauce until the pasta is fully coated. Pour the mixture into the prepared baking dish.
- In a small bowl, toss the Panko breadcrumbs with the remaining 2 tablespoons of melted butter. Sprinkle the buttered Panko evenly over the top of the macaroni and cheese.
- Bake for 20 to 25 minutes, or until the sauce is bubbly and the topping is golden brown and crisp.
- Let the baked mac and cheese rest for 5 minutes before serving.
Notes
- Shred your own cheese from blocks; pre-shredded cheese contains anti-caking agents that can make your sauce grainy.
- For a Southern Style Mac and Cheese flavor, add a dash of hot sauce to the cheese sauce.
- You can substitute the Panko topping with crushed crackers or regular breadcrumbs if you prefer a softer crust.
Nutrition
- Serving Size: 1 serving
- Calories: 550
- Sugar: 6
- Sodium: 650
- Fat: 32
- Saturated Fat: 18
- Unsaturated Fat: 14
- Trans Fat: 1
- Carbohydrates: 48
- Fiber: 2
- Protein: 25
- Cholesterol: 95