

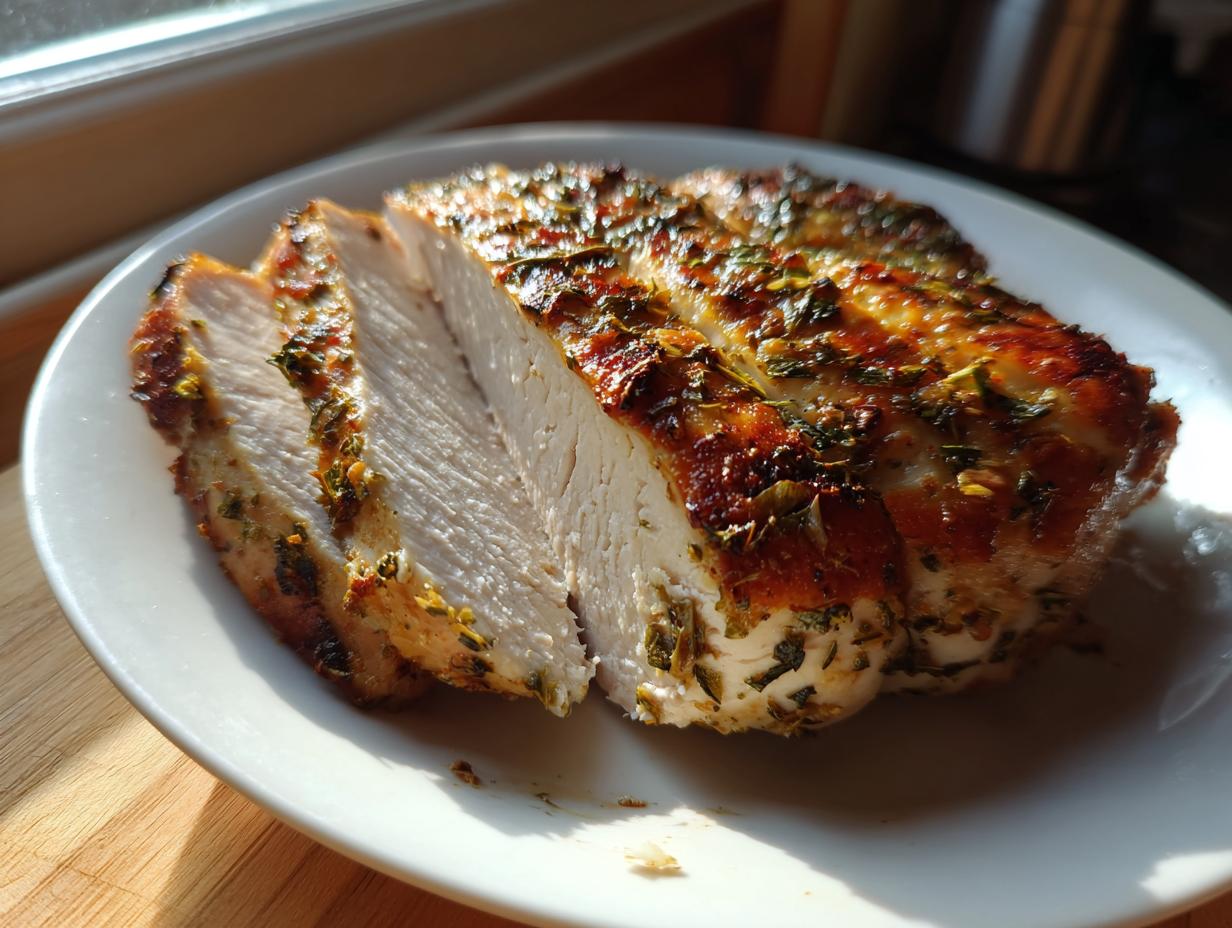
Oh, how I dread that sound: the sad, disappointing *thud* of a dry, rubbery chicken breast hitting the dinner plate. It’s enough to make you want to throw in the towel on making anything in the oven! But trust me, that doesn’t have to be your reality. Here at Rosa’s Tasty Kitchen, we believe that wholesome, delicious food should be easy, especially on those crazy weeknights after school pickup. That’s why I perfected this specific baked chicken breast recipe; it uses simple techniques to lock in moisture, guaranteeing you a tender, flavorful meal every time. We’re talking about that rich, savory Garlic Butter flavor that everyone asks for seconds of!
- Why This Garlic Butter Baked Chicken Breast Recipe Works (The Secret to Tender Baked Chicken)
- Gathering Ingredients for Your Juicy Garlic Butter Baked Chicken Breast
- Step-by-Step Instructions for the Perfect Oven Baked Chicken Breast
- Tips for Making Baked Chicken Breast for Meal Prep
- Serving Suggestions for Your Weeknight Chicken Dinner
- Common Questions About How to Bake Chicken Breast Perfectly
- Estimated Nutritional Data for Garlic Butter Baked Chicken Breast
- Share Your Results: Making This Oven Chicken Recipe a Family Favorite
Why This Garlic Butter Baked Chicken Breast Recipe Works (The Secret to Tender Baked Chicken)
Listen, I’ve been there—you blink, and suddenly your chicken looks like shoe leather. The number one reason people fail with oven baked chicken breast is trust, or lack thereof, in their cooking time! My method is all about creating an armor of fat around the protein. That melted garlic butter isn’t just for flavor; it physically shields the delicate meat from the oven’s intense heat, which is the key to no dry chicken breast. We are creating a seal!

For the absolute tender baked chicken experience, the thickness has to be even. My grandmother always taught me to gently pound the thicker end of the chicken breast until the whole piece is roughly the same size. It cooks uniformly, meaning you aren’t overcooking the thin side while waiting for the thick part to finish. Find more of my tips for moist poultry over at my Greek Lemon Garlic Chicken recipe—the principle of even cooking is the same there, too!
Achieving Melt In Your Mouth Chicken Every Time
If you skip these last two steps, everything else was almost for nothing. You must grab a meat thermometer! Cooking the chicken until it hits precisely 165°F is the only way to guarantee you’ve hit that juicy baked chicken breast sweet spot. Once it’s there, pull it out, transfer it to a clean plate, and please, let it rest for five full minutes. That mandatory rest lets the juices redistribute back into the muscle fibers. That, my friends, is how you get true melt in your mouth chicken.
Gathering Ingredients for Your Juicy Garlic Butter Baked Chicken Breast
Let’s get organized! With a recipe this straightforward, the quality of your ingredients really shines through. We aren’t using a million things, so let’s make sure we have exactly what we need for this easy chicken breast recipe. Remember, precision here sets us up for that fuss-free cleanup later on. You only need a few things, mostly pantry staples, plus four nice, plump chicken breasts.
- 4 boneless, skinless chicken breasts
- 2 tablespoons unsalted butter, melted
- 2 cloves garlic, minced
- 1 teaspoon dried Italian seasoning
- 1/2 teaspoon salt
- 1/4 teaspoon black pepper
- 1/4 teaspoon paprika
- 1 tablespoon fresh parsley, chopped (we use this just for a pretty garnish at the end)
Ingredient Notes and Substitutions for Baked Chicken Breast
This combination you see here is naturally Keto and it’s also Gluten-Free friendly, which I love for making sure everyone at the table is happy. If you are doing Whole30, just check your Italian seasoning bottle to make sure there’s no added sugar hiding in there—most basic blends are fine, but we always check, right?
The melted butter is crucial; it’s our primary delivery system for the garlic and spices, coating every surface to make this the best baked chicken seasoning we have!
Step-by-Step Instructions for the Perfect Oven Baked Chicken Breast
Okay, time to put it all together! If you’ve prepped your ingredients like we talked about, getting dinner on the table will feel like a breeze—honestly, this is why it’s such a reliable weeknight chicken dinner. We are moving fast but carefully, because rushing the steps leads right back to that dry chicken we are trying to escape!
First up, get that oven hot. We need it at 400 degrees Fahrenheit. While it’s warming up, grab your baking dish and give it a quick grease, or line it with foil—that’s my trick for the simple chicken bake cleanup later, I promise it’s worth it!
Preparing the Garlic Butter Seasoning Mix
In a small bowl, just whisk together that melted butter with the minced garlic, the Italian seasoning, salt, pepper, and paprika. Don’t overthink this part; just mix it until it looks like a rich, fragrant paste. This simple step creates the best baked chicken seasoning blend you’ll ever use.
Baking Time and Temperature for Baked Chicken Breast
Now, this is where magic happens for the oven baked chicken breast. Take your dried chicken breasts and brush that whole butter mixture over every single nook and cranny. Place them in the prepared dish. Bake them for about 20 to 25 minutes. Remember what I said: check for 165°F internal heat with your thermometer! If you don’t know the internal temp, you’re guessing, and we don’t guess when achieving that tender baked chicken!
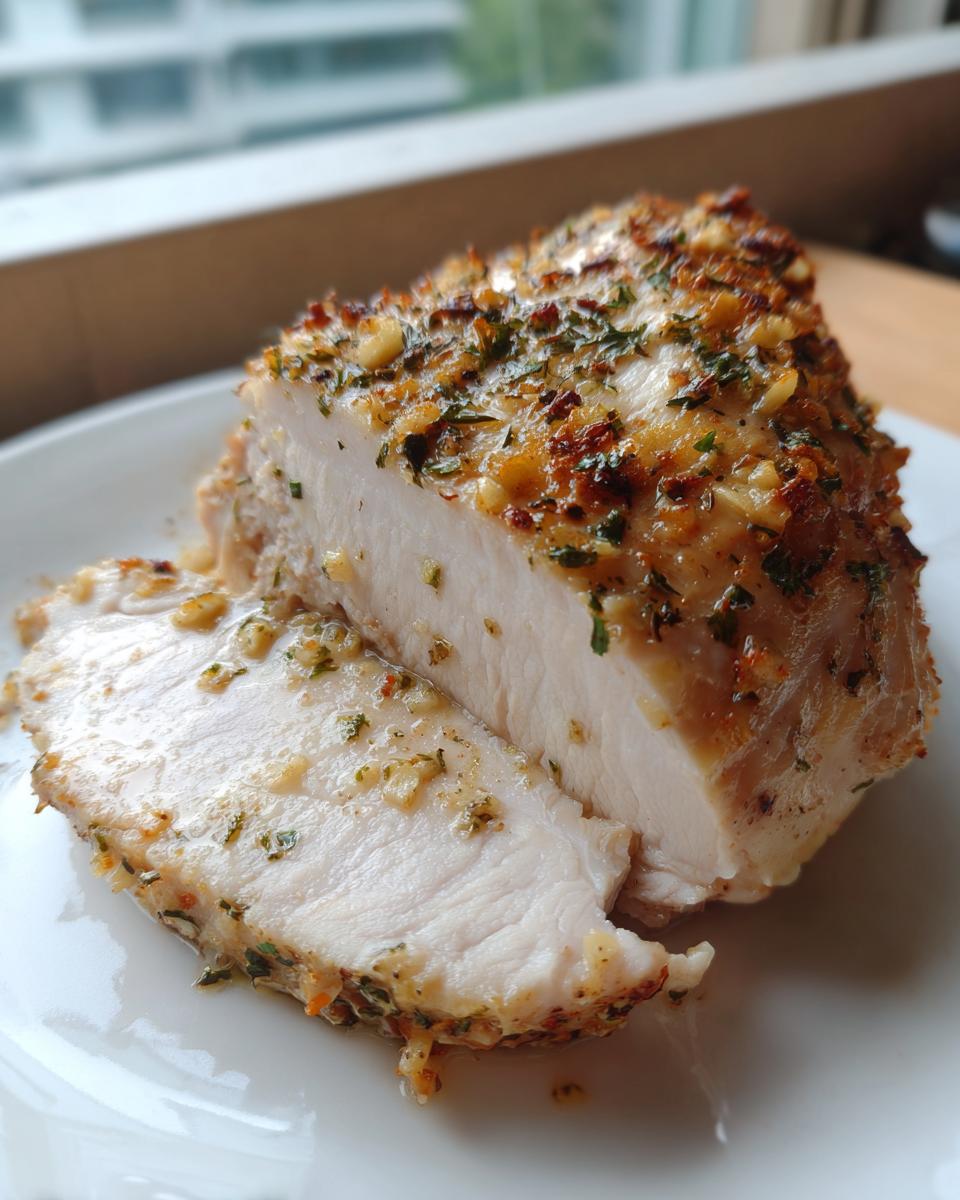
When they come out—and this is critical—let them sit on a plate, covered loosely, for 5 minutes before slicing. That resting period is non-negotiable for juicy results. You can see how others have had amazing results with their oven baked chicken breast following this technique!
Tips for Making Baked Chicken Breast for Meal Prep
I know sometimes we don’t eat dinner right away; sometimes we need an easy chicken breast recipe that can hang out until Wednesday lunch! Making this garlic butter chicken breast for a baked chicken breast for meal prep situation is a total lifesaver, but you have to treat it differently right after it comes out of the oven.
The number one rule for meal prepping chicken is that cooling process. You need to let the chicken rest fully after baking—don’t slice it hot! Let it cool down on the counter for a good 30 minutes, or until it’s just warm to the touch before you try to slice it. Slicing it piping hot releases all that beautiful juice we worked so hard to keep trapped inside.
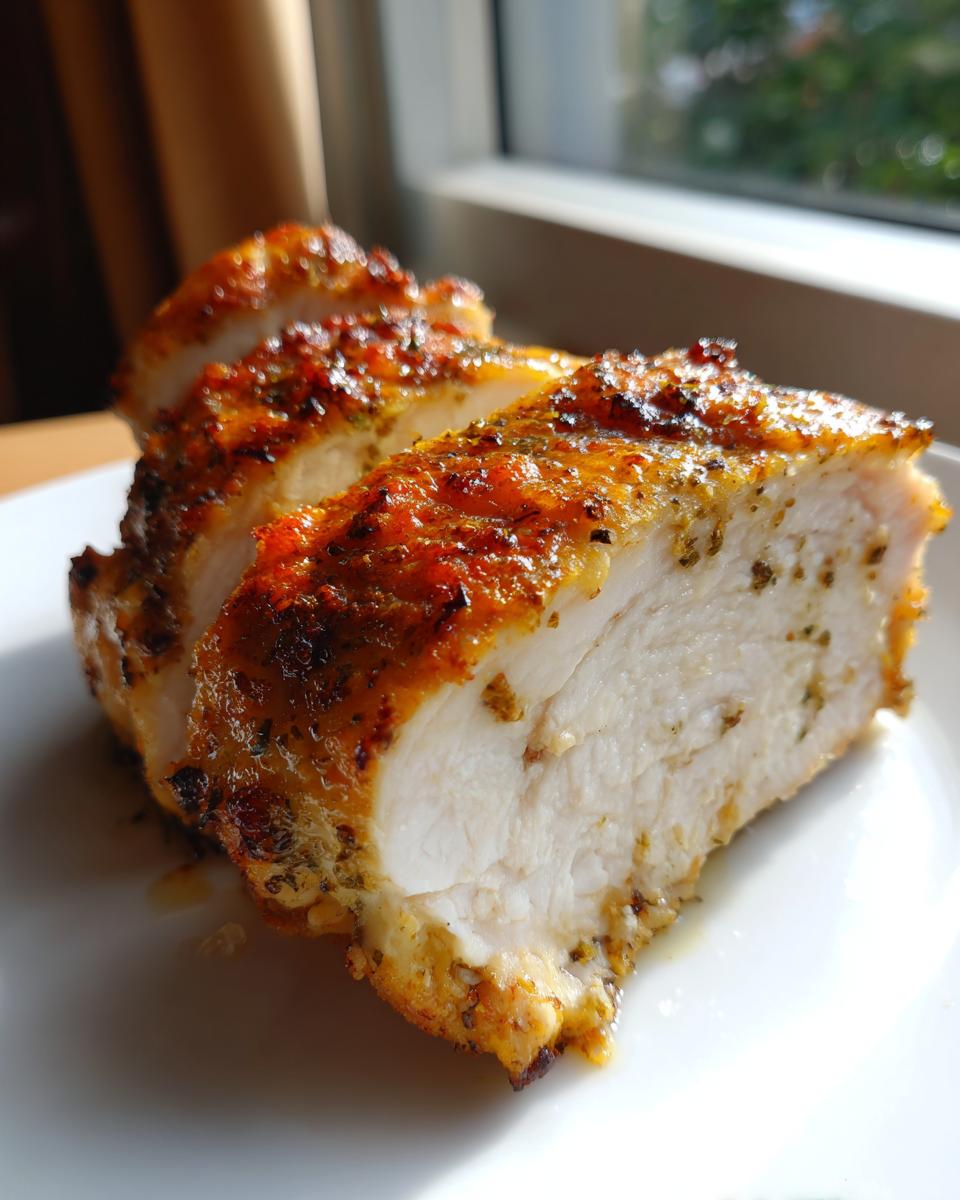
Once it’s sliced (or you can keep the whole breast whole, whatever keeps you happy), store it in an airtight container. It keeps beautifully in the fridge for about four days. If you want mine a little extra tender when reheating, I sometimes drizzle a tiny spoonful of broth over the top before sealing the meal prep container. It keeps things moist for reheating later. If you need some great ideas to use up that prepped chicken, check out my creamy corn chowder—it’s perfection in a bowl!
Serving Suggestions for Your Weeknight Chicken Dinner
Now that you have this unbelievably juicy baked chicken breast, you need sides that can keep up without adding a ton of extra dishes to your sink! That’s what I love about this weeknight chicken dinner—it’s so flexible. If you’re looking for the easiest route? We talked about adding veggies right into the pan during the last 15 minutes. Broccoli florets or some asparagus spears tossed with a tiny bit of olive oil cook right alongside the chicken. Zero extra pots!
For heartier sides that still keep things quick, I usually pair this with roasted sweet potatoes—they take about the same time as the chicken and offer a lovely sweetness against our salty garlic butter. If I’m short on time, a simple bag of steamed green beans sprinkled with slivered almonds is perfect.
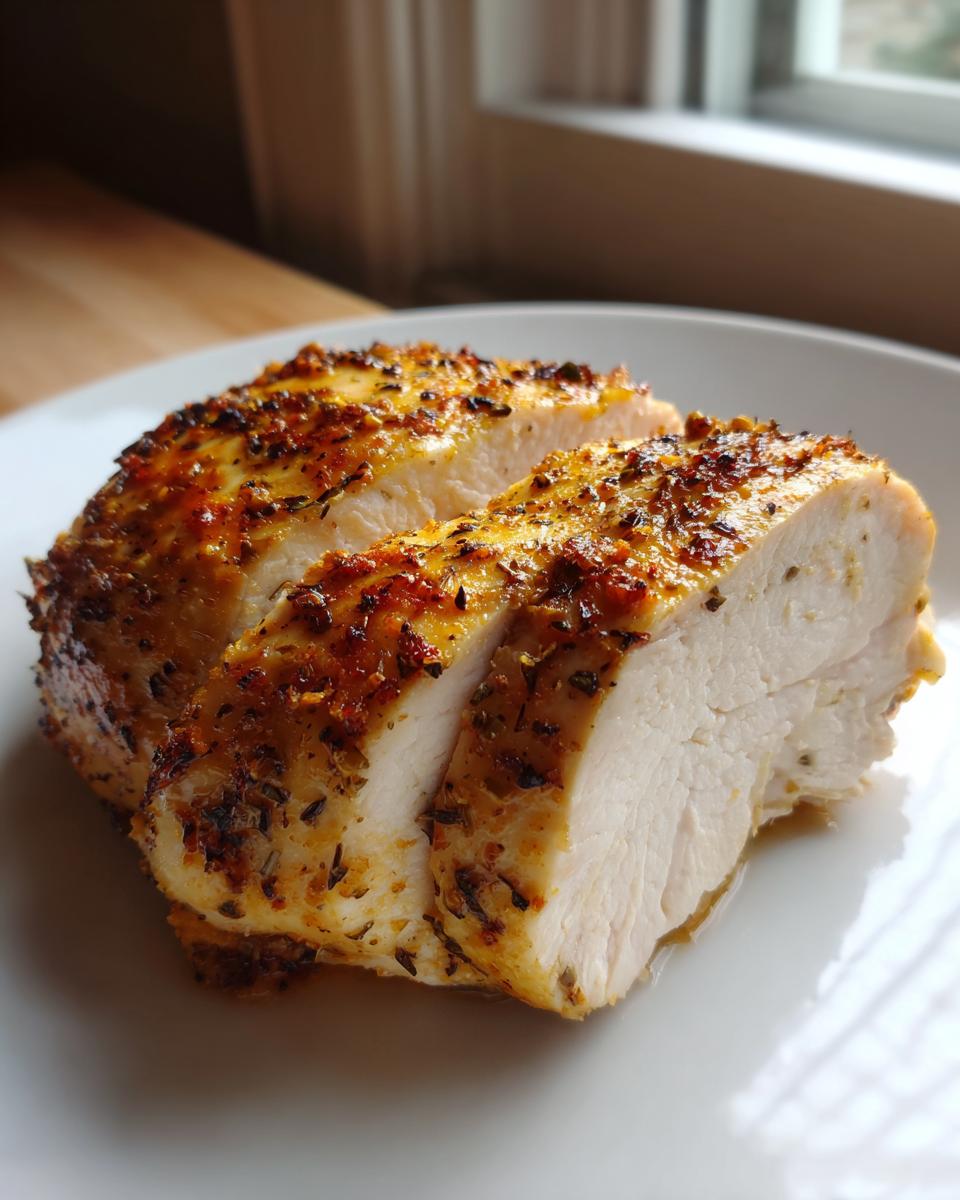
If you want to turn this into soup later in the week, you absolutely can! Check out my go-to chicken vegetable soup recipe—shred this baked chicken straight from the container. For more simple dinner inspiration, see what other folks are making with their garlic butter chicken over at Sara’s site: Garlic Butter Baked Chicken Breast Recipe.
Common Questions About How to Bake Chicken Breast Perfectly
I get so many emails asking little tweaks here and there, and honestly, those questions are the best because they help us all become better cooks. Since we’ve dialed in this method for guaranteed moisture—this is surely the best baked chicken seasoning blend—let’s tackle a few things that always pop up when people try to make the perfect oven chicken recipes at home.
Can I use frozen chicken breasts for this baked chicken breast recipe?
Oh dear, I really wouldn’t recommend it if you want a good result. Starting with frozen means you are gambling with a consistent temperature, and that usually leads to mushy spots when you try for a quick chicken dinner idea. If it’s an emergency, you must thaw them completely first in the fridge overnight!
What is the best way to ensure my baked chicken breast stays moist?
It really boils down to two things we talked about: Use that meat thermometer to pull it at exactly 165°F, and then you absolutely must let it rest for five minutes before slicing. If you skip the rest, all that beautiful moisture just runs right out onto the cutting board. That’s the secret sauce for juicy baked chicken breast, plain and simple.
How can I adapt this simple chicken bake for different spice preferences?
The base of garlic and butter is amazing, but you can definitely switch up the Italian seasoning. If you want more heat, swap it out for a teaspoon of Cajun spice mix—wow, that adds a kick to this simple chicken bake! For a smoky depth, try swapping the Italian seasoning for smoked paprika and a pinch of cumin. Feel free to check out more detailed timing guides for changes like those on my dedicated guide on baking chicken, or see what the folks over at Plating’s & Pairings suggest for timing adjustments here: how to bake chicken breasts.
Estimated Nutritional Data for Garlic Butter Baked Chicken Breast
Now, I always tell folks here at the kitchen that these numbers are just a starting point! Because we all use slightly different brands—and I know some of you add extra garlic like I do—these figures are estimates based on the core ingredients in this healthy chicken breast recipe.
For one serving (one breast), here’s what you can generally expect:
- Calories: Roughly 250
- Protein: A fantastic 32 grams!
- Fat: Around 12 grams
- Carbohydrates: Only 2 grams!
- Sodium is about 350mg.
Because this recipe is primarily chicken and butter, it fits perfectly into many healthy eating plans. Just be mindful of your salt shaker when seasoning, since salt content can vary widely between brands.
Share Your Results: Making This Oven Chicken Recipe a Family Favorite
I truly hope this turns out to be one of your favorite oven chicken recipes! Knowing that this simple garlic butter chicken breast made it onto your table is the best feeling in the world for me. If you tried this method and loved how juicy your chicken turned out, please come back and leave me a star rating right here on the page!
Don’t be shy—I want to hear about your experience! Did you make it Keto? Did you serve it with roasted potatoes? Snap a picture and tag me on social media so I can see your beautiful work. Find out more about my own kitchen journey over at the About Page. Happy cooking, everyone!
PrintJuicy Garlic Butter Baked Chicken Breast
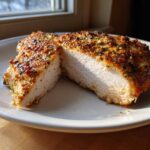
Make tender, juicy baked chicken breast every time with this simple garlic butter recipe. It is perfect for quick weeknight dinners and requires minimal cleanup.
- Prep Time: 10 min
- Cook Time: 25 min
- Total Time: 35 min
- Yield: 4 servings 1x
- Category: Dinner
- Method: Baking
- Cuisine: American
- Diet: Gluten Free
Ingredients
- 4 boneless, skinless chicken breasts
- 2 tablespoons unsalted butter, melted
- 2 cloves garlic, minced
- 1 teaspoon dried Italian seasoning
- 1/2 teaspoon salt
- 1/4 teaspoon black pepper
- 1/4 teaspoon paprika
- 1 tablespoon fresh parsley, chopped (for garnish)
Instructions
- Preheat your oven to 400 degrees Fahrenheit. Lightly grease a baking dish or line it with foil for easier cleanup.
- In a small bowl, mix the melted butter, minced garlic, Italian seasoning, salt, pepper, and paprika. This is your best baked chicken seasoning.
- Pat the chicken breasts dry with paper towels. This step helps the seasoning adhere and promotes better browning.
- Place the dried chicken breasts in the prepared baking dish.
- Brush the garlic butter mixture evenly over the top and sides of each chicken breast.
- Bake for 20 to 25 minutes, or until an internal temperature of 165 degrees Fahrenheit is reached in the thickest part of the breast. Use a meat thermometer to check for doneness to avoid dry chicken breast.
- Remove the chicken from the oven and let it rest for 5 minutes before slicing. Resting keeps the chicken juicy.
- Garnish with fresh parsley before serving your melt in your mouth chicken.
Notes
- For extra flavor and moisture, you can pound the chicken breasts to an even thickness before seasoning.
- This recipe is naturally Keto and Gluten-Free. For Whole30 compliance, ensure your Italian seasoning does not contain sugar.
- To make this a one-pan dinner, add vegetables like broccoli or asparagus to the baking dish during the last 15 minutes of cooking.
Nutrition
- Serving Size: 1 breast
- Calories: 250
- Sugar: 1
- Sodium: 350
- Fat: 12
- Saturated Fat: 6
- Unsaturated Fat: 6
- Trans Fat: 0
- Carbohydrates: 2
- Fiber: 0
- Protein: 32
- Cholesterol: 95