

Oh, the tragedy of beautiful sugar cookies ruined by sad, runny icing! I’ve been there, my friends. You spend all this time cutting out perfect shapes, you bake them just right, and then the icing just… flops. It sinks, it swirls into a muddy mess, and forget about stacking them for a bake sale or gifting them. It’s enough to make you want to skip decorating altogether! Trust me, after years of teaching and wrangling my own crew, I needed a cookie icing recipe that was fail-proof and worked perfectly right out of the bowl. This isn’t some fussy royal icing that requires a chemistry degree; this is my go-to, easy cookie icing recipe that gives you that beautiful, smooth, glossy finish that hardens up just right for any cut-out cookie you can dream up. You deserve icing that does what you tell it to do! You can pair this icing perfectly with my amazing fruit pizza sugar cookie base, actually!
When I was teaching full-time and trying to keep up with holiday cookie decorating, reliability won every time. You need a beginner cookie icing that delivers professional-looking results without a million bowls and separate egg white tempering. This formula uses meringue powder, which is my secret weapon for stability, consistency, and that satisfying, hard shell. Seriously, once you master this, you’ll never go back. You can trace those precise lines, flood those centers perfectly, and stack those decorated gems high!
- Why This is the Best Cookie Icing Recipe for Decorating
- Ingredients for Your Easy Cookie Icing Recipe
- How to Make Cookie Icing: Step-by-Step Instructions
- Tips for Success with Your Sugar Cookie Icing Recipe
- Coloring Your Glossy Icing for Cookies
- Storage and Reheating Instructions for Leftover Cookie Icing Recipe
- Frequently Asked Questions About This Cookie Icing Recipe
- Serving Suggestions for Decorated Cookies
- Estimated Nutritional Data for This Cookie Icing Recipe
- Serving Suggestions for Decorated Cookies
- Estimated Nutritional Data for This Cookie Icing Recipe
Why This is the Best Cookie Icing Recipe for Decorating
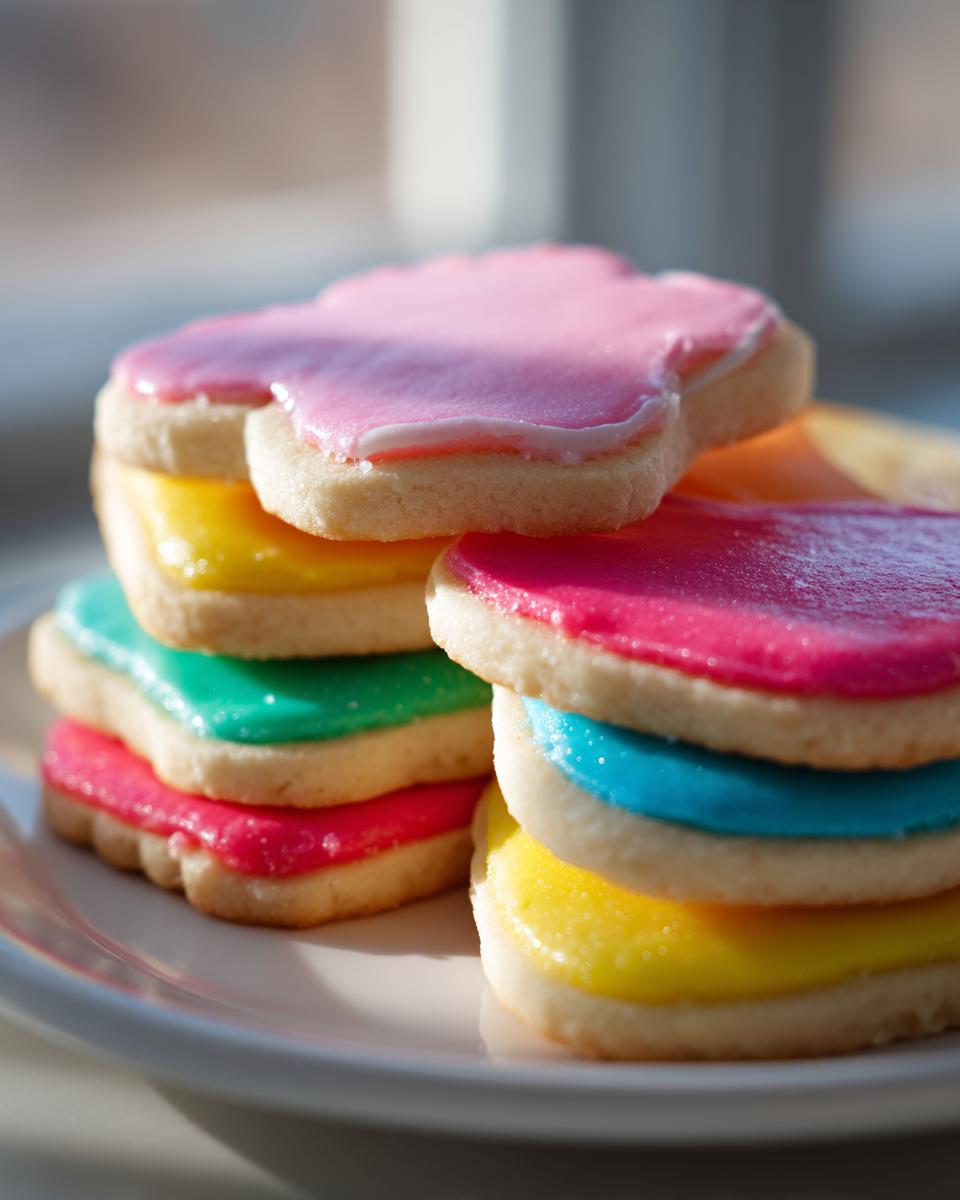
I trust this recipe completely because it solves all the decorating panic attacks I used to have. This isn’t some runny sugar glaze; this is icing that hardens for cookies beautifully. When you’re making cut-out cookies for gifts or holidays, you need that sharp, clean line, and this provides it. It dries down into such a smooth cookie decorating icing, giving you that professional, glossy finish every single time. You get the best of both worlds here: it holds its shape perfectly for those detailed outlines, but it melts beautifully into a seamless surface when you flood the centers.
If you’re a fan of my chewy snickerdoodle recipe, you’ll appreciate that this icing is just as dependable! It’s ready to go quickly, but the results look like you spent hours fussing over them.
Achieving That Perfect Icing Consistency
This is where the magic happens, and it’s surprisingly easy. You need two main textures, and you make them in the same batch. The very first mix you get, right after beating for 3 to 5 minutes, is your stiff consistency. That’s your piping base—it needs to be thick enough to hold a shape without spreading past your outline. Think of thick toothpaste!
Then, you thin just portions of it. For the flooding part, you need that thinner texture. We’re looking for that ‘ribbon stage’ where the icing drips off a whisk and slowly disappears back into the bowl after about ten seconds. That tells you the perfect icing consistency is achieved for filling everything in smoothly.
Ingredients for Your Easy Cookie Icing Recipe
Okay, let’s talk supplies! For this phenomenal and reliable cookie icing recipe, we are keeping things simple, but note that precision matters here. We aren’t talking about using just any sugar; we need the right powders to get that hard, glossy shell you’re looking for. If you follow this list, you are already halfway to having the prettiest cookies on the block!
Here is what you need for your bowl:
- 4 cups confectioners’ sugar, and I mean sifted! No one wants lumps of sugar breaking up their beautiful design.
- 3 tablespoons of meringue powder. This is your backbone; don’t skip it.
- 1/2 cup warm water, plus a little extra in case you need to adjust it later.
- 1 teaspoon vanilla extract—use the good stuff if you can!
This batch is generous! It usually covers about two dozen medium-sized cut-out cookies, which is the perfect amount for a small family baking afternoon.
Ingredient Notes and Corn Syrup Free Cookie Icing Options
Now, I know some of you might be trying to avoid corn syrup, and that’s totally fair! We actually have a great alternative right in these notes. If you want a corn syrup free cookie icing, you can absolutely swap the water in the main recipe for an equal amount of milk or even clear vanilla extract.
I should warn you though, sometimes substituting the water changes the way it sets up just a tiny bit. It might be slightly softer than the version with water, but honestly, it still works great for decorating unless you need it rock-hard for shipping. Test a small batch first if you’re nervous, but it’s a fantastic swap!
How to Make Cookie Icing: Step-by-Step Instructions
Learning how to make cookie icing that behaves like a dream is less about magic and more about timing! Since this is a no-bake recipe, our focus is entirely on mechanical mixing time. You’re aiming for smooth layers, and that starts right now. We combine the dry powders first, then slowly bring in the wet ingredients before whipping it into submission!
First things first, make sure that confectioners’ sugar is sifted. Trust me, it saves you so much grief later. Once your sugar and meringue powder are happy together in the bowl, you add that warm water and vanilla.
Mixing for Stiff Piping Consistency
This phase is critical if you want those clean, professional borders. Start your mixer on the absolute lowest speed. We don’t want a sugar explosion all over the kitchen, right? Just mix until it looks shaggy and everything is incorporated. Then, crank that mixer up to medium-high. You need to beat this for a solid 3 to 5 minutes. Yep, that long! This extended beating process is what incorporates the air and makes the mixture glossy and stiff. That stiff consistency is what you’ll use for piping outlines on your cookies.
Adjusting for Fill and Flood Icing Recipe
Once you have your stiff base, you’ll pull out some of that icing—maybe half, depending on how much you need to flood. This is when we thin it down to our fill and flood icing recipe stage. You add water, just one teaspoon at a time, mixing it in completely before adding more. You stop when you achieve that perfect ribbon stage. You’ll know it when you see it: when you lift your whisk, the icing pours off in a thick ribbon, and it takes about ten seconds for that ribbon to fully disappear back into the body of the icing. That means it will flow beautifully across your cookie, giving you that impossibly glossy icing for cookies finish!
Once the flooding is done, those cut-out cookies just need to rest. You can check out how they ice their sugar cookies over there for another perspective, but generally, let them sit uncovered on the counter until they’re completely dry. You can start thinking about your easy creamy chicken alfredo for dinner while you wait!
Tips for Success with Your Sugar Cookie Icing Recipe
Even with the best cookie icing recipe, things can sometimes go sideways, right? Don’t panic if your icing seems too thin or too thick—it’s totally fixable! This is how I learned to rescue batches, especially when I was rushing after school lets out. I remember one Christmas Eve, I made my flood icing way too thin. It was flowing right over the edges, turning my lovely reindeer cookies into puddles! My fix? I scrapped the runny stuff and slowly mixed in just two tablespoons of extra sifted confectioners’ sugar until it reached that perfect 10-second ribbon consistency again.
Here are a few things I always stick to for guaranteed success:
- If it’s too thin for flooding, don’t panic! Just add extra sifted confectioners’ sugar, one tablespoon at a time, until it flows right. See how simple that rescue is?
- If you think it’s too thick overall, a teaspoon of warm water is all you need. Slowly does it—you can always add more liquid, but you can’t take it out easily!
- If you’re coloring your icing, stick to gel paste coloring. I learned early on that liquid drops add too much moisture and break down the structure you worked so hard to build up with all that beating.
For troubleshooting tips on getting that smooth finish, I find checking out what others suggest helps too, like the advice they have over at Vita Recipe Hub.
Keep these tips handy, and remember that even minor hiccups can be fixed with a little patience and maybe a little smoked salmon dip while you wait for the next batch to dry!
Coloring Your Glossy Icing for Cookies
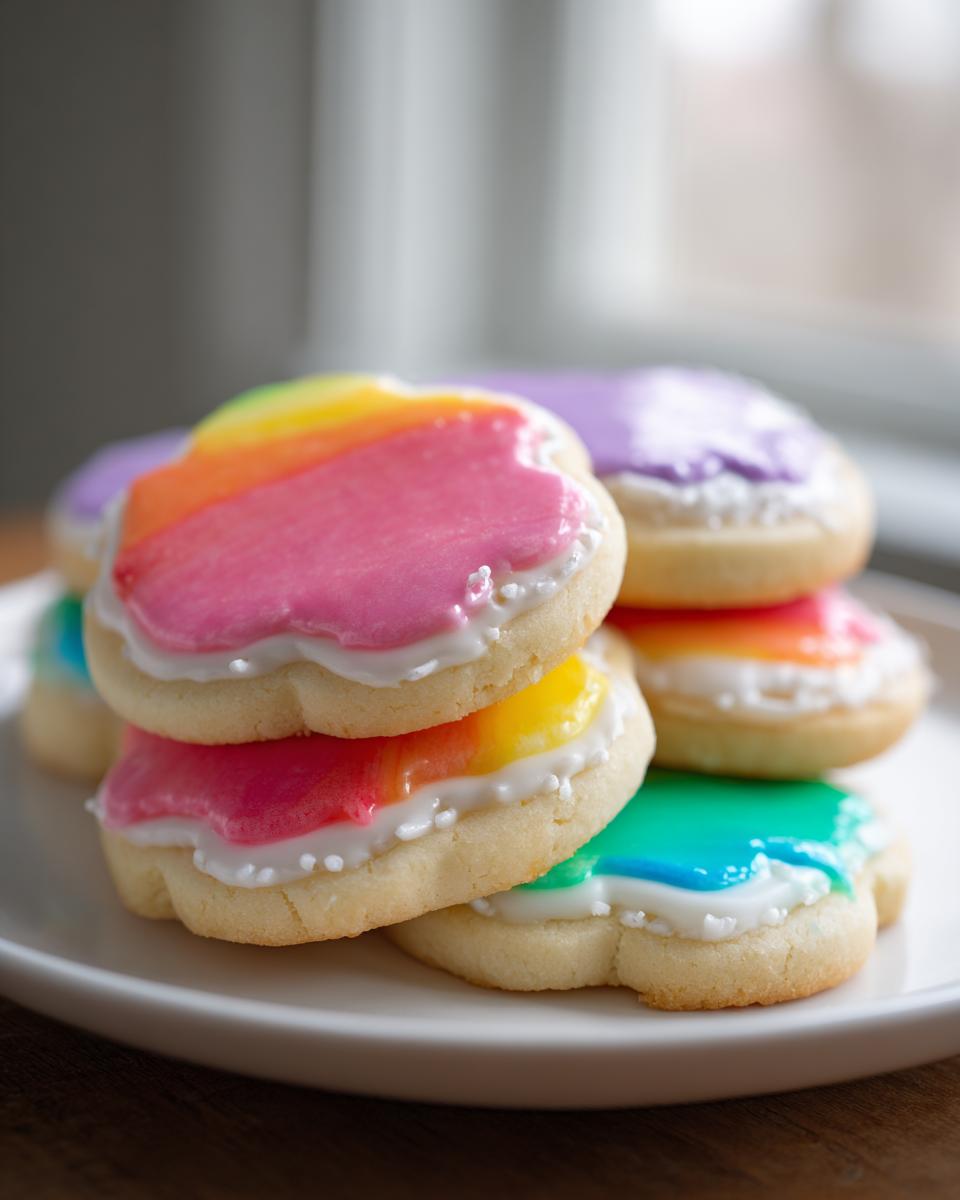
Once you’ve got your stiff icing and your flood consistency perfectly mapped out, it’s time for the fun part: color! This is where your sugar cookies really start to shine and look professional, especially if you’re going for specific themes, like all those gorgeous holiday designs I always see popping up.
My number one rule here, and I cannot stress this enough, is to reach for the gel food coloring—skip the liquid drops you might use for cake batter. Why? Because every drop of liquid messes with the ratio of sugar to water that we worked so hard to get just right for that glossy finish. Adding even a tiny bit too much water from the drops can turn your perfect piping consistency into a floppy mess fast!
When you color, always add the color to small bowls of the icing you’ve already prepared. Gel coloring is super concentrated, so start with a toothpick dip of color, mix it in thoroughly, and then adjust. You must mix until the color is completely uniform. If you see streaks, that means you haven’t mixed enough, and those streaks will end up looking messy on your cookie.
I always make the base white first, let it sit for just two minutes, and then divide it out. It seems like an extra little step, but having that beautiful, smooth base ready to go makes decorating so much faster. It ensures a consistent base for vibrant colors, much like making sure the base for my strawberry matcha latte is perfectly mixed before I layer the flavors!
Storage and Reheating Instructions for Leftover Cookie Icing Recipe
We always seem to make too much icing, don’t we? Decorating just gets fun, and suddenly you have a bowl full of beautiful, unused base mix! The good news about this cookie icing recipe is that it’s super stable since we used meringue powder instead of raw egg whites.
You just need an airtight container—seriously, snap that lid on tight, or use plastic wrap pressed right against the surface of the icing. Keep it right there on your counter at room temperature, and it should be perfectly wonderful for up to two days. When you bring it out to use it again, don’t worry if it looks stiff or separated; just give it a good stir, and it’s ready to go. If it seems a little too thick after sitting, add a teaspoon of water, just like we did before. It’s almost as easy to save as freezing my bran muffins!
Frequently Asked Questions About This Cookie Icing Recipe
I’ve gathered up some of the most common questions I get about this specific cookie icing recipe. Honestly, if you’re wondering about it, chances are someone else is too! It’s so important to be confident when you sit down to decorate, and knowing these little details makes all the difference between a good cookie and a stunning one.
How long does this icing take to dry completely?
This is the million-dollar question, isn’t it? Because this icing dries firm, it does need a little quality time on the counter. For a standard flood area, you’re looking at several hours, usually about four to six, but sometimes overnight if your kitchen is humid. Don’t rush it! If you try to stack or put them in containers before they are completely dry, you’ll end up with icing stickage and smudges everywhere. Patience is truly key if you want that perfect, hard shell for shipping or gifting.
Can I use this as a simple cookie glaze recipe instead?
You definitely can lean into making it a simple cookie glaze recipe, but you have to thin it out a lot more than you would for the flood consistency we discussed earlier. If you add a few extra teaspoons of water to that flood mixture, it starts behaving like a glaze that sets up. Just know that because this recipe uses meringue powder for structure, it will dry significantly harder and glossier than an old-fashioned powdered sugar and milk glaze—which is exactly what I want when I’m baking cookies to decorate for the holidays!
Is this the same as a traditional royal icing recipe for cookies?
It’s very, very close! Traditional home recipes sometimes call for raw egg whites, which can be a little scary for a beginner cookie icing maker. Since we use meringue powder, it makes this a much more reliable and stable royal icing recipe for cookies, especially since the powder is shelf-stable. It gives you that same professional, smooth, glossy icing that hardens up beautifully, but with less worry! If you’re looking for an easy way to get into decorating, this is your winner. For more easy ideas, check out my tips for easy breakfast recipes while the cookies are drying!
If you ever struggle with thickness, remember what I said about adding sugar slowly. You can find another great resource for handling various textures over at Cincy Shopper.
Serving Suggestions for Decorated Cookies
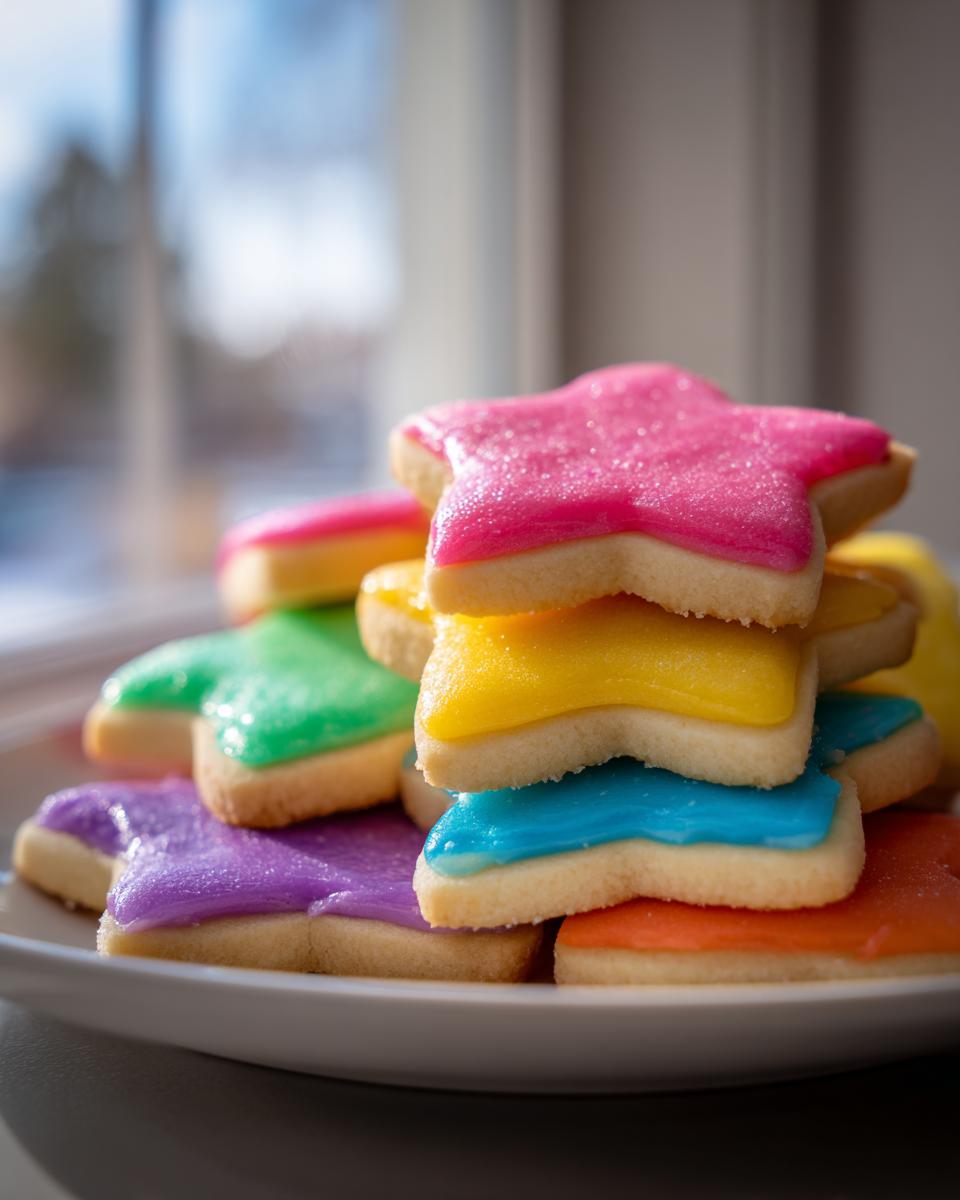
Once this amazing icing has set and you have those beautiful, firm, glossy surfaces, what do you do next? Well, honestly, they look fantastic just piled high on a pretty glass platter! This is the perfect way to show off your decorating skills when company comes over. Because our sugar cookie icing recipe hardens so well, these are fantastic for making neighbor gifts, little party favors, or stacked up high for Christmas celebrations. They hold their shape so well, so feel free to poke a small hole in the edge before the icing dries and thread a ribbon through to make them edible ornaments!
These keep really well in an airtight container for several days, which means you can get ahead of your holiday baking schedule before the big rush. Don’t forget to serve them alongside something warm, like a slice of my Christmas chocolate cream pie!
Estimated Nutritional Data for This Cookie Icing Recipe
I always want to be transparent about what we are putting into our bodies, even if it’s just icing! Please remember these numbers are estimates, because the size of your powdered sugar grain or the exact brand of meringue powder can change things slightly. These are based on that 1/4 cup serving size we figured out.
For one serving (about 1/4 cup), you’re looking at:
- Calories: About 420—trust me, worth every single one when they look that good!
- Sugar: 105 grams (Yes, it’s icing, darling!)
- Protein: Very low, just about 1 gram.
- Fat: Don’t worry, this icing has virtually no fat content.
See? It’s mostly pure, sweet decorating power! If you want some ideas for lighter meals throughout the week, check out my list of quick healthy lunch ideas.
Serving Suggestions for Decorated Cookies
Once this amazing icing has set and you have those beautiful, firm, glossy surfaces, what do you do next? Well, honestly, they look fantastic just piled high on a pretty glass platter! This is the perfect way to show off your decorating skills when company comes over. Because our sugar cookie icing recipe hardens so well, these are fantastic for making neighbor gifts, little party favors, or stacked up high for Christmas celebrations. They hold their shape so well, so feel free to poke a small hole in the edge before the icing dries and thread a ribbon through to make them edible ornaments!
As you can see from how stable this icing is, you don’t have to worry about them smashing together, unlike softer frostings. They keep really well in an airtight container for several days, which means you can get ahead of your holiday baking schedule before the big rush. Don’t forget to serve them alongside something warm, like a slice of my Christmas chocolate cream pie! If you need more decorating inspiration, check out the fantastic royal icing tips shared over at Sweet Craft Recipes.
Estimated Nutritional Data for This Cookie Icing Recipe
I always want to be transparent about what we are putting into our bodies, even if it’s just icing! Please remember these numbers are estimates because the size of your powdered sugar grain or the exact brand of meringue powder can change things slightly. These estimates are based on that 1/4 cup serving size we figured out earlier. Honestly, for something so colorful and delicious, I think it holds up pretty well!
For one serving (about 1/4 cup) of this delicious cookie icing recipe, you’re looking at:
- Calories: About 420—trust me, worth every single one when they look that good!
- Sugar: 105 grams (Yes, it’s icing, darling! Pure energy for decorating.)
- Protein: Very low, just about 1 gram.
- Fat: Don’t worry, this icing has virtually no fat content, which is great when you’re making a batch this big.
- Carbohydrates: 108 grams.
See? It’s mostly pure, sweet decorating power! I always balance out the sugar rush by planning something lighter for the rest of the day. If you need some ideas for lighter meals throughout the week to balance out these sweet treats, you can check out my list of quick healthy lunch ideas!
PrintThe Best Easy Sugar Cookie Icing Recipe That Hardens Smoothly

This is the best cookie icing recipe for decorating cut-out sugar cookies. It is easy to make, dries to a smooth, glossy finish, and hardens perfectly for stacking and gifting.
- Prep Time: 10 min
- Cook Time: 0 min
- Total Time: 10 min
- Yield: Covers approximately 2 dozen medium cookies 1x
- Category: Dessert
- Method: Mixing
- Cuisine: American
- Diet: Vegetarian
Ingredients
- 4 cups confectioners’ sugar, sifted
- 3 tablespoons meringue powder
- 1/2 cup warm water, plus more as needed
- 1 teaspoon vanilla extract
Instructions
- In a medium bowl, whisk together the sifted confectioners’ sugar and meringue powder until fully combined.
- Add the warm water and vanilla extract to the dry ingredients.
- Beat with an electric mixer on low speed until the ingredients are just combined. Scrape down the sides of the bowl.
- Increase the mixer speed to medium-high and beat for 3 to 5 minutes until the icing is smooth and glossy. This is your stiff consistency for piping outlines.
- To achieve a flooding consistency for filling in areas, add more water, one teaspoon at a time, beating well after each addition, until the icing slowly drips off the whisk in a ribbon that disappears into the bowl after about 10 seconds.
- Divide the icing into separate bowls if you plan to color it. Add gel food coloring sparingly and mix until the color is uniform.
- Use the stiff icing to pipe outlines on your cooled sugar cookies. Let the outlines dry for 15 to 30 minutes until firm to the touch.
- Use the thinner flooding icing to fill in the outlined areas. Gently shake the cookie to help the icing settle into a smooth layer.
- Allow the cookies to dry completely at room temperature, uncovered, for several hours or overnight until the icing is hard and dry.
Notes
- For a corn syrup free cookie icing option, you can substitute the water with an equal amount of milk or clear vanilla extract, though the texture may vary slightly.
- If the icing is too thick for flooding, add water slowly. If it is too thin, add more sifted confectioners’ sugar, one tablespoon at a time.
- This icing holds color well. Use gel food coloring for the most vibrant results without thinning the icing too much.
- Store leftover icing in an airtight container at room temperature for up to two days, stirring well before reuse.
Nutrition
- Serving Size: 1/4 cup
- Calories: 420
- Sugar: 105
- Sodium: 5
- Fat: 0
- Saturated Fat: 0
- Unsaturated Fat: 0
- Trans Fat: 0
- Carbohydrates: 108
- Fiber: 0
- Protein: 1
- Cholesterol: 0