
Oh, listen up! If you love the buttery, sweet flavor of classic holiday cut-out cookies but absolutely dread rolling out dough, dusting flour everywhere, and fussing with cookie cutters—I have your new favorite thing. We are talking about sugar cookie bars, and trust me, these are going to change your baking life! The real magic here, championed right here in Rosa Sterling’s kitchen, is that we get that perfectly soft and chewy texture without *any* chilling or rolling required. It’s all about heart, speed, and getting delicious results on the table for the people you love. I always say, if a recipe complicates things unnecessarily, we simplify it!
We’re keeping this recipe straightforward so you can move fast. If you’re looking for another simple, incredibly satisfying, no-fuss square, you absolutely must check out my recipe for fruit pizza sugar cookie bases! These bars are proof that quick doesn’t mean boring.
- Why This is the Best Sugar Cookie Bars Recipe
- Gathering Ingredients for Your Sugar Cookie Bars
- Step-by-Step Instructions for Frosted Sugar Cookie Bars
- Tips for Success When Making Bakery Style Cookie Bars
- Customizing Your Sugar Cookie Bars for Any Season
- Storage and Make Ahead Cookie Bars Instructions
- Serving Suggestions for Dessert Bars for Parties
- Frequently Asked Questions About Sugar Cookie Bars
- Estimated Nutrition Facts for Sweet Vanilla Cookie Bars
Why This is the Best Sugar Cookie Bars Recipe
I want you to feel confident every time you pull a pan out of the oven, and that’s what these sugar cookie bars deliver. They are honestly the best when you need something quick and consistently delicious—perfect for an easy holiday tray or just a weeknight craving. They bake up thick and soft, putting them right at the top of my list for any simple dessert squares.
- No chilling time required—mix and bake!
- Thick, satisfying, bakery style cookie bars result every time.
- Rich, sweet vanilla flavor that everyone loves.
If you’re searching for my go-to collection of reliable, tried-and-true desserts, you need to check out my favorites right here: my best homemade desserts.
Achieving Soft and Chewy Sugar Cookie Bars Texture
So, how do we get these soft sugar cookie bars so incredibly tender? It’s all about the mixing order and using the right amount of liquid. We make sure not to overmix the flour, which keeps gluten development low. This technique is the secret handshake for getting amazing chewy sugar cookie bars that melt in your mouth instead of turning out hard or crumbly.
Gathering Ingredients for Your Sugar Cookie Bars
One of the things I absolutely love about this recipe is that you don’t need any fancy, specialty store items. If your pantry is stocked like mine—lots of flour, butter, and sugar—then you are halfway there! We’re using simple, familiar ingredients because comfort food should always be accessible. Remember, these are easy bar cookies, not rocket science!
We’ve got two main lists here: the cookie base and the topping. Keep your butter softened for both parts; this is key for the texture later. If you’re making these during a busy time like the holidays, this recipe feels like a huge win because everything is right there waiting for you.
If you need a great inspiration for another simple, hearty staple made with basic ingredients, you have to try my easy creamy chicken alfredo. Sometimes simple pantry meals are the best meals!
Ingredient Notes and Substitutions for Perfect Sugar Cookie Bars
When you look at the ingredient lists, you might wonder about swaps, so let’s chat about that. For the vanilla, please—please!—use the real stuff. That strong burst of flavor is what elevates these from ‘okay’ to ‘wow.’ If you are out of sweet milk, I find heavy cream works beautifully in the frosting for a richer taste, though you’ll need to thin it out with a little water or use a bit more to reach that perfect consistency.
We rely on the baking powder for a little lift, but don’t be tempted to add more; that would turn our beautiful bars into little sponges! For the flour, stick to all-purpose unless you have a very specific reason not to. I haven’t experimented much with gluten-free flours here because the structure relies so heavily on this specific mix for those soft sugar cookie bars.
Step-by-Step Instructions for Frosted Sugar Cookie Bars
Alright, let’s get baking! This is where those frosted sugar cookie bars really come together. First things first: get that oven preheated to 350°F (175°C). Don’t rely on guesswork! While it’s heating up, I need you to prepare your 9×13 pan. Grease it well, and here’s my little trick: cut that parchment paper so it hangs over the sides like little handles. This buys you insurance later when you wiggle this big cookie out!
In your big mixing bowl, we start like all good cookie recipes do: cream that softened butter and sugar until it looks light and happy. Then, eggs one at a time, followed by vanilla. Now, here’s where we need a little choreography. In one bowl, whisk your flour, salt, and baking powder. In the other, measure your milk. We add the dry ingredients alternately, mixing with the milk. Always start and end with the flour mixture. This keeps everything smooth! Mix just until you don’t see any more white streaks—don’t overdo it or you’ll lose that soft texture.
Press that dough firmly and evenly into your prepared pan. The bake time is usually 20 to 25 minutes. You are looking for just lightly golden edges. Crucially, let them cool completely! If you rush the cooling, the frosting melts right off, and slicing is a nightmare. If you need some inspiration for quick meals while the bars cool, swing by my collection of weeknight dinner ideas!
Making the Vanilla Buttercream Frosting for Bars
Once those bars are completely cool—and I mean *cool to the touch*—it’s time for the glorious topping! We are making a classic vanilla buttercream frosting for bars, so get that softened butter ready. Beat the butter until it’s smooth first, then introduce the powdered sugar slowly on the low setting. You don’t want sugar flying everywhere, trust me!
When the sugar starts mixing in, bump that speed up to medium-high. This is my E-E-A-T move: beating it fast incorporates air, making the frosting light and fluffy instead of dense and heavy. Add your vanilla, salt, and milk gradually until it reaches that perfect, spreadable cloud texture. If it seems too stiff, add milk one tiny teaspoon at a time until it sighs happily onto the cookie.
Tips for Success When Making Bakery Style Cookie Bars
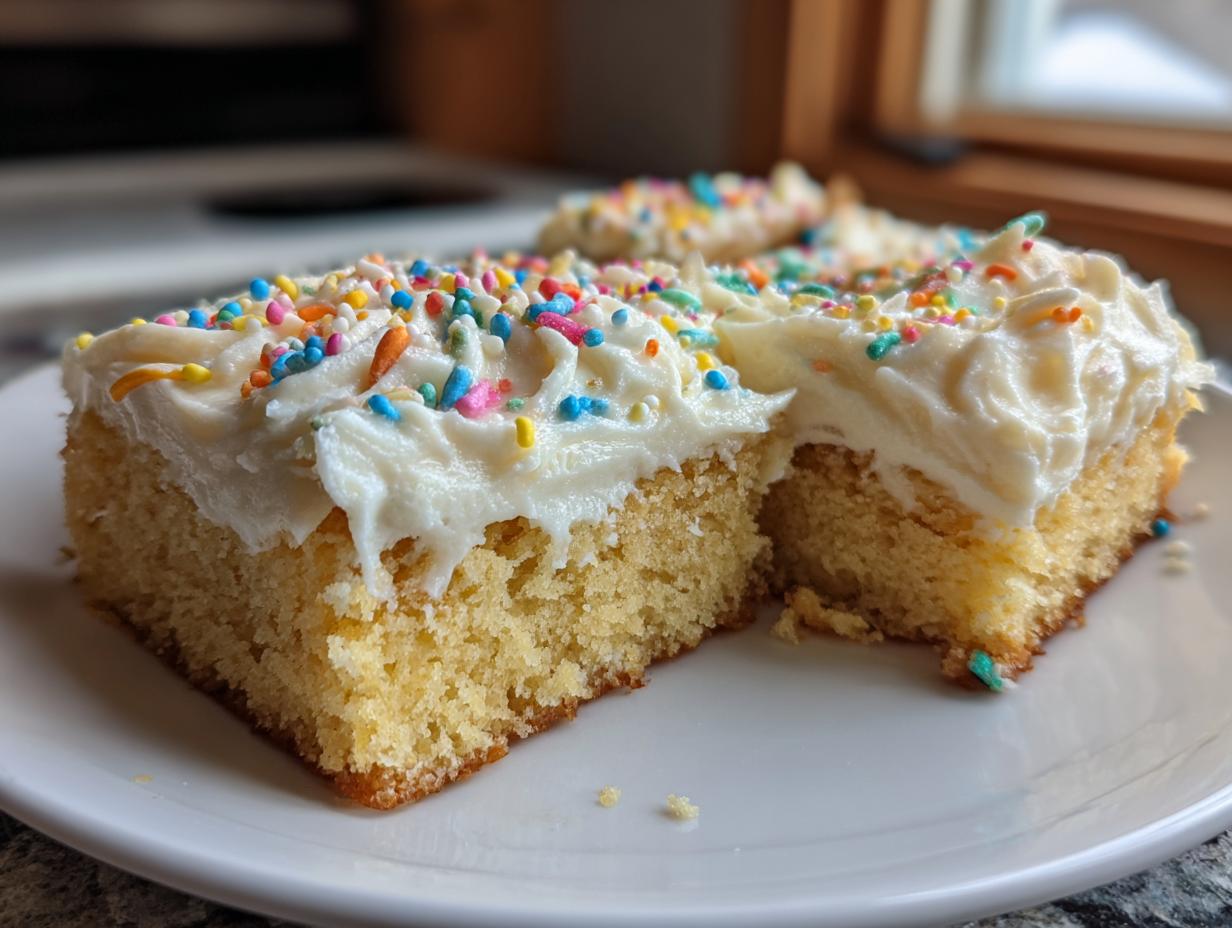
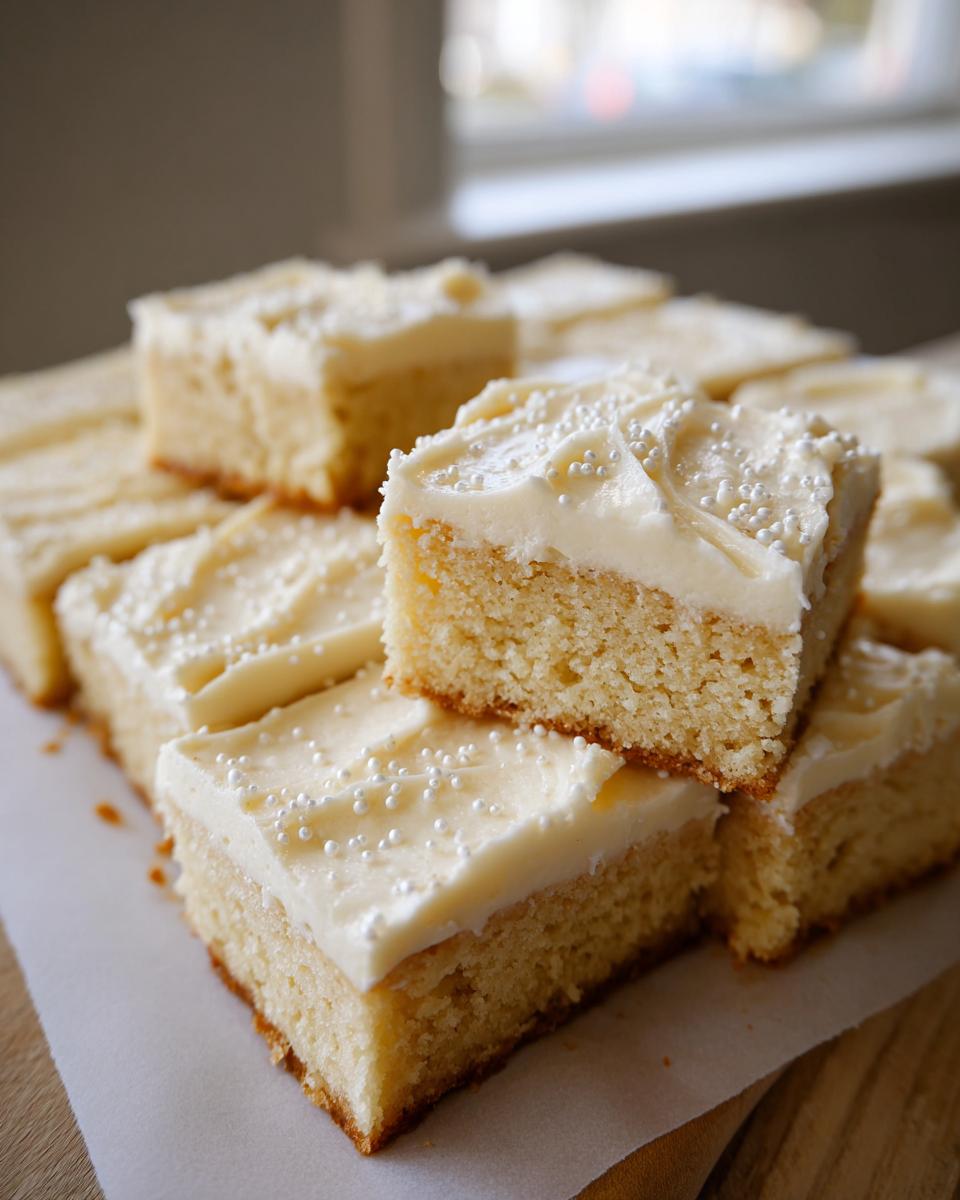
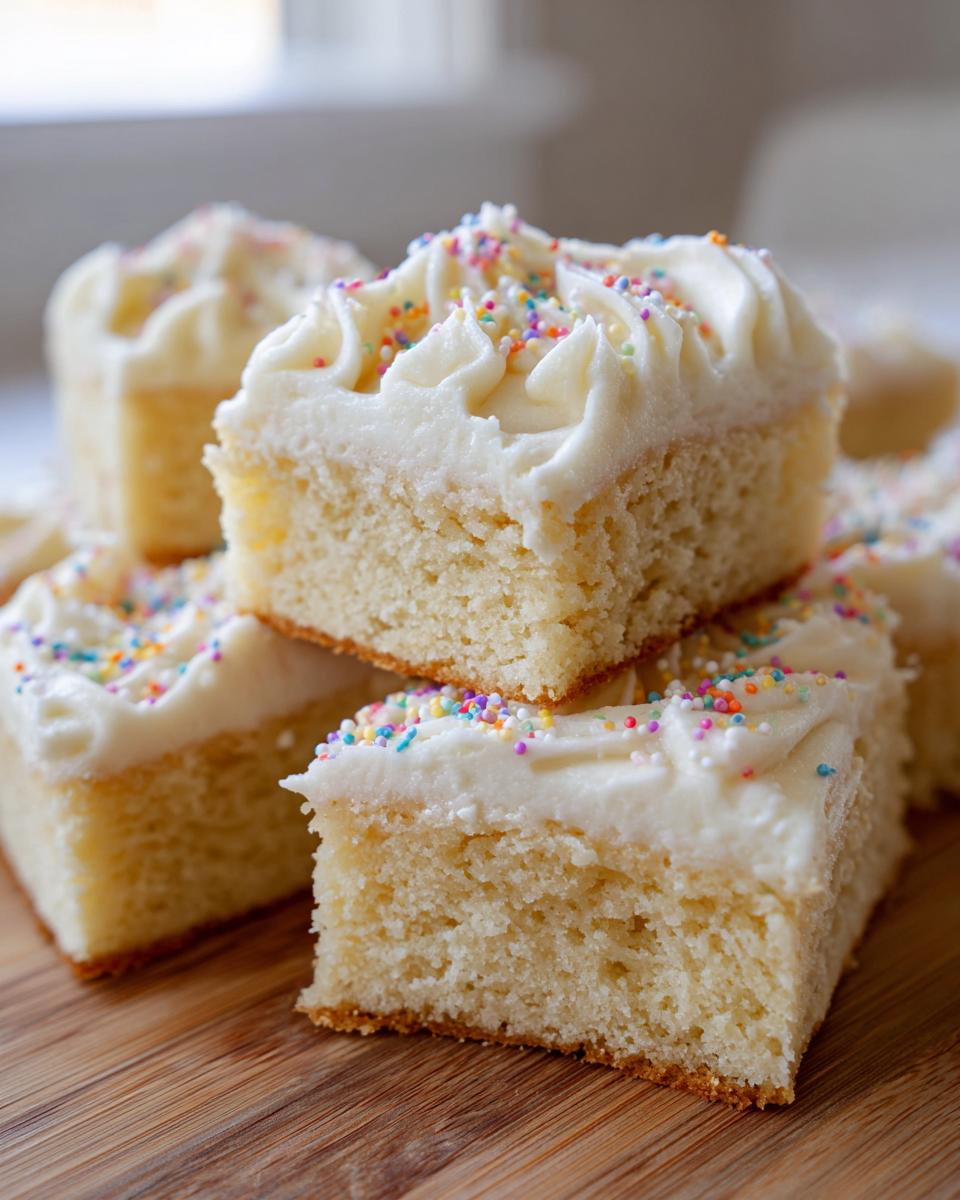
If you want these cookies to look like the gorgeous bakery style cookie bars everyone admires, there are just a couple of non-negotiable steps beyond the main recipe. First, that parchment paper overhang I mentioned? It is your best friend. Don’t skip it! It allows you to lift the entire slab out later, giving you clean, straight edges when you cut them into squares.
Secondly, patience with cooling! I learned this the hard way, bless my heart. One Christmas, I was running late, and I slathered frosting onto warm bars. It just melted into a sad, sweet puddle that seeped into the cookie. We ended up eating mushy squares right out of the pan! If you want clean slices, wait until the cookie base is completely cold before frosting. This ensures you get beautiful, thick sugar cookie bars that stand up nicely for parties or stacking.
For another reliably sturdy and chewy bake, you simply have to try my chewy snickerdoodle cookies recipe next time!
Customizing Your Sugar Cookie Bars for Any Season
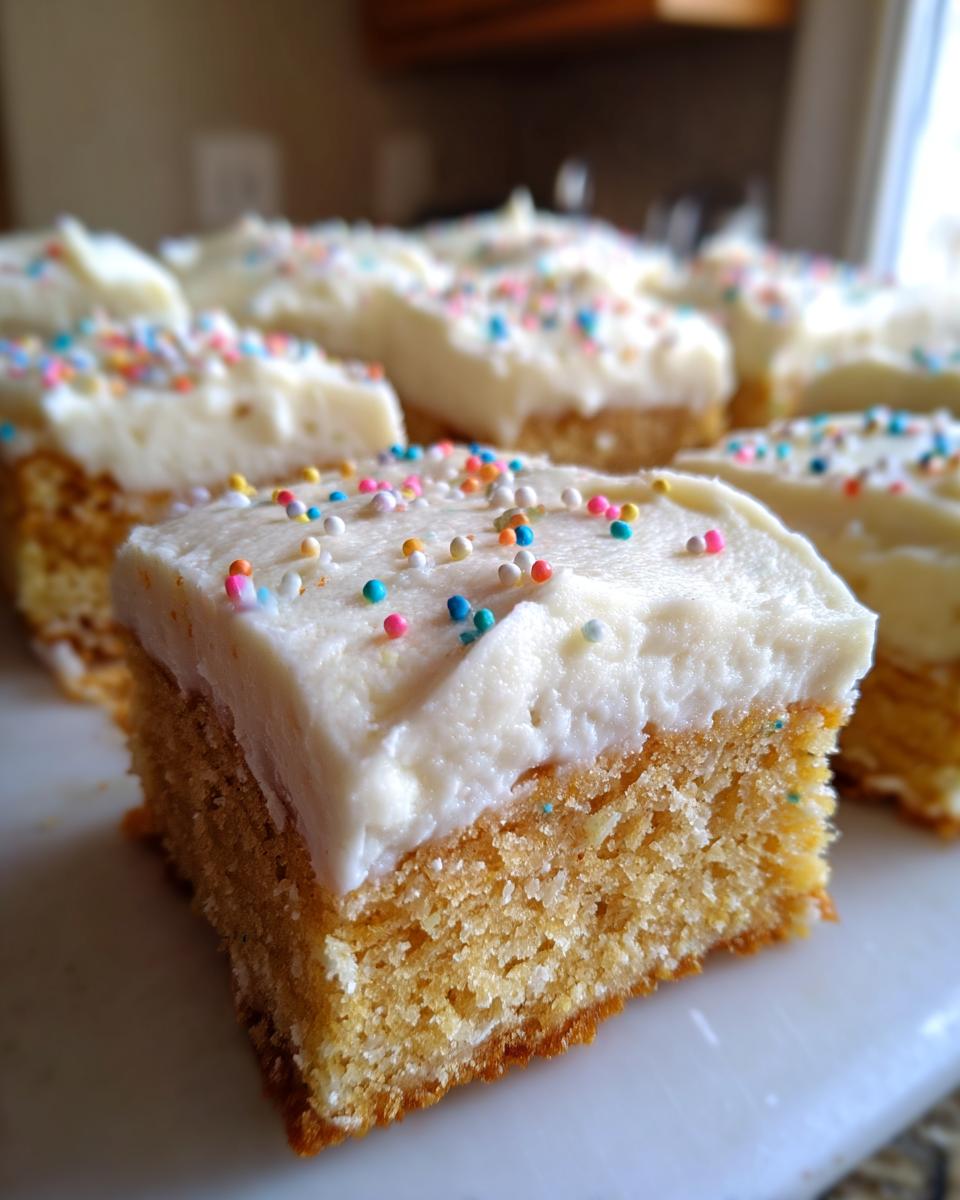
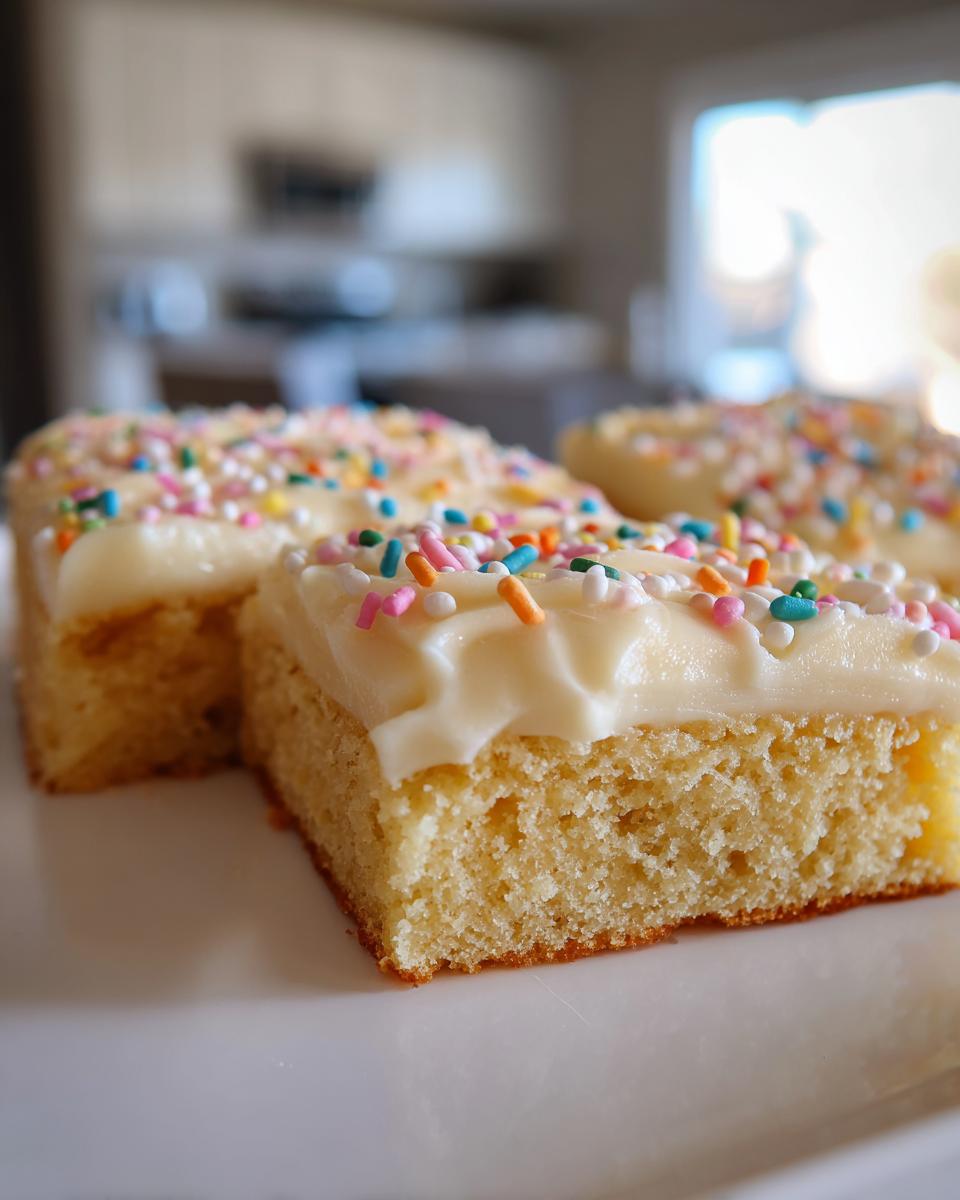
These sugar cookie bars are secretly amazing because they are totally adaptable! While everyone loves them heaped with red and green sprinkles for Christmas—you can find adorable ideas for Christmas sugar cookie bars online—they look fantastic year-round. Think about it: pastels and tiny pearls for Easter, or patriotic red, white, and blue sprinkles when summer rolls around. These become the perfect easy holiday baking centerpiece, no matter the date!
You can easily change up the look to make them the star of any party table. They look so festive, making them the ultimate festive sprinkle dessert without adding any extra time to the actual baking process because the base stays the same!
Creating Lofthouse Style Cookie Bars Variations
If you are aiming for that melt-in-your-mouth, ultra-soft experience, you want to pivot slightly from the vanilla buttercream we made earlier. For true Lofthouse style cookie bars, go ahead and use the cream cheese frosting option mentioned in the notes! It gives the topping a little bit of a tang that just pairs beautifully with that dense, sweet vanilla base. It makes them feel incredibly rich and satisfying.
Storage and Make Ahead Cookie Bars Instructions
One of the greatest things about these sugar cookie bars is how wonderfully they hold up! If you’re planning for a big event, you can absolutely make these make ahead cookie bars. The base cookie stays delightfully soft for up to two full days stored right there in the pan, covered tightly at room temperature. I often bake the cookie layer one day and save the frosting for the next morning—it cuts the active work time in half!
Just make sure the bars are completely cool before you seal them up with plastic wrap or pop them into an airtight container—otherwise, the moisture gets trapped weirdly, and we need that freshness. If you want to see another recipe that freezes like a dream, check out my tip for moist bran muffins!
Serving Suggestions for Dessert Bars for Parties
These sugar cookie bars are truly superstars when you’re throwing together dessert bars for parties. Because they are so sturdy once cooled and frosted, they travel really well, which is a huge bonus for potlucks! I usually cut mine into neat rectangles, but you can use fun cookie cutters on the whole cooled slab before frosting if you want to get fancy.
They are sweet enough to stand alone, but they look divine next to a bowl of fresh berries, maybe some raspberries or sliced strawberries to cut through the sweetness. And honestly, what pairs better with a vanilla cookie than a lovely cup of coffee? If you are looking for ideas on what to serve alongside them earlier in the day, take a peek at my easy breakfast recipes!
Frequently Asked Questions About Sugar Cookie Bars
I always get so many questions when people try my recipes for the first time, and that’s wonderful! It means you’re engaged and want these sugar cookie bars to turn out perfectly. That’s exactly what Rosa’s Tasty Kitchen is here for. I’ve gathered the most common things folks ask me about creating these simple dessert squares. We want you to nail that soft and chewy texture every single time!
Can I skip chilling the dough for these sugar cookie bars?
Yes! That’s one of the huge blessings of this recipe! Because we are pressing the dough into a pan instead of rolling it flat, chilling actually works against us here. If you chill this batter, you’ll end up with something harder to spread evenly. We are going for that soft sugar cookie bars experience, remember? Skip the fridge and go straight from mixing to pressing into the pan so you can enjoy those quick cookie bar recipes status!
What is the best way to get clean cuts on my frosted sugar cookie bars?
This is the step that separates a beautiful traybake from a messy plate! The absolute number one rule is that the bars must be 100%, totally cooled down before you touch that frosting. If the cookie base is even slightly warm, the frosting squishes out everywhere when you try to cut it. Once the frosting is set (give it about 30 minutes on the counter), take a large knife and dip it in hot water, wiping it dry quickly before making your cut. Reheat the knife between every single slice. It keeps that edge looking incredibly clean!
If you’re looking for other great tips on making food ahead of time so you aren’t rushed later, check out my notes on freezing muffin batter—the principle of planning ahead applies everywhere!
To see how another great baker handles these tasty squares, check out this recipe shared by Karli: This easy recipe is also fantastic!
And if you’re looking for easy meal prep ideas for the rest of the week, you can always browse my quick and healthy lunch ideas list!
Estimated Nutrition Facts for Sweet Vanilla Cookie Bars
Listen, cooking from scratch is rewarding, but we all know that when you add butter, sugar, and frosting, the nutrition facts swing way up! That’s just the reality of making truly delicious sweet vanilla cookie bars. I always want to be upfront with you about what’s going into your body, which is why I’m sharing the estimated breakdown below.
Please keep in mind that these numbers are estimates I calculated based on the standard amounts of flour, sugar, and butter we used in this base recipe. If you use a different brand of milk, or maybe you’re heavy-handed with the sprinkles—and no judgment here if you are!—your final counts will shift a little bit. This is just a guide so you know what you’re working with when sharing these joy-filled squares!
- Serving Size: 1 bar
- Calories: 310
- Sugar: 35g
- Fat: 16g
- Carbohydrates: 40g
- Protein: 3g
Soft and Chewy Frosted Sugar Cookie Bars
Make these easy, soft sugar cookie bars that taste like classic cut-out cookies but require no rolling or cutting. They are topped with a simple, creamy vanilla buttercream frosting.
- Prep Time: 15 min
- Cook Time: 25 min
- Total Time: 40 min
- Yield: 24 servings 1x
- Category: Dessert
- Method: Baking
- Cuisine: American
- Diet: Vegetarian
Ingredients
- 1 cup unsalted butter, softened
- 1 1/2 cups granulated sugar
- 2 large eggs
- 1 tablespoon vanilla extract
- 3 1/2 cups all-purpose flour
- 1 teaspoon baking powder
- 1/2 teaspoon salt
- 1/2 cup milk
- For the Frosting:
- 1 cup unsalted butter, softened
- 4 cups powdered sugar
- 1 teaspoon vanilla extract
- 1/4 cup milk or heavy cream
- Pinch of salt
- Optional: Festive sprinkles
Instructions
- Preheat your oven to 350°F (175°C). Grease and line a 9×13 inch baking pan with parchment paper, leaving an overhang for easy removal.
- In a large bowl, beat the softened butter and granulated sugar together until light and fluffy.
- Add the eggs one at a time, mixing well after each addition. Stir in the vanilla extract.
- In a separate bowl, whisk together the flour, baking powder, and salt.
- Gradually add the dry ingredients to the wet ingredients, alternating with the milk, beginning and ending with the flour mixture. Mix until just combined; do not overmix.
- Press the cookie dough evenly into the prepared 9×13 inch pan.
- Bake for 20 to 25 minutes, or until the edges are lightly golden and a toothpick inserted near the center comes out clean.
- Let the bars cool completely in the pan on a wire rack before frosting. This step is important for clean slices.
- To make the frosting, beat the softened butter until smooth. Gradually add the powdered sugar, mixing on low speed until incorporated.
- Add the vanilla extract, milk, and salt. Beat on medium-high speed until the frosting is light and creamy. Add more milk, one teaspoon at a time, if the frosting is too stiff.
- Spread the vanilla buttercream frosting evenly over the cooled cookie bars.
- Immediately top with festive sprinkles, if using.
- Once the frosting is set, use the parchment paper overhang to lift the bars from the pan. Cut into squares or rectangles.
Notes
- For Lofthouse style cookie bars, use a cream cheese frosting instead of the buttercream.
- You can make these ahead of time; store the unfrosted bars tightly covered at room temperature for up to two days. Frost before serving.
- If you want a thicker bar, use a 9×9 inch pan instead, but reduce the baking time slightly.
Nutrition
- Serving Size: 1 bar
- Calories: 310
- Sugar: 35g
- Sodium: 150mg
- Fat: 16g
- Saturated Fat: 10g
- Unsaturated Fat: 6g
- Trans Fat: 0.5g
- Carbohydrates: 40g
- Fiber: 0.5g
- Protein: 3g
- Cholesterol: 55mg