
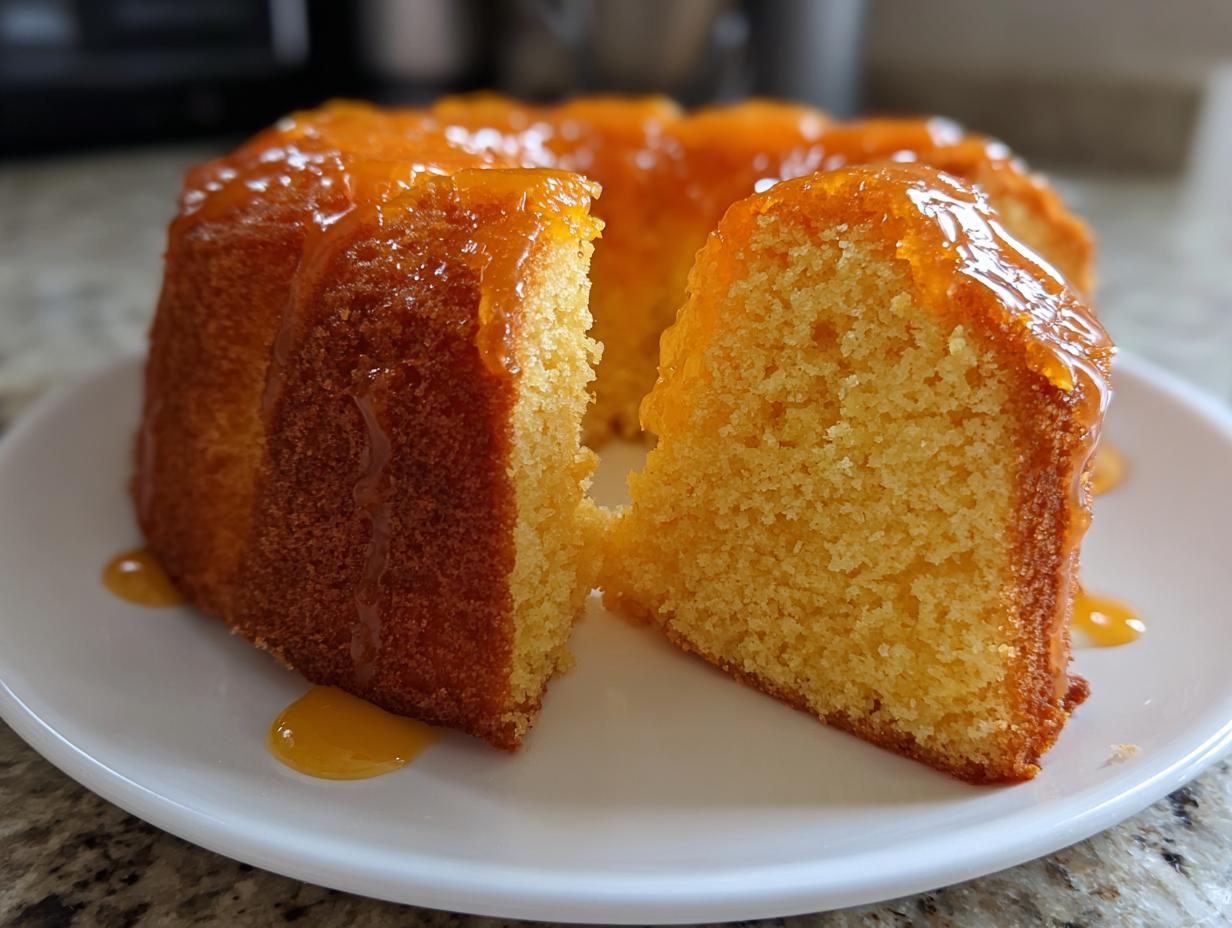
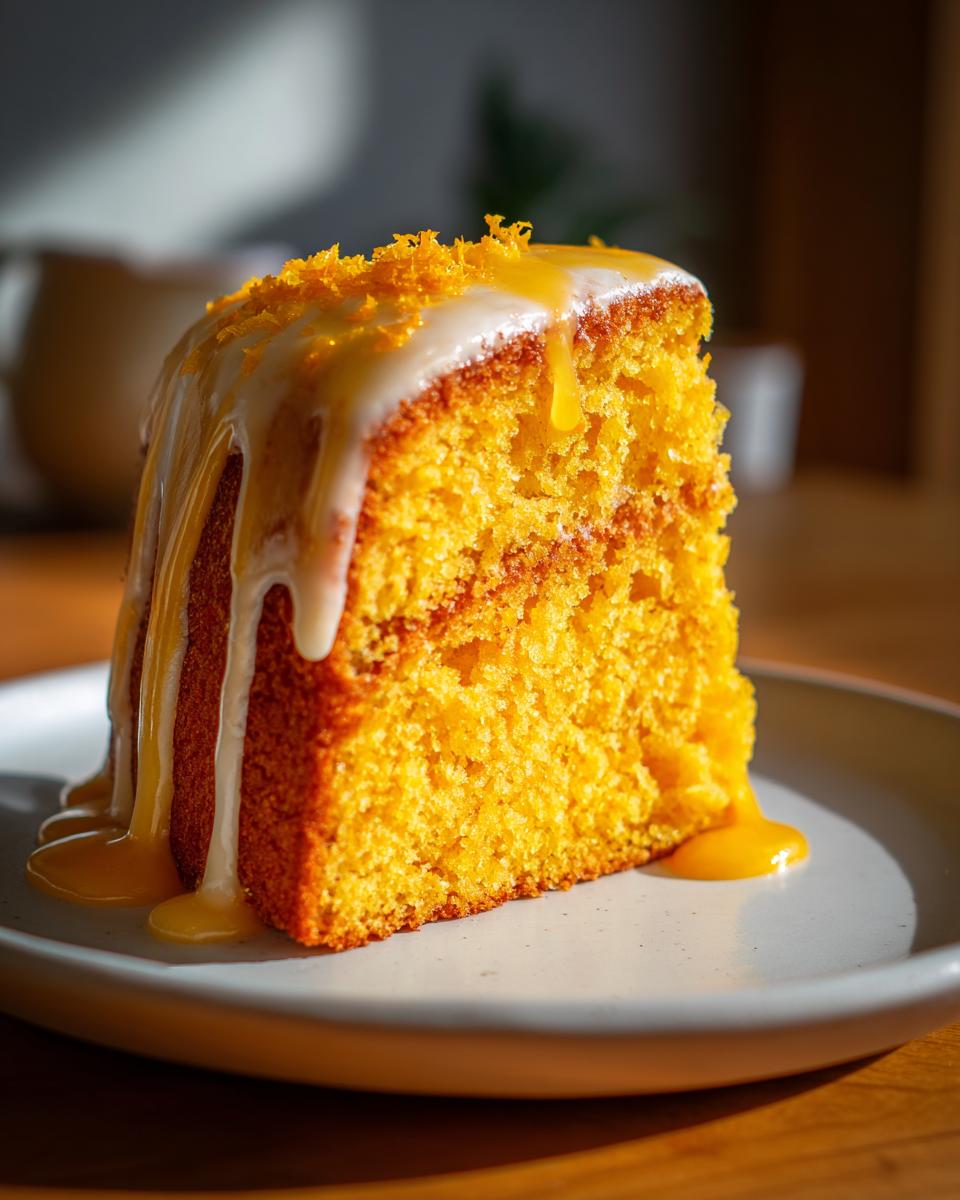
Oh, there’s nothing quite like the smell of a cake baking that promises sunshine, even if it’s pouring rain outside! I live for those moments when you pull something out of the oven that just screams ‘celebration.’ Today, we are diving into what I personally think is one of the most reliably delicious things you can make: the Classic Orange Buttermilk Layer Cake with Zest Glaze. Forget dry, flavorless citrus cakes; this orange buttermilk cake is unbelievably moist, thanks to that secret tang of buttermilk. That’s the Rosa Sterling promise here: we take classic, scratch baking and make it work beautifully for your busy home life. If you love rich citrus flavors, you might also adore my recipe for cranberry orange bread—it uses similar zesty magic! Trust me, this is going to be your new favorite zesty dessert!
- Why This Orange Buttermilk Cake Recipe Works (Best Homemade Orange Buttermilk Cake)
- Gathering Ingredients for Your Orange Buttermilk Cake
- Step-by-Step Instructions: How to Make Orange Buttermilk Cake
- Tips for Success When Baking Your Orange Buttermilk Cake
- Ingredient Notes and Buttermilk Substitutions
- Variations for Your Tangy Buttermilk Dessert
- Storage and Reheating Instructions for Your Orange Buttermilk Cake
- Frequently Asked Questions About This Orange Buttermilk Cake
- Nutritional Estimate for This Zesty Orange Dessert
- Share Your Experience Making This Cake
Why This Orange Buttermilk Cake Recipe Works (Best Homemade Orange Buttermilk Cake)
When you’re looking for the best homemade orange buttermilk cake, you’re really looking for reliability, right? That’s what we focus on here at Rosa’s Tasty Kitchen. This recipe delivers a moist orange cake recipe every single time, and that’s all down to a few smart choices.
Here’s why this cake always turns out perfectly tender:
- The buttermilk does heavy lifting, reacting beautifully with the baking soda to give you that light, fluffy orange loaf cake structure without being heavy.
- We use both the zest and the juice because you need that oil from the zest to really punch up the citrus flavor, making it truly vibrant!
- The creaming process we use—which I detail below—ensures a light and tender buttermilk sponge rather than a tough one.
- It’s a classic, straightforward mix that results in a wonderful tangy buttermilk dessert perfect for any occasion.
If you enjoyed the technique in my easy moist lemon loaf recipe, you’ll find the logic here is very similar!
Gathering Ingredients for Your Orange Buttermilk Cake
Baking, especially something as wonderful as this cake, always starts with gathering your quality ingredients. I’ve learned over the years that setting everything out first—what we jokingly call “mise en place”—prevents those frantic searches mid-mix! For this orange buttermilk cake, precision matters, especially with the citrus. We need the bright oils from the zest to really shine through, which is why using fresh orange juice is a must. If you need some inspiration for other great pantry staples, check out my Sweet Alabama Pecan Bread recipe that relies on quality nuts!
For the Layer Cake
- 1 3/4 cups all-purpose flour
- 1 1/2 teaspoons baking powder
- 1/2 teaspoon baking soda
- 1/2 teaspoon salt
- 1 cup (2 sticks) unsalted butter, softened—make sure it’s really soft!
- 1 3/4 cups granulated sugar
- 3 large eggs—room temperature helps them mix better!
- 1 tablespoon fresh orange zest (that’s the colorful outer peel only, please!)
- 1/2 cup buttermilk
- 1/4 cup fresh orange juice
- 1 teaspoon vanilla extract
For the Zest Glaze
This glaze is so simple, but it gives that beautiful, tart finish that brightens up the whole cake. You don’t want a runny mess, so we use plenty of powdered sugar.
- 2 cups powdered sugar
- 3 tablespoons fresh orange juice
- 1 teaspoon fresh orange zest
Step-by-Step Instructions: How to Make Orange Buttermilk Cake
Okay, get your mixer ready, because this is where the magic truly happens! Making a beautiful, layered orange buttermilk cake isn’t scary—it’s all about respecting the process. As I always say, the heart of a good cake is in the first five minutes of mixing! We are aiming for that gorgeous, light texture that makes you want to keep eating even when you’re full. Follow these steps closely, and you’ll have a stunning from scratch orange dessert on your table in no time. If you’re a big fan of my guides, you can check out my thoughts on how to make buttermilk cake in general for more background knowledge!
Preparing the Pans and Dry Mix
First things first, let’s get the oven fired up to 350°F (175°C). While it’s warming up, grease and flour two 8-inch round cake pans. You want a good, solid coating so these beauties release easily later! In a medium bowl, just whisk together your dry stuff: the flour, baking powder, baking soda, and salt. Give it a quick combined whisk and set that bowl safely aside for a minute.
Mixing the Batter for a Tender Crumb
Now for my favorite part! Grab that large bowl and beat your softened butter with the granulated sugar until it’s genuinely light and fluffy—I mean, pale yellow and airy. This takes about three minutes with the mixer, and trust me, this creaming step is essential for that light and tender buttermilk sponge! Once it looks whipped, beat in your eggs one by one, making sure each one is mixed in before adding the next. Don’t forget to scrape down the sides and mix in that beautiful orange zest.
Next, we gently alternate. In a small bowl, quickly whisk your buttermilk, orange juice, and vanilla. Add the dry mixture in three parts, alternating with the buttermilk blend, starting and ending with the dry ingredients. This careful alternation is key to avoiding a dense cake, so mix only until everything is *just* combined. Seriously, stop mixing as soon as you don’t see white streaks left! Divide that fluffy batter evenly between your pans.
Baking and Cooling the Orange Buttermilk Cake Layers
Pop those pans into the preheated oven. They should bake for about 28 to 32 minutes. You’ll know they’re done when a thin wooden pick inserted right into the center comes out clean—no wet batter sticking to it! Let them cool in the pans for a good 10 minutes. This short rest helps them set up before you gently flip them out onto a wire rack to finish cooling completely. Don’t rush this cooling, or the layers might tear!
Assembling the Perfect Orange Glaze
While the cake cools down—completely, please!—we make the perfect orange glaze for cakes. Just whisk the powdered sugar, the remaining orange juice, and the zest in a small bowl until it’s perfectly smooth. If it seems too stiff to pour nicely, add juice, just a teaspoon at a time, until you get a lovely, drippy consistency. Seriously, it should look like honey!
To assemble, place one cake layer down, spoon a decent smear of glaze over it (this acts like your ‘glue’), then top with the second layer. Pour the rest of that bright glaze right over the top center and let it cascade down those sides. Isn’t that beautiful?
Tips for Success When Baking Your Orange Buttermilk Cake
This orange buttermilk cake is forgiving, but a few little secrets ensure it goes from good to absolutely show-stopping. Think of these as Rosa’s little cheat sheet notes!
First, let’s talk citrus quality. When baking with buttermilk and orange zest, your results depend almost entirely on how fresh that zest is. Always zest the orange *before* you juice it—it’s so much easier, and you won’t accidentally squirt juice into the zest bowl! You want bright, colorful bits, not the white pith underneath.
Second, watch that mixer! I mentioned it before, but it bears repeating: do not overmix once the flour hits the buttermilk. Overmixing develops gluten, and we want tender, not tough, layers. Stop as soon as the streaks disappear. That’s the secret to a truly light cake!
Finally, if your buttermilk seems thin, don’t worry. The tang really comes through, but if you want an extra boost of character, a single teaspoon of white vinegar added to the buttermilk can sometimes wake up the flavor profile a bit more. It’s small things like this that turn a regular cake into something special.
Ingredient Notes and Buttermilk Substitutions
I know sometimes you open the fridge and—gasp!—you’re out of buttermilk. Don’t let that stop you from making this lovely tangy buttermilk dessert! If you don’t have any on hand, which happens to the best of us, making a substitute is super easy. Just mix 1/2 teaspoon of white vinegar or lemon juice into 1/2 cup of regular milk, give it a little stir, and let it sit on the counter for about five minutes.
It will curdle slightly, and boom—you have perfect buttermilk for your cake! Also, a quick note on the flavor: please use only fresh orange juice for this recipe. The bottled stuff just doesn’t have that bright, zesty kick we need to really make this orange buttermilk cake sing. It’s worth the extra squeeze!
You can read more about how buttermilk features in other great Southern desserts over on my classic buttermilk pie recipe!
Variations for Your Tangy Buttermilk Dessert
While this recipe shines as a two-layer birthday masterpiece, it’s so versatile! Sometimes I don’t feel like layering, or maybe I only need a smaller treat for the family after dinner. That’s when I embrace some simple variations for this tangy buttermilk dessert.
If you’re looking for fluffy orange loaf cake ideas, this batter is perfect! Just pour the mixture into a standard greased and floured loaf pan. You’ll need to bake it longer, probably around 45 to 55 minutes, because the heat has a longer way to travel to the center. Keep that wooden pick handy for testing!
As for toppings? The simple zest glaze is divine, but if you want something richer, try swapping it out for a simple cream cheese frosting. It gives that classic Southern cake feel. For a lighter touch, skip the glaze entirely and just dust the cooled layers generously with powdered sugar. It lets that beautiful orange flavor shine even more!
For more fun baking ideas that use simple ingredients, take a peek at my soft ricotta cookies!
Storage and Reheating Instructions for Your Orange Buttermilk Cake
Now that you’ve created this stunning orange buttermilk cake, you want to keep it fabulous, right? Because that glaze is so beautifully bright and sugary, it actually acts as a natural preservative. If you have leftovers (which, let’s be honest, is unlikely!), you can leave the glazed cake right on the counter—covered loosely—for about two days. Don’t worry about refrigeration unless your kitchen is incredibly hot!
If you need to keep it longer, wrap the slices well and pop them in the fridge. If you’re having a slice straight from the cold, just let it sit out on the counter for about 20 minutes before eating; you want that cake to soften up again! Reheating isn’t really necessary, but if you insist, a quick 10 seconds in the microwave warms it up nicely without drying out that moist crumb!
Frequently Asked Questions About This Orange Buttermilk Cake
I get so many lovely questions once things calm down after a cake is baked! It’s great that you’re all paying attention to those little details, because that’s what turns a good cake into a truly great one. Since this is such a reliable moist orange cake recipe, most questions revolve around making sure the texture comes out just right, or how to adapt it for different events.
Can I use milk instead of buttermilk in this orange buttermilk cake?
You absolutely can in a pinch! Remember how I mentioned that quick fix earlier? If you don’t have real buttermilk, just take 1/2 a cup of regular milk and stir in about 1/2 a teaspoon of white vinegar or lemon juice. Let it sit for five minutes until it looks a little chunky or curdled. That acid is what helps activate the baking soda, creating that light, tangy buttermilk dessert crumb we love so much!
How do I prevent the glaze from being too thin?
This is all about patience with the powdered sugar! The glaze seems thin at first, but that sugar needs time to incorporate. If your glaze is definitely too runny even after you’ve mixed it for a minute or two, just whisk in one more tablespoon of powdered sugar at a time. You want it thick enough that when you lift the whisk, it drips slowly in a thick ribbon, not water. It’ll hold its shape better on the cake that way!
Is this recipe suitable for a Bundt pan?
It totally is! If you want to switch this orange buttermilk cake into a loaf cake, you can follow my notes from earlier, which usually means baking it longer—around 45 to 55 minutes. If you are using a standard Bundt pan, you might need a little extra batter, or you could bake the resulting batter in two 8-inch loaf pans instead. If you use the Bundt pan, keep an eye on the center and expect the bake time to increase slightly past the 30 minutes we used for the layer pans.
If you are looking for more guidance on those quick flavoring tricks, check out my easy citrus cake tutorial!
Nutritional Estimate for This Zesty Orange Dessert
Now, I know that here at Rosa’s Tasty Kitchen, we bake with love and butter, not obsessively over macros! But I always want you to know what you’re sharing with your family and friends, so I’ve included a general nutritional breakdown for this bright and zesty orange buttermilk cake. Remember, because we are baking from scratch—using real butter and fresh juice—these numbers are just an estimate. If you use a lighter hand with the glaze, or maybe use lower fat dairy, your counts will change!
Think of this as a delicious guide, not a strict ruling! It definitely proves that a wonderful, homemade celebration cake can fit into your day!
- Serving Size: 1 slice
- Calories: 380
- Sugar: 35g
- Protein: 4g
- Fat: 20g
- Saturated Fat: 12g
- Carbohydrates: 48g
- Sodium: 210mg
- Cholesterol: 75mg
We use whole, recognizable ingredients in this recipe, which is always my priority. Enjoy every bite of this moist, tender cake!
Share Your Experience Making This Cake
Well, friends, that’s it! You’ve created a show-stopping, brightly flavored, wonderfully moist orange cake recipe that has that unmistakable quality that only comes from baking with real ingredients and a little bit of heart. This is exactly the kind of soulful, reliable baking that my kitchen is all about. It brings me such joy knowing that another beautiful orange buttermilk cake is cooling on a wire rack somewhere across the country!
Now I absolutely need to hear about it! Did you try the glaze, or stick to a simple dusting? Was this the best tangy buttermilk dessert you’ve ever made? Please, don’t be shy! Come back here and leave a rating for the recipe—it helps other home cooks like you know that this recipe is worth their time.
If you snapped a picture of your finished layers, please share it over on social media and tag me! I love seeing your results. You can find even more of my favorite tried-and-true recipes right here on the blog. Happy baking, and thank you for inviting my kitchen philosophy into yours!
PrintClassic Orange Buttermilk Layer Cake with Zest Glaze
Make a moist, tender layer cake using buttermilk for a slight tang, flavored deeply with fresh orange zest and juice. This recipe includes a simple, bright orange glaze.
- Prep Time: 20 min
- Cook Time: 30 min
- Total Time: 50 min
- Yield: 10 servings 1x
- Category: Dessert
- Method: Baking
- Cuisine: American
- Diet: Vegetarian
Ingredients
- 1 3/4 cups all-purpose flour
- 1 1/2 teaspoons baking powder
- 1/2 teaspoon baking soda
- 1/2 teaspoon salt
- 1 cup (2 sticks) unsalted butter, softened
- 1 3/4 cups granulated sugar
- 3 large eggs
- 1 tablespoon fresh orange zest
- 1/2 cup buttermilk
- 1/4 cup fresh orange juice
- 1 teaspoon vanilla extract
- For the Glaze: 2 cups powdered sugar
- 3 tablespoons fresh orange juice
- 1 teaspoon fresh orange zest
Instructions
- Preheat your oven to 350°F (175°C). Grease and flour two 8-inch round cake pans.
- In a medium bowl, whisk together the flour, baking powder, baking soda, and salt. Set aside.
- In a large bowl, cream the softened butter and granulated sugar together with an electric mixer until light and fluffy, about 3 minutes.
- Beat in the eggs one at a time, mixing well after each addition. Mix in the orange zest.
- In a small bowl, whisk together the buttermilk, orange juice, and vanilla extract.
- Add the dry ingredients to the wet ingredients in three additions, alternating with the buttermilk mixture, beginning and ending with the dry ingredients. Mix only until just combined after each addition. Do not overmix.
- Divide the batter evenly between the prepared cake pans.
- Bake for 28 to 32 minutes, or until a wooden pick inserted into the center comes out clean.
- Let the cakes cool in the pans for 10 minutes before inverting them onto a wire rack to cool completely.
- To make the glaze, whisk together the powdered sugar, orange juice, and orange zest in a small bowl until smooth. Add more juice, one teaspoon at a time, if the glaze is too thick.
- Once the cakes are completely cool, place one layer on a serving plate. Spread a thin layer of glaze over the top. Place the second layer on top and pour the remaining glaze over the top, letting it drip down the sides.
Notes
- For a more intense orange flavor, use fresh orange juice only; avoid bottled juice.
- If you do not have buttermilk, mix 1/2 cup of milk with 1/2 teaspoon of white vinegar or lemon juice and let it sit for 5 minutes before using.
- This cake is excellent baked as a loaf cake; adjust baking time to 45-55 minutes.
Nutrition
- Serving Size: 1 slice
- Calories: 380
- Sugar: 35g
- Sodium: 210mg
- Fat: 20g
- Saturated Fat: 12g
- Unsaturated Fat: 8g
- Trans Fat: 0.5g
- Carbohydrates: 48g
- Fiber: 1g
- Protein: 4g
- Cholesterol: 75mg