
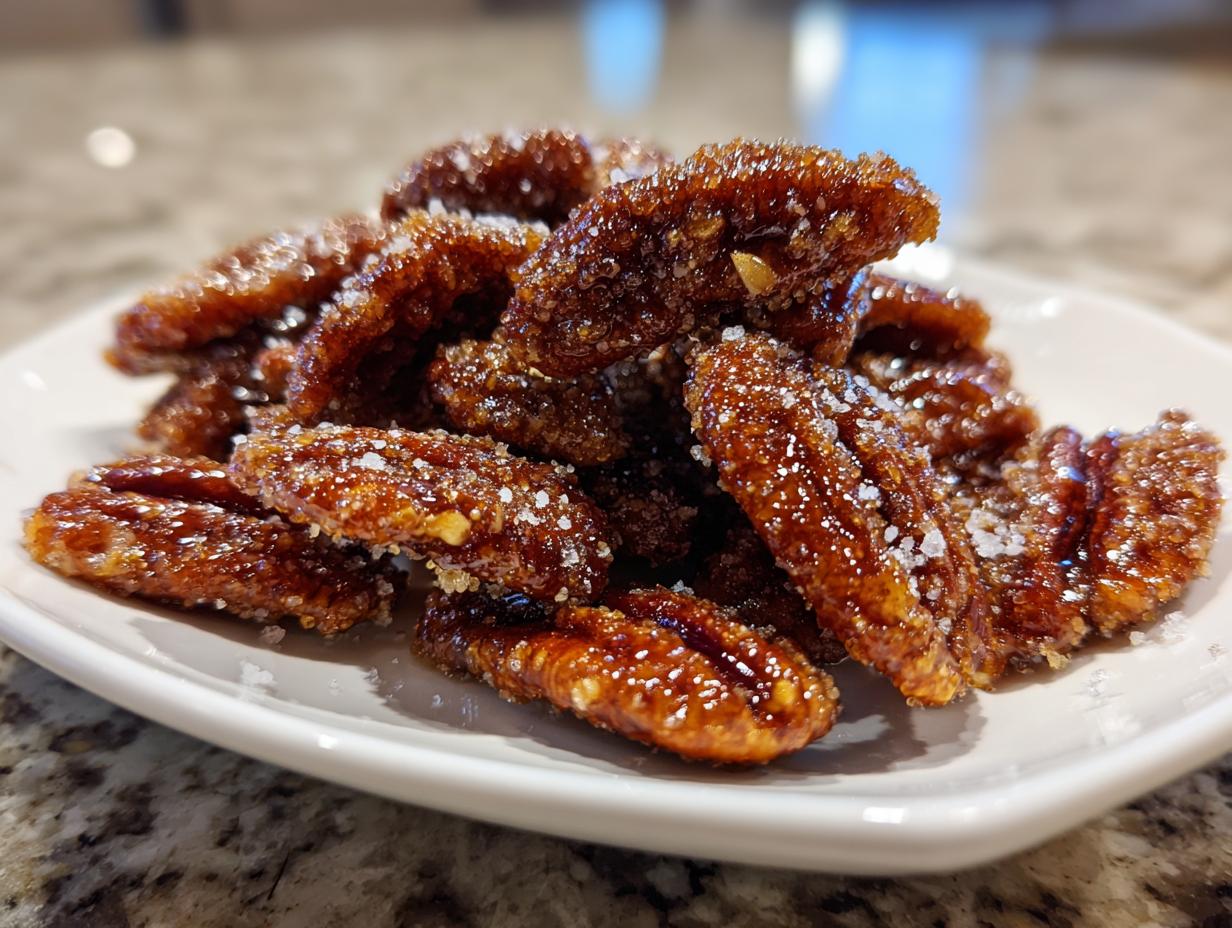
When life gets busy—and doesn’t it always seem to be that way?—I really crave those little bites of pure, sweet satisfaction. You know, something that tastes incredible but doesn’t demand your entire afternoon. That’s exactly how I perfected these Easy Stovetop Cinnamon Sugar Candied Pecans. Trust me, when I was teaching full-time and managing the kids, every minute counted! This recipe for candied pecans hits that sweet spot perfectly. It’s fast, flavorful, and makes your kitchen smell like a holiday market!
- Why Our Homemade Candied Pecans Recipe Works (EEAT Focus)
- Gathering Ingredients for Your Candied Pecans
- Step-by-Step Instructions for Stovetop Candied Pecans
- Tips for Perfect Candied Pecans Every Time
- Creative Ways to Use Your Candied Pecans
- Storage and Make Ahead Candied Nuts
- Frequently Asked Questions About Candied Pecans
- Sharing Your Easy Treat Recipe
Why Our Homemade Candied Pecans Recipe Works (EEAT Focus)
When I started teaching and raising my family, I realized that ‘slow-cooked’ and ‘from scratch’ didn’t always fit into the schedule. That’s why this recipe prioritizes reliability and flavor payoff. Making these candied pecans on the stovetop brings you that addictive candy-shop crunch way faster than any oven method I’ve tried. Honestly, once you taste how fresh the glaze is, you won’t ever go back to the stuff in the plastic tub!
This stovetop method is a direct adaptation of an old family method I used to make a giant slow-cooker batch for holiday parties. I streamlined it down because nobody has time to babysit a pot all day! If you’re looking for easy breakfast recipes that might include a crunchy topping someday, start here!
Quick Candied Nuts: Prep and Cook Time Breakdown
You absolutely can’t beat this timing, which is why I call them my emergency snack solution. We are talking practically instant gratification here. Seriously, clean up takes longer than the actual cooking!
- Prep Time: 5 minutes
- Cook Time: 5 minutes
- Total Time: 10 minutes
These quick candied nuts are ready almost as fast as you can decide you want them!
Gathering Ingredients for Your Candied Pecans
I always say that a good recipe starts before you flip the switch on the stove. When you gather your bits and pieces first—what we call *mise en place* in fancy terms, but I just call it ‘getting organized’—the cooking process is smooth sailing. You don’t want to be scrambling for the cinnamon while your sugars are starting to burn, trust me on this one!
For these perfectly balanced homemade candied pecans, you need simple things, but the measurements have to be spot-on to get that perfect coating. You’ll need exactly 1 cup of pecan halves, so make sure you’re counting them, or just measure out enough to fill that cup measure nicely. I love using pecan halves because they look beautiful when they cool down.
Here’s the list of what you need to pull out of the pantry:
- 1 cup pecan halves
- 2 tablespoons granulated sugar
- 1 tablespoon brown sugar (use dark if you have it for extra depth!)
- 1/2 teaspoon ground cinnamon
- 1 pinch salt (this magically brings out the sweet!)
- 1 teaspoon water
- 1/2 teaspoon butter
If you love pecans as much as I do, you absolutely should check out my Sweet Alabama Pecan Bread recipe next time you have extra nuts lying around!
Step-by-Step Instructions for Stovetop Candied Pecans
Okay, now for the fun part! Since this is the stovetop method, it moves fast, so pay attention! The beauty of these **stovetop glazed pecans** is that they are ready in the time it takes to reheat leftovers. I always make sure my parchment paper is ready to go before I even touch the skillet. If you forget this part, you will end up with one giant, sticky pecan brick, and nobody wants that! You can see some fantastic recipe inspiration, like how Natasha’s Kitchen does theirs, but trust me, this stovetop method is lightning fast.
First, let’s get our dry mix ready. Grab your medium, non-stick skillet—please make sure it’s non-stick, that makes cleanup a dream—and whisk together the granulated sugar, brown sugar, cinnamon, and salt right in the pan while it’s cold. Then, add that tiny bit of water and the butter. Set the heat to medium. You need to stir this until the sugar dissolves and it starts to bubble—this usually takes about two minutes. Don’t walk away! If you need a reminder about what a good weeknight dinner ideas routine looks like, having these nuts ready is a great way to start!
Coating the Pecans: The Critical Stirring Phase
Once it’s bubbling nicely, toss in your pecan halves. This is where the hustle begins! You have to stir continuously and quickly now. We are turning those plain nuts into caramelized pecans right before your eyes. Keep stirring for about two or three minutes until that sugary goo starts to thicken up and actually clings to every single pecan half. Seriously, keep that spatula moving! If you stop stirring for even thirty seconds, you risk scorching the sugar or ending up with burnt bits mixed in with the crunchy coating. Keep that focus tight!
Cooling and Separating Your Sweet Crunchy Pecans
The moment that coating looks thick and shiny, immediately dump the whole lot out onto your waiting parchment-lined sheet. Use your spatula to spread them out into one loose layer fast. If you hesitate, they’ll instantly glue themselves together as they cool down. They need about fifteen minutes on the counter to set up completely. Once they are totally cool and hard—and I mean touch-test: cool, not even slightly warm—then you can break up the clusters. That’s when you reveal those perfect, beautiful **sweet crunchy pecans**!
Tips for Perfect Candied Pecans Every Time
You know, getting that perfect, non-sticky crunch isn’t luck; it’s knowing a few little secrets! If you follow these tips, you’ll have what I truly believe is the **best candied pecans recipe** floating around because they stay crunchy for days. The speed of the stovetop means you have to stay alert, but the payoff is huge. Don’t worry if your first batch looks a little clumpy; you just need to practice that quick spreading move onto the parchment paper.
People often ask if they can change up the spices, and I always say yes! That’s the fun part of making things at home instead of buying them pre-made. I’ve experimented with loads of flavors, but the cinnamon and sugar combo shown here is the most reliable crowd-pleaser.
Ingredient Notes and Simple Pecan Glaze Swaps
If you want to elevate these from simple snacks to something truly exciting, sneak in a tiny pinch of cayenne pepper along with your cinnamon. It won’t make them spicy, just gives that lovely background warmth that makes people go, “What *is* that?” It’s a trick I picked up from a friend! Also, if you need to skip the butter for a dairy-free option—maybe you’re making a batch of these for the best homemade desserts to take to a potluck—you can totally swap it out for coconut oil. It melts the same way and coats beautifully.
As for the sugar, granulated and brown together give you the best texture—the brown sugar adds that lovely molasses chewiness. If you prefer them less sweet overall, try cutting the granulated sugar down by just a teaspoon; it’s usually fine, though the glaze gets a little thinner. For more flavor ideas, check out how they balance the spice over at Lemon Peony!
Creative Ways to Use Your Candied Pecans
See, this is what I love about making a fast batch of candied pecans—they are so ridiculously versatile! You make one small batch while the coffee is brewing, and suddenly, you have toppings for three different meals and a lovely little gift idea ready to go. That’s efficiency, honey!
The obvious use is just grabbing a handful straight from the cooling rack, because honestly, they are the ultimate **holiday pecan snack**. But please don’t stop there! They truly shine when you sprinkle them over a simple green salad. Seriously, try them on a salad with some feta and dried cranberries; those **candied pecans for salads** brighten up the whole plate!
I often crumble a few over my yogurt in the morning, or layer them on top of baked sweet potatoes for a crunchy contrast. If you’re looking for ways to jazz up a simple meal, grab that little jar of nuts. They are my secret weapon for making everything taste a bit fancier. You should definitely check out how I use crunchy toppings in my BLT Chicken Salad next time you need inspiration!
And don’t forget gifting! Jarred up nicely, they make such a thoughtful little token for neighbors or teachers. See how they use their delicious ones for holiday cheer over at Miley’s Home!
Storage and Make Ahead Candied Nuts
One of the best things about these candied pecans is that you don’t have to eat them all right away. This recipe makes fabulous make ahead candied nuts! Once they are completely cool—you have to wait until they are hard, remember?—toss them into a good, airtight container. Seriously, skip the zip-top sandwich bags; they let in too much air and you lose that lovely crunch.
Keep them right there on the counter at room temperature, and they should stay wonderfully crisp for up to two weeks. If you want to make a huge double batch for holiday gifting, just store them right away and pull them out when you need them. They’re the perfect stress reliever when you realize you need a quick treat for a last-minute invite—just like my Easy No-Bake Bourbon Balls!
Frequently Asked Questions About Candied Pecans
It’s funny how many questions pop up when you make something this simple! People get nervous about the sugar sticking or burning, but honestly, once you get the hang of the quick stovetop method, you’ll toss out any store-bought jar. Answering these common questions just helps us all make the absolute best candied pecans recipe!
Can I make these candied pecans in the oven instead of the stovetop?
You absolutely can switch this recipe to the oven if you prefer, but you’ll need to watch them like a hawk! The stovetop is fast and direct, but the oven works well too, usually around 300 degrees Fahrenheit. The catch is that oven time takes longer, maybe 10 to 15 minutes, and you need to toss them halfway through. You have to be so careful not to burn that lovely cinnamon sugar coating when you bake them; scorched sugar tastes bitter really fast!
How do I keep my homemade candied pecans from sticking together?
This is the number one panic point for everyone! If you wait even a minute too long, they weld themselves together into one giant, gorgeous, but ultimately useless lump. As soon as you see that glaze thicken in the pan—that means it’s time to move! Dump them straight onto that parchment paper or silicone mat immediately and use a spatula to separate them into that single layer while they are still hot. As they cool down, the sugar crystallizes and hardens, keeping them separate. If for some reason they do stick, don’t panic! Just wait until they are totally cold and gently use a knife to crack them apart.
What is the best way to gift these sweet nutty snacks?
Oh, these make the very best surprise gifts! They look so fancy but take almost no time, which is perfect for my busy schedule. For packaging those gorgeous sweet nutty snacks, I love using clear cellophane bags. You don’t need anything fancy—just grab some colorful ribbon, tie it neatly at the top, and maybe stick on a little handwritten tag saying, “Enjoy!” They look exactly like those expensive goodies you find at the holidays. If you’re planning ahead for gifts this year, these are a lifesaver. For more great ideas on how to eat them or use them as toppings, jump over to my guide on quick, healthy lunch ideas!
If you’re looking for a lightning-fast version to compare notes, you can check out how they do the five-minute version over at My What Recipes, but I still love the control of the stovetop!
Sharing Your Easy Treat Recipe
Well, that’s all there is to it! Doesn’t that feel good? I hope you whip up a batch of these unbelievably quick candied pecans right away. Once you try them, please come back and let me know how you liked them! Drop your ratings below, share if you tried adding a little spice, or tell me what you drizzled them over. You can always reach out via my contact page too. Happy crunching!
PrintEasy Stovetop Cinnamon Sugar Candied Pecans

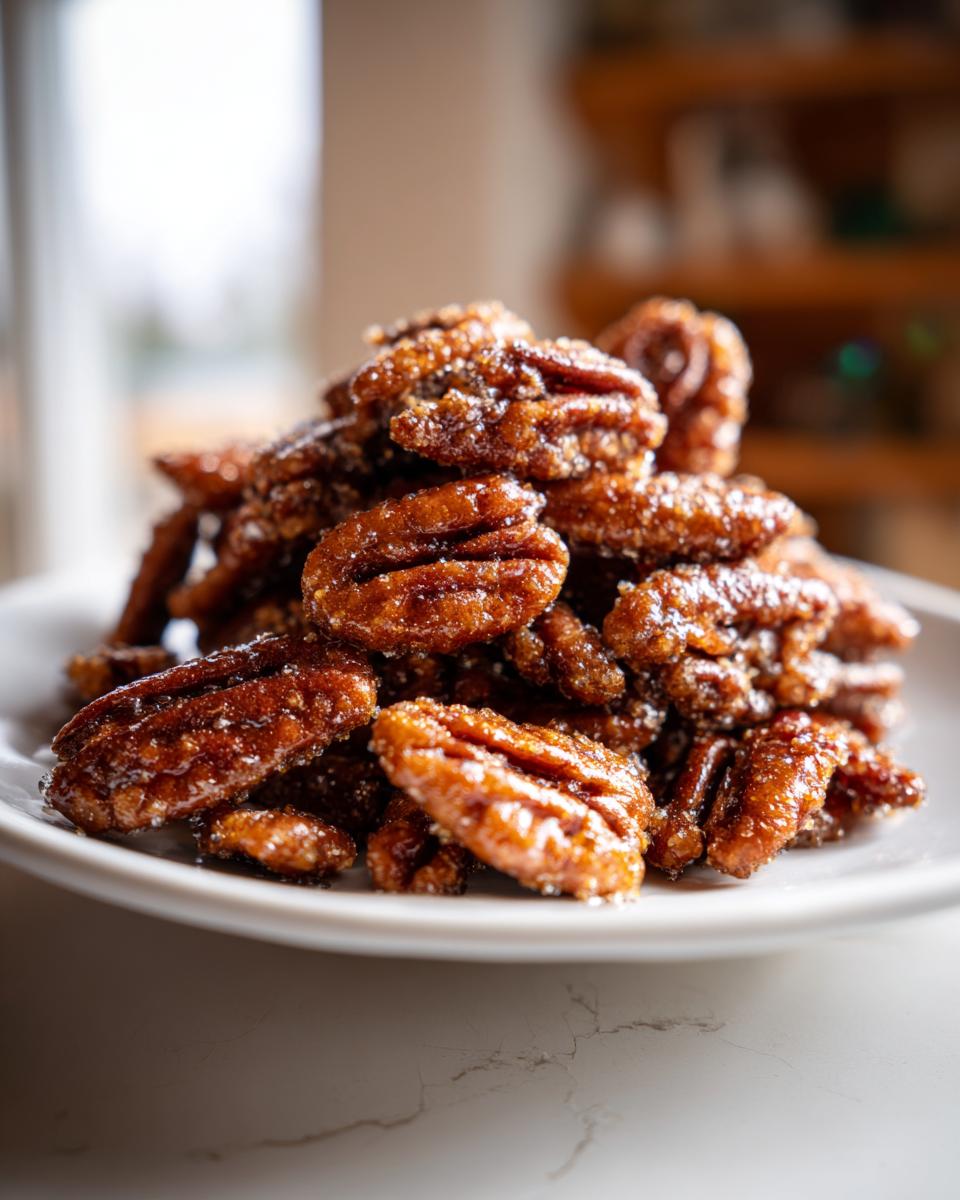
Make sweet, crunchy candied pecans on the stovetop using simple ingredients like cinnamon and sugar. This recipe is quick and perfect for snacking, topping salads, or holiday gifts.
- Prep Time: 5 min
- Cook Time: 5 min
- Total Time: 10 min
- Yield: 1 cup 1x
- Category: Snack
- Method: Stovetop
- Cuisine: American
- Diet: Vegetarian
Ingredients
- 1 cup pecan halves
- 2 tablespoons granulated sugar
- 1 tablespoon brown sugar
- 1/2 teaspoon ground cinnamon
- 1 pinch salt
- 1 teaspoon water
- 1/2 teaspoon butter
Instructions
- Line a baking sheet with parchment paper or a silicone mat. Set aside.
- In a medium, non-stick skillet, combine the granulated sugar, brown sugar, cinnamon, and salt. Stir the dry ingredients together.
- Add the water and butter to the skillet. Place the skillet over medium heat.
- Stir the mixture constantly until the sugar dissolves and begins to bubble. This takes about 2 minutes.
- Add the pecan halves to the bubbling sugar mixture. Stir quickly and continuously to coat all the pecans evenly.
- Cook for 2 to 3 minutes, stirring constantly, until the sugar mixture thickens and coats the nuts. Do not let the sugar burn.
- Immediately pour the coated pecans onto the prepared baking sheet. Spread them into a single layer using a spatula.
- Let the candied pecans cool completely, about 15 minutes. They will harden as they cool.
- Once cool, break apart any clusters before serving or storing.
Notes
- For a slightly spicy kick, add a tiny pinch of cayenne pepper with the cinnamon.
- You can substitute butter with coconut oil for a dairy-free option.
- Store your homemade candied pecans in an airtight container at room temperature for up to two weeks.
Nutrition
- Serving Size: 1/4 cup
- Calories: 250
- Sugar: 12
- Sodium: 15
- Fat: 20
- Saturated Fat: 3
- Unsaturated Fat: 17
- Trans Fat: 0
- Carbohydrates: 15
- Fiber: 3
- Protein: 4
- Cholesterol: 5