
If you’re anything like me, you love finding that one truly decadent dessert that stops conversation the moment it hits the table. I used to think those bakery-style creations were beyond my weeknight capabilities, but that feeling changed when I finally mastered the red velvet cheesecake. This isn’t just a dessert; it’s a showstopper perfect for Valentine’s Day, Christmas, or anytime you need a little indulgence. My secret, learned while juggling teaching and the kids, is that impressive bakes don’t have to be complicated. This recipe proves that with a little method and patience, you can create something incredibly rich that everyone will think took you all day!
I hope you find as much joy making this ultimate treat as I do when I see the look on my family’s faces. You can find more of my favorite, totally achievable, homemade desserts here!
- Why This Showstopper Red Velvet Cheesecake Recipe Works
- Gathering Ingredients for Your Red Velvet Cheesecake
- Step-by-Step Instructions to Make the Red Velvet Cheesecake
- Tips for a Bakery Style Red Velvet Cheesecake
- Storage and Serving Suggestions for Your Red Velvet Cheesecake
- Frequently Asked Questions About Red Velvet Cheesecake
- Estimated Nutritional Data for This Red Velvet Cheesecake
- Share Your Showstopper Red Velvet Cheesecake Creations
Why This Showstopper Red Velvet Cheesecake Recipe Works
When people ask me what makes this particular recipe stand out, I always point to how it pulls off three important things at once. It’s a true celebration of flavors, and frankly, it tastes like it should cost a fortune at a fancy bakery!
- It delivers that incredibly smooth and creamy cheesecake texture we all chase.
- It marries the richness of cake and cheesecake perfectly—a real decadent dessert experience.
- The base gives you that satisfying crunch against the soft filling.
If you loved that surprise texture combination in my Sugar Cookie Cheesecake, you are going to adore this fusion!
Achieving the Ultimate Creamy Cheesecake Texture
Listen, the secret to that unbelievably smooth texture isn’t fancy equipment; it’s temperature! You absolutely must have your four blocks of cream cheese fully softened—we’re talking room temperature, squishy soft. If they’re cold, you’ll end up with lumps, and nobody wants a lumpy red velvet cheesecake, right?
Also, please, please use a water bath when baking. That gentle steam keeps the temperature steady so the filling bakes evenly and stays magically crack-free. It’s the professional move for a perfect homemade cheesecake, honestly.
The Perfect Red Velvet Oreo Cheesecake Base
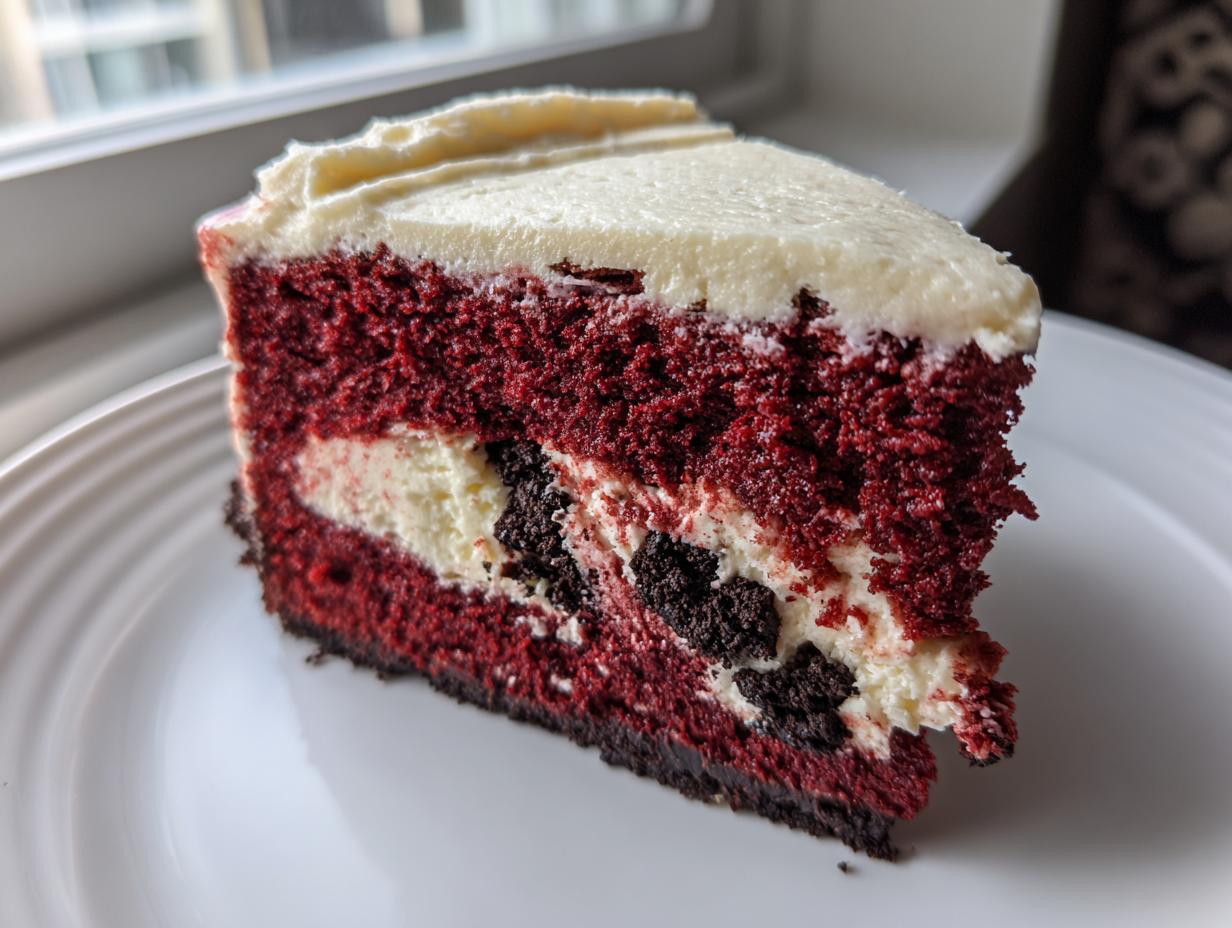
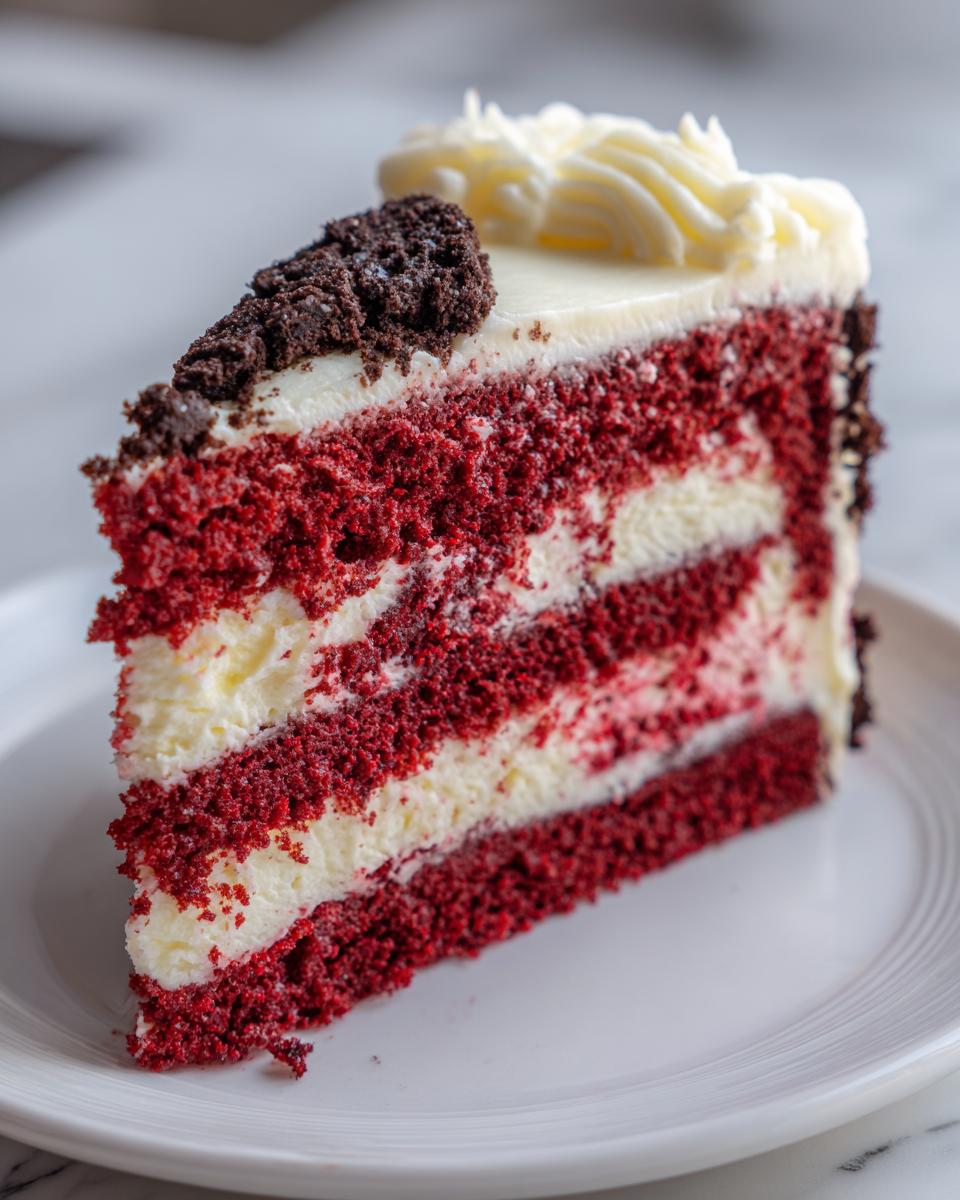
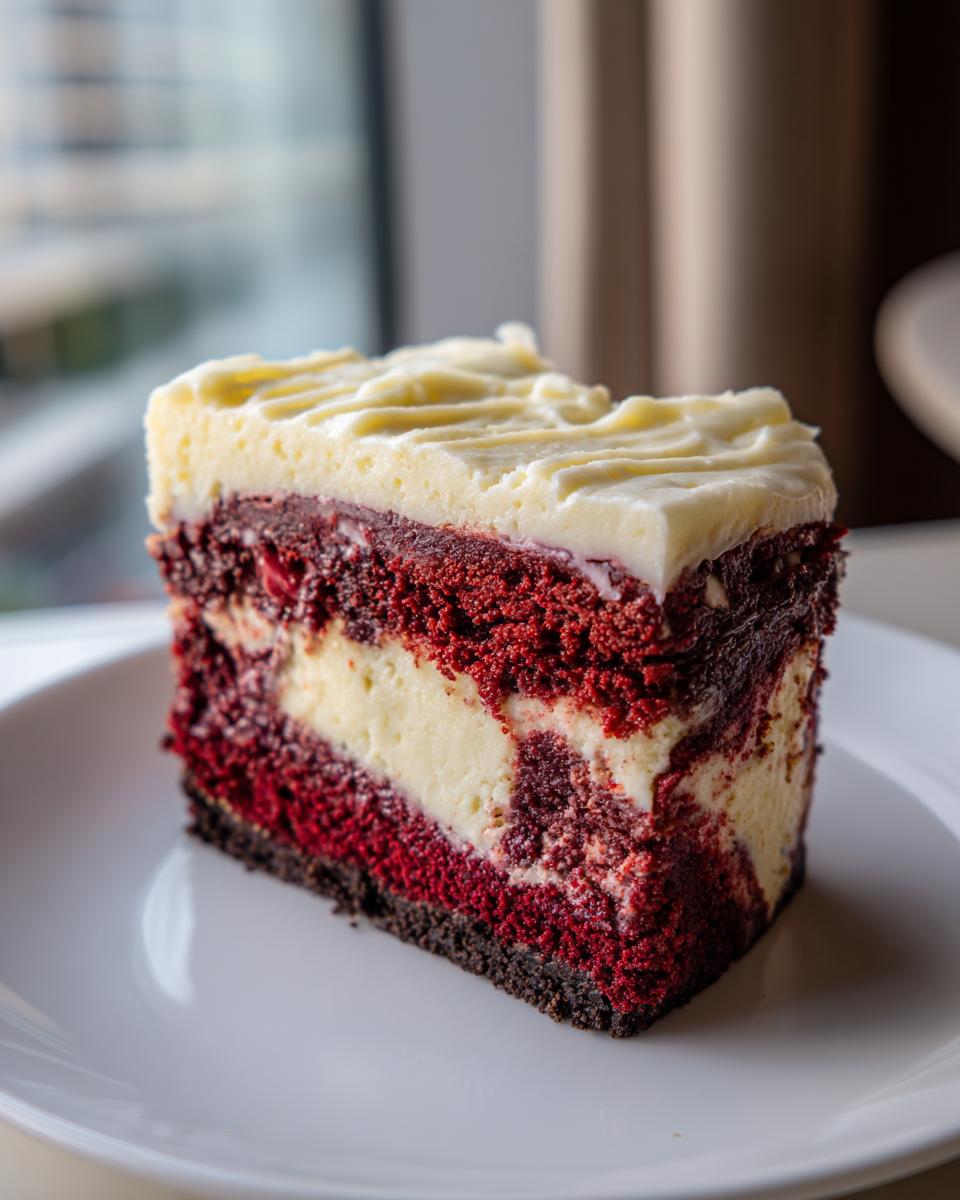
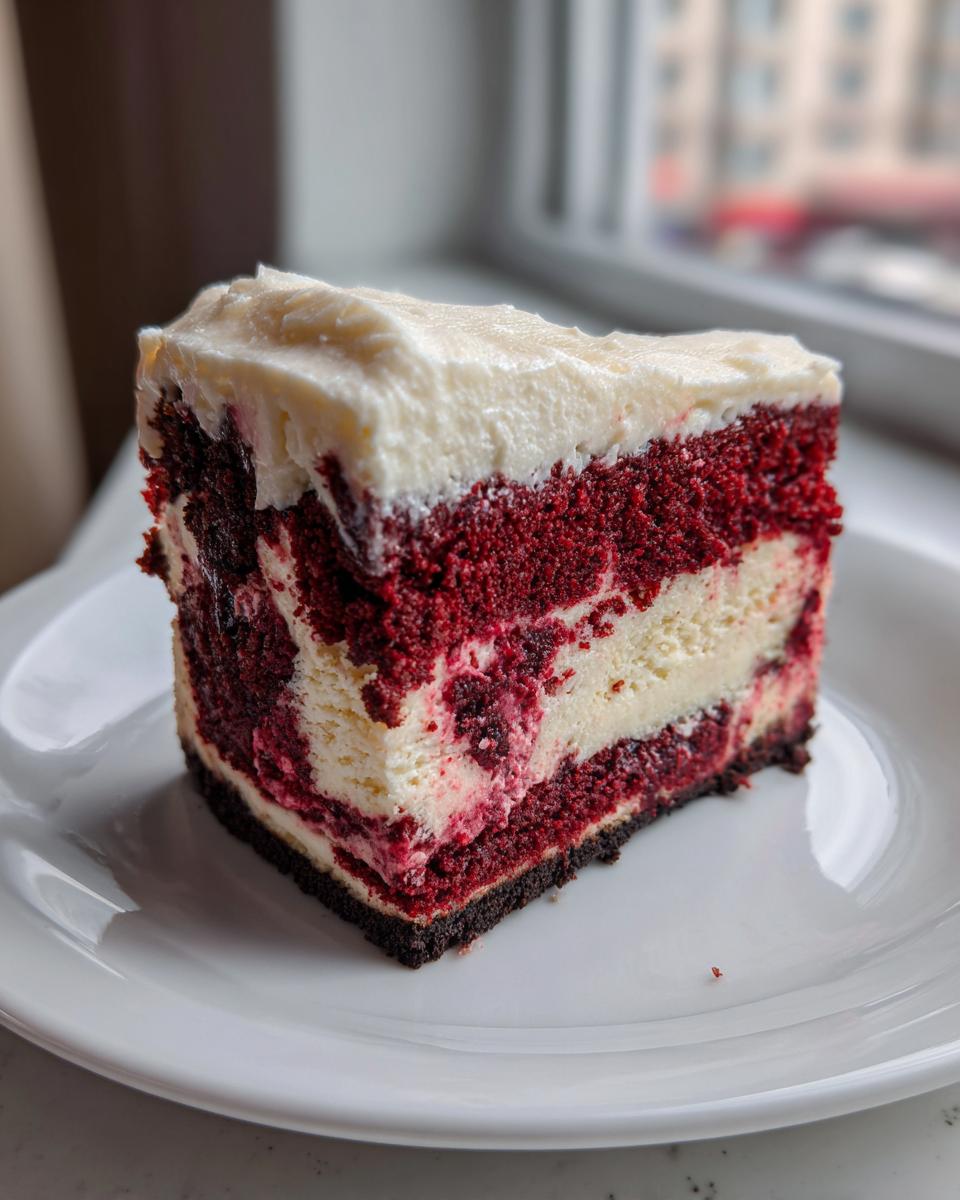
Let’s face it, even the best filling needs a great foundation! We use Oreos because they are just so perfectly dark and rich against all that red and white. The crust bakes up firm and slightly salty, giving you the perfect textural contrast to that lush, velvety filling. It just screams indulgence!
Gathering Ingredients for Your Red Velvet Cheesecake
Okay, this recipe is definitely one where having everything ready before you turn on the mixer makes all the difference. When you’re dealing with swirling batters, you don’t want to stop mid-pour looking for the cocoa powder! We’re dividing everything up so assembly goes smoothly. Trust me on this one; setting yourself up for success early means less stress later when that beautiful color is involved.
I pulled all these measurements straight from my tried-and-true card. If you’re looking for other fun, colorful bakes, you have to check out my red velvet poke cake recipe sometime. Now, let’s get organized!
For the Crunchy Oreo Crust
- 1 1/2 cups crushed Oreo cookies
- 1/4 cup granulated sugar
- 6 tablespoons unsalted butter, melted
For the Swirled Red Velvet Cheesecake Layer
You need a good amount of cream cheese here—eight ounces for one part, then three full blocks for the other—that’s why this is so rich!
- 3 (8 ounce) packages cream cheese, softened
- 1 1/2 cups granulated sugar
- 1/4 cup all-purpose flour
- 1 teaspoon vanilla extract
- 1/2 teaspoon salt
- 1 cup sour cream
- 1/2 cup vegetable oil
- 1 teaspoon white vinegar
- 1 teaspoon red food coloring (liquid or gel)
- 1 tablespoon unsweetened cocoa powder
- 1 teaspoon baking soda
- 1 cup all-purpose flour
- 2 large eggs
- 1/2 cup buttermilk
- 1 cup granulated sugar (for the red velvet batter portion)
- 8 ounces cream cheese, softened (for the red velvet batter portion)
For the Cream Cheese Frosting Cheesecake Topping
This is the sweet, tangy finish that really makes it look professional. We whip this up while the cheesecake is chilling and getting happy in the fridge.
- 8 ounces cream cheese, softened
- 1/4 cup butter, softened
- 2 cups powdered sugar
- 1 teaspoon vanilla extract
- 1-2 tablespoons milk (use milk sparingly to get the right pourable texture!)
Step-by-Step Instructions to Make the Red Velvet Cheesecake
Now for the fun part! Putting it all together is where this red velvet cheesecake really starts looking like the showstopper we know it will be. You’ll notice we handle the two main batters very separately—that’s key to getting that perfect swirl and avoiding a tough cake texture mingled in with the creamy filling.
Make sure you have your oven at 350 degrees Fahrenheit before you dive into any mixing. Having everything ready means no frantic scrambling later!
Preparing the Pan and Oreo Crust for Your Red Velvet Cheesecake
First things first, you need to secure that 9-inch springform pan against any water leaks from the bath. I wrap the bottom and sides TIGHTLY with heavy-duty aluminum foil—like its going on a tiny boat trip. You want that seal to be solid!
Next, mix up your crust stuff: the crushed Oreos, that little bit of sugar, and the melted butter. Press it down really firmly into the bottom of that prepared pan. Then, pop it into the preheated oven for just 10 minutes. This gives the red velvet cheesecake structure a nice, slightly sturdy base. Once that’s done, set it aside to cool completely while we make the magic happen.
Mixing the Creamy Cheesecake and Red Velvet Batter
We start with the creamy component. In a big bowl, beat your softened cream cheese until it’s looking good. Slowly add that 1 1/2 cups of sugar, the flour, vanilla, salt, and sour cream. Beat it smooth—no lumps allowed! Then, drizzle in the oil, vinegar, and that vibrant red food coloring until everything is uniform and stunningly red.
In a separate bowl, we make the cake component. Whisk your dry cake ingredients (cocoa, baking soda, flour, sugar) together. In another small dish, whisk the eggs and buttermilk—this is your wet mix. Now, here’s my usual teacher trick: add the wet stuff to the dry and mix just until you see it come together. Don’t over-beat the cake batter, or it gets tough! We want tender cake, not rubber bands.
Assembling and Baking the Ultimate Red Velvet Treat
Time to layer! Pour half of your beautiful plain cheesecake batter right over that cooled Oreo crust. Then, very gently, spoon half of your red velvet cake batter right on top of that cheesecake layer. See where I’m going with this? Repeat once more with the rest of both batters. You can take a thin knife and gently swirl them through each other just once or twice to get that gorgeous marbled look—don’t go crazy, or they blend too much!
Now for the crucial water bath setup. You’ll place your foil-wrapped springform pan into a larger roasting pan. Carefully pour boiling hot water into the roasting pan until it comes about halfway up the sides of your cheesecake pan. Bake this whole setup for 60 to 75 minutes. Remember, you want the edges set firm, but a slight jiggle in the very center means you nailed it for achieving the best red velvet cheesecake texture.
Cooling, Chilling, and Making the Cream Cheese Frosting Cheesecake Topping
Don’t rush the finish line! Once the baking time is up, turn the oven OFF. Prop the door open just a crack—I usually wedge a wooden spoon in there—and let the cake cool down slowly inside for a full hour. This slow cooldown prevents a sudden temperature shock, which leads to cracks, bless its heart!
After that hour, carefully remove it from the water bath and let it cool completely on a wire rack before it even thinks about going into the fridge. It needs at least six hours of chilling, but honestly, overnight is truly best for that firm, sliceable dream. While it’s chilling, whip up your frosting! Beat the softened cream cheese and butter until airy, then slowly add powdered sugar and vanilla. Thin it out just a touch with milk if needed until it’s perfectly smooth and ready to blanket your gorgeous creation.
When you’re ready to serve, don’t forget to check out my ideas for cinnamon roll cheesecake or these tasty apple cheesecake bars for your next baking adventure. And if you want to see how other folks made this same recipe, you can see the original inspiration right here!
Tips for a Bakery Style Red Velvet Cheesecake
If you want this to look like it came straight from one of those fancy dessert shops, there are just a couple more little things I learned over the years of baking many, many cheesecakes. It’s all about controlling the moisture and the color. Trust me, a little extra care here makes all the difference when you slice into that beautiful, rich red velvet cheesecake!
How to Prevent Cracks in Your Red Velvet Cheesecake
We already talked about the water bath, which is step one, but another big factor is how you treat those eggs! Once you add the eggs to the filling, switch to low speed or stir by hand. Over-beating eggs whips too much air into the filling, and that air expands and then collapses, causing the dreaded crack.
And, of course, never skip that slow cooling period inside the turned-off oven. It’s the key to keeping that smooth surface intact. If you want professional results comparable to what you see online, like on this recipe guide, slow cooling is mandatory.
Achieving Deep Red Color in the Red Velvet Cheesecake
The trick to that signature, deep red velvet color that truly makes this a showstopper dessert? Don’t rely on the liquid food coloring you find in little plastic bottles! Liquid coloring often requires way too much product, making your batter watery, which throws off the texture.
Instead, grab a bottle of gel food coloring. Seriously, it’s concentrated color, so just a few drops gets you the most vibrant, striking red possible without messing with the delicate balance of the cheesecake filling. It makes all the difference when you serve this holiday favorite!

And if you are looking for a simple, tangy side sauce for things, my creamy horseradish sauce recipe is a keeper, too!
Storage and Serving Suggestions for Your Red Velvet Cheesecake
Once you’ve gone to all the trouble to create such a gorgeous, decadent dessert, you want to make sure it stays perfect, right? Luckily, this red velvet cheesecake holds up really well, making it fantastic for making ahead of time for parties. No need to stress on game day!
If you’re serving it later that week, I always recommend sticking it in the fridge covered tightly. I sometimes even use plastic wrap pressed directly onto the surface before sealing the lid, just to keep things extra fresh!
Keeping Your Homemade Cheesecake Fresh
The refrigerator is definitely its happy place, and it should happily last about four or five days covered up in there. If you made one for a massive holiday crowd and have leftovers, don’t worry! Cheesecake freezes beautifully.
Just make sure it’s completely chilled first. Wrap the whole chilled red velvet cheesecake tightly in plastic wrap, then wrap it again in foil before popping it in the freezer for up to a month. Thaw it overnight in the fridge before getting ready to serve.
Pairing This Decadent Dessert
Honestly? This rich treat is so flavorful on its own, especially with that creamy frosting topping, that it truly doesn’t need much else. A tiny dollop of extra whipped cream on the side is nice, but that’s about it.
If you are serving something alongside it, I find a bright, tart drink pairs best. Have you tried my easy Thanksgiving punch recipe? That slightly tart cranberry flavor really cuts through the richness of the red velvet cheesecake perfectly. It balances everything out so nicely!
Frequently Asked Questions About Red Velvet Cheesecake
I get so many wonderful questions about the baking process once folks see this beauty! It’s normal to have a few worries when you’re tackling something as impressive as a layered cheesecake. Don’t let the ‘showstopper’ title scare you off; we’re going to walk through these common head-scratchers right now. If I can master this while running a classroom, you absolutely can!
Can I make a Red Velvet Cheesecake Cake version?
That’s a fantastic thought! Right now, what we have is a divine swirl—the cheesecake gooiness marbled right through the red velvet batter. If you are set on the true layered Cheesecake Cake Recipe, like the one from the Cheesecake Factory copycats you see online, you absolutely can adapt it! You would bake a thin, separate layer of red velvet cake and use it as the bottom layer before pouring in the cheesecake filling, or even layer a baked cake on top after chilling. It adds a step, but it’s totally doable for an even more dramatic dessert!
Is this an Easy Cheesecake Recipe to attempt?
I won’t lie to you; cheesecake always requires a touch more attention than a simple dump cake. However, I worked really hard to make this the most Easy Cheesecake Recipe it can be for a mixed-layer dessert. Because we are using that water bath and cooling it slowly, we’ve eliminated the biggest hurdles for beginners. If you follow the temperature and timing instructions for the bake, I promise your red velvet cheesecake will turn out beautifully smooth. You don’t need to be a pastry chef, just patient!
What if I want a Red Velvet Oreo Cheesecake?
Great news! Because we started with a crunchy Oreo crust, you already have a huge part of that flavor profile built in. But if you want that intense crunch *throughout* the filling, go for it! Just stir in about half a cup of extra crushed Oreos right when you add the oil and coloring to the cheesecake batter. It adds a fun texture and doubles down on that chocolatey kick. See? Chocolate and red velvet always marry well!
If you end up making this for a holiday party, you should check out that Cheesecake Factory copycat guide for comparison purposes too!
Estimated Nutritional Data for This Red Velvet Cheesecake
Now, I know when we make a decadent dessert like this, we aren’t exactly doing it for our doctor, right? But I always like to give everyone a general idea of what they’re digging into, especially since this red velvet cheesecake is so rich!
I’ve pulled together the averages based on the recipe ingredients, but please remember these numbers are just estimates. If you used low-fat sour cream or skipped the frosting, your numbers are going to look way different! These calculations are based on the recipe yielding 12 generous slices.
- Serving Size: 1 slice
- Calories: 550
- Sugar: 55g
- Fat: 35g
- Protein: 8g
- Cholesterol: 120mg
It’s definitely a treat meant for special occasions, so plan to share it (or be very strategic about your serving size!).
Share Your Showstopper Red Velvet Cheesecake Creations
Well, friends, that’s it! You’ve successfully navigated the water bath, you’ve managed the swirl, and now you have this gorgeous, velvety masterpiece sitting in your fridge. I truly hope you are just bursting with pride!
This is the point where my favorite part of this whole kitchen journey happens—hearing from you! When I see photos of your stunning, ruby-red desserts, it makes all that mixing and waiting completely worth it. I need to know how it went down at your table!
If this red velvet cheesecake earned a spot in your family’s special occasion rotation, please, please leave a star rating right down below. Five stars if you think it’s the best! And if you took a picture of your swirl—especially if you added extra Oreos—tag me on social media. I just adore seeing what magic you create in your own homes!
If you’re looking for another fun, easy red velvet treat that’s just as vibrant, you have to bookmark my red velvet cake pops recipe for next time. Happy baking, everyone, and thank you for bringing a little sweetness into my kitchen!
PrintShowstopper Red Velvet Cheesecake with Oreo Crust
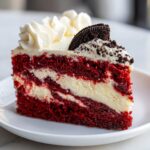
Make a rich, creamy, and visually stunning Red Velvet Cheesecake featuring a crunchy Oreo crust. This decadent dessert is perfect for holidays or special celebrations.
- Prep Time: 35 min
- Cook Time: 75 min
- Total Time: 130 min
- Yield: 12 servings 1x
- Category: Dessert
- Method: Baking
- Cuisine: American
- Diet: Vegetarian
Ingredients
- 1 1/2 cups crushed Oreo cookies
- 1/4 cup granulated sugar
- 6 tablespoons unsalted butter, melted
- 3 (8 ounce) packages cream cheese, softened
- 1 1/2 cups granulated sugar
- 1/4 cup all-purpose flour
- 1 teaspoon vanilla extract
- 1/2 teaspoon salt
- 1 cup sour cream
- 1/2 cup vegetable oil
- 1 teaspoon white vinegar
- 1 teaspoon red food coloring (liquid or gel)
- 1 tablespoon unsweetened cocoa powder
- 1 teaspoon baking soda
- 1 cup all-purpose flour
- 2 large eggs
- 1/2 cup buttermilk
- 1 cup granulated sugar
- 8 ounces cream cheese, softened
- 1/4 cup butter, softened
- 2 cups powdered sugar
- 1 teaspoon vanilla extract
- 1–2 tablespoons milk
Instructions
- Preheat your oven to 350 degrees Fahrenheit. Wrap the outside of a 9-inch springform pan tightly with heavy-duty aluminum foil.
- Prepare the crust: Mix the crushed Oreos, 1/4 cup sugar, and melted butter. Press this mixture firmly into the bottom of the prepared springform pan. Bake the crust for 10 minutes. Let it cool while you prepare the filling.
- Prepare the cheesecake layer: In a large bowl, beat the softened cream cheese, 1 1/2 cups sugar, 1/4 cup flour, vanilla extract, salt, and sour cream until the mixture is smooth. Beat in the oil, vinegar, and red food coloring until combined.
- Prepare the red velvet cake layer: In a separate bowl, whisk together the cocoa powder, baking soda, 1 cup flour, and 1 cup sugar. In another bowl, whisk the eggs, buttermilk, and remaining 1/2 cup buttermilk. Add the wet ingredients to the dry ingredients and mix until just combined. Do not overmix.
- Assemble the cheesecake: Pour half of the cheesecake batter over the cooled Oreo crust. Gently spoon half of the red velvet cake batter over the cheesecake layer. Repeat with the remaining cheesecake batter, then top with the remaining red velvet batter. Use a knife to gently swirl the layers together for a marbled effect.
- Bake the cheesecake: Place the foil-wrapped springform pan into a larger roasting pan. Carefully pour hot water into the roasting pan until the water reaches halfway up the sides of the springform pan (this is a water bath). Bake for 60 to 75 minutes, or until the edges are set but the center still jiggles slightly.
- Cool the cheesecake: Turn off the oven, crack the door open, and let the cheesecake cool inside the oven for 1 hour. Remove the cheesecake from the water bath and foil, and let it cool completely on a wire rack. Chill in the refrigerator for at least 6 hours, or preferably overnight.
- Make the cream cheese frosting: Beat the softened cream cheese and butter until smooth. Gradually add the powdered sugar and vanilla extract. Add milk one tablespoon at a time until you reach a smooth, spreadable consistency.
- Frost the chilled cheesecake before serving. Slice and serve your decadent dessert.
Notes
- For the smoothest texture, bring all dairy ingredients for the filling to room temperature before starting.
- If you want a true copycat version of The Cheesecake Factory style, consider making this a layered Cheesecake Cake by baking a thin layer of red velvet cake on top after the cheesecake has chilled.
- Use gel food coloring for a deeper, more intense red color without adding extra liquid to the batter.
Nutrition
- Serving Size: 1 slice
- Calories: 550
- Sugar: 55
- Sodium: 450
- Fat: 35
- Saturated Fat: 20
- Unsaturated Fat: 10
- Trans Fat: 0.5
- Carbohydrates: 58
- Fiber: 1
- Protein: 8
- Cholesterol: 120