
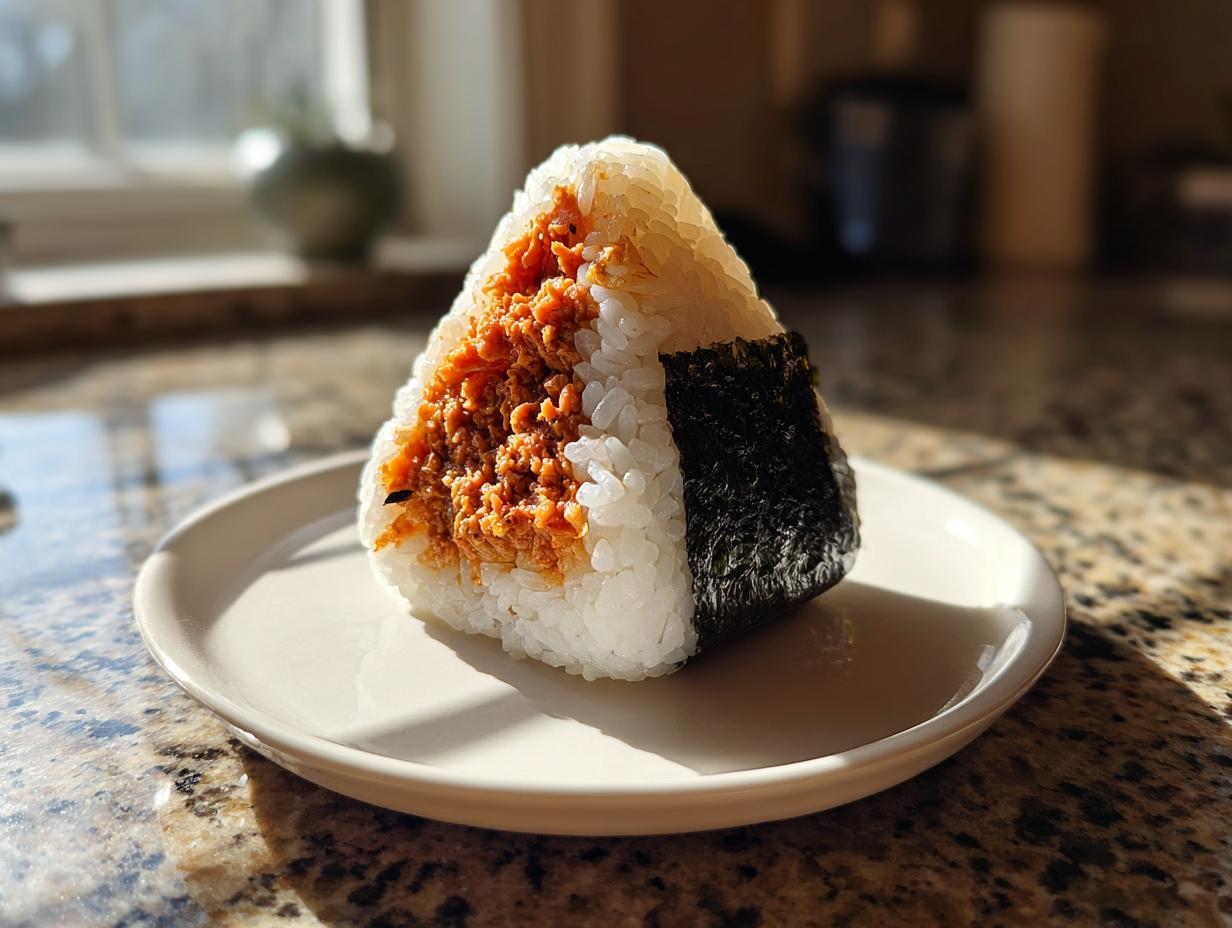
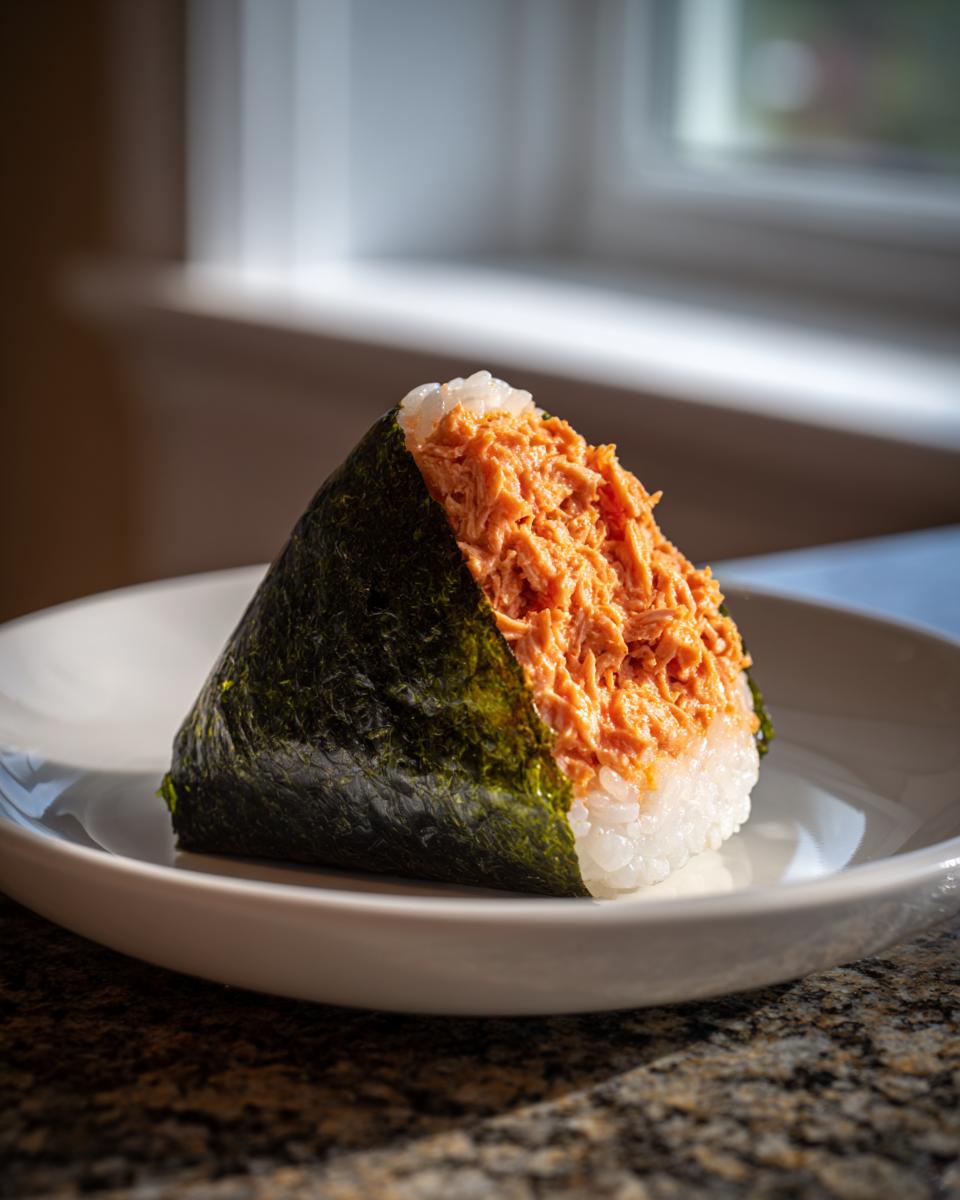
If you’re staring down the barrel of a busy evening and realize you need something satisfying, fast, and totally packed with flavor, you’ve come to the right place! Forget complicated dinners; sometimes, all you need is the perfect handheld snack. That’s why I developed this ultimate **tuna onigiri** recipe. As a mom who spent years juggling school deadlines and dinner prep, I needed food that traveled well and tasted amazing right out of the fridge. This Spicy **Tuna Onigiri** is my answer:
It’s incredibly beginner-friendly, calling on pantry staples, and you can have these delicious Japanese Rice Balls ready in about 15 minutes flat. Trust me, even if you think shaping rice balls sounds scary, you’re going to nail this on your first try. We’re making comfort food that happens to look like it came straight from Tokyo!
If you’re looking for more fast-fix ideas for hungry kids, you should definitely check out my favorite quick, healthy lunch ideas.
- Why This Spicy Tuna Onigiri Recipe is a Weeknight Hero
- Ingredients for the Perfect Tuna Onigiri Filling
- Step-by-Step Instructions: How to Shape Onigiri Like a Pro
- Variations on Classic Tuna Onigiri
- Serving Suggestions for Your Quick Japanese Lunch
- Storage and Make Ahead Rice Snack Tips for Tuna Onigiri
- Troubleshooting Common Tuna Onigiri Issues
- Frequently Asked Questions About Japanese Rice Balls
- Nutritional Snapshot of Spicy Tuna Onigiri
- Share Your Homemade Tuna Onigiri Creations
Why This Spicy Tuna Onigiri Recipe is a Weeknight Hero
I know what it’s like when 6 PM hits and you’re just done. That’s why I love this recipe so much—it truly saves the day when you need a reliable savior. It’s not just a recipe; it’s a peace offering to your busy schedule!
- It’s the perfect **Portable Japanese Food**—amazing straight out of the fridge for lunch the next day.
- Absolutely no cooking required beyond your initial rice prep!
- It’s hearty enough to feel like a meal but light enough to be a wonderful **Quick Asian Snack**.
- Every ingredient is something you can keep stocking in your pantry for an emergency meal.
If you need more ideas for saving time in the kitchen, check out my go-to collection of weeknight dinner ideas.
Speed and Simplicity for Your Homemade Onigiri Recipe
Honestly, the prep for the filling takes less time than boiling water. We are talking about 15 quick minutes until these **Homemade Onigiri Recipe** beauties are ready to eat! You don’t need a fancy rice cooker or molds; I just use my hands, and you can too. It’s the ultimate **Beginner Japanese Recipe** because it asks zero complicated techniques from you.
Ingredients for the Perfect Tuna Onigiri Filling
Okay, let’s talk about what goes inside these amazing **tuna onigiri**. Because this recipe is so quick, the quality of these few ingredients really shines through. We are keeping things simple, using pantry staples, but precision matters on the small things! You’ll need proper sushi rice, salt, canned tuna, and the secret weapons for creaminess and spice.
- 2 cups cooked short-grain Japanese rice (sushi rice)
- 1 teaspoon salt, for seasoning rice
- 1 (5 ounce) can tuna in water, drained well
- 3 tablespoons Kewpie mayonnaise (or regular mayonnaise)
- 1 to 2 teaspoons Sriracha sauce (adjust for spice preference)
- 1/2 teaspoon soy sauce
- 4 sheets nori (seaweed), cut into strips for wrapping
- Optional: Toasted sesame seeds for garnish
Make sure that tuna is really, really drained well—we want creamy filling, not watery filling!
Tips for Sourcing Ingredients for Your Tuna Mayo Rice Balls
I always get asked about the mayonnaise. If you can find Kewpie mayo, please grab it! It has a richer flavor because it uses only egg yolks, which really boosts the tang and creaminess of the **Spicy Tuna Filling**. If you only have standard mayonnaise on hand, don’t panic! Just mix in about half a teaspoon of rice vinegar. That little splash mimics the wonderful zing Kewpie brings to our classic **Tuna Mayo Rice Balls**. It’s my top trick for making something basic taste a little more special!
If you’re exploring other flavorful dips, you might enjoy my recipe for easy homemade cheese soup.
Step-by-Step Instructions: How to Shape Onigiri Like a Pro
This is everyone’s biggest worry when making **tuna onigiri**, right? Shaping them! I remember my first attempt; the rice stuck to my fingers like glue, and I ended up with a sticky, misshapen blob that looked more like a mud ball than a lovely Japanese Rice Ball. Don’t worry, friend, I figured out the secret! The absolute key to mastering **How to Shape Onigiri** is preparing your hands correctly and remembering to use the *gentlest* pressure.
We are going straight through the main steps here. Get your rice ready, mix up that incredible filling, and then we shape!
Preparing the Rice for Optimal Tuna Onigiri Texture
First, let’s handle our sticky situation before it even starts. We need that short-grain sushi rice to be perfectly seasoned and cool enough to touch. Spread your warm rice onto a wide plate—this helps it cool down evenly. Sprinkle that teaspoon of salt all over and just gently fold it in with a spatula. We want it warm enough to hold a shape, but not so hot that it melts your filling later. If it’s too hot, you’ll burn yourself!
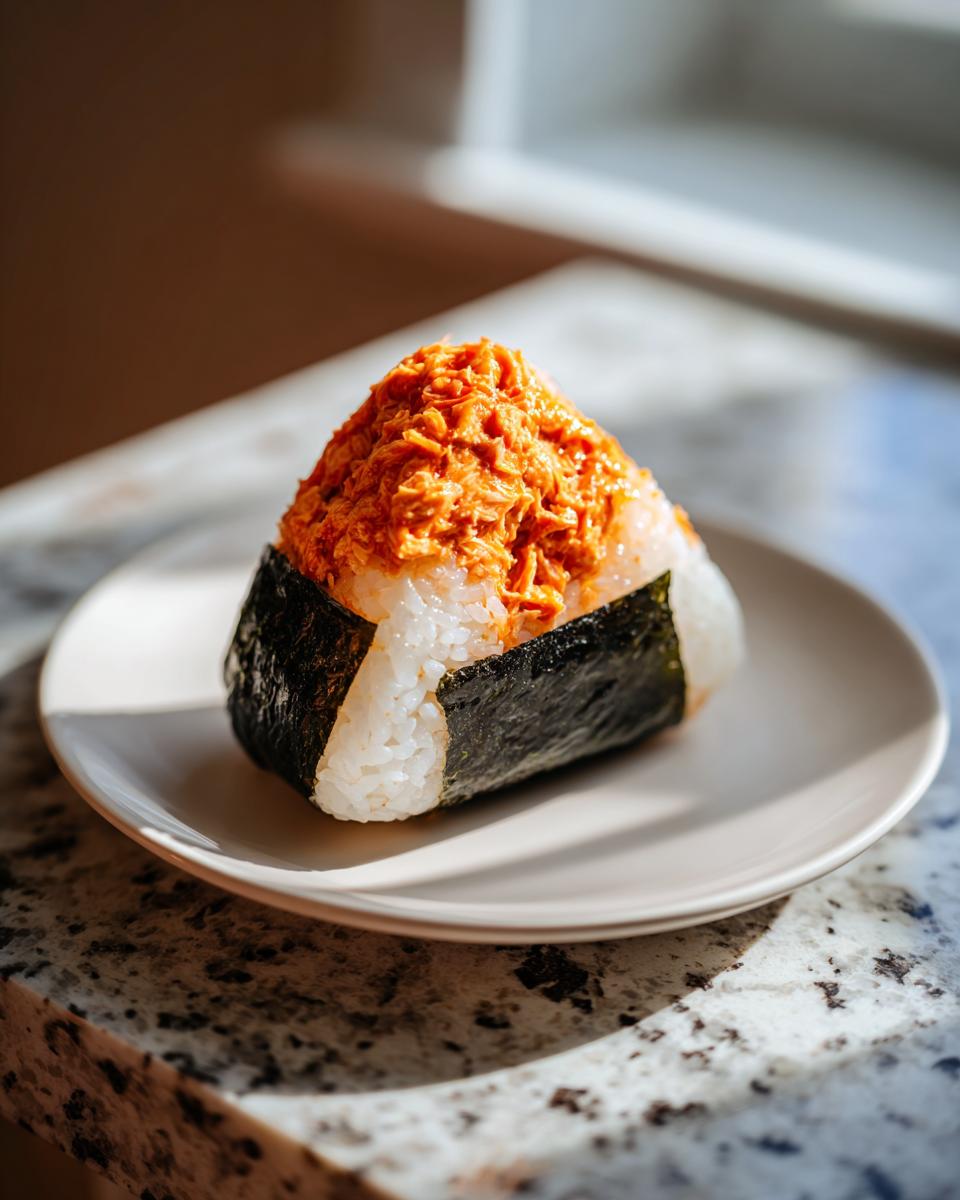
Creating the Signature Spicy Tuna Filling
Now for the delicious part! Take that well-drained tuna, your Kewpie mayo, soy sauce, and Sriracha, and mix it all up until it’s creamy and beautiful. This is the moment you need to stop and taste it. Adjust that Sriracha now—do you want it mild, or are you going for a real kick? Once you love the **Spicy Tuna Filling**, set it aside. You want this filling to be thick enough to hold a spoonful shape.
If you want to dip into some other great appetizer ideas, my creamy clam dip recipe is always a crowd-pleaser!
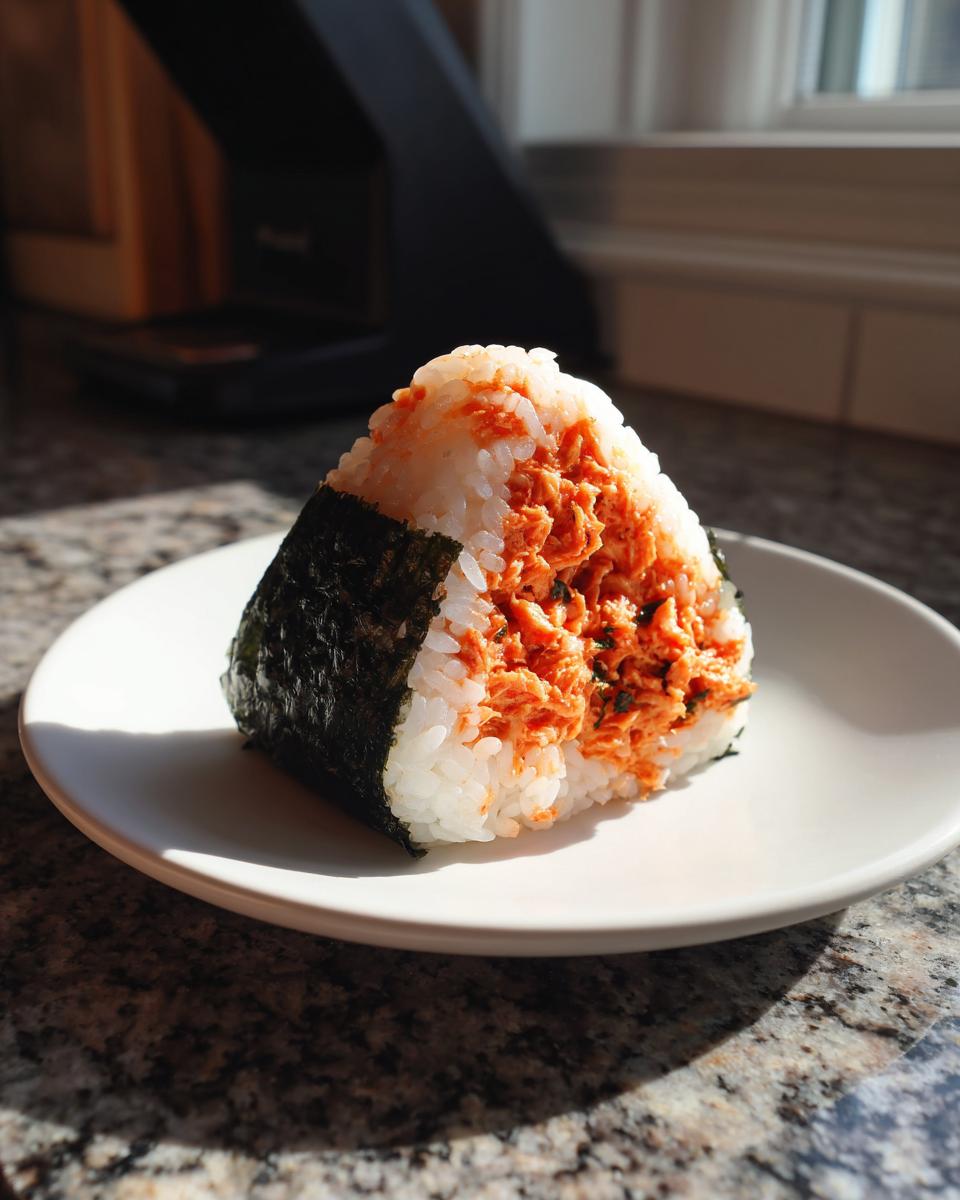
Variations on Classic Tuna Onigiri
While I absolutely adore this spicy version—it’s got that fantastic kick—I know not everyone loves heat, or maybe you just ran out of Sriracha (gasp!). Don’t worry, these **tuna onigiri** are wonderfully versatile. For a classic, mild flavor, just skip the Sriracha and maybe add a tiny pinch of black pepper. That’s how we turn it into traditional **Tuna Mayo Rice Balls**!
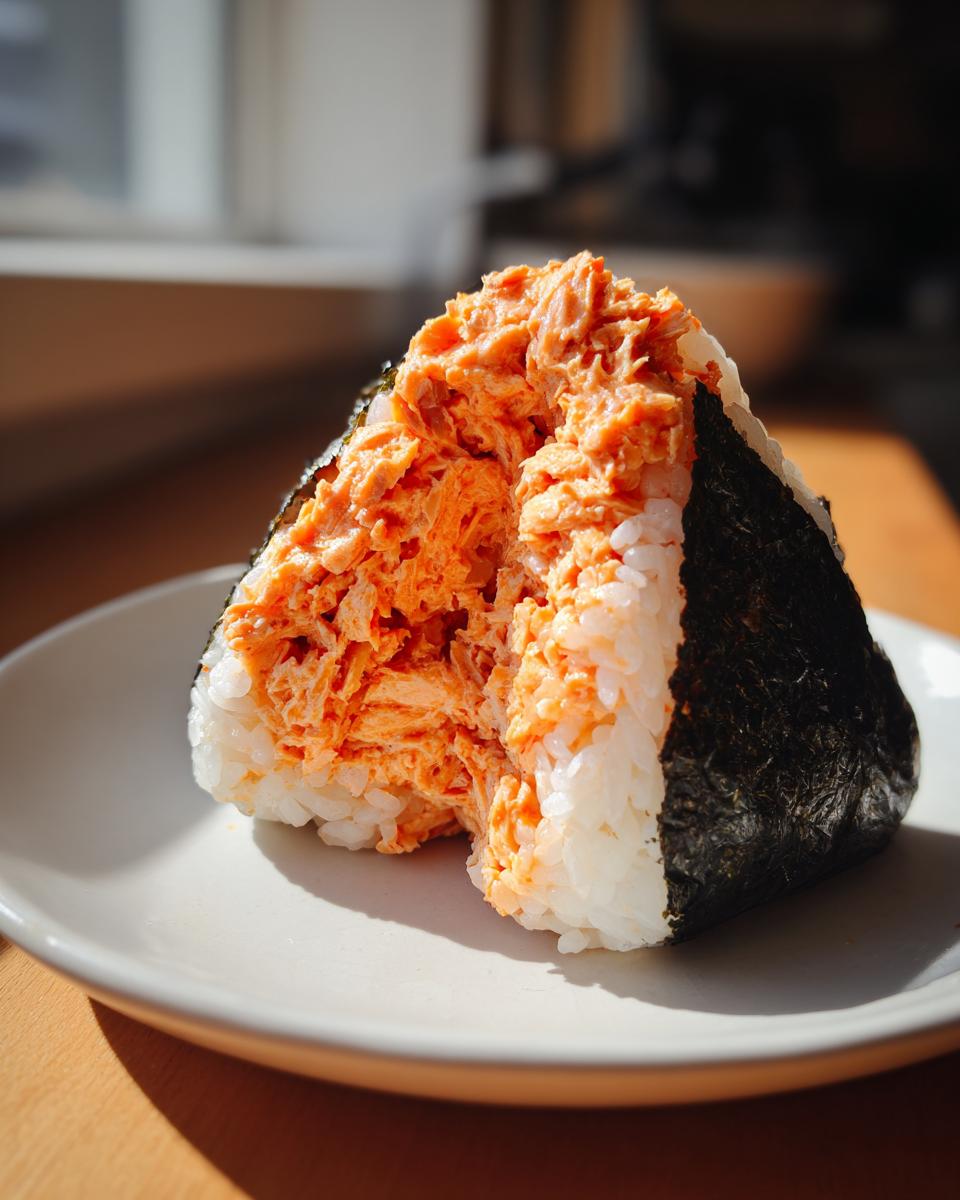
But wait, there is more! If you have some leftover cooked salmon from dinner, flake that in instead—it’s divine. Or maybe you have some shredded rotisserie chicken? Mix that with the mayo and a dash of soy, and you have a completely different, but equally satisfying filling for your **Japanese Rice Balls**. It means you can clear out that fridge before the weekend hits. If you are looking for other great chicken salad ideas, take a peek at my creamy and crunchy chicken salad recipe!
Serving Suggestions for Your Quick Japanese Lunch
The beauty of **tuna onigiri** is that they are designed to be eaten anywhere! They seriously shine when packed up. These are my go-to when I need a reliable **Bento Box Filler Idea** because they hold their shape so well, even when they aren’t piping hot.
They are fantastic for an **Asian Picnic Food** spread, too. When I serve these, I always sneak in a little container of pickled ginger or maybe some lightly salted edamame on the side. It just gives the whole experience a little more polish. If you’re looking for a simple main dish to pair with these later in the week, my easy chicken and green beans dinner is always a winner!
If you want to see how others enjoy these wonderful rice balls, check out this great resource on Tuna Onigiri Recipe A Quick And Tasty Japanese Snack. Don’t forget to come back and let me know how your lunch turned out!
Storage and Make Ahead Rice Snack Tips for Tuna Onigiri
One of the best parts about **tuna onigiri** is that they qualify as an excellent **Make Ahead Rice Snack**. I usually make a big batch on Sunday night for my kids’ lunches for Monday and Tuesday. The trick here is the wrapping! You must wrap them individually in plastic wrap—tightly, but not so tight that you crush the shape.
They keep beautifully in the fridge for up to two days. Now, be warned about the nori wrapper: the seaweed gets soggy after about three hours sitting against the moist rice. If you want that crisp snap, here’s what I do: wrap the rice ball itself tightly in plastic wrap, and then set the nori strips aside in a small ziplock bag. The recipient can slide the nori on right before eating. It keeps everything fresh!
If you are interested in other make-ahead items, my recipe for easy no-bake bourbon balls is fantastic for holidays!
Troubleshooting Common Tuna Onigiri Issues
Even with an easy recipe like this, sometimes things go a little sideways in the kitchen, and that’s okay! It happens to me all the time, especially when I rush my shaping. Don’t sweat it if your first couple of **tuna onigiri** aren’t triangle perfection. We just need to fix the two main sticking points right away so you can enjoy your **Quick Asian Snack**!
If your rice is sticking to your hands, you probably didn’t wet them enough before starting. A quick dip in cool water, or even rubbing a little bit of the salted rice water onto your palms, solves that right away. You can also use plastic wrap if you feel nervous, like my friend over at mykitchenvibe suggests—it’s a great trick for clean handling!
The second issue is density. If you squeeze too hard trying to get that perfect triangle shape, you end up with a hockey puck instead of a fluffy **Japanese Rice Ball**. Remember, the rice just needs to stick together. Use gentle, cupping pressure. That’s it! Honestly, if you want to see another angle on fixing common issues, my recipe for easy tortilla soup sometimes has unexpected sticking problems too, but the fixing principles are similar!
Frequently Asked Questions About Japanese Rice Balls
I totally get it—when you try a new recipe, especially something from another cuisine, you always have questions lingering! Don’t worry, I’ve pulled the ones I hear most often about making our **tuna onigiri** so you feel super confident.
Can I use regular long-grain white rice instead of sushi rice?
This is a big one for anyone trying this **Beginner Japanese Recipe** for the first time! Technically, you *can* use long-grain rice, but I really, really advise against it. Sushi rice (which is short-grain or medium-grain) has a natural starchiness that makes it sticky enough to clump together when it cools. Long-grain rice cooks up fluffy, so your **Japanese Rice Balls** will just crumble apart when you try to shape them. Stick to short-grain if you can for the best results!
How do I keep the nori crisp when making Tuna Mayo Rice Balls for lunch?
Ah, the soggy nori dilemma! The moisture from the rice softens the seaweed wrapper quickly. If you’re packing these for a **Quick Japanese Lunch** the next day, the best thing you can do is wrap the rice ball itself tightly in plastic wrap first. Then, keep your nori strips dry in a separate tiny bag or container. You just unwrap the rice, slide the strip on, and eat! It keeps that wonderful crisp texture.
What if I don’t want spicy tuna? Can I make a mild version?
Absolutely! Sometimes you need a classic, comforting flavor. If the Sriracha isn’t calling your name, just skip it entirely. Mix that drained tuna, Kewpie mayo, and soy sauce together—that creates the classic, creamy **Tuna Mayo Rice Balls** filling. You can even add a tiny pinch of dried oregano or a dash of paprika for color if you like. It’s delicious either way!
If you need another appetizer that’s fast and cheesy, you might want to try my recipe for easy 15-minute beer cheese dip!
Nutritional Snapshot of Spicy Tuna Onigiri
Now, I’m not going to stand here and tell you that these **tuna onigiri** are a low-calorie health food—they have mayo, after all! But I do believe in knowing what we’re putting into our bodies, especially when we’re feeding our families. I ran the numbers on the ingredients we used in this recipe (assuming standard draining on the tuna and utilizing Kewpie), and here is what you can generally expect from one of these delicious little rice balls.
Remember, this is just an estimate, but it gives you a great idea of what’s inside your satisfying snack. It’s truly a great balance of energy from the rice and protein from the tuna!
- Serving Size: 1 rice ball
- Calories: Around 250
- Carbohydrates: About 35g
- Protein: Coming in at 12g
- Fat: Roughly 8g (most of that from that wonderful creamy mayo!)
- Sodium: Around 450mg (this will vary based on how salty your rice is and the tuna brand!)
It’s a fantastic option if you’re looking for more protein in your snacks. If you’re trying to keep things lean but still satisfying, you might love checking out my recipe for the cheeseburger bowl—it’s high in protein, too!
Share Your Homemade Tuna Onigiri Creations
I truly hope you enjoyed making these easy **tuna onigiri**! When you make a recipe from my kitchen, it becomes part of our Rosas Tasty Kitchen family tradition. Please hop down to the comments below and leave me a rating—did it get five stars in your house?
I absolutely live to see your pictures! Tag me when you share them online, or feel free to reach out anytime through my contact page. Knowing these quick snacks are feeding busy families just like mine keeps me inspired every day!
PrintEasy Spicy Tuna Onigiri: Quick Japanese Rice Balls
Make satisfying Spicy Tuna Onigiri, perfect for a quick lunch, bento box filler, or portable snack. This beginner-friendly recipe uses simple pantry ingredients for bold flavor.
- Prep Time: 15 min
- Cook Time: 0 min
- Total Time: 15 min
- Yield: 4 servings 1x
- Category: Snack
- Method: Hand Forming
- Cuisine: Japanese
- Diet: Vegetarian
Ingredients
- 2 cups cooked short-grain Japanese rice (sushi rice)
- 1 teaspoon salt, for seasoning rice
- 1 (5 ounce) can tuna in water, drained well
- 3 tablespoons Kewpie mayonnaise (or regular mayonnaise)
- 1 to 2 teaspoons Sriracha sauce (adjust for spice preference)
- 1/2 teaspoon soy sauce
- 4 sheets nori (seaweed), cut into strips for wrapping
- Optional: Toasted sesame seeds for garnish
Instructions
- Prepare the rice: While the rice is still warm, spread it out on a large plate or tray. Sprinkle the 1 teaspoon of salt evenly over the rice and gently mix it in. Allow the rice to cool until it is warm enough to handle without burning your hands.
- Make the spicy tuna filling: In a small bowl, combine the drained tuna, mayonnaise, Sriracha sauce, and soy sauce. Mix until the filling is creamy and well combined. Taste and add more Sriracha if you prefer more heat.
- Shape the rice: Wet your hands lightly with water to prevent sticking. Scoop about 1/2 cup of the seasoned rice into your palm. Create a small indentation in the center of the rice.
- Fill the rice ball: Place about 1 tablespoon of the spicy tuna filling into the indentation. Gently fold the rice around the filling, sealing it completely.
- Form the onigiri: Shape the rice into a triangle or a simple ball using gentle pressure. Do not squeeze too hard, or the rice will become dense.
- Wrap with nori: Take one strip of nori and wrap it around the bottom or middle of the rice ball. The moisture from the rice will help the nori stick.
- Garnish (optional): Sprinkle toasted sesame seeds over the rice balls if desired.
- Serve immediately or wrap tightly in plastic wrap for later. These are great for a quick Japanese lunch or bento box filler.
Notes
- Use slightly sticky, short-grain rice for the best results when shaping onigiri.
- If you do not want spicy tuna onigiri, simply mix the canned tuna with mayonnaise and a dash of salt and pepper for a classic tuna mayo rice balls filling.
- To make shaping easier, you can use plastic wrap to form the rice around the filling instead of wetting your hands.
- These are excellent make ahead rice snacks; store them wrapped individually in plastic wrap in the refrigerator for up to two days.
Nutrition
- Serving Size: 1 rice ball
- Calories: 250
- Sugar: 1
- Sodium: 450
- Fat: 8
- Saturated Fat: 1
- Unsaturated Fat: 7
- Trans Fat: 0
- Carbohydrates: 35
- Fiber: 1
- Protein: 12
- Cholesterol: 15