
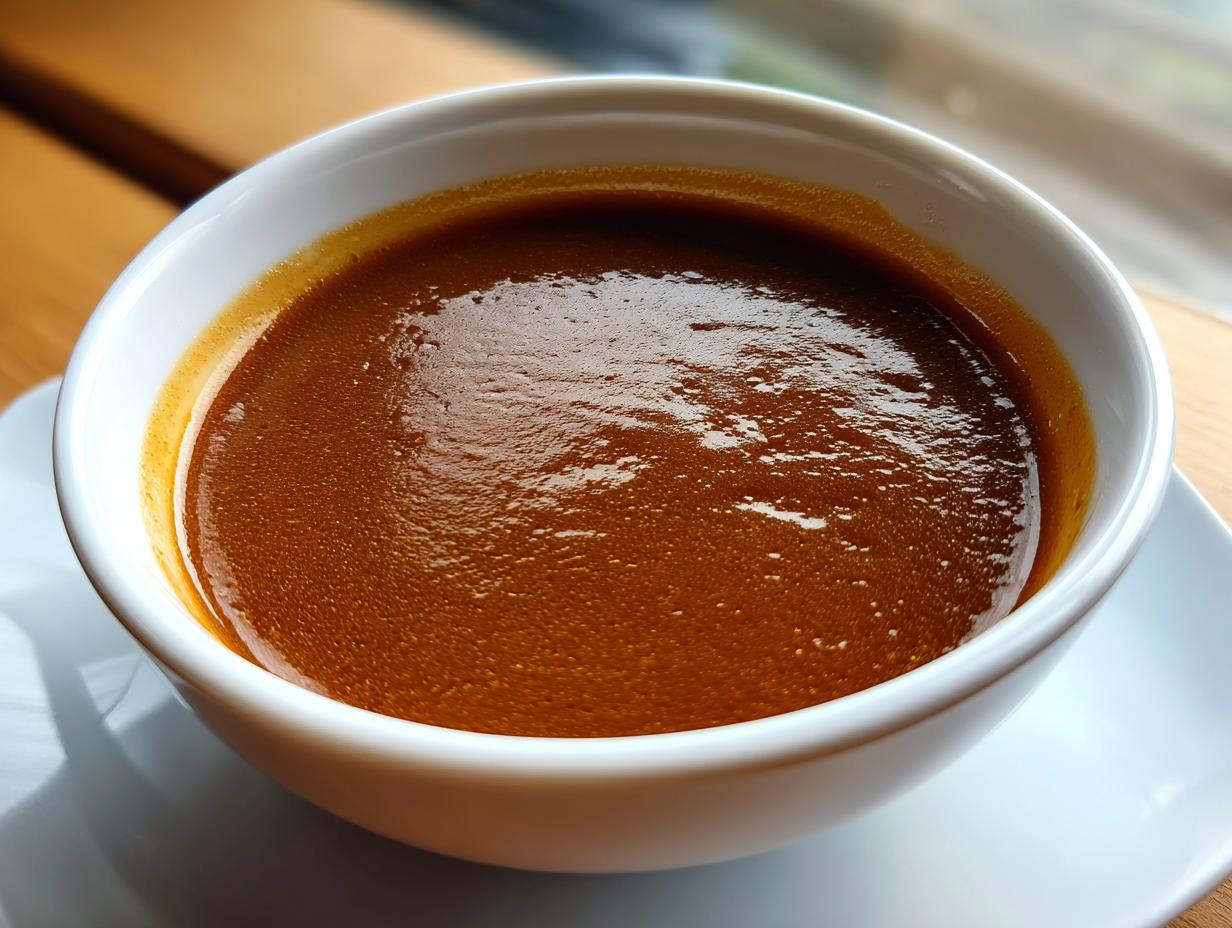
Oh, doesn’t anything just pull you right back to childhood like the smell of thick, warm gravy bubbling on the stovetop? That scent—that savory promise—is the essence of comfort food, isn’t it? For years, people thought you absolutely needed those drippings leftover from a roast, sticky bits you had to scrape out of the pan, to make something truly wonderful. Well, I’m here to tell you that’s just not true! I’ve perfected what I truly believe is the best homemade brown gravy you can make completely from scratch. It’s robust, it’s deeply satisfying, and it relies only on simple things you likely already have in your pantry. This reliable recipe is perfect for transforming your quick weeknight dinners, but it’s rich enough to be the star of any holiday table. You’ve got this!
- Why This Homemade Brown Gravy Recipe Works Every Time
- Ingredients for the Best Homemade Brown Gravy
- How to Make Brown Gravy From Scratch: Step-by-Step Tutorial
- Tips for the Ultimate Velvety Brown Gravy Tutorial
- Serving Suggestions: What Pairs with This Classic Brown gravy
- Storage and Make Ahead Gravy Mix Options
- Troubleshooting Common Homemade Brown Gravy Issues
- Frequently Asked Questions About Homemade Brown Gravy
- Share Your Homemade Brown Gravy Creations
Why This Homemade Brown Gravy Recipe Works Every Time
When folks ask me how I get such amazing flavor without using those drippings—which, let’s be honest, aren’t always there when you need them—I tell them it’s all about honoring the classic roux. This method is superior because we build the flavor base first, meaning you never have to apologize for thin, tasteless sauce. It’s a guaranteed way to get that wonderful, rich taste for things like midweek meals. Plus, you can have this on the table faster than you can decide on takeout!
Achieving Velvety Brown Gravy No Drippings Needed
See, the roux—that magical paste of butter and flour cooked together—is doing all the heavy lifting here. It’s our secret weapon for thickening, giving us the consistency of a truly velvety brown gravy no drippings needed. We are essentially creating the flavor profile right there in the pan before the broth even hits the heat. This technique is what makes our gravy so dependable and lump-free, no matter what kind of broth you choose.
Quick Stovetop Gravy Ready in Under 20 Minutes
I love that this is an incredibly **easy brown gravy recipe** to whip up. If you follow my steps, you’re looking at maybe 5 minutes of prep and just 15 minutes of cooking. That means you get that deep, savory flavor in under 20 minutes total, which is a lifesaver on those nights when everyone is already hovering around the counter waiting for their mashed potatoes!
Ingredients for the Best Homemade Brown Gravy
This is where we shine, my friends! The beauty of this **pantry staple gravy recipe** is that you probably don’t need to run to the store. It’s designed for those nights when you need something delicious but can’t wait for a special grocery run. Since we aren’t relying on pan drippings, the quality of our base ingredients is what builds that amazing flavor. Get these items ready, and you are set!
- 4 tablespoons unsalted butter (Good quality butter makes a difference in mouthfeel, trust me!)
- 4 tablespoons all-purpose flour (This is our workhorse for thickening.)
- 2 cups rich beef broth (See below for how I use alternatives!)
- 1/2 teaspoon dried thyme
- 1/4 teaspoon garlic powder
- 1/4 teaspoon onion powder
- 1/2 teaspoon salt, or to taste (Always taste before you add more!)
- 1/4 teaspoon black pepper, or to taste
Broth Choice for Rich Beef Gravy
Now, about that broth! For the deepest, most traditional flavor—the kind that screams roast beef dinner—you absolutely want that 2 cups of rich beef broth. That combination of the savory roux and beef broth is what guarantees you a fantastic **rich beef broth gravy** every single time, making it the best companion for meatloaf or steaks.
If you’re making this to go alongside chicken or turkey, don’t sweat it! Just swap the beef broth for an equal amount of good quality chicken or turkey broth. It works perfectly well, though it will have a slightly lighter color and flavor profile than the beef version. Remember that little note about adapting for turkey gravy without drippings? This is exactly where we do it!
How to Make Brown Gravy From Scratch: Step-by-Step Tutorial
Alright, let’s get down to business! This is the moment where we take those simple ingredients and turn them into something truly special. If you follow these steps carefully, you’ll know exactly how to make brown gravy from scratch that your family will rave about—no measuring cup guilt required! I learned that rushing this part is where things go wrong, so take your time, especially at the beginning, and you’ll be rewarded.
Creating the Perfect Roux for Homemade Brown Gravy
First, you melt that butter over medium heat. Once it’s bubbling nicely, whisk in your flour right away. Now, this is where I insist you take your time! You need to cook this paste, stirring constantly, for a full two minutes. Why? Because you have to cook out that raw flour taste. Whisk it until it turns a lovely light peanut butter shade. If you stop too soon, your **homemade brown gravy** will taste chalky, and that’s a mess no one wants!
Thickening and Simmering the Savory Homemade Sauce
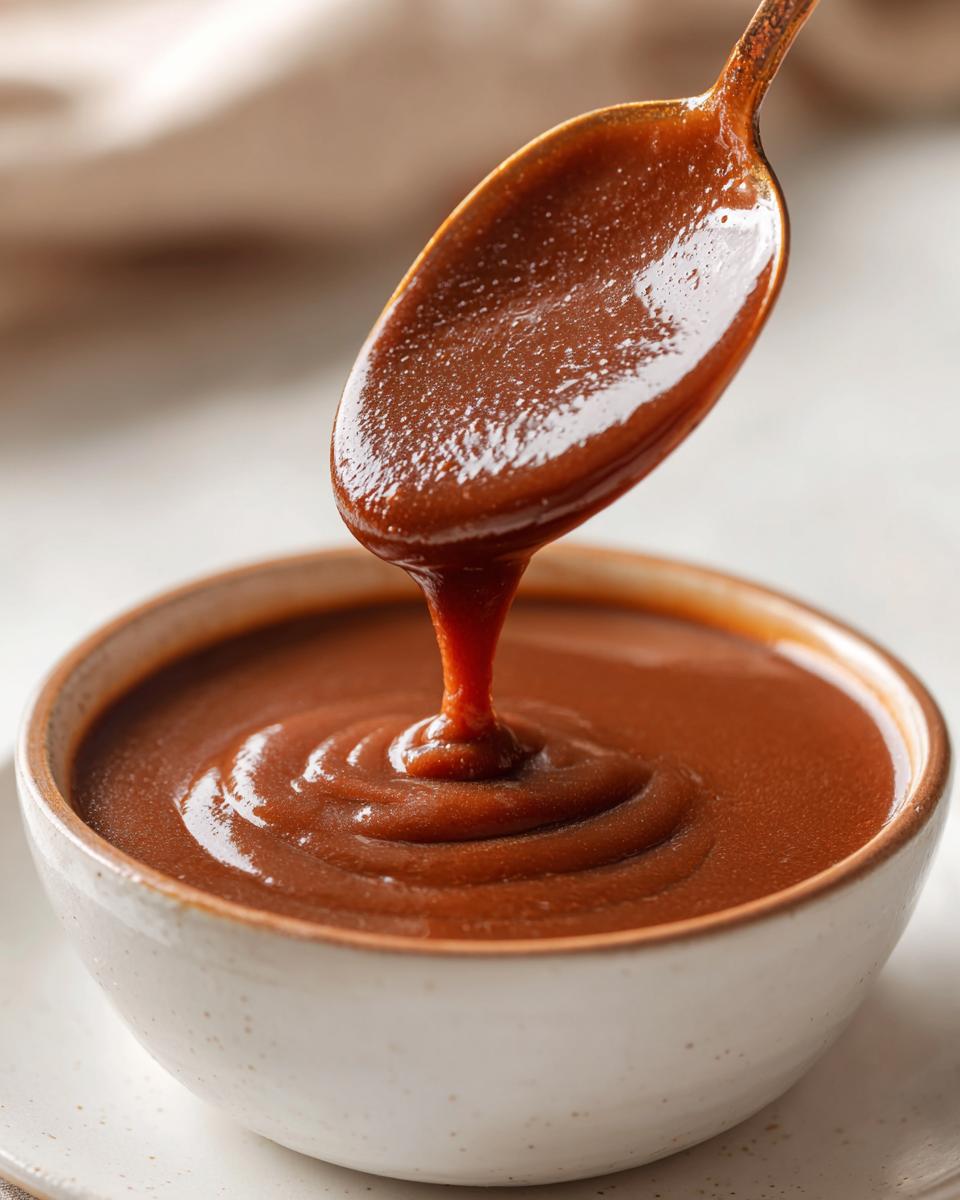
Once your roux is perfect, it’s time for the broth, and you have to add it slowly! I mean it—pour just a little bit in while whisking like mad to knock out any lumps right away. Once the first bit is incorporated and smooth, you can add the rest, then toss in all those lovely seasonings. Bring the whole thing up to a gentle simmer, stirring often. Let it cook for about 5 to 8 minutes. This simmering time is non-negotiable; it allows the sauce to thicken up beautifully into that perfect, rich **savory homemade sauce** you’ve been hoping for. Don’t forget to taste it before you serve!
Tips for the Ultimate Velvety Brown Gravy Tutorial
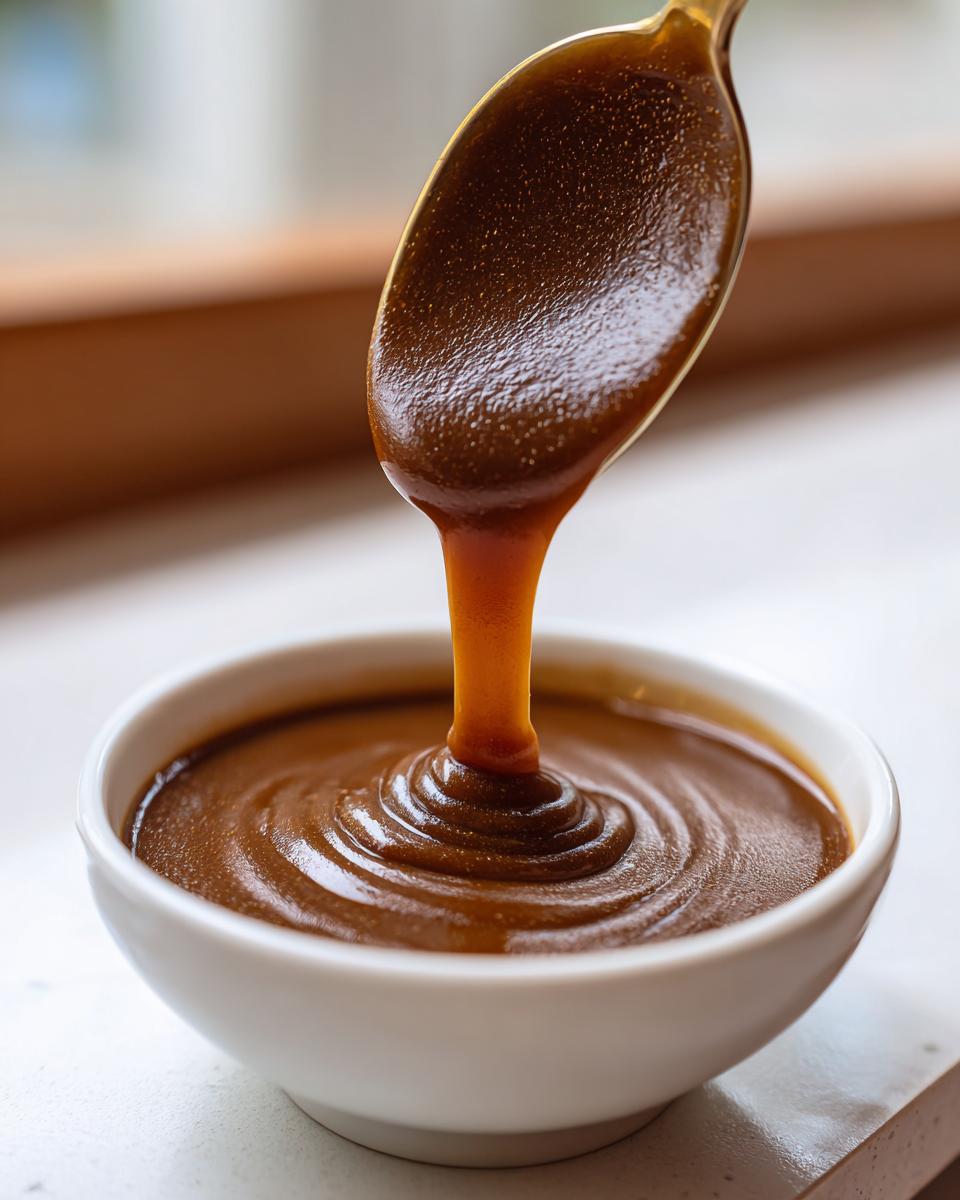
Getting that textbook, glossy look—the one that makes you want to dive your fork right into the plate—comes down to just a couple of tiny adjustments during the roux-cooking phase. This is what separates a good gravy from a truly showstopping **velvety brown gravy tutorial** masterpiece. Remember how I said you only need to cook the roux for two minutes to avoid that raw flour taste? That gets you a nice, light color, which is great for turkey or chicken gravy. But if you’re making this for roast beef, you want to push it!
Adjusting Color: From Light to Deep Brown Gravy
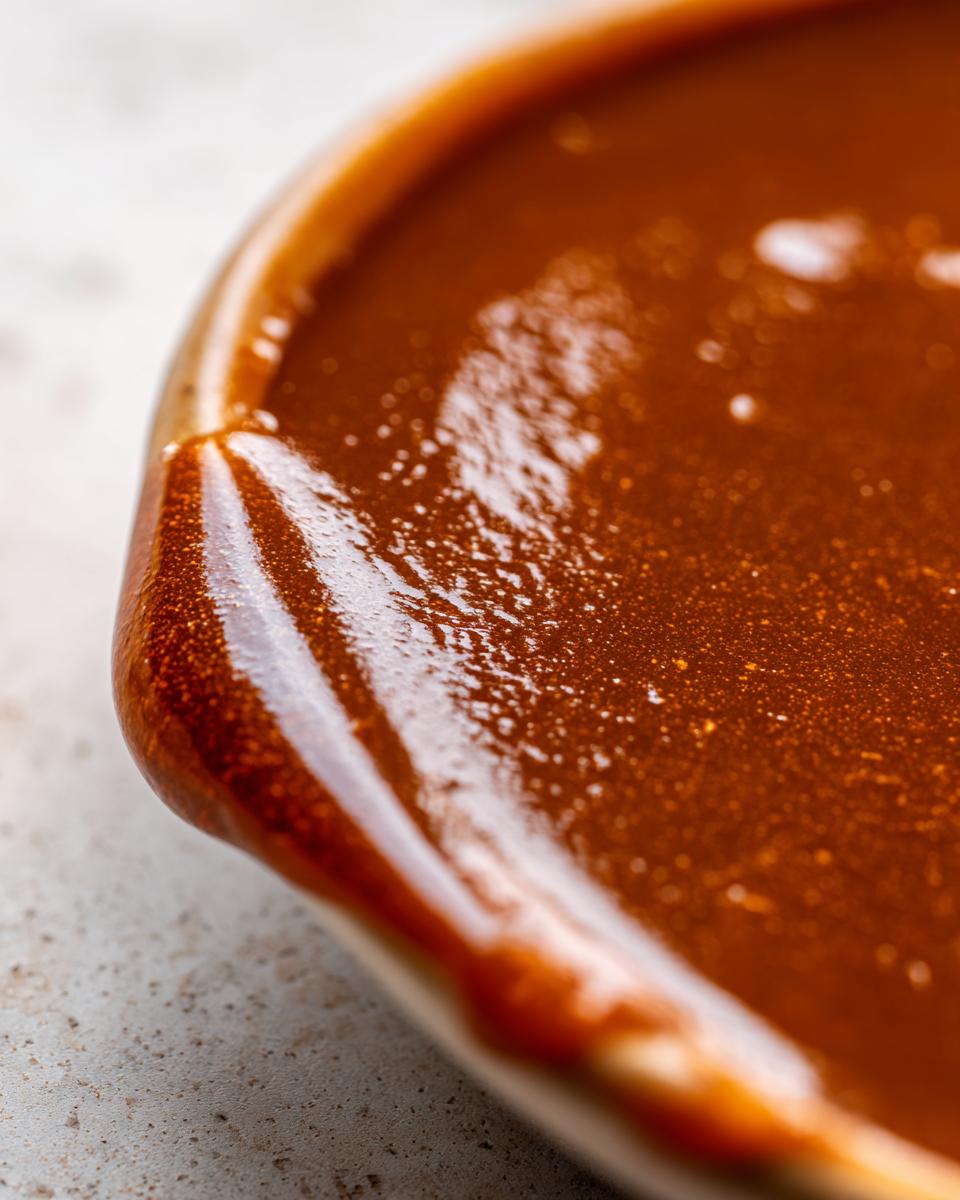
If you want that deep, mahogany color that looks like it simmered for hours, you’ve got to be braver with your roux! Keeping the heat medium and continually stirring, you can cook that butter and flour paste for an extra three to five minutes beyond the initial two minutes. You’re watching for that color change; it’ll go from pale yellow to gold, then to a true peanut butter shade, and eventually, a deep, dark chocolatey brown. Be careful once it hits that deep color; it can burn in seconds, and burnt flour tastes bitter, which will ruin everything! But when you get that deep color right, you’ve built an incredible depth of flavor into your **homemade brown gravy** before you even add the broth. It’s worth the extra watch time, trust me, especially when you’re looking for that classic, rich presentation.
And hey, if you get simmering and realize, “Drat, Rosa, mine is just too thick!” Don’t panic. That happens if the evaporation was a little too enthusiastic. Just whisk in a tablespoon of warm broth or even just warm water while it’s simmering on low. It will loosen right up! No need to start over, just minor kitchen first aid!
Serving Suggestions: What Pairs with This Classic Brown gravy
Now that you’ve whipped up the most incredible, foolproof **homemade brown gravy**—without having to clean up a greasy roasting pan—you might be wondering, “What do I put this liquid gold on?” That’s the joy of this recipe! Because we focused on making it vegetarian-friendly (if you use veggie broth) and built the flavor base with the roux, this sauce is incredibly versatile. It’s not just for turkey dinners, though it’s fantastic then too! This **classic brown gravy** works with almost any savory dish you can dream up. It’s a true workhorse in the kitchen.
I always keep a jar of this in the fridge just for impromptu meals. It’s the quickest way to elevate dinner with gravy when you least expect it. Think about pouring some over creamy roasted garlic mashed potatoes—it’s practically mandatory! Or draping it generously over a hearty slice of meatloaf. It’s amazing how just a good sauce can make a simple meal feel like something special you spent hours preparing.
The Best Gravy for Roast Beef
If you are specifically making a roast and searching for the **best gravy for roast beef**, you have definitely landed in the right spot. While drippings are traditional, they often come out too salty or too thin. My version, especially when made with that deep, dark roux I told you about, gives you that deeply savory profile and a rich color that perfectly complements the robust flavor of roasted beef. Don’t skimp here; make sure you pour plenty over your sliced beef and let it soak right into the edges of your potatoes!
And don’t forget about my recipe for meatloaf casserole! This gravy poured over the top before it bakes, or served alongside it, makes the entire dish feel like something out of a 1950s cookbook. It’s just that good!
Storage and Make Ahead Gravy Mix Options
One of the best things about learning how to make brown gravy from scratch this way is that it lasts beautifully! Unlike drippings-based gravy that can feel heavy or murky the next day, this roux-based sauce keeps its velvety texture like a dream. If you’re trying to get ahead of the game for a big dinner, or you just want some incredible topping ready for your next batch of mashed potatoes, this is perfect.
For short-term storage, just pop your leftover **homemade brown gravy** into an airtight container and slide it into the refrigerator. It should keep just wonderfully for about four days. When you’re ready to use it again, it will likely look much thicker, maybe even jelly-like, especially because of the butter and collagen from the broth. Don’t worry at all! Just scoop it into a small saucepan and reheat gently over low heat, whisking constantly. You will almost certainly need to whisk in a little splash of warm water or broth to get it back to that perfect flowing consistency. This is normal for any cooked sauce!
Turning It Into a Make Ahead Gravy Mix
Now, if you want to go next-level and have a fast answer for any time you need a bit of savory sauce, you can turn this into a dry mix! It’s a bit more hands-on than the liquid version, but it saves so much time later. The trick here is to cook your roux until it’s a deep brown—even a little darker than I recommended initially. Once it’s a deep, rich color, remove it from the heat and whisk in your dry seasonings incredibly well.
The final, slightly messy step is drying it out. On a baking sheet lined with parchment paper (or you could even try using a dehydrator if you have one, much like drying fruit for freezer jam!), spread a very thin layer of this hot roux/spice mix. Let it cool completely until it’s completely dry and crumbly, then you can pulse it in a food processor until it’s a fine powder. Store that powder in an airtight jar. When you suddenly need an **easy brown gravy recipe**, you just whisk about 1/4 cup of this dry mix with a cup of hot water or broth, and boom—you have instant gravy! It’s the ultimate **pantry staple gravy recipe** trick.
Troubleshooting Common Homemade Brown Gravy Issues
Even when we follow the best steps, sometimes the universe throws a little kitchen curveball at us, right? Don’t you dare throw that saucepan out! Learning to fix a gravy gone slightly sideways is the true mark of an empowered home cook. I’ve had my share of gravy disasters over the years, especially when trying to rush that beautiful roux. Here are the three most common hiccups I hear about when folks try to make their first batch of homemade brown gravy, and how we fix them fast so you can get back to enjoying your comfort food.
My Gravy Has Lumps! How Do I Smooth It Out?
Oh, the dreaded lump! This almost always happens when you dump all the cold broth into the hot roux at once instead of adding it slowly. Don’t worry, we can save it! The absolute best tool for banishing lumps is a whisk, but if they are really stubborn, grab your immersion blender. Seriously, gently stick it right into the saucepan and pulse it a few times until everything smooths out. If you don’t have an immersion blender, strain the whole batch through a fine-mesh sieve right back into the pan. You’ll lose a tiny bit of volume, but you’ll regain that smooth, velvety texture we are aiming for in this **savory homemade sauce**.
My Gravy Is Too Thin—It Won’t Thicken!
If you’ve simmered your gravy for the full five to eight minutes, and it’s still running like water, it means your heat wasn’t quite low enough, or maybe you slightly under-floured the roux. The fix here is simple and uses the same technique as fixing a thin soup! We need to make a slurry, which is just a fancy word for a tiny paste made of flour and cold water (or cold broth). Mix one tablespoon of flour with about two tablespoons of cold liquid until it’s perfectly smooth. Then, take your thin gravy off the direct heat, whisk in that slurry slowly, and bring it back to a gentle simmer for just a minute or two. It should thicken right up into a gorgeous sauce ready for your mashed potatoes!
Oh No, My Gravy Is Way Too Thick!
This is usually the result of simmering too long or letting it sit off the heat for too long uncovered. If your **easy brown gravy recipe** has turned into something you could practically stand a spoon up in, don’t sweat it. As I mentioned in the tips section, all you need is liquid! Whisk in warm broth or water, one tablespoon at a time, until you reach the perfect, pourable consistency. Warm liquid incorporates better than ice-cold liquid, so take a minute to warm up your extra broth first. This minor adjustment will ensure your **classic brown gravy** flows beautifully over your roast beef or biscuits.
Frequently Asked Questions About Homemade Brown Gravy
It’s completely normal to have questions when you’re trying out a great recipe for the first time, especially when you’re moving away from those unreliable packet mixes! I put together answers to the ones I hear most often because my goal is always to make sure you feel confident making this **homemade brown gravy** again and again. Learning a new skill in the kitchen, like mastering the roux, is exciting, and I want to cheer you on every step of the way as you create these wonderful comfort food sauce ideas!
Can I make this a vegetarian brown gravy?
Absolutely, yes! And this is one of the best parts of this recipe! Since we aren’t relying on meat drippings, the structure of this sauce is inherently vegetarian-friendly. You start with butter, which is fine, and then you just need to ensure you use vegetable broth instead of beef broth. It results in a fantastic, **savory homemade sauce** that pairs wonderfully with things like vegetarian shepherd’s pie or simple roasted root vegetables. If you’re looking for an **easy brown gravy recipe** that everyone at the table can enjoy, this is it!
How do I get a darker color in my homemade brown gravy?
Color depth is all about patience with your roux! Remember that light peanut butter color I mentioned? That’s perfect for a quick, light-colored sauce, maybe for chicken or turkey. But if you want that deep, rich brown gravy that looks like it simmered all day—the kind that’s perfect for a hearty pot roast—you need to cook that butter and flour mixture longer. Keep whisking it over medium heat until it becomes a deep, dark brown, almost like dark chocolate. Seriously, cook it for about five to seven minutes total, watching carefully toward the end, because that dark color creates the deepest, savory flavor. It’s the secret to a show-stopping **classic brown gravy**!
Is this recipe really faster than using a packet mix?
If you count the time it takes to locate that dusty packet in the back of your pantry, maybe not! But in terms of active cooking time? Yes, totally! This is truly a **quick stovetop gravy**. Once your butter is melted, the roux takes about two minutes, and then you simmer for about five to eight minutes. Total active time is less than 15 minutes, making this a superior **easy brown gravy recipe** you can whip up even when dinner is already running late. You control the salt, and you control the flavor—no mystery powders!
Can I use this to make turkey gravy without drippings?
You certainly can! This recipe is designed to be adaptable. If you are making a bird and, perhaps, you’ve already eaten all the best drippings, or maybe you just didn’t get the pan quite brown enough, this is your solution. Simply substitute the 2 cups of beef broth in the recipe with 2 cups of high-quality turkey broth. That’s it! You get the exact same velvety texture and robust body that makes this our **best gravy for roast beef** (but adapted for poultry). It’s the best backup plan a holiday cook could ask for!
Share Your Homemade Brown Gravy Creations
Now that you have the absolute best recipe for homemade brown gravy that doesn’t rely on messy drippings, I want to hear all about it! This is the recipe I turn to when I want to instantly boost any meal, and I truly hope you feel empowered to **elevate dinner with gravy** every chance you get. Did you try the dark roux trick? Tell me how deep and rich you managed to get that color! Or maybe you decided to make a whole batch of the dry mix so you’re ready for emergencies? That’s a pro move!
Please take a moment to hop down to the comments section below. I’d love to know what wonderful dish you poured your beautiful, velvety sauce over. Was it your Sunday roast? Maybe some crispy fried chicken? Perhaps you just needed that perfect savory homemade sauce for a massive heap of mashed potatoes! Drop a rating for the recipe so others know what a reliable, flavorful **classic brown gravy** this is. Your feedback helps our whole community of home cooks, and honestly, seeing what you all create always brightens my day here in Rosa’s kitchen. I can’t wait to see what you cook up next, and when you’re ready for something sweet, you can always browse my best homemade desserts!
PrintThe Best Homemade Brown Gravy (No Drippings Required)

Make rich, savory homemade brown gravy from scratch using simple pantry staples. This recipe creates a velvety sauce perfect for roast beef, mashed potatoes, or meatloaf, and requires no meat drippings.
- Prep Time: 5 min
- Cook Time: 15 min
- Total Time: 20 min
- Yield: About 2 cups 1x
- Category: Sauce
- Method: Stovetop
- Cuisine: American
- Diet: Vegetarian
Ingredients
- 4 tablespoons unsalted butter
- 4 tablespoons all-purpose flour
- 2 cups rich beef broth (or chicken/vegetable broth for versatility)
- 1/2 teaspoon dried thyme
- 1/4 teaspoon garlic powder
- 1/4 teaspoon onion powder
- 1/2 teaspoon salt, or to taste
- 1/4 teaspoon black pepper, or to taste
Instructions
- Melt the butter in a medium saucepan over medium heat.
- Whisk the flour into the melted butter. Cook this mixture, stirring constantly, for about 2 minutes until it forms a smooth paste (a roux) and turns a light peanut butter color. Do not let it burn.
- Slowly pour in the beef broth while whisking continuously to prevent lumps. Keep whisking until the mixture is smooth.
- Add the dried thyme, garlic powder, onion powder, salt, and pepper. Stir to combine.
- Bring the gravy to a simmer, stirring often. Reduce the heat to low and let it cook for 5 to 8 minutes, or until the gravy thickens to your desired consistency.
- Taste the gravy and adjust salt and pepper as needed before serving hot over your favorite comfort food.
Notes
- For a darker color, cook the roux for 3 to 5 minutes longer until it reaches a deep brown shade before adding the liquid.
- If the gravy becomes too thick while simmering, whisk in a tablespoon of warm broth or water until it reaches the right texture.
- This recipe works well as a base for turkey gravy without drippings if you substitute beef broth with turkey broth.
Nutrition
- Serving Size: 1/4 cup
- Calories: 95
- Sugar: 0.5
- Sodium: 350
- Fat: 7
- Saturated Fat: 4
- Unsaturated Fat: 3
- Trans Fat: 0
- Carbohydrates: 6
- Fiber: 0.2
- Protein: 2
- Cholesterol: 15