
There is just nothing better than that sharp, tangy crunch of a perfect pickle, right? Store-bought varieties just never hit the spot; they are always a little sad and soft. That’s why I am so excited to share my absolute favorite recipe for quick & crispy refrigerator dill pickles. We skip the whole hot canning process because honestly, who has time for that every week? This no cook pickle recipe means you are snacking on crunchy, flavorful refrigerator pickles in just a few hours. Here at Rosa’s Tasty Kitchen, we focus on reliable, flavor-packed results, and trust me, these will become your go-to summer preserving idea!
- Why You Will Love These Quick Refrigerator Pickles
- Essential Ingredients for Perfect Refrigerator Pickles
- Step-by-Step Guide to Making Crispy Refrigerator Pickles
- Tips for Achieving the Crunchiest Refrigerator Pickles
- Ingredient Notes and Flavor Variations for your Refrigerator Pickles
- Storage and Shelf Life of Homemade Pickles
- Serving Suggestions: How to Use Your Quick Refrigerator Pickles
- Frequently Asked Questions About Refrigerator Pickles
- Nutritional Estimate for Tangy Vinegar Pickles
- Nutritional Estimate for Tangy Vinegar Pickles
Why You Will Love These Quick Refrigerator Pickles
I know you’re busy, just like I was balancing teaching and raising my three boys. That’s why I developed recipes that deliver huge flavor without huge commitments! These easy homemade pickles are truly special.
- Ready in Hours, Not Days: We are talking about next-level flavor infusion with minimal waiting. You only need to chill them for a few hours before you can enjoy your first crunchy bite.
- Guaranteed Crispness: Because we aren’t heating up the brine, the cucumbers stay incredibly firm and snappy. These are your new favorite crunchy pickles recipe!
- Zero Cooking Required: This is the best part of the no cook pickles method. Forget heating up the stove or dealing with boiling water baths—just slice, pack, and pour!
- Brilliant Flavor, Simple Ingredients: You control everything! Forget those weird stabilizers in jarred pickles; we use simple garlic, salt, and fresh dill for a truly authentic taste.
- Perfect Pantry Snack: These make the absolute best pickle snack ideas when you need something tangy and refreshing after a long day.
Essential Ingredients for Perfect Refrigerator Pickles
When we talk about making the best homemade pickles, it all comes down to the quality of what you put into that jar, especially since we aren’t cooking anything! Since these are all about immediacy, we need fresh ingredients that can handle a short soak. Don’t even think about using those wimpy, room-temperature cukes for this. We need cucumbers that scream ‘fresh from the garden’ for those perfectly crispy refrigerator pickles!
Here is exactly what you need for two pint jars of perfect refrigerator dill pickles recipe:
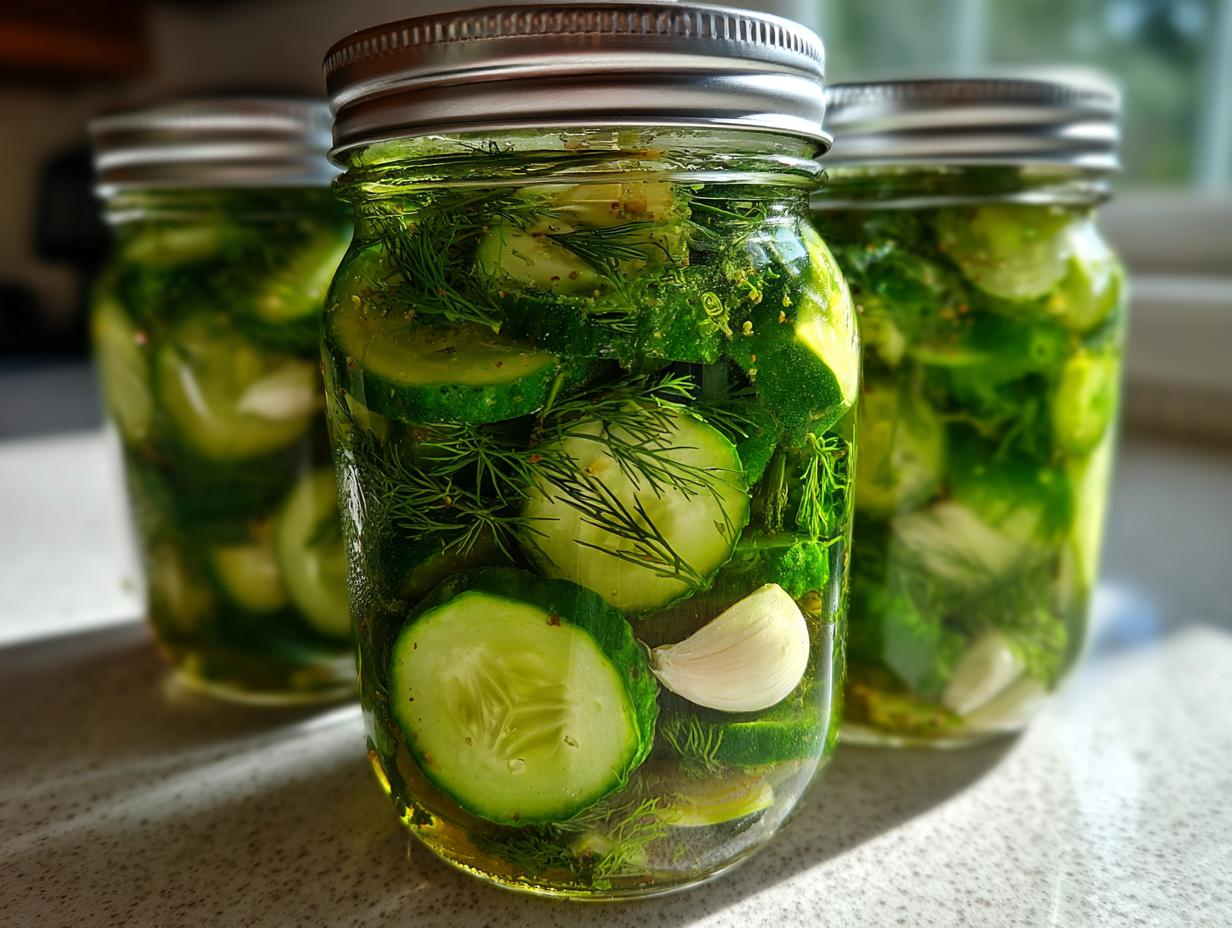
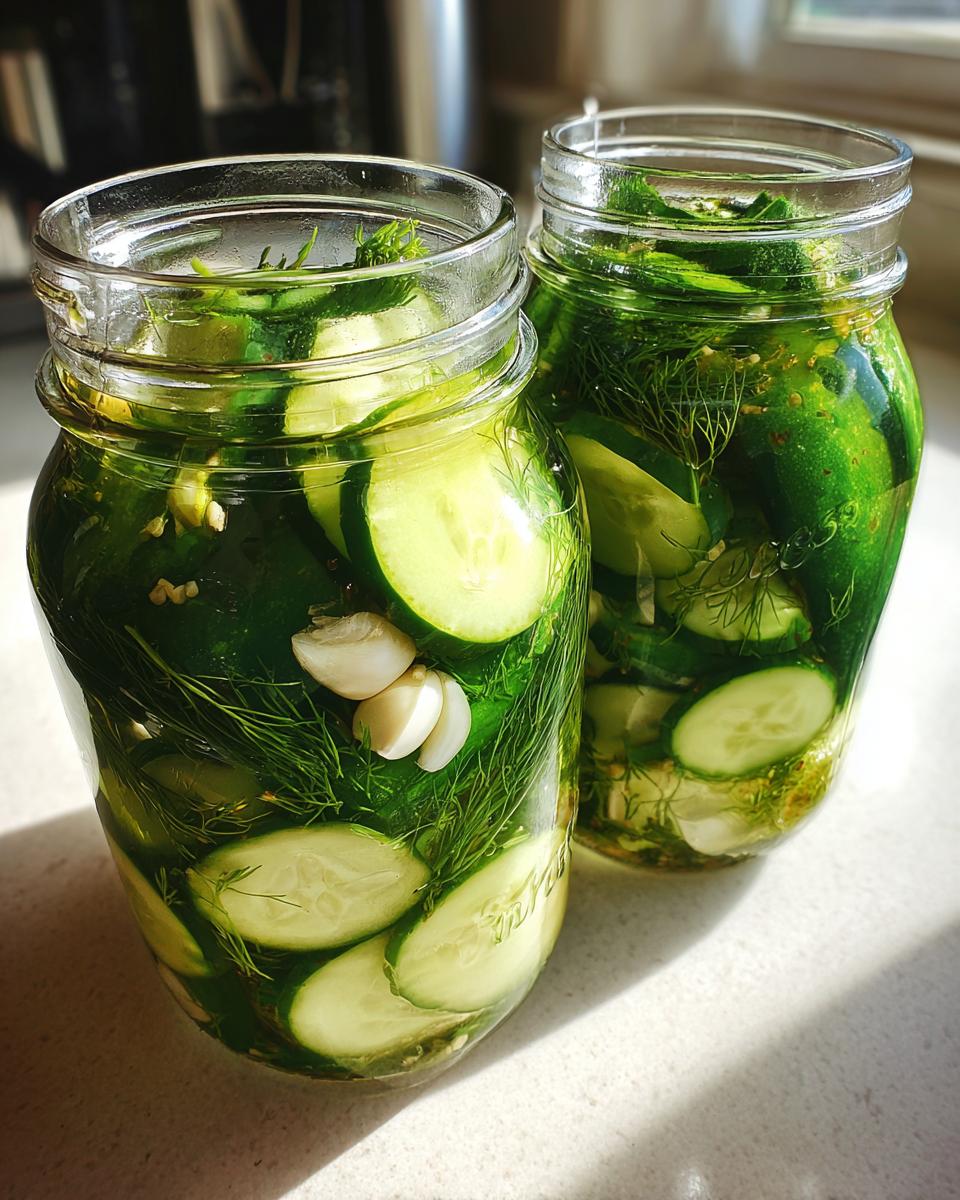
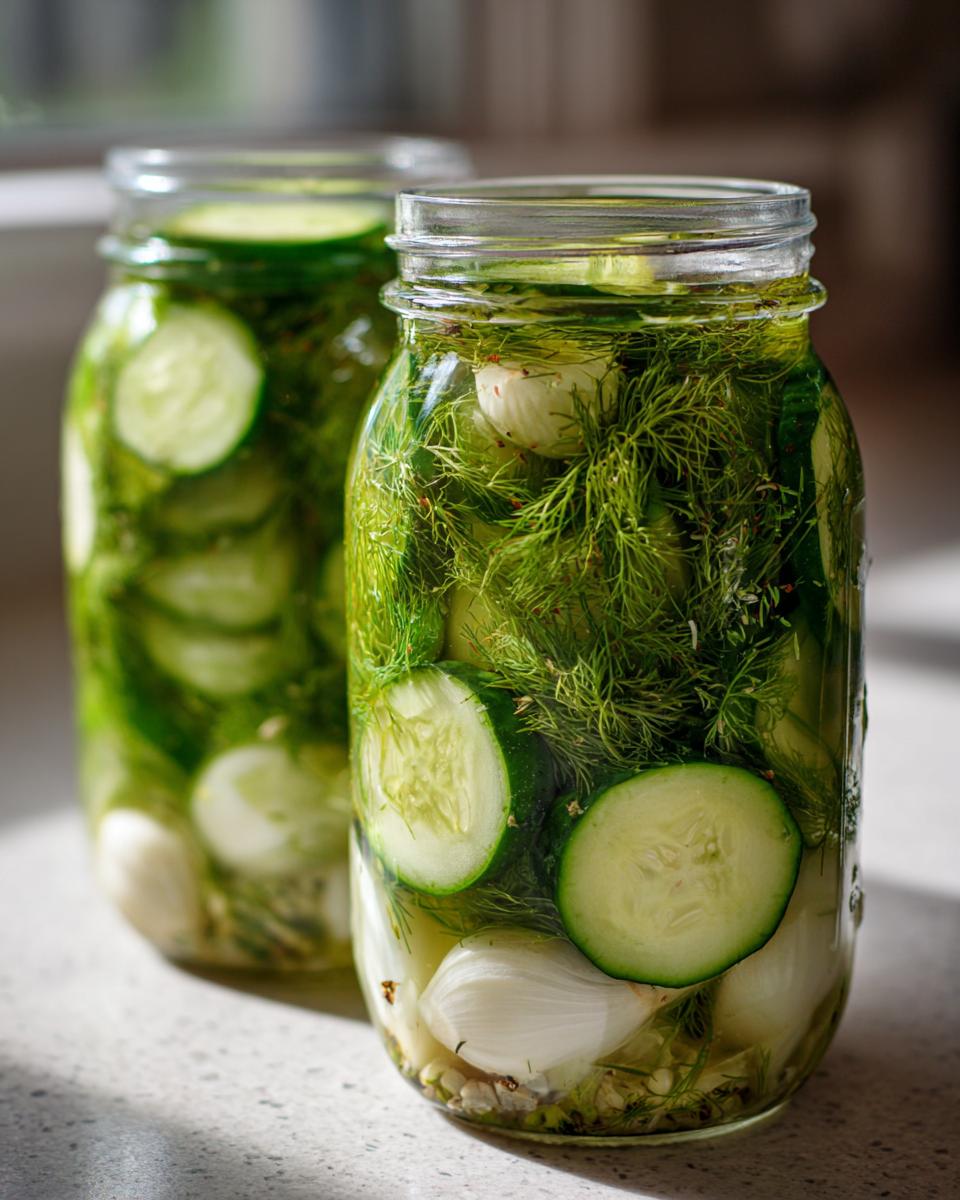
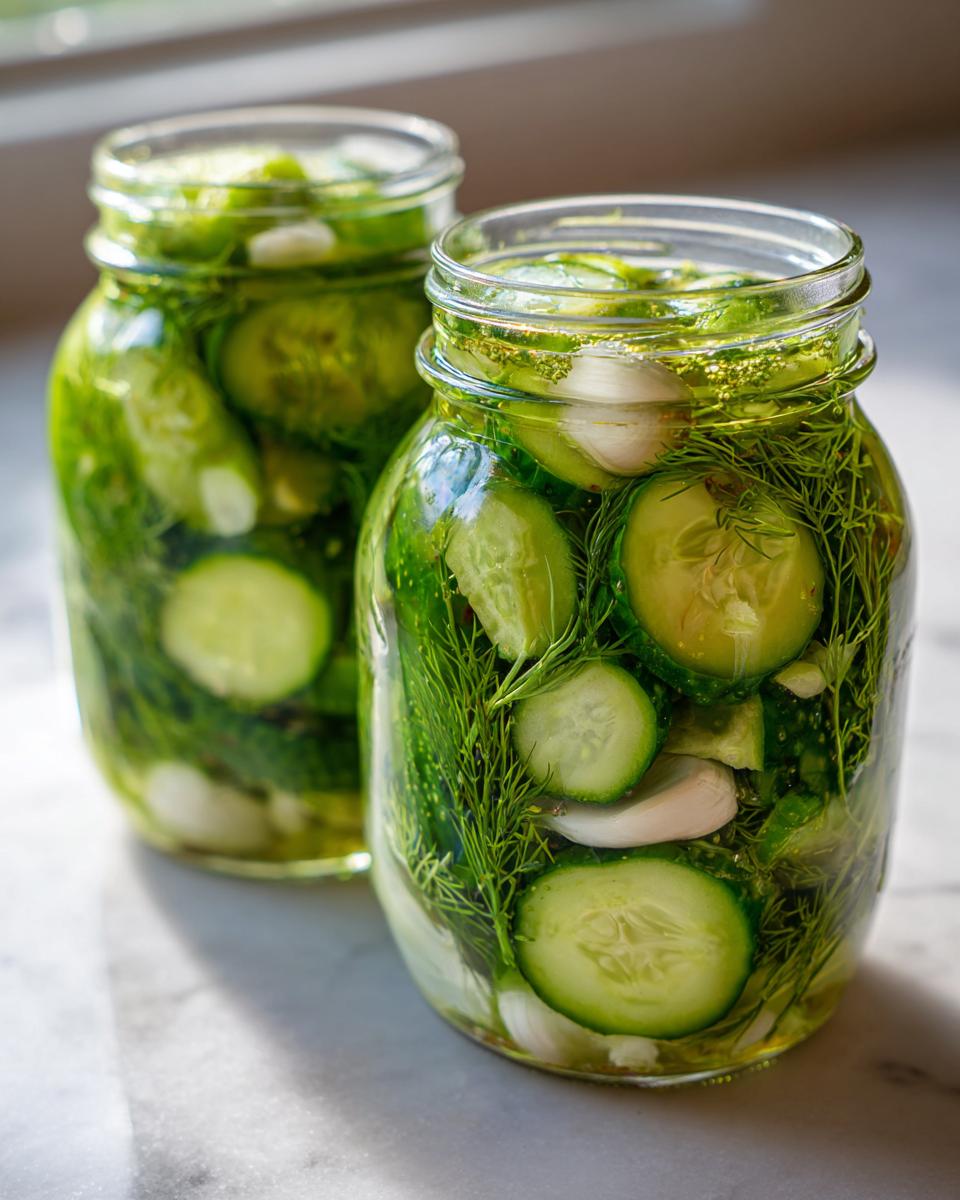
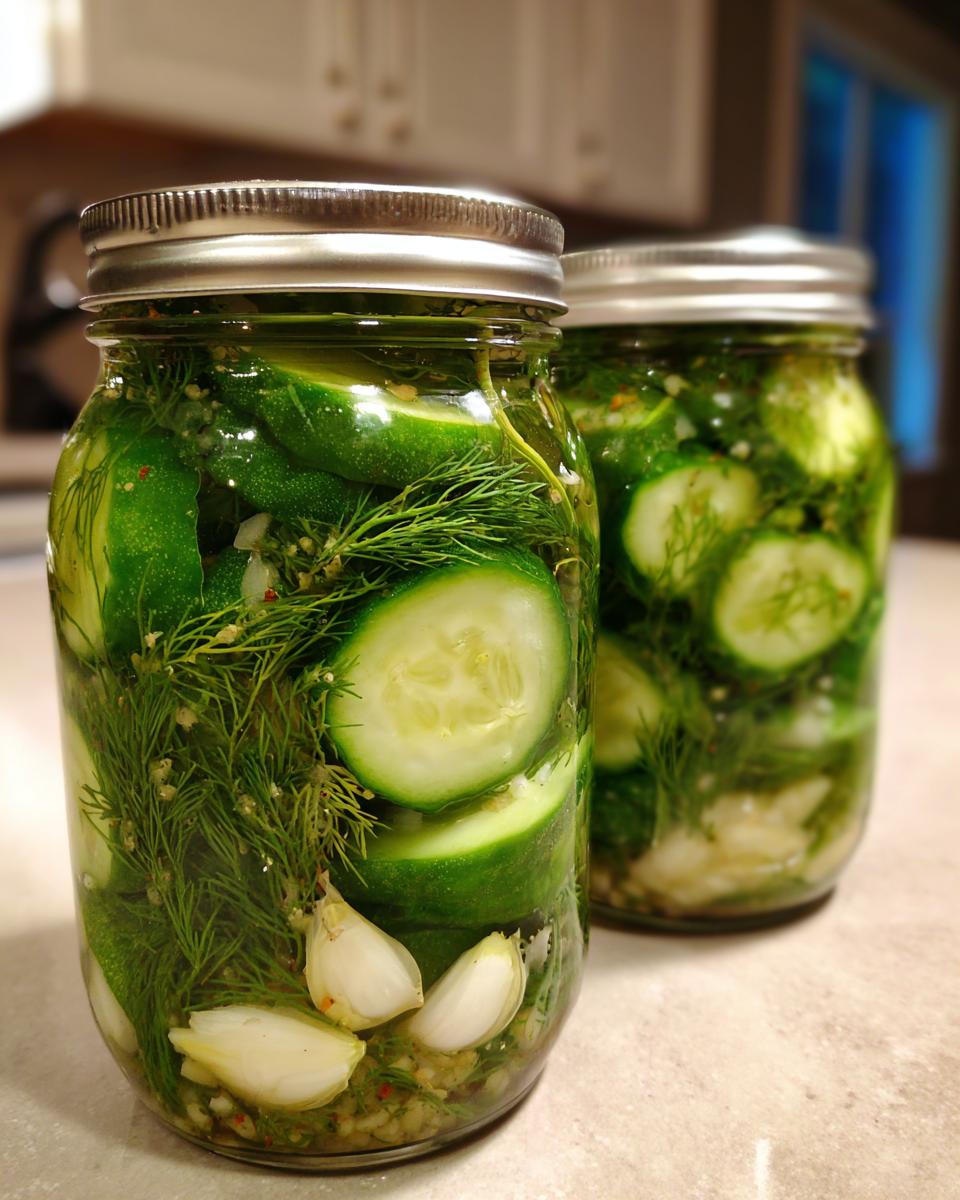
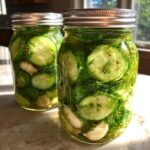
- Two pounds of pickling cucumbers. This is important—look for Kirby or other specialty pickling varieties. Wash them well, and slice every single one into uniform 1/4-inch rounds so they soak evenly.
- 1/2 cup white vinegar. I use standard distilled white vinegar here; none of that fancy stuff. It gives us the clean, sharp tang we need for these tangy vinegar pickles.
- 1/2 cup water. Just plain old tap water is fine for this simple brine!
- 1 tablespoon pickling salt. Please don’t substitute iodized table salt here; it can make your brine cloudy and change the flavor profile too much.
- 1 teaspoon granulated sugar. Just a touch to balance out that vinegar bite.
- 4 cloves garlic, smashed. Don’t chop them, smash them! Smashing releases those wonderful oils without breaking the garlic down into mush.
- 2 sprigs fresh dill. Yes, fresh! Dried dill just won’t give you that bright, necessary flavor for these fridge pickles.
- 1 teaspoon whole black peppercorns. These add a lovely little pop of spice alongside the garlic.
See? It’s so simple! If your cucumbers are firm and crisp when you start, you are halfway to the best quick refrigerator pickles you’ve ever made.
Step-by-Step Guide to Making Crispy Refrigerator Pickles
Alright, let’s get these jars packed! Making amazing refrigerator pickles is really all about getting your cucumbers settled nicely into their salty, acidic bath. Since this is a quick pickle recipe, the process moves fast, so have your jars ready to go! Remember, even though there’s no cooking, we still need time for the magic to happen—plan for at least an hour on the counter and then four hours in the fridge minimum.
Preparing the Cucumbers and Jars for your Refrigerator Pickles
First things first, make sure your two clean pint jars are ready to receive the goods. Take your washed cucumbers and slice them uniformly into 1/4-inch rounds. Uniformity matters here so they all get equally zesty! Pack those cucumber rounds tightly into the jars. You want them snug, but not so tight you can’t pour liquid in later. Make sure you leave about 1/2 inch of space—we call that headspace—at the very top.
Mixing the Quick Pickle Brine
Now for the brine, the powerhouse that turns a regular cucumber into a tangy treat! Grab a medium bowl. We need to combine the white vinegar, water, pickling salt, and sugar. Don’t just dump it in and stir! You absolutely must whisk it until you can no longer feel grainy salt or sugar on the bottom of the bowl. If the salt doesn’t dissolve completely, you’ll end up with weird salty spots in your finished pickles, and nobody wants that.
Assembling and Sealing the Refrigerator Dill Pickles Recipe
Grab your aromatics! Divide the smashed garlic cloves, the fresh dill sprigs, and the whole black peppercorns evenly between the two jars, tucking them down around the packed cucumbers. Next, carefully pour that dissolved brine over everything. Make sure those cucumbers are completely submerged under the liquid! While you pour, you might see some air bubbles trapped—that’s common. Give the jars a few gentle taps on the counter; this expert move helps force those air bubbles to escape. Finally, seal those lids on tight! Set the jars right on your kitchen counter, away from direct sun, for one full hour. Then, cover them up and move them into the refrigerator for at least four hours before diving in.
Tips for Achieving the Crunchiest Refrigerator Pickles
The number one request I get about my refrigerator pickles is: how do I keep them crunchy? Trust me, mushy pickles are a crime against summer! Because we skip the intense heat of the canning process, we rely on superior ingredients and a couple of little tricks to make sure every single bite snaps just right.
If you follow these easy pointers, you’ll have the best crunchy pickles recipe that family and friends will try to steal right out of your fridge.
- Start with the Freshest Cucumbers: This is non-negotiable. Use cucumbers that are firm, straight, and small—ideally labeled as ‘pickling cucumbers’ or Kirby. If they are bendy or feel soft in the store, leave them behind. Also, try to find unwaxed cucumbers if you can! Those protective waxes, while fine for eating raw, can sometimes interfere with the brine soaking into the cucumber flesh.
- Ice Bath Treatment: If your cucumbers sit on your counter for a few hours before you get around to picking, give them a quick pep talk and an ice bath! Soak the sliced cucumbers in a bowl of ice water for about 30 minutes right before you pack them into the jars. This shocks them and helps lock in that amazing firmness.
- Optional Expert Boost—Using Pickling Lime: Now, this is a traditional technique, and you only need it if you’re extremely dedicated to that ‘Claussen copycat’ crunch. You can add 1/2 teaspoon of pickling lime to your brine mixture. It’s a fantastic natural firming agent! But here’s the important part: if you use lime, you must rinse those cucumbers really well with fresh water before you put them into the brine. Don’t skip that rinse, or your pickles will taste soapy!
- Keep the Brine Strong: Since this is a quick pickle and not processed, the salt and vinegar ratio is critical for flavor penetration and texture maintenance. Stick exactly to the recipe brine components; don’t try to water it down thinking you’ll save calories, or you’ll risk a mushy texture!
I personally swear by the ice bath trick. It takes five minutes and always yields spectacular results in my easy homemade pickles.
Ingredient Notes and Flavor Variations for your Refrigerator Pickles
One of the greatest joys of making things at home, especially easy veggie prep like this, is that you can tweak it until it sings your favorite tune! While this recipe is for classic dill—which I love for a salty, garlicky punch—it’s so easy to pivot into different profiles.
Since we aren’t canning, the shelf life requires that we keep them chilled, but the flavor customization is endless. You can swap out the cucumbers for other firm veggies if you want to make different kinds of refrigerator pickled vegetables, like carrots or cauliflower, though those might need a slightly longer soak time to really pick up flavor.
Switching to Bread and Butter Refrigerator Pickles
If you have a sweeter tooth, you absolutely must try converting this base recipe into sweet and tangy **bread and butter refrigerator pickles**! It requires just a tiny substitution in the aromatics, and you get a completely different, perfectly classic flavor profile. This is one of my favorite ways to use up summer zucchini too!
To make the switch, simply put away the dill sprigs and the peppercorns. Instead, you will toss in 1/4 cup of thinly sliced yellow onion and about 1/2 teaspoon of celery seed with your cucumbers. You keep the salt, sugar, vinegar, and water ratio exactly the same. That little bit of celery seed really makes the sweet-sour combination sing. My kids always ask for the sweet ones when we have burgers, and this small change makes them instantly recognizable as **bread and butter refrigerator pickles**!
Adjusting Salt and Acidity Levels
If you find commercial pickles too salty, you can dial back my pickling salt down to 2 teaspoons instead of a full tablespoon. However, be careful! Salt plays a huge role in texture here, drawing water out of the cucumber. If you decrease the salt too much, you run the risk of softening that beautiful crunch we worked so hard to achieve.
For the tang, white vinegar is the standard, but if you want a slightly fruitier, warmer tang that works wonders with the sweet version, try substituting half of the white vinegar with apple cider vinegar. Just be sure to keep the total liquid volume (vinegar + water) consistent. These little adjustments are what take a recipe from good to ‘must-make-again’ territory.
Storage and Shelf Life of Homemade Pickles
Now that you’ve gone to all the trouble of making the most wonderfully crispy refrigerator pickles, the question is: how long will they actually last? Since these are wonderful no cook pickles, we don’t have the sealed, shelf-stable guarantee that comes with traditional canning. That means they need to stay cold!
The short answer is that these fridge pickles taste absolutely perfect when they are fresh, ideally within the first four to seven days. But I have found they remain wonderfully crisp and flavorful for about two weeks when stored properly.
Keep those sealed jars tucked away in the coldest part of your refrigerator, not hanging out near the door where the temperature fluctuates. Once you open a jar, try to finish those homemade condiments within a week. You’ll definitely notice a slight softening in texture after that two-week mark, but honestly, they never last that long in my house anyway!
Serving Suggestions: How to Use Your Quick Refrigerator Pickles
When you pull a jar of these vibrant, tangy refrigerator dill pickles recipe out of the fridge, you instantly upgrade whatever you’re eating. Because they are so crisp and full of fresh flavor, they are wonderful substitutes for the softer, sometimes vinegary jarred versions you find in the store.
I developed these specifically because my family needed better pickle snack ideas! I found myself grabbing a few slices straight from the jar after school while I was prepping dinner. They are just so satisfying.
Here are a few of my favorite ways to put these easy homemade pickles to good use:
- On a Sandwich Extravaganza: This is the classic, of course. They provide the perfect sharp counterpoint to rich meats or creamy sandwiches. My absolute favorite way to use them is on my homemade chicken salad sandwich filling—that dill tang cuts through the mayo beautifully.
- Burger Toppers: If you are grilling burgers, forget those flimsy pickle chips you usually put on top. These thick, snappy slices hold up perfectly to the heat and juice. They are almost mandatory for a good backyard cookout!
- Chopped for Flavor Bombs: If you made a batch of sweet **bread and butter refrigerator pickles**, chop those up finely! They mix wonderfully into potato salad or coleslaw to give it a little extra zip.
- The Lunch Pack Treat: Pack a few slices alongside some cheese and crackers for an instant, healthy, and refreshing addition to your lunchbox pickle snack ideas.
I remember one afternoon last summer, I had completely forgotten to thaw chicken for dinner. Total panic, right? I quickly whipped up a batch of these quick refrigerator pickles, chopped them up, and added them to leftover lunch meat and some cubed cheese. Suddenly, we had the world’s best snack platter for dinner! Don’t underestimate the power of a good, crunchy pickle to save a meal!
Frequently Asked Questions About Refrigerator Pickles
I know recipe writing sometimes leaves you with little lingering questions, and that’s totally fine! When you are dealing with quick vegetable prep like this, details matter, especially concerning that lovely crunch. Here are some things I hear pretty often about making my favorite fridge pickles.
Can I use regular table salt instead of pickling salt?
Oh, this is such a common question! You certainly *can* use regular table salt in a pinch—it’s better than nothing for these easy homemade pickles—but I really advise against it if you can help it. Table salt usually contains iodine and anti-caking agents. The iodine can sometimes turn your beautiful brine cloudy, and those anti-caking chemicals don’t dissolve as cleanly as pure pickling salt does. For the clearest, best-tasting brine for your tangy vinegar pickles, stick to pickling salt!
Why aren’t my homemade pickles crunchy?
This breaks my heart every time I hear it! Usually, a soft pickle comes down to two things: the cucumber itself or temperature. If the cucumbers weren’t super fresh and firm when you started, it’s hard to fix that once they are sliced. Also, did you let the brine sit on the counter for that first hour? That brief time allows the salt and vinegar to start tenderizing the cucumber walls slightly before chilling sets everything firm. Remember my tip: if you are worried, give those slices an ice bath right before packing them!
How long do they need to sit before they actually taste ‘done’?
This is subjective because everyone likes different levels of flavor penetration! After the initial hour on the counter, the brine is already sitting on them. Honestly, I can’t wait, so I’ll sample one after about 4 hours in the fridge—it’s a little sharp but still has that wonderful fresh cucumber flavor. But if you want that deep, satisfying flavor that makes these the best homemade pickles? You really need to wait a full 24 to 48 hours. That’s when the dill and garlic really have time to infuse everything wonderfully.
Can I use other vegetables in this Quick Pickle Recipe?
Absolutely! This is exactly why I love this template for quick refrigerator pickles. You can easily swap out the cucumbers for sliced carrots, thin slices of zucchini, or even spears of green beans. Just be aware that denser vegetables, like carrots, will need a little more time to absorb the brine—I usually give them a full 48 hours minimum before I try them. It’s a fantastic way to handle a big harvest!
Nutritional Estimate for Tangy Vinegar Pickles
I always try to keep things simple here at Rosa’s Tasty Kitchen, and that includes the nutritional estimates, too! Remember that these numbers are just a rough guide since the exact size of your cucumbers and the amount of brine absorbed will always vary a little bit. These are wonderfully low-cal additions to any meal, making them a great pickle snack idea.
For a serving size of 1/4 cup, here is the estimated breakdown:
- Calories: 15
- Fat: 0g
- Saturated Fat: 0g
- Trans Fat: 0g
- Cholesterol: 0mg
- Sodium: 350mg (This is the highest element, of course!)
- Carbohydrates: 3g
- Fiber: 1g
- Sugar: 1g
- Protein: 0g
If you are watching your sodium, that’s usually the first thing people adjust when making homemade condiments like this, but remember that salt helps keep the crunch alive!
PrintQuick & Crispy Refrigerator Dill Pickles (No Cook Method)
Make these easy refrigerator dill pickles for a crunchy, tangy snack or sandwich topping. This no cook pickle recipe is faster than store-bought and ready in hours.
- Prep Time: 15 min
- Cook Time: 0 min
- Total Time: 4 hours
- Yield: 2 pints 1x
- Category: Condiment
- Method: No Cook Brining
- Cuisine: American
- Diet: Vegetarian
Ingredients
- 2 pounds pickling cucumbers, washed and sliced into 1/4-inch rounds
- 1/2 cup white vinegar
- 1/2 cup water
- 1 tablespoon pickling salt
- 1 teaspoon granulated sugar
- 4 cloves garlic, smashed
- 2 sprigs fresh dill
- 1 teaspoon whole black peppercorns
Instructions
- Prepare your cucumbers by slicing them into uniform 1/4-inch rounds. Pack the cucumber slices tightly into two clean pint-sized glass jars, leaving about 1/2 inch of headspace at the top.
- In a medium bowl, whisk together the white vinegar, water, pickling salt, and sugar until the salt and sugar dissolve completely. This is your quick pickle brine.
- Divide the smashed garlic cloves, fresh dill sprigs, and black peppercorns evenly between the two jars, placing them around the cucumbers.
- Carefully pour the brine over the cucumbers in each jar, making sure the vegetables are fully submerged. Tap the jars gently to release any trapped air bubbles.
- Seal the jars tightly with lids. Let the jars sit on the counter at room temperature for 1 hour.
- Transfer the jars to the refrigerator. Chill for at least 4 hours before eating for best flavor, though they are ready to eat after 24 hours for maximum crispness.
Notes
- For extra crisp refrigerator pickles, you can add 1/2 teaspoon of pickling lime to the brine, but rinse the cucumbers well before brining if you do this.
- These homemade pickles taste best when eaten within two weeks.
- If you prefer bread and butter refrigerator pickles, substitute the dill and peppercorns with 1/4 cup thinly sliced onion and 1/2 teaspoon celery seed.
Nutrition
- Serving Size: 1/4 cup
- Calories: 15
- Sugar: 1
- Sodium: 350
- Fat: 0
- Saturated Fat: 0
- Unsaturated Fat: 0
- Trans Fat: 0
- Carbohydrates: 3
- Fiber: 1
- Protein: 0
- Cholesterol: 0