
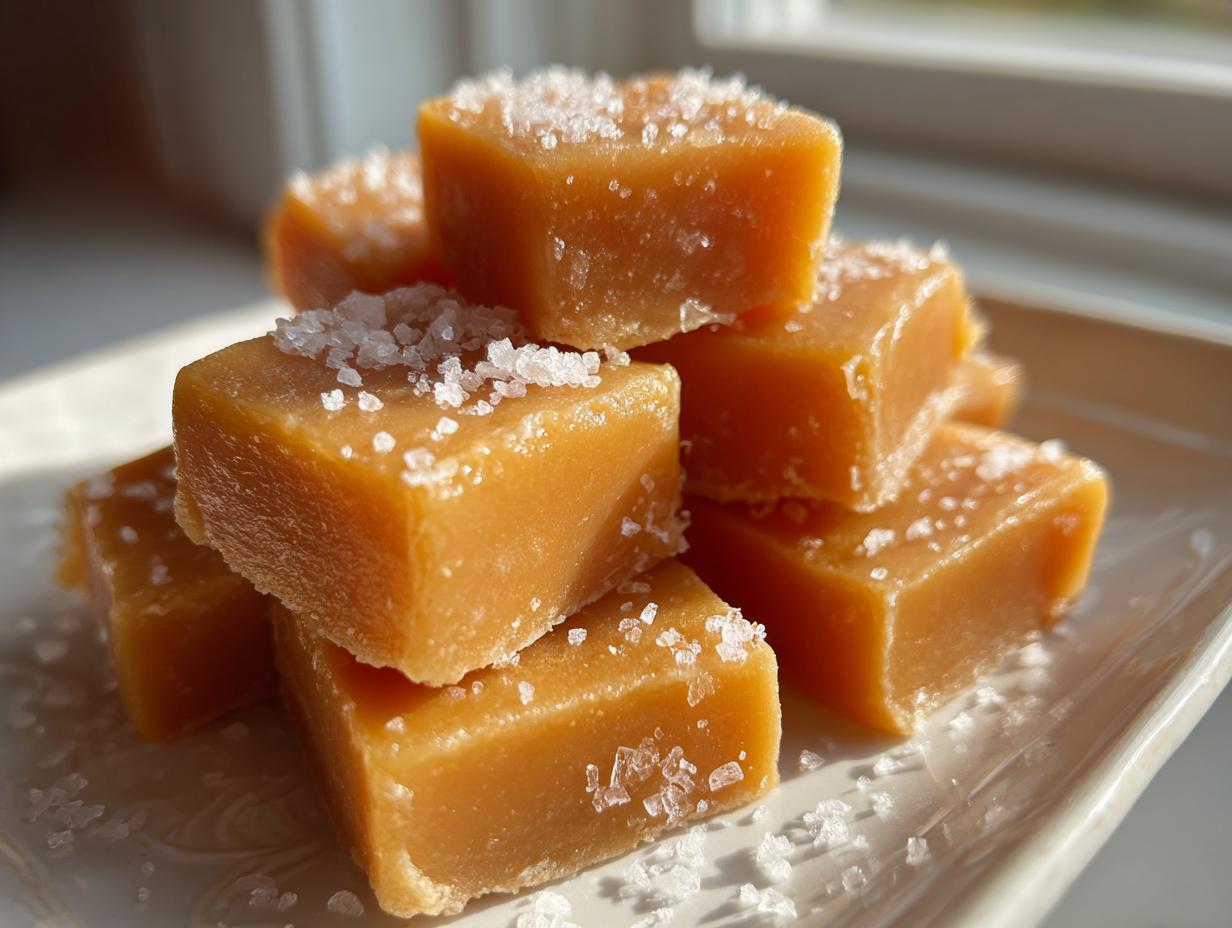
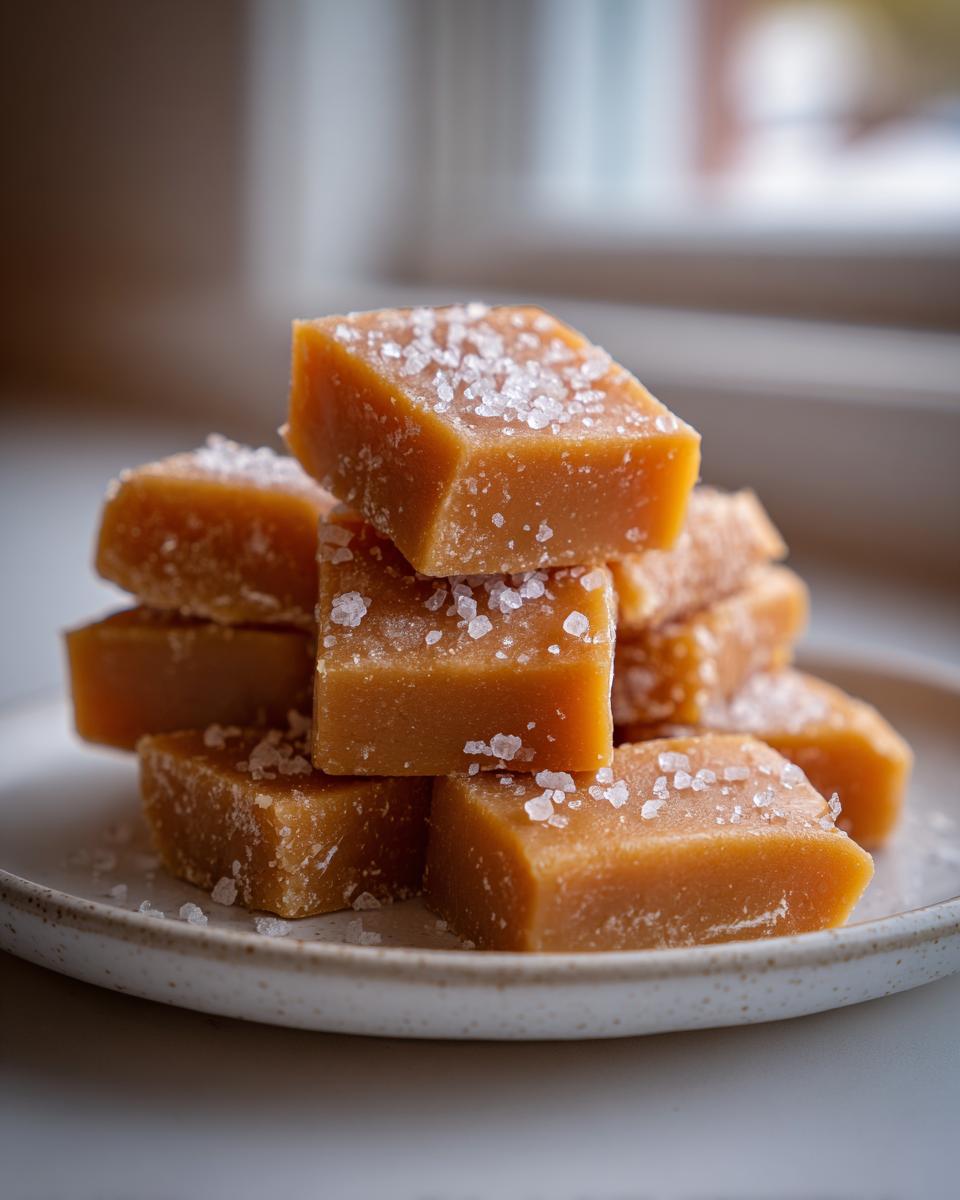
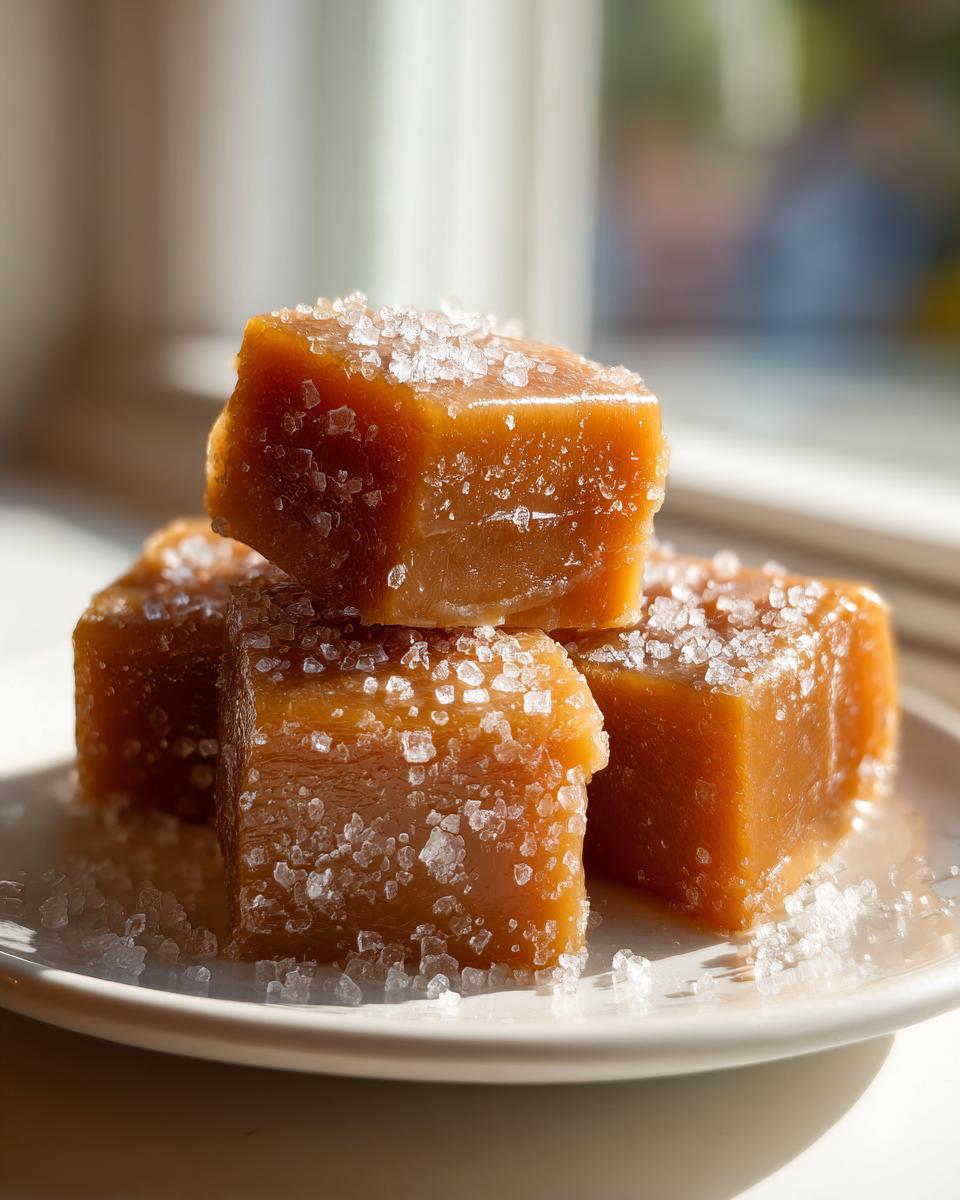
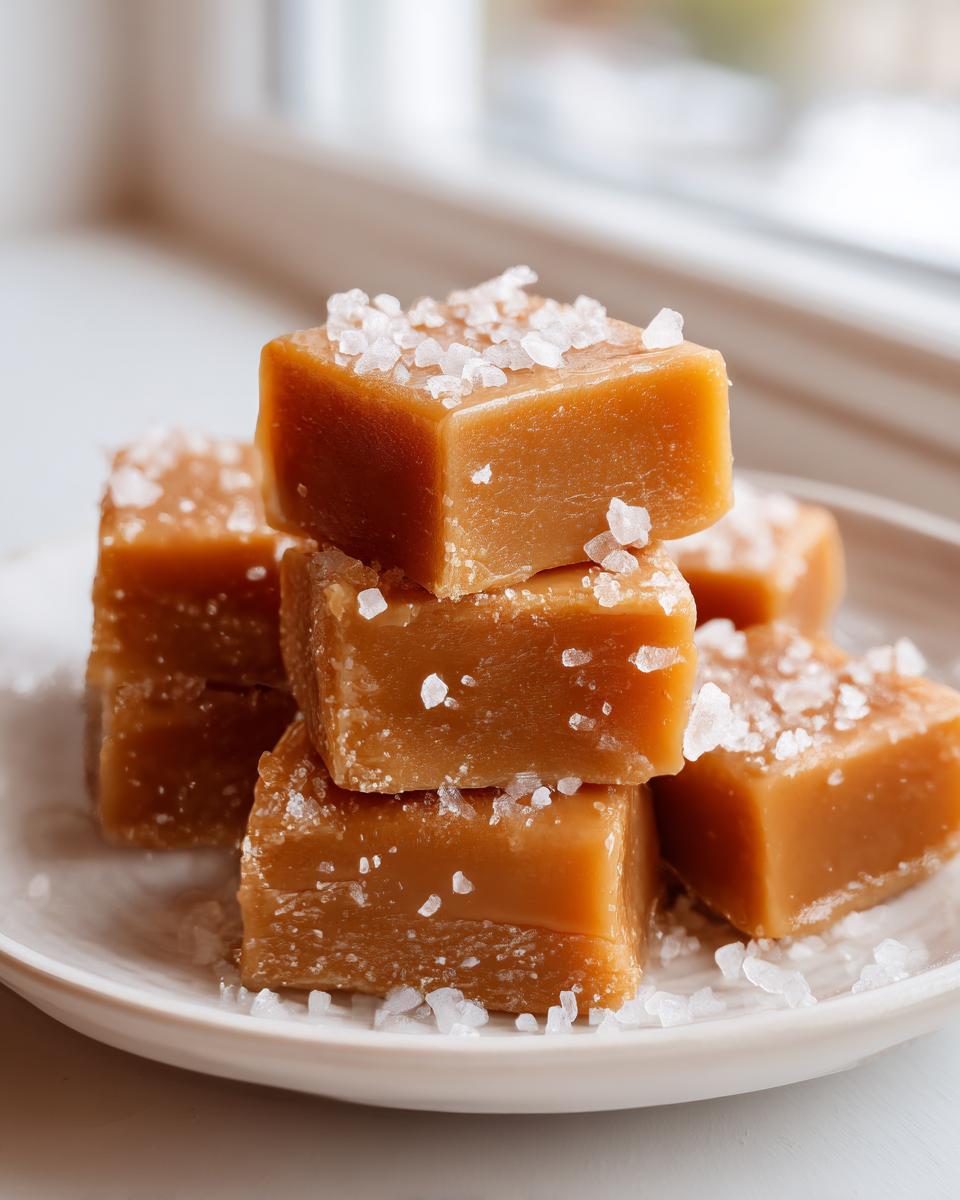
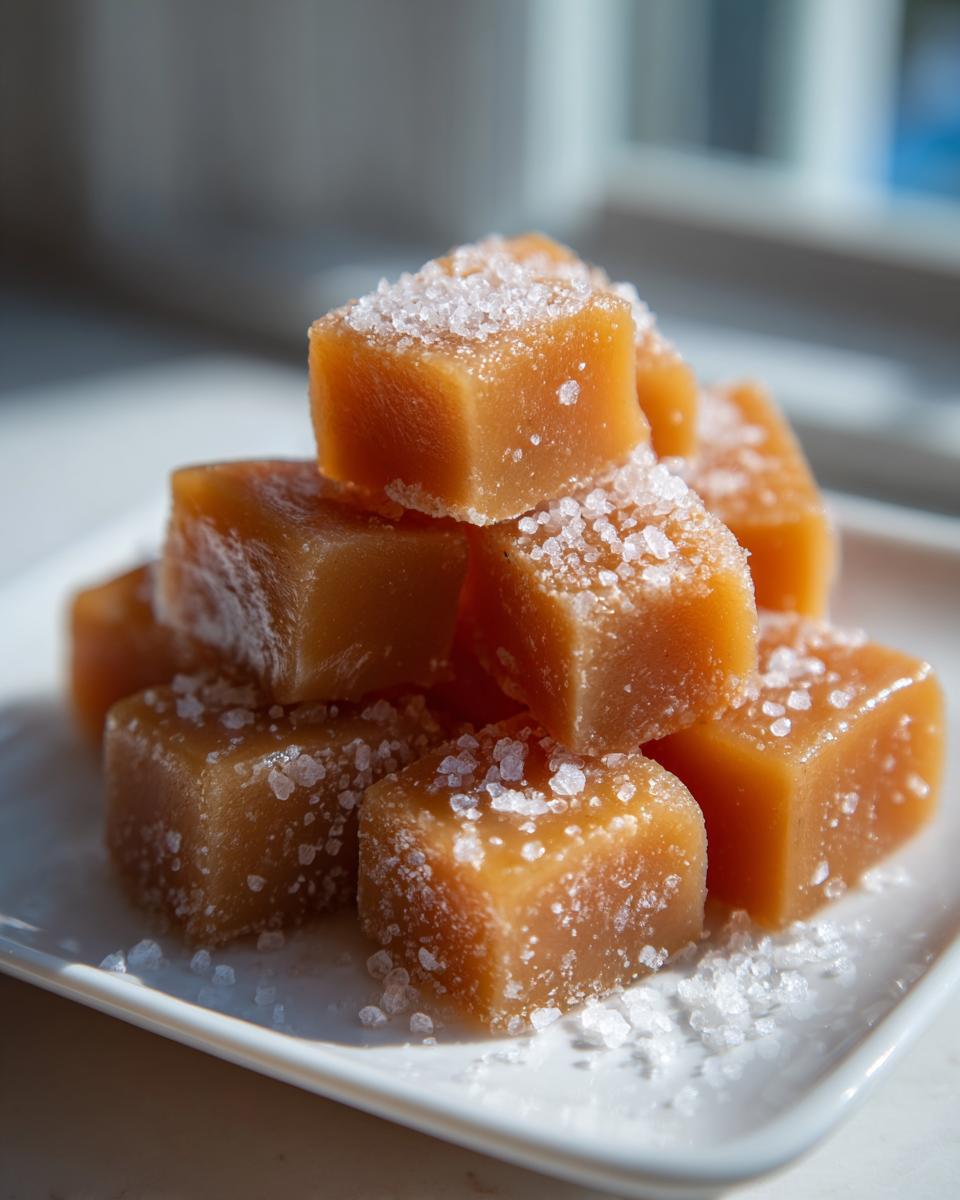
There is just something magical about watching simple ingredients transform into a rich, buttery piece of candy, isn’t there? For me, nothing beats the scent of rich caramel simmering on the stove. I’m Rosa Sterling, and I know life gets busy. I spent years balancing a classroom full of third graders with a house full of hungry kids, so I learned fast that impressive flavor doesn’t need complicated steps. That’s why I’m sharing my ultimate guide: the Foolproof Soft & Chewy Sea Salt Caramels. Trust me, these melt-in-your-mouth caramels are reliable, easy, and perfect for gifting! If you love homemade sweets, you absolutely must check out my collection of best homemade desserts!
- Why You Will Love These Soft Chewy Caramels
- Essential Ingredients for Perfect Homemade Caramels
- Equipment Needed for Making Stovetop Caramels
- Step-by-Step Guide to Making Soft Chewy Caramels
- Tips for Achieving Old Fashioned Caramels Texture
- Variations on Classic Sea Salt Caramels
- Storage and Gifting Homemade Caramels
- Frequently Asked Questions About Making Caramels
- Estimated Nutritional Information for These Caramels
Why You Will Love These Soft Chewy Caramels
I promised you foolproof results, and that’s exactly what you get! When you make these at home, you skip all the stabilizers they load into store-bought stuff. Honestly, these are the best if you’re looking for that perfect texture.
- Melt-In-Your-Mouth Softness: We hit the perfect temperature zone (Firm Ball!) so they stay wonderfully yielding, never hard or brittle.
- Surprisingly Easy: It feels gourmet, but these are straightforward enough for any busy home cook. I swear they are an easy caramel candy recipe!
- Classic Old-Fashioned Flavor: Rich butter and deep cooked sugar give you that nostalgic taste we all crave.
- Perfect for Gifting: Wrapped up, these make amazing homemade holiday gifts food!
Essential Ingredients for Perfect Homemade Caramels
See? I told you this wasn’t complicated! You probably have most of this stuff in your pantry right now. The beauty of these old fashioned caramels is that we don’t need 20 different things, just the right quality of a few basics. These simple ingredients combine to make a truly gourmet homemade candy that tastes like it took days, not minutes.
When you assemble these, remember that precision matters, but the ingredients themselves are humble. No weird stabilizers here—just pure, buttery goodness. Get your items ready and line up your pan first! If you want more recipes that focus on that perfect buttery texture, swing by my guide on the buttery candy recipe.
- 1 cup granulated sugar
- 1 cup light corn syrup (This is important for texture, don’t skip it!)
- 1 cup heavy cream, at room temperature if possible
- 1/2 cup (1 stick) unsalted butter, cut into a few cubes
- 1 teaspoon pure vanilla extract
- 1/2 teaspoon fine sea salt, plus extra coarse salt for sprinkling on top
Equipment Needed for Making Stovetop Caramels
Okay, listen up, because this is where people get stressed out about making candy, and we absolutely don’t want that! Dealing with hot sugar can feel intimidating, but having the right tools makes this whole process—this simple candy making—feel totally safe and manageable.
Forget pulling out every tiny measuring spoon you own. For these soft chewy caramels, you only need a few heavy-duty players. A good pan and a reliable thermometer are your best friends here. If you don’t have these things, run to the store now! It’s worth it for that perfect batch.
Here is the shortlist of what you absolutely must have ready before you even turn on the heat:
- A Heavy-Bottomed Saucepan: This is non-negotiable, folks. You need at least a 2-quart size. The heavy bottom prevents that gorgeous sugar mixture from scorching on the bottom, which feels like the worst tragedy when you’re making homemade caramels recipe from scratch.
- A Candy Thermometer: I know, I know, candy thermometers sound fussy, but they are how we guarantee that *soft* texture we are aiming for. Seriously, you cannot eyeball 245 degrees Fahrenheit; that temperature is the difference between a chewy treat and a hard disk. Make sure the tip stays suspended in the liquid and doesn’t touch the bottom of the pan!
- 8×8 Inch Baking Pan: This size is perfect for achieving the ideal thickness for cutting.
- Parchment Paper: Don’t even think about using wax paper here or spraying this pan with anything but a light grease; we need the parchment liner to lift the whole batch out later.
- Heat-Safe Spatula or Wooden Spoon: Something sturdy for stirring initially, but remember, we stop stirring once it boils!
Step-by-Step Guide to Making Soft Chewy Caramels
Alright, this is where the magic happens! Don’t let the candy thermometer scare you off; this methodical approach is precisely why we get those gorgeous, melt in your mouth candy results every single time. We’re using the classic stovetop method because quick microwave tricks just can’t give you this depth of flavor. Remember what I always say: patience now means irresistible reward later when you’re making these perfect caramels. For extra help perfecting your technique throughout this simple candy making process, I have loads of extra insights right here.
If you want to skip the fuss of the thermometer, you can look up faster methods, but I really think you should try this stovetop route at least once. Check out this amazing guide on salted caramels recipe if you want to see another technique, but stick with me here for the no fail caramel recipe!
Preparing the Pan and Combining Initial Ingredients for Caramels
First things first, get that 8×8 pan ready. Line it with parchment paper, making sure you leave an overhang—you’ll thank me later when you need to lift that whole block out! Lightly grease that paper. Now, in your heavy saucepan, combine the sugar and corn syrup. Set your heat to medium and stir lovingly until those sugar grains are completely dissolved. Make sure that candy thermometer is clipped on correctly before you add anything else!
Cooking the Caramel Mixture to Firm Ball Stage
Once the sugar is dissolved, add in the heavy cream and butter. Stir gently until the butter melts and the whole thing starts boiling. STOP STIRRING once it boils! Seriously, put your spoon down. If you keep stirring, you mess up the crystallization process, and we want beautiful, smooth taffy, not those grainy bits. Let it cook untouched for about 15 to 20 minutes. We need that thermometer to hit exactly 245 degrees Fahrenheit. That number is the golden ticket for achieving that wonderfully chewy candy tutorial texture.
Finishing and Setting Your Homemade Caramels
The second that thermometer hits 245°F, yank that pot right off the heat! Carefully stir in your vanilla and the main salt measurement. Don’t scrape the sides of the saucepan; we just want what’s in the liquid. Pour everything into your prepared pan—it’s going to look very liquidy, but trust the process! Now, sprinkle that coarse sea salt right on top; that’s how you get the best salted caramels homemade finish. Let these sit completely undisturbed at room temperature for at least three hours. Once they feel totally set, use those parchment slings you made to lift them out, cut them into squares, and get them wrapped up!
Tips for Achieving Old Fashioned Caramels Texture
I have seen folks try to rush this recipe, and honestly, that’s where things go wrong. You can find some recipes online that promise you quick microwave caramels, and sure, those are fine for a pinch, but they never give you that velvety, melt-in-your-mouth consistency you get from actually cooking the mixture slowly on the stovetop. We are shooting for that classic, slightly decadent texture that our grandmothers made, and that takes a little time!
When people write to me saying their homemade caramels recipe came out too hard, 99% of the time it’s because they let the temperature creep over 248 degrees. For that perfect soft chew, that 245°F firm ball stage is critical. Don’t fight the thermometer! It’s your best friend here.
Also, remember my instruction when pouring? Don’t scrape the pot! Sugar crystals cling to the sides of the pan, and if you dump those micro-crystals into your perfectly smooth batter, they can ruin the whole batch by encouraging crystallization while it cools. That’s a mistake everyone makes when they first dive into making sweet homemade treats. See more of my essential reliability tips for baking in my dessert guide, or check out this great perspective from Kleinworth & Co. on achieving the best flavor!
Variations on Classic Sea Salt Caramels
Once you master the base recipe—trust me, you will—it’s so much fun to play with the flavors! Since this recipe already gives us such a fantastic, rich base for buttery candy recipe perfection, we don’t need to do much tweaking to make it feel special. These small additions are what turn simple candy into something that feels truly gourmet.
I always encourage my readers to experiment once they have nailed the temperature. Think about what flavors you love most, especially as we head into the cooler months or get ready for gifting!
Adding Warm Spices or Extracts
The original recipe calls for pure vanilla, which is classic and absolutely perfect. But if you want to lean into that old fashioned caramels profile with a little extra warmth, try this swap right at the very end, off the heat:
- Maple Kick: Substitute half of the vanilla extract with high-quality maple syrup. It adds this beautiful, cozy background note that tastes amazing with the sea salt topping.
- A Dash of Depth: For an adult version (perfect for grown-up holiday baskets!), stir in a tiny splash—maybe just a teaspoon—of good bourbon or dark rum along with the vanilla. It deepens the flavor significantly!
Remember, extracts are potent, so start small. You can always add more, but you can’t take it out once it’s in there!
Mix-Ins for Texture Contrast
While these are designed to be unbelievably smooth, sometimes you just want a little something to chew on besides the caramel itself. If you’re looking for sweet snack ideas that offer a little crunch, this is where you add nuts. The key thing to remember here, though, is timing!
If you’re adding nuts, you need to wait until *after* you’ve removed the pot from the heat and stirred in your vanilla and salt. Then, gently fold in about a half cup of your favorite chopped nuts. Pecans are my go-to! Mix them just enough to distribute them evenly throughout the mixture before pouring it into the prepared pan. If you add them too soon, they can interfere with the proper boiling process, and honestly, we don’t want to risk messing up that perfect texture we worked so hard for!
Storage and Gifting Homemade Caramels
You’ve done the hard part—making perfect, soft, buttery candy! Now we need to make sure they stay that way while waiting to be devoured or gifted. These caramels are wonderfully stable, which is great news for anyone planning ahead for the holidays or wanting to make a big batch of sweet homemade treats.
The best practice I’ve found is to store them at room temperature. Don’t put them in the fridge! Cold temps can actually make them a little too firm, and we worked too hard to get that perfect chewiness to lose it now. Keep them in an airtight container—and yes, wrapping them individually is totally worth the ten minutes it takes.
For gifting, think about clear cellophane bags tied with a pretty ribbon or simply wrapping each square in wax paper so they don’t stick together. They stay perfectly soft like this for about two weeks, making them ideal for last-minute holiday candy ideas. If you need more inspiration for making food the star of your gift-giving this year, check out my tips for homemade holiday gifts food!
Frequently Asked Questions About Making Caramels
I know when you’re new to candy making, even the simplest recipe can bring up a few worries. Don’t sweat it! These are all totally normal questions I hear all the time when someone is transitioning to making homemade caramels recipe from scratch. Let’s tackle the big ones so you can feel confident when you start up that stove!
If you’re ever wondering about equipment again after reading this section, I have more great resources on simple candy making techniques.
What if my sugar mixture starts crystallizing while cooking?
Oh, that’s the worst—those tiny, gritty sugar crystals forming! This usually happens if the sides of your pan get stirred down into the mix, or if there’s any accidental splashing. If you see this happening, don’t panic! You can sometimes fix it by adding about one teaspoon of hot water to the mixture and stirring *very* gently just until the crystals dissolve. But honestly, the best way to avoid this disaster when making these soft chewy caramels is to resist stirring once that boil starts!
How do I guarantee chewy caramels instead of hard ones?
This is all about temperature control! Remember, we are aiming for the Firm Ball Stage, which is 245°F. If you let the temperature climb higher than 248°F, the residual sugar content gets too concentrated, and you end up with a brittle candy, not a delightful melt in your mouth candy. Always remove the pot from the heat immediately when you hit 245°F. Never overcook!
Can I substitute milk for heavy cream in this recipe?
Please, please stick to heavy cream for this specific recipe! Cream has a higher fat content, and that fat is essential for creating that smooth, rich texture that makes these salted caramels homemade so delicious. If you use regular milk, the sugar won’t emulsify properly with the lower fat, and you risk making your batch grainy or separating it as it cools.
Is there a faster way to make these if I’m in a huge rush?
I totally get the need for speed, especially when craving buttery candy recipe treats fast! While this stovetop method gives you the absolute best, most balanced flavor for old fashioned caramels, if you are absolutely pressed for time, you can use a microwave method. I’ve seen decent results from recipes that use the microwave in short bursts, like those found by researching quick methods, such as what they detail over at Ines Kohl’s blog. Just know the stovetop version is superior for that true, nostalgic texture!
Estimated Nutritional Information for These Caramels
Okay, my sweet friends, let’s talk real talk about what goes into these luscious, buttery squares once they are done. I always tell people, these are treats—they are rich, they are decadent, and they aren’t meant to be diet food! But knowing the approximate breakdown is always helpful, especially when you’re planning what dish to bring to holiday parties.
Please remember, this is just an estimate! The final counts can change slightly based on the exact brands of heavy cream or the specific type of corn syrup you end up using. But this gives you a great ballpark figure for these wonderful caramels.
Here is the breakdown based on one 1-inch square:
- Serving Size: 1 square
- Calories: 105
- Total Fat: 3g (Saturated Fat 2g)
- Carbohydrates: 19g
- Sugar: 18g
- Protein: 0g
- Sodium: 35mg
- Cholesterol: 10mg
See? High on that rich, buttery flavor, just like any good homemade caramels recipe should be! Enjoy them guilt-free, knowing you made something truly special from scratch.
PrintFoolproof Soft & Chewy Sea Salt Caramels
Make melt-in-your-mouth, buttery soft caramels from scratch. This easy recipe delivers classic, old-fashioned flavor perfect for holiday gifts or a sweet snack.
- Prep Time: 15 min
- Cook Time: 20 min
- Total Time: 3 hours 35 min
- Yield: About 64 pieces 1x
- Category: Candy
- Method: Stovetop Cooking
- Cuisine: American
- Diet: Vegetarian
Ingredients
- 1 cup granulated sugar
- 1 cup light corn syrup
- 1 cup heavy cream
- 1/2 cup (1 stick) unsalted butter
- 1 teaspoon pure vanilla extract
- 1/2 teaspoon fine sea salt, plus extra for sprinkling
Instructions
- Line an 8×8 inch baking pan with parchment paper, leaving an overhang on two sides for easy removal. Lightly grease the paper.
- Combine the sugar and corn syrup in a heavy-bottomed saucepan over medium heat. Stir until the sugar dissolves.
- Attach a candy thermometer to the side of the pan, making sure the tip is submerged but not touching the bottom.
- Add the heavy cream and butter to the sugar mixture. Stir constantly until the butter melts and the mixture comes to a boil.
- Stop stirring once boiling begins. Allow the mixture to cook undisturbed until the thermometer reaches 245 degrees Fahrenheit (Firm Ball stage). This usually takes about 15 to 20 minutes. Watch carefully to prevent scorching.
- Remove the pan from the heat immediately once 245 degrees is reached. Carefully stir in the vanilla extract and 1/2 teaspoon of sea salt.
- Pour the hot caramel mixture into the prepared baking pan. Do not scrape the sides of the pan.
- Sprinkle the top lightly with extra coarse sea salt, if desired. Let the caramels cool completely and set at room temperature for at least 3 hours, or until firm.
- Use the parchment overhang to lift the block of caramel from the pan. Cut into 1-inch squares. Wrap each caramel individually in wax paper or cellophane for storage or gifting.
Notes
- For the softest texture, do not let the temperature exceed 245 degrees Fahrenheit. If it goes higher, the caramels will become hard.
- If you want a quicker method, search for a microwave caramel recipe, but this stovetop method provides the best old-fashioned texture.
- Store wrapped caramels in an airtight container at room temperature for up to two weeks.
Nutrition
- Serving Size: 1 square
- Calories: 105
- Sugar: 18
- Sodium: 35
- Fat: 3
- Saturated Fat: 2
- Unsaturated Fat: 1
- Trans Fat: 0
- Carbohydrates: 19
- Fiber: 0
- Protein: 0
- Cholesterol: 10