
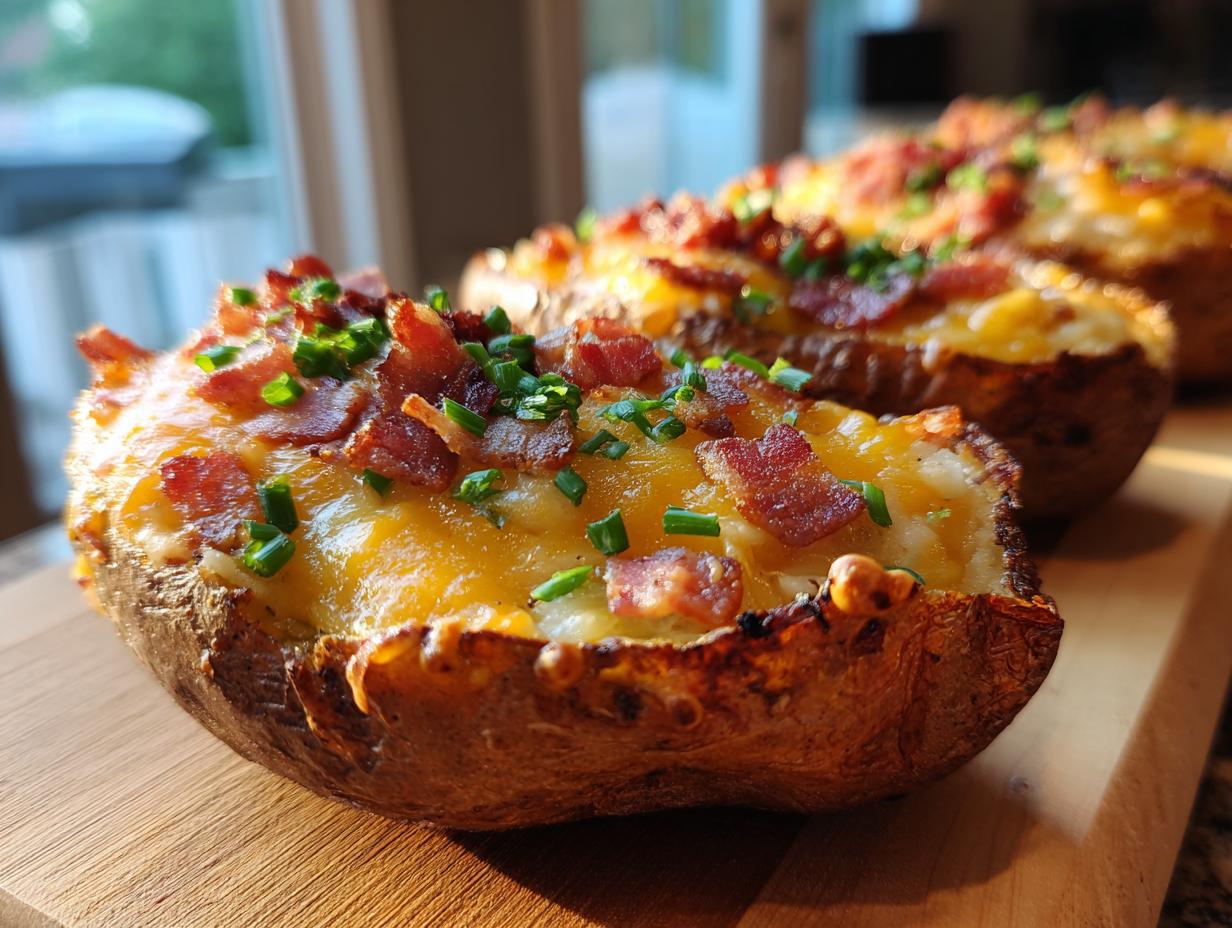
Oh, friends, if there’s one thing that screams comfy weekend, game day appetizer heaven, or just a little bit of indulgent comfort, it’s a perfectly made potato skins. Now, you’ve probably tried them before, right? Maybe they were a little floppy, or sadly soggy on the bottom where the cheese melts? Not here! My promise to you, drawing from my years of perfecting dishes for my own busy family, is that we are achieving the absolute crispiest texture imaginable. This ultimate recipe is all about heart, reliability, and getting that perfect, crunchy shell loaded with sharp cheddar and smoky bacon. Trust me, these are the potato skins you’ll want to keep in your back pocket!
- Why This Ultimate Crispy Potato Skins Recipe Works (Expert Tips from Rosa)
- Gathering Ingredients for Classic Loaded Potato Skins
- Step-by-Step Instructions for Easy Potato Skins Recipe
- Tips for Making Perfect Crispy Potato Skins Every Time
- Variations for Your Loaded Potato Skins
- Serving Suggestions for These Savory Potato Snacks
- Storage and Reheating Instructions for Potato Skins
- Frequently Asked Questions About Baked Potato Appetizers
- Nutritional Estimates for Cheesy Bacon Potato Skins
Why This Ultimate Crispy Potato Skins Recipe Works (Expert Tips from Rosa)
Making appetizers that truly satisfy means nailing the texture, and with these baked potato appetizers, crispiness is non-negotiable! I’ve tried every hurried method out there, but these steps are how we guarantee a perfect result every single time. It’s not about complicated ingredients; it’s about respecting the potato itself.
- For starters, we only use Russet potatoes. They have that high starch content that dries out beautifully in the oven, which is essential for a firm, sturdy shell that won’t collapse under the weight of the cheese and bacon. This is our foundation for truly Crispy Potato Skins.
- The second non-negotiable step is the double bake. We cook them once whole, then we crisp up those hollowed-out shells alone before loading them. This step literally steams out any lingering moisture.
- Finally, a light brushing with olive oil before that second bake ensures the edges turn golden brown and shatter slightly when you bite into them. That’s the sweet spot every home cook should aim for!
Selecting the Right Potato for Perfect Potato Skins
If you use waxy potatoes—like red potatoes—you’re going to end up with a tough, dense skin that resists crisping up properly. We need the fluff factor here! Russets are your absolute best friend because their inside is light and fluffy once baked, leaving behind a strong, high-starch wall for our shell. Don’t try to substitute them; they really are the backbone of great potato skins.
The Secret to Crispy Potato Skins: Double Baking
This is where you leave all those sad, limp appetizers behind! Stage one is baking them until they are totally done. Stage two is the magic. After you scoop out the fluffy inside (save that for my mashed potato cakes recipe, it’s too good to waste!), you put those empty shells back into a hot oven, oiled and seasoned. That second round of heat evaporates all the steam and locks in that glorious crunch. Do this, and you will always have the Best Potato Skins Recipe!
Gathering Ingredients for Classic Loaded Potato Skins
This recipe is beautiful because it uses pantry staples, but precision counts here, especially since we want those perfect baked potato bites! Don’t worry if you don’t have everything right now; this is worth a quick trip to the store if you need it, though you can certainly swap out toppings later on for variations. For this classic approach to Loaded Potato Skins, here is exactly what you’ll need to pull together:
- Four large Russet potatoes – These are essential, remember? They need to be big enough to create sturdy little boats!
- Two tablespoons olive oil – For brushing the outside and the inside of those shells to help them crisp up nicely.
- One teaspoon salt and 1/2 teaspoon black pepper – Your basic seasoning for the shells.
- One cup shredded sharp cheddar cheese – Sharp is my favorite because it stands up to the richness of the bacon.
- One-half cup cooked, crumbled bacon – Make sure this is crispy before you crumble it!
- One-quarter cup chopped fresh chives or green onions – These add that fresh, oniony brightness right at the end.
- One-half cup sour cream (for serving) – Trust me, you’ll want this creamy contrast!
If you’re looking for something else to amp up the flavor profile while you’re shopping, you might want to check out my guide on caramelized onions. They make a fantastic, sweet addition if you decide to skip the bacon occasionally!
Step-by-Step Instructions for Easy Potato Skins Recipe
Okay, now for the fun part! Anyone can make a baked potato, but turning that into the ultimate appetizer requires following these steps closely. This is my trusted **Easy Potato Skins Recipe**, and it absolutely guarantees you get those crispy edges every time we prepare these comforting snacks. Since we are baking these twice, pay attention to those temperature shifts!
Baking and Preparing the Potato Shells
First things first—preheat your oven to a nice, hot 400 degrees Fahrenheit. Remember to scrub those Russets until they’re spotless, and then pierce them all over with a fork. We need to let the steam escape! Bake them right on the rack for about 50 to 60 minutes until they feel firm. Once they’re cool enough to handle, slice them right down the middle lengthwise. Now, be brave but gentle! Scoop out most of that fluffy potato—seriously, save it for a different meal—but you must leave about a 1/4-inch thick shell behind. Then, brush the outside and the inside lightly with olive oil and sprinkle on that salt and pepper. Drop the oven temperature down to 375°F, and bake those empty shells cut-side up for about 10 minutes. This preliminary bake dries them out perfectly!
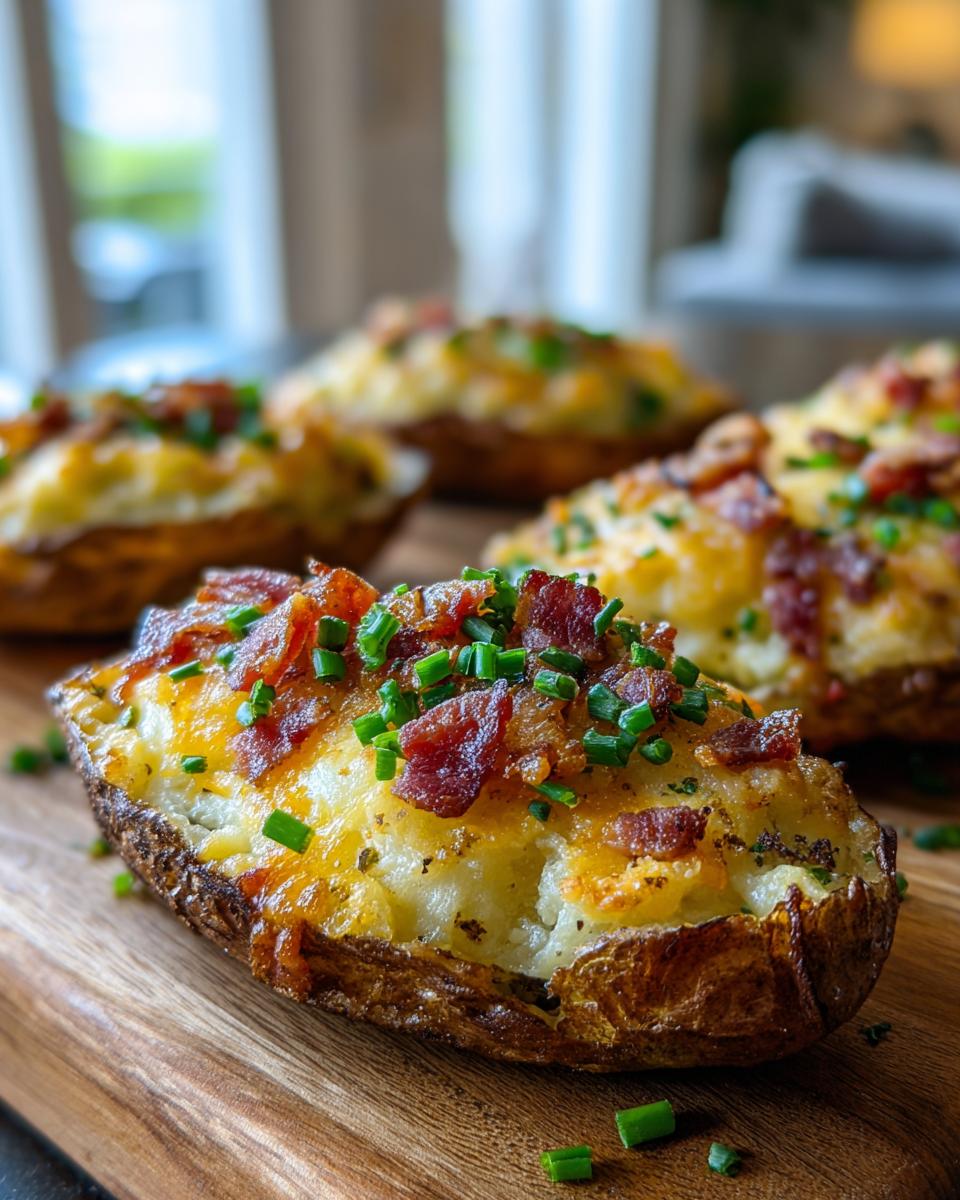
Loading and Final Bake for Melted Cheese Potato Bites
Once those shells have had their initial crisping bake, pull them out. Now we load them up! Stuff each shell generously with your shredded sharp cheddar cheese, making sure to get good coverage. Next, sprinkle that salty, smoky crumbled bacon over the cheese. Back they go into the 375°F oven for another 8 to 10 minutes, or until that cheese is gloriously melted and bubbly. When they look like perfect little **Melted Cheese Potato Bites**, pull them out! Toss on those fresh chives right before serving hot. If you want more comfort food inspiration, my skillet cornbread is fantastic right alongside these!
Tips for Making Perfect Crispy Potato Skins Every Time
We’ve covered the double-bake secret, but since our non-negotiable goal is that deep, satisfying crunch when you pick up your appetizer, I wanted to share a couple of extra little tricks I learned over the years. These little tweaks save me every time I prepare these for a crowd, making sure every single one of the **potato skins** is as good as the last one.
You absolutely must follow the tip in the recipe notes about brushing the shells with a little extra fat before that final crisping bake. Honestly, I don’t even use just olive oil anymore. Before they go in for that 10-minute dry-out session at 375°F, I lightly brush the edges and bottoms with melted butter. Butter is flavor, right? It really helps create that golden, hard exterior that resists getting soggy when the cheese hits.
Also, make sure your toppings are ready to go *before* the shells come out for the final fill. We’re working against the cooling process here. If you have to stop and shred cheese or crumble bacon while the shells are sitting on the counter, you lose that crucial oven heat transfer. Prepare everything ahead of time—the bacon crumbled, the cheese grated, the chives chopped. This makes assembly fast, ensuring those **Crispy Potato Skins** hit the oven while they are still piping hot from their first bake.
And don’t forget about that scooped-out potato! It’s a common mistake to throw it away, but that starchy goodness is perfect for my leftover mashed potato cakes recipe. Nothing goes to waste in my kitchen, and that’s how we keep our comfort food tradition strong!
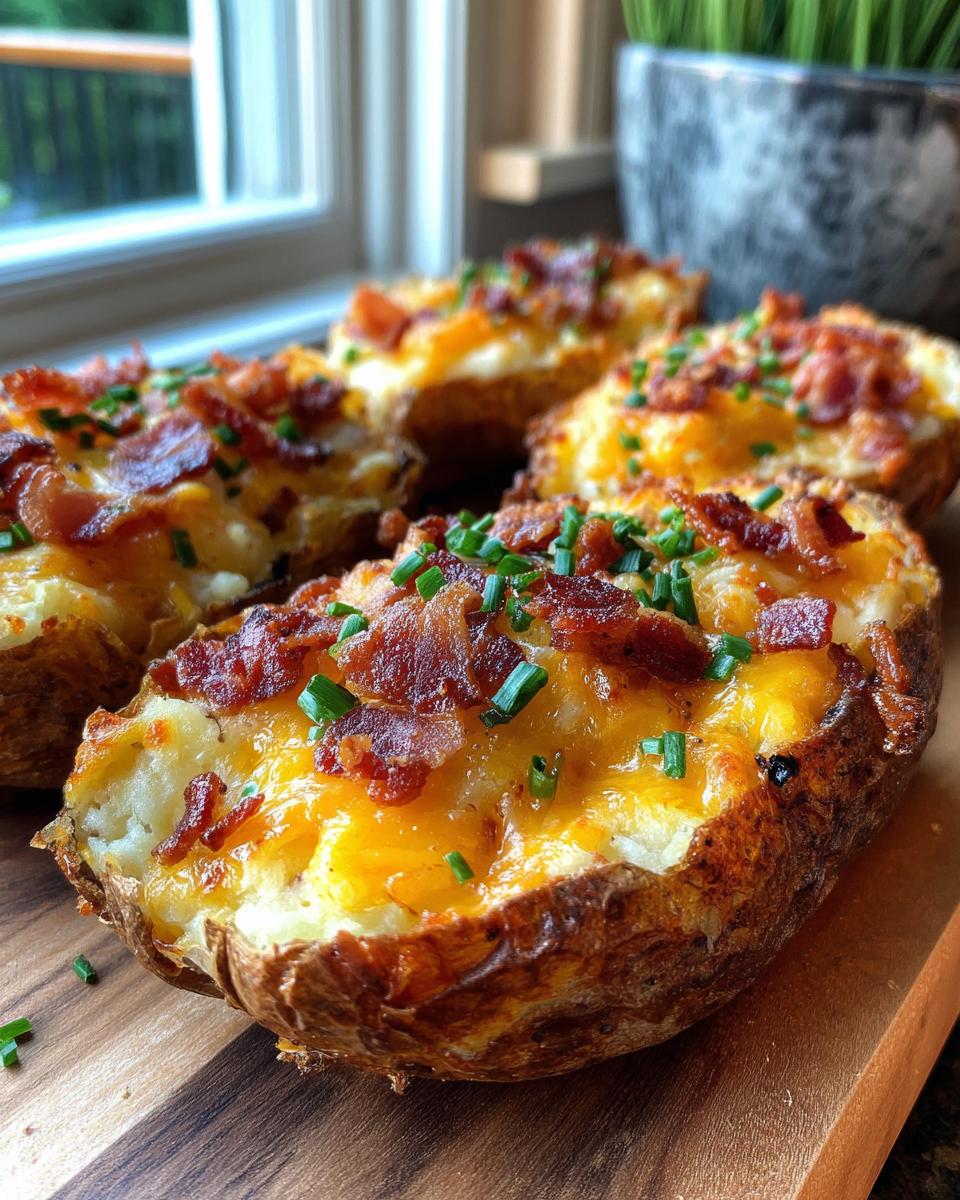
Variations for Your Loaded Potato Skins
While I absolutely adore our classic Cheesy Bacon Potato Skins—they’re traditional for a reason—I know that sometimes you need to switch things up, especially when you’re serving a crowd with different tastes! That’s the beauty of using a sturdy potato shell as a base; it’s a perfect canvas for almost anything. We can easily turn these into vegetarian snacks or give them a serious kick without losing that essential crispiness in the shell of our delicious potato skins.
Cheese Substitutions and Additions
Cheddar is wonderful, but if you want something that melts even smoother and gets gooier, feel free to reach for Monterey Jack. I sometimes blend half sharp cheddar and half Jack for the perfect pull. If you’re worried about specific dietary needs, like those looking for Gluten Free Potato Skins, this is easy! The potato shell itself is naturally gluten-free, so just double-check that your bacon bits are certified GF, or stick strictly to vegetables and cheese toppings.
Non-Traditional Topping Ideas
If you’re looking for fantastic Party Food Ideas that veer away from bacon, you have so many options! Instead of bacon, try mixing smoked paprika and a touch of chipotle powder into the oil before you crisp the shells—it gives savory depth without meat. Another favorite in my house is using leftover shredded BBQ chicken mixed with a drizzle of your favorite BBQ sauce instead of the bacon. For a vegetarian spin that still hits that comforting spot, load them up with sautéed mushrooms, caramelized onions (grab my guide on that if you need them!), and a sprinkle of fresh black olives. They are endlessly customizable!
If you are feeling bold for your next gathering, these variations work just as beautifully as the classic recipe. If you want to try something with fire, check out my recipe for baked jalapeno poppers—they bring a similar appetizer energy!
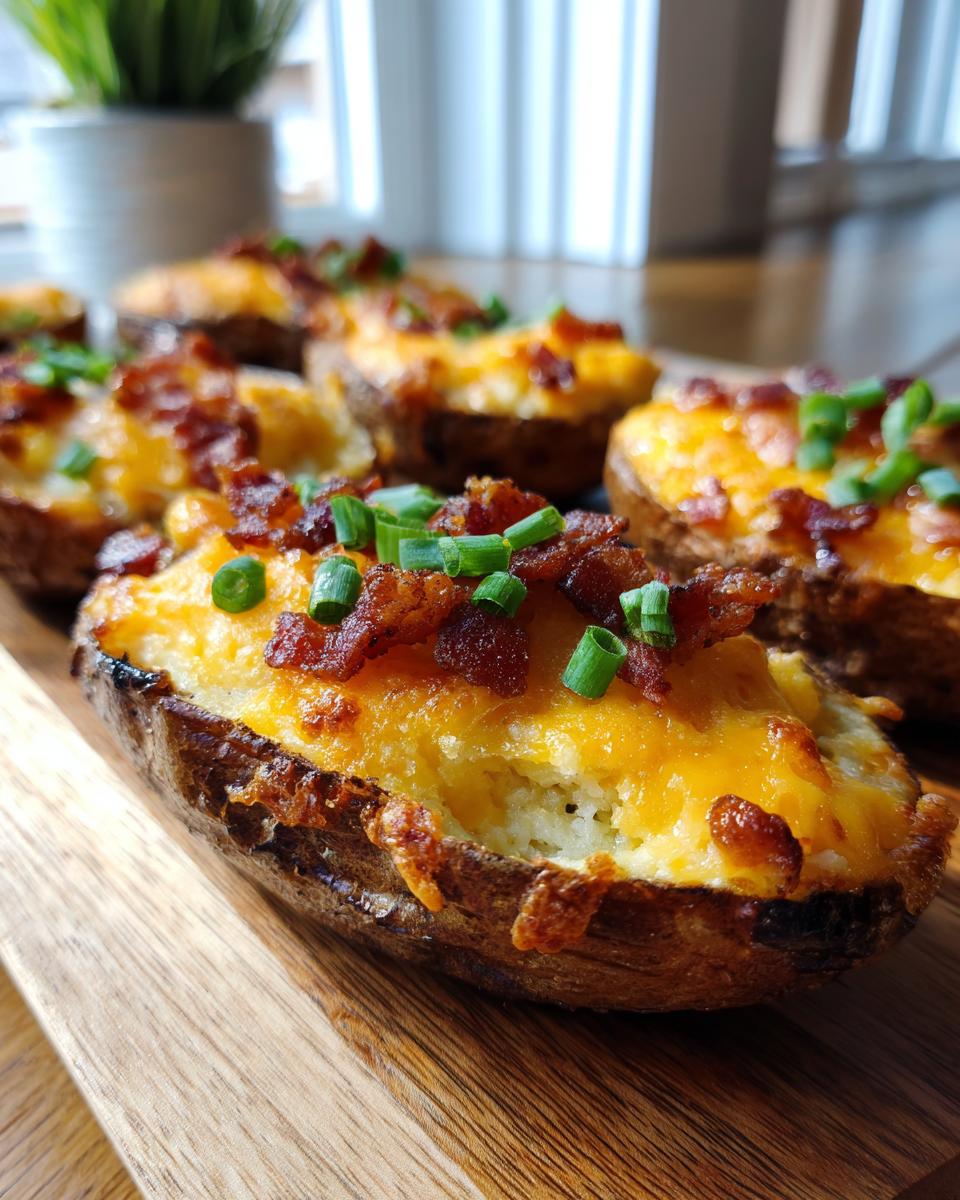
Serving Suggestions for These Savory Potato Snacks
Honestly, these irresistible potato skins can do double duty, which I love because using leftovers for other meals is just good kitchen sense! As a main appetizer, they are the star of any party spread. Set them out hot with a big bowl of sour cream and maybe a spicy mustard dip, and watch them disappear fast during the first half of the game. They are fantastic next to my recipe for the best chili recipe if you’re serving them as a hearty meal rather than just a snack.
For a true Game Day Snack marathon, pair these cheesy bacon bites with some fresh celery and carrot sticks to balance out all that rich flavor. If you’re serving them for a potluck or as one component of bigger Appetizer Recipes, scale back the toppings slightly so everyone has room to try other things! They look beautiful piled high; just make sure you serve them immediately after that final cheesy melt!
Storage and Reheating Instructions for Potato Skins
I know how it is—sometimes the party ends, or you just make too many incredible snacks! When you have leftovers of these fantastic potato skins, you want to store them carefully so that next-day crunch isn’t totally lost. The microwave is absolutely the enemy here; it turns crispy things into sad, rubbery discs almost instantly.
If you have leftovers that are already loaded up with cheese and bacon, cool them completely first. Once cooled, place them in a single layer in an airtight container lined with a paper towel. That paper towel helps absorb any residual moisture that might try to sneak in and make things soft. They usually keep well in the fridge for about three days.
For the absolute best results when reheating, skip the microwave altogether. I highly recommend either an oven set to 375°F or, if you are lucky enough to have one, your air fryer! Pop the skins onto a baking sheet (or into the air fryer basket) and heat them for about 5 to 8 minutes. Watch them closely! That quick, dry heat brings that crispness right back to the shell and gets the cheese melty again without turning them tough. If you are planning ahead for a big gathering, it’s actually better to bake the potato shells completely, cool them, and freeze those empty shells. When you’re ready to serve, load them up with your fillings and bake from frozen—it works surprisingly well!
Frequently Asked Questions About Baked Potato Appetizers
I always get so many questions after I post this recipe because everyone wants that perfect, sturdy shell! It makes sense—these Game Day Snacks are incredibly popular, and you want them done right. Here are a few things folks often ask me about making the best Crispy Potato Skins.
Can I make the potato shells ahead of time?
Yes, you absolutely can, and honestly, I highly recommend it if you’re entertaining! If you bake the potatoes, scoop them, oil them, and complete that first 10-minute crisping bake, you can let them cool completely. Just store those empty, par-baked shells in an airtight container in the fridge for up to two days. When your guests arrive, all you have to do is load them up with the cheese and bacon and return them to the oven for the final melt. It cuts your serving time way down!
How do I ensure my potato skins stay gluten free?
This is an easy fix, which is great for mixing and matching toppings! The potato shell itself is naturally gluten-free, so the base is safe. The main thing you have to watch out for is any processed topping. For instance, when buying bacon, double-check the label to ensure it wasn’t cured with any wheat products—though most standard bacon is fine. If you use store-bought ranch dressing or sour cream (which you should avoid if you’re making my quick healthy lunch ideas list!), just read the label to be sure. If you stick to fresh cheese, chives, and simply cooked bacon, you’re golden!
What is the best way to reheat leftover potato skins?
I swear, this is the number one question! If you reheat these in the microwave, you are guaranteed soft, chewy shells, and we worked too hard getting them crispy the first time! Please, please, please reheat your leftover Loaded Potato Skins in a conventional oven or an air fryer. Set your oven to about 375°F, place the cooled skins on a baking sheet, and heat them until the cheese is melty again, usually 5 to 8 minutes. The dry heat restores that beautiful crunch to the potato skin far better than nuking them.
Nutritional Estimates for Cheesy Bacon Potato Skins
Now, I always tell folks in my kitchen that we cook with heart, not by counting every calorie, but sometimes it’s helpful to have a general idea of what’s in those delicious bites! Since these **potato skins** are loaded up with cheese and bacon, they certainly lean into the comfort food category. Please remember, this information is just an estimate based on the amount of cheddar, bacon, and the potato base we used. If you add more toppings or use different cheeses, these numbers will change, so view this as a helpful guideline, not gospel!
Here are the estimates based on serving size (two skins):
- Serving Size: 2 skins
- Calories: 320
- Sugar: 2g
- Sodium: 350mg
- Fat: 18g
- Saturated Fat: 9g
- Unsaturated Fat: 9g
- Trans Fat: 0g
- Carbohydrates: 30g
- Fiber: 3g
- Protein: 12g
- Cholesterol: 35mg
If you’re looking for lighter options for a weeknight, you might want to look at my easy weeknight dinner ideas, but when game day rolls around, these classic, hearty snacks are just perfect! Enjoy them guilt-free as a delicious treat!
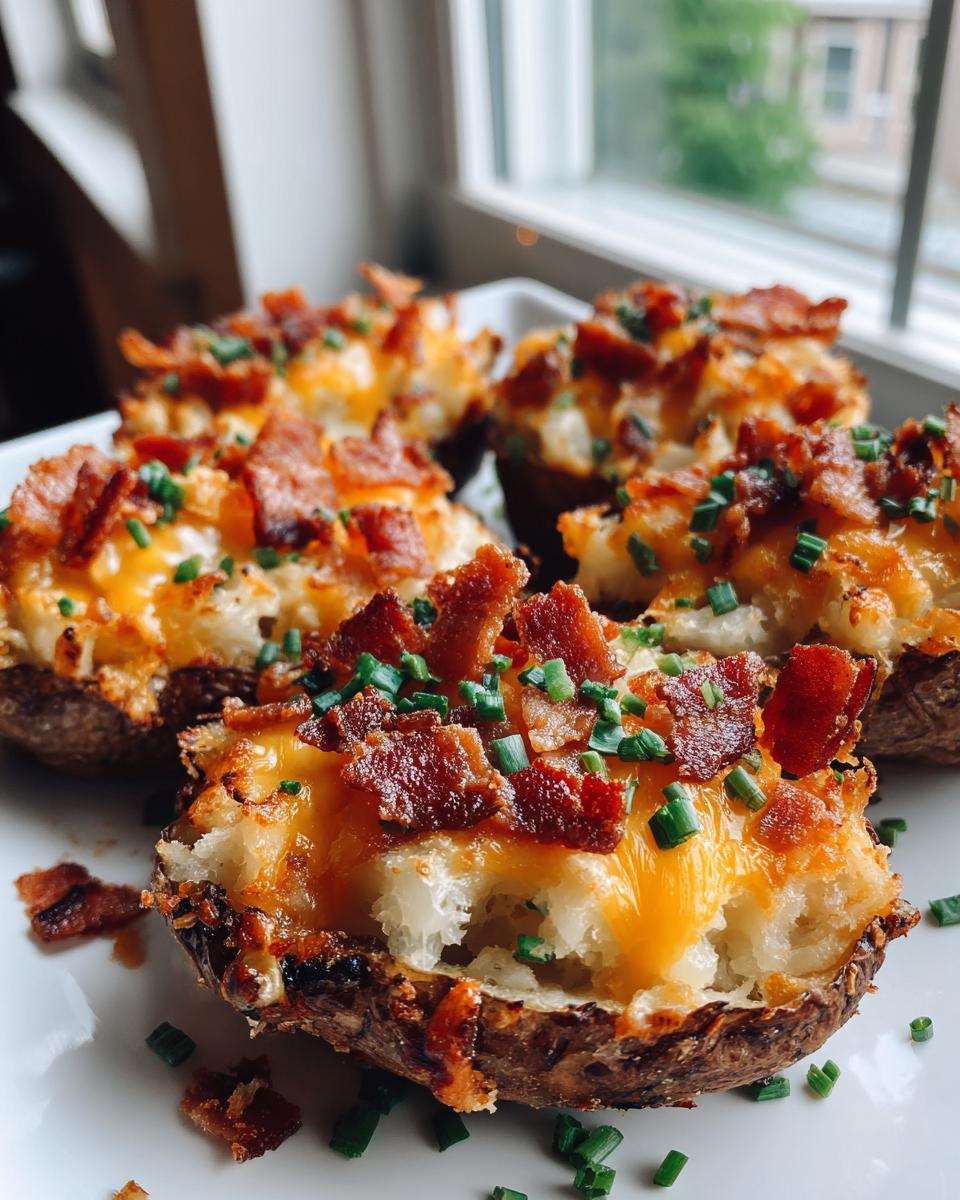
PrintUltimate Crispy Baked Potato Skins Recipe: Classic Loaded with Bacon, Cheddar, and Chives

Make the best crispy potato skins filled with melted cheese, smoky bacon, and fresh chives. This easy appetizer recipe is perfect for game day or your next gathering.
- Prep Time: 15 min
- Cook Time: 70 min
- Total Time: 85 min
- Yield: 8 servings 1x
- Category: Appetizer
- Method: Baking
- Cuisine: American
- Diet: Vegetarian
Ingredients
- 4 large Russet potatoes
- 2 tablespoons olive oil
- 1 teaspoon salt
- 1/2 teaspoon black pepper
- 1 cup shredded sharp cheddar cheese
- 1/2 cup cooked, crumbled bacon
- 1/4 cup chopped fresh chives or green onions
- 1/2 cup sour cream (for serving)
Instructions
- Preheat your oven to 400 degrees Fahrenheit. Scrub the potatoes clean and pierce each one several times with a fork.
- Bake the potatoes directly on the oven rack for 50 to 60 minutes, or until the skins are firm and the insides are tender.
- Remove the potatoes from the oven and let them cool until you can safely handle them. Reduce the oven temperature to 375 degrees Fahrenheit.
- Slice each potato in half lengthwise. Carefully scoop out most of the inside potato flesh, leaving about a 1/4-inch thick shell. Save the scooped potato for another use, like mashed potatoes.
- Brush the outside and inside of each potato shell lightly with olive oil. Sprinkle with salt and pepper.
- Place the shells cut-side up on a baking sheet. Bake for 10 minutes to start drying out the skins.
- Remove the shells from the oven. Fill each potato skin generously with shredded cheddar cheese and crumbled bacon.
- Return the loaded potato skins to the oven and bake for another 8 to 10 minutes, or until the cheese is fully melted and bubbly.
- Remove from the oven. Top each skin with chopped chives. Serve immediately with a dollop of sour cream if desired.
Notes
- For extra crispy potato skins, you can lightly brush the shells with a little melted butter before the second bake.
- Prepare the bacon and shred the cheese ahead of time to speed up assembly before serving.
- You can substitute Monterey Jack cheese for cheddar or use a blend of both cheeses.
Nutrition
- Serving Size: 2 skins
- Calories: 320
- Sugar: 2
- Sodium: 350
- Fat: 18
- Saturated Fat: 9
- Unsaturated Fat: 9
- Trans Fat: 0
- Carbohydrates: 30
- Fiber: 3
- Protein: 12
- Cholesterol: 35