
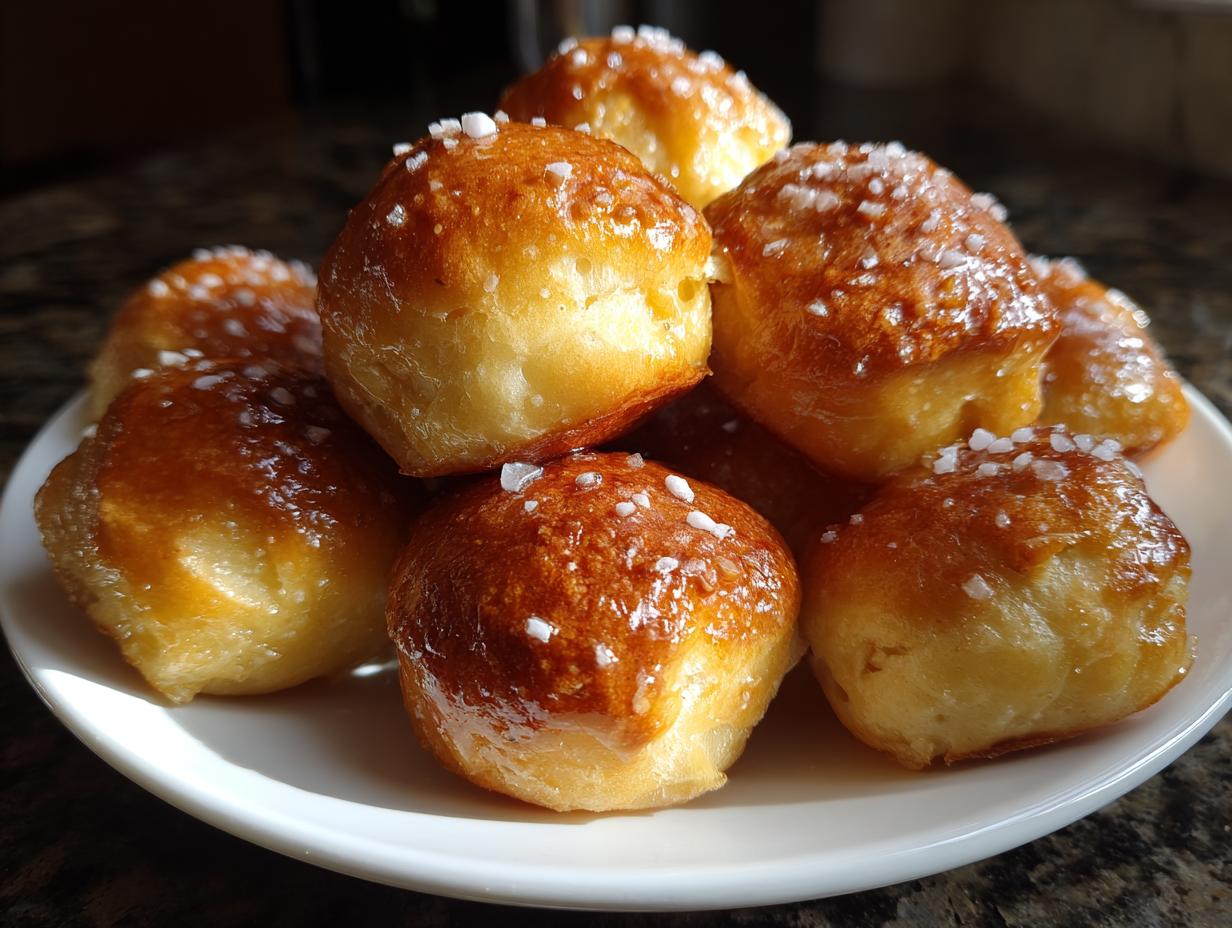
Oh, that craving hits hard sometimes, doesn’t it? You know the one—that deep yearning for a warm, salty, incredibly soft pretzel straight from the oven, dipped in something creamy and delicious. Store-bought just never cuts it. Well, friends, I’m here to tell you that getting that authentic, chewy texture you dream about, right here in your own kitchen, is way easier than you think! Forget those hard, dry lumps; we are making perfect, bite-sized pieces of heaven today. The magic that makes these pretzel bites taste like you bought them from the best street vendor? It’s all about the quick dip in that special water. Trust me, this technique transforms basic dough into unbelievably buttery pretzel bites. Let’s get baking!
- Why You Will Love These Homemade Pretzel Bites
- Gathering Ingredients for Soft Pretzel Bites Recipe
- Step-by-Step Instructions for Chewy Pretzel Bites
- Tips for Perfect Pretzel Bites Every Time
- Serving Suggestions for Pretzel Bites with Cheese Dip and More
- Storing and Reheating Your Soft Pretzel Bites
- Frequently Asked Questions About Making Pretzel Bites
- Estimated Nutritional Data for Pretzel Bites
- Share Your Homemade Pretzel Bites Creations
Why You Will Love These Homemade Pretzel Bites
When I developed this recipe, my main goal wasn’t just to make something that tasted pretzel-y; it needed to be something I could pull off after a long day teaching, or right before kickoff on a Sunday. I promised my family reliability, and these bites deliver every single time. You won’t ever look back, trust me!
- They are legitimately Easy Pretzel Bites! The dough comes together fast, and the rise time is manageable, meaning you can often have these ready in under 90 minutes total.
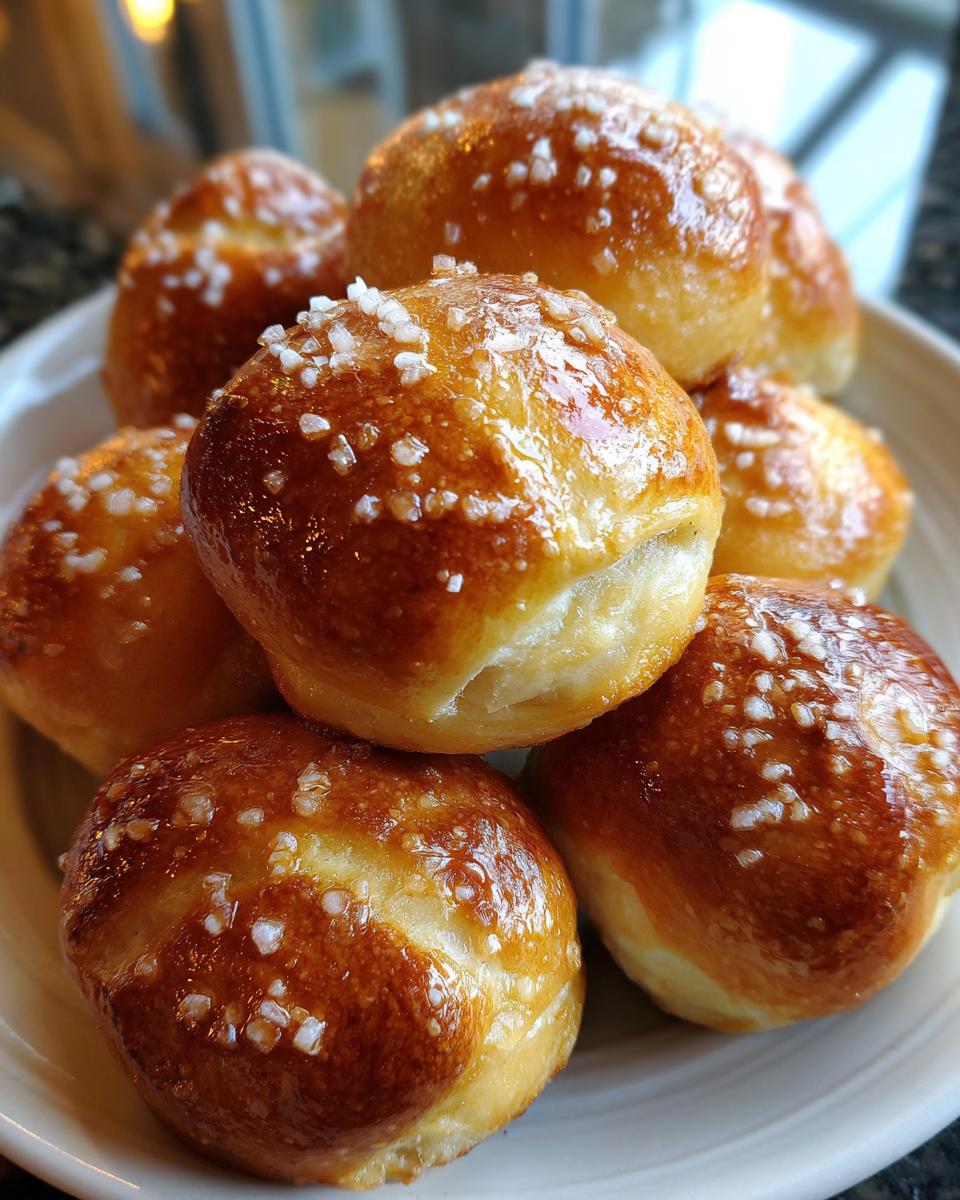
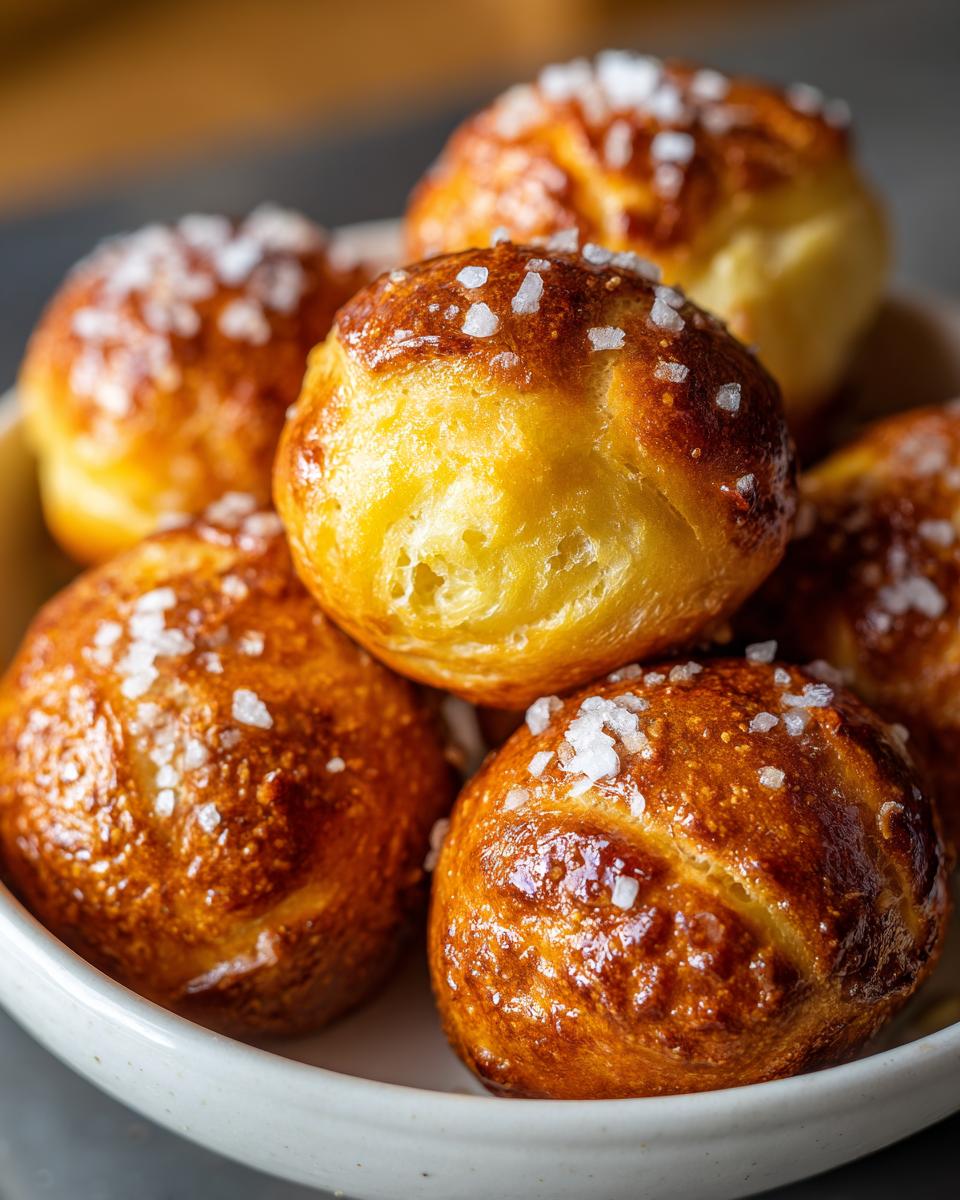
- That incredible, authentic texture comes from the baking soda bath. We get that signature slightly crispy, deep brown exterior that immediately gives way to a wonderfully soft and chewy pretzel bites center. Pure comfort food!
- These are the ultimate Game Day Snacks. They are perfectly portioned, portable, and absolutely begging to be dunked. You’ll want to double the recipe if you have a crowd coming over for the big game!
- They are unbelievably versatile. While they’re amazing salty, I often keep a small batch plain just so the kids can dip them in jam. Check out some of my other quick snack ideas if you’re looking for something different later in the week!
Gathering Ingredients for Soft Pretzel Bites Recipe
When I first started messing around with homemade bread snacks, I always worried I’d need some fancy, imported flour or a secret spice blend. Nope! That’s the beauty of these soft pretzel bites recipe—it’s all done with things I already have in the pantry. That reliability is key to me, especially when I’m whipping up an appetizer for a last-minute get-together. We’re using good, plain ingredients, and we’re going to treat them right so they turn into the best, chewiest bites possible. Getting these measurements perfect ensures we don’t end up with tough dough later on. If you’re looking for another staple bread recipe, you might love my guide on easy homemade naan bread!
For the Dough and Bath: Essential Pretzel Bites Components
These are the things you need before you even think about turning on the mixer. Pay special attention to the water temperature—that’s crucial for waking up the yeast!
- 1 1/2 cups warm water (It needs to be between 105°F and 115°F. If you don’t have a thermometer, it should feel comfortably warm, not hot, on your wrist.)
- 1 packet active dry yeast (That’s exactly 2 1/4 teaspoons, folks!)
- 1 teaspoon granulated sugar (Just a little snack for the yeast!)
- 3 3/4 cups all-purpose flour, plus more for dusting the counter
- 2 tablespoons unsalted butter, melted (For richness inside the dough)
- 1 1/2 teaspoons salt
- 1/2 cup baking soda (This goes into the water, not the dough! It makes the iconic pretzel color and flavor.)
For the Finish: Egg Wash and Buttery Pretzel Bites Topping
These last few items are what give our buttery pretzel bites that beautiful shine and salty crust. Don’t skip the butter brush right when they come out—that’s where a lot of the flavor seal happens!
- 1 large egg, beaten with 1 tablespoon water (This is our simple egg wash.)
- Coarse pretzel salt, for topping (Don’t use table salt here; we want those nice little crunch spots!)
- 4 tablespoons unsalted butter, melted (This is for brushing them after they bake.)
Step-by-Step Instructions for Chewy Pretzel Bites
Okay, now that we have our ingredients lined up, let’s talk process. This is where we turn simple flour and water into something truly special. I want you to relax and enjoy this! It’s therapeutic, really. We are building flavor structure layer by layer, making sure every single one of these pretzel bites achieves that perfect chewiness. Don’t rush the rising, and really pay attention during that quick bath—that’s the non-negotiable step for that mall-pretzel, golden-brown magic. If you’re making these on a busy weeknight, remember you can always use my guide for weeknight dinner ideas tomorrow; tonight, we bake!
Making and Rising the Homemade Pretzel Bites Dough
First things first: we wake up our yeast! In a big bowl, mix your warm water (remember, 110°F is the sweet spot), the yeast, and the sugar. Give it a quick stir and let it sit untouched for about 5 to 10 minutes. You should see foam—that means your yeast is happy and ready to work its magic!
Once it’s foamy, toss in the flour, the 2 tablespoons of melted butter, and the salt. Mix it until it looks like a shaggy mess. Then, it’s time to knead! Turn that shaggy dough out onto a lightly floured surface. You need to work it for a good 5 to 7 minutes until it feels smooth and elastic, not sticky. My little trick for checking elasticity? Pinch a small piece; if you can gently stretch it thin without it immediately tearing apart, it’s perfect.
Lightly oil a clean bowl, pop the dough in, cover it with plastic wrap or a kitchen towel, and let it chill out in a warm spot for a full hour. It has to double in size. No peeking!
Shaping Your Bite Sized Snacks
Once your dough has puffed up nicely, gently punch it down—it’s so satisfying! Now, divide that whole mass into 8 equal portions. This helps keep everything uniform.
Take one of those 8 pieces and roll it out until you have a long rope about an inch thick. Then, the fun part: cut that rope into 8 equal little sections. Those are your bite sized snacks! Aim for consistency here; if they’re all the same size, they cook at the same speed. Just keep rolling and cutting until all your dough is used up. Place them on your lined baking sheets.
The Baking Soda Bath Pretzel Technique
This step is what separates a good bread snack from an *amazing* pretzel. Preheat your oven to 450°F (that high heat is important!). Line two baking sheets with parchment paper. In a large pot, bring 8 cups of water to a roiling boil. Now, very carefully, stir in that 1/2 cup of baking soda. Watch out—it will foam up intensely! That’s normal, but be ready for it.
Working in small batches (say, 4 to 6 bites at a time), gently drop your raw dough pieces into the boiling bath. You only boil them for 30 seconds—no more! Use a slotted spoon to pull them out, letting the excess water drip back into the pot, and place them right onto your prepared baking sheets. Safety first here; boiling water is no joke!
Baking and Finishing Your Buttery Pretzel Bites
As soon as they come out of that bath, brush them all over with your egg wash mixture (the beaten egg and water). This helps the salt stick and makes them golden. Now, sprinkle them liberally with coarse pretzel salt. Don’t be shy with the salt!
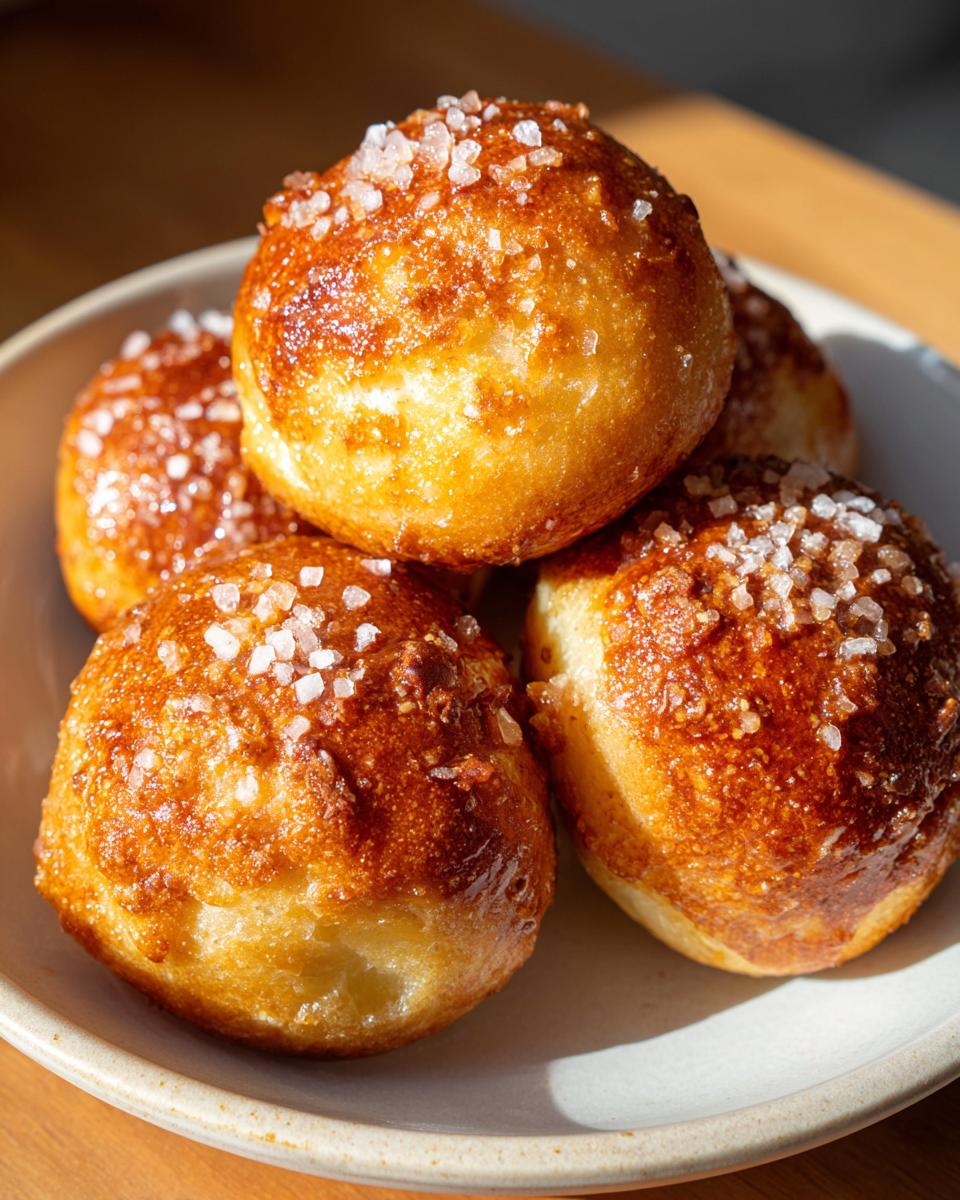
Slide those trays into the preheated 450°F oven. Bake them for about 10 to 14 minutes. Halfway through, definitely rotate those sheets so they brown evenly. You want them a deep, rich golden brown—that’s the sign of a truly great pretzel bites. The absolute last step, before they cool even a little bit, is to immediately brush the tops with the remaining 4 tablespoons of melted butter. This seals in the softness and gives you those incredible buttery pretzel bites!
Tips for Perfect Pretzel Bites Every Time
Listen, even in my kitchen, things don’t always go exactly to plan the first time, and that’s okay! Making the best pretzel bites is about knowing how to fix the hiccups when they happen. The dough consistency and that boiling bath are the two biggest game-changers. If you follow the kneading instructions, you should be golden, but let’s talk about what to do when things go a little sideways. A little troubleshooting goes a long way to ensuring these are truly perfect next time around!
Troubleshooting Common Pretzel Bites Issues
Dough sticking to your hands or looking too floppy is a classic homemade bread issue. If your dough is way too sticky after that initial 7 minutes of kneading, don’t panic and dump in a cup of extra flour—that’s how you get tough pretzels! Instead, just lightly flour your hands and the counter, and knead for another minute or two. Sometimes the humidity in the kitchen makes all the difference!
Now, what if your pretzel bites puff up like little balloons during the boil? This usually means one of two things: either your yeast was super active (which isn’t bad!) or you let the dough rise for too long and too warm. If they puff too much, just gently—and I mean gently—press them back down after you pull them out of the bath before you egg wash them. They will still bake great!
The color is another thing people stress over. If yours are coming out pale after 14 minutes, crank your oven up just 25 degrees (watch them closely!) or let the baking soda water boil a little more vigorously before dropping the dough in. That deep, glorious brown color is what we’re aiming for. I often pull mine out when they look maybe one shade lighter than I want, knowing that the final butter brush will enrich the color slightly while they rest. If you want to see another recipe where technique makes all the difference, check out my tips for easy moist pumpkin bread—it’s all about temperature control!
Serving Suggestions for Pretzel Bites with Cheese Dip and More
We’ve done the hard work, and now we get to the absolute best part: dipping! These **pretzel bites** are fantastic on their own, truly, but they really shine when they’re paired with the right sauce. Since they are such a popular choice for **Appetizer Recipes for Parties**, having a rotation of dips is a must. You’ve got to have the classics ready, but branching out makes your spread even more exciting!
When I make a big batch for game day, I always set out at least two options: one savory, one slightly sweet. You’d be shocked how fast a batch disappears when you have a good creamy cheese dip ready to go. I have a couple of absolute favorites I lean on when I am making these salty snacks. If you love that tangy homemade mustard flavor, you have to check out my recipe for easy beer cheese dip—it’s glorious for dipping these warm bites!
And for those who want something richer, my simple sausage Rotel dip is an unbelievable companion when you bring these warm, buttery snacks to the table.
Sweet Pretzel Bites Variations
Don’t feel like you *have* to go savory, though! The notes section mentioned a sweet variation, and honestly, these **sweet pretzel bites** are my secret weapon when I need a quick dessert that still feels homemade. It’s such a fun pivot from the salty version.
To switch gears completely, just skip the coarse salt application in Step 7. Once the buttery pretzel bites come out of the oven and you brush them immediately with the melted butter (Step 9), don’t stop there! Quickly whisk together about 1/2 cup of powdered sugar with 1 teaspoon of cinnamon. Sprinkle this mixture heavily over the hot, buttered pretzels. They will absorb that sweet coating and smell just heavenly!
If you want to get really fancy, some folks even toss these warm bites with a little melted caramel or chocolate. My friend Aubriella over at her site makes some chocolate versions that look incredible for holidays, like their Rolo pretzel bites if you ever want to try a fully chocolate-covered treat!
Storing and Reheating Your Soft Pretzel Bites
You made a huge batch, because you know better than anyone that one batch is never enough, right? Now that they’re cooling down, the biggest challenge is preventing them from getting hard before everyone gets a second helping. The secret to keeping these pretzel bites soft lies in containment and how you warm them back up later. We want that pillowy texture back, not a crunchy cracker!
If you happen to have any leftovers—which I rarely do, let’s be honest—the best way to store them is airtight. Pop them into a large zip-top bag or a sealed container. If you have a *ton* left, you can freeze them, but that’s usually reserved for when I make a batch specifically for a freezer meal later on. I actually have a whole guide on my freezer tips for easy freezer jam if you’re thinking about stocking up on snacks!
Now, for reheating! This is crucial for bringing back that fresh-from-the-oven softness. Do NOT just throw them in the microwave for 30 seconds; that usually dries out the exterior quickly. The best way to revive them is either in the oven or the air fryer.
- Oven or Toaster Oven Method: Set your oven to a low temperature, maybe 300°F. Lay the bites out on a baking sheet (you can lightly spritz them with water if they feel a little stiff) and heat for about 5 to 8 minutes. This gently steams the interior back to fluffy status.
- Air Fryer Magic: If you have an air fryer, this is my preferred method. It gets them warm and slightly crisp on the outside without drying them out like the microwave does. Set it to 325°F and only cook for 3 or 4 minutes, just until they are hot all the way through.
Remember, the butter you brushed on them when they were hot originally helps seal in moisture. If they seem a little dull after reheating, you can brush them with a tiny bit of fresh melted butter right before serving again. That splash of fat always perks them right back up!
Frequently Asked Questions About Making Pretzel Bites
I get so many messages asking about tweaking this recipe, and honestly, that’s the fun part of being a home cook, right? We take a classic and make it fit our own needs! But before you start swapping things out, let me answer a few of the most common questions I get about these pretzel bites. Getting these little things right ensures you get those amazing, consistent results we talked about earlier. If you’re looking for something different for breakfast, I have some fantastic guides on easy breakfast recipes, but for now, let’s stick to our salty snacks!
Can I skip the baking soda bath for my pretzel bites?
Oh, I know it sounds like a hassle! The boiling bath seems messy, but I really, really advise against skipping it if you want that authentic *pretzel* flavor and texture. That quick dip in the baking soda solution is what gelatinizes the starch on the surface of the dough. That chemical reaction is what gives you that signature mahogany color, that slightly chewy, tight exterior crust, and that distinct pretzel flavor we all love. If you skip it, you just end up with a lovely, dense bread bite, but it won’t taste like a true soft pretzel. It’s the secret weapon for the best pretzel bites!
How do I make Garlic Parmesan Pretzel Bites?
This is one of my favorite ways to switch things up when I’m serving these as Appetizer Recipes for Parties! It’s actually super easy once your chewy pretzel bites are baked and still piping hot. You skip the coarse salt topping entirely, obviously.
Instead, immediately after they come out of the oven (while they are still hot from the initial butter brush, or add a fresh brush if they cooled down too much), you want to mix up a garlic butter topping.
Here’s what I do:
- Melt 4 tablespoons of butter (or use the reserved butter from the main recipe).
- Mix in about 2 cloves of garlic, minced super fine, or 1 teaspoon of garlic powder.
- Add about 1/2 teaspoon of dried parsley for color, if you have it handy.
- Toss your hot pretzel bites in this garlic butter mixture until coated.
- Finally, sprinkle generously with freshly grated Parmesan cheese. The heat will help it melt just slightly into the crust!
These are utterly addictive, and they lean perfectly into the savory side of our homemade pretzel bites!
Estimated Nutritional Data for Pretzel Bites
As we wrap up talking about these incredible, homemade snacks, I always like to give you all a heads-up on the numbers. Now, this is Rosa speaking here—I’m not a nutritionist, and these are general estimates based on the ingredients list provided. Your exact sodium or fat content will depend on the brand of flour or the amount of salt and butter you personally decide to slather on top! The real beauty of cooking from scratch is you control what goes in, unlike those mystery bags of appetizers you buy frozen.
To keep things clear, these figures represent a serving of about 8 pretzel bites. Use this as a guideline, but remember, the real goal here is deliciousness and fun around the table, not counting every grain of salt!
Here is the approximate breakdown:
- Serving Size: 8 bites
- Calories: 185
- Fat: 5g
- Saturated Fat: 3g
- Carbohydrates: 30g
- Protein: 5g
- Sugar: 1.5g
- Sodium: Approximately 350mg (This will change based on how much coarse salt you add!)
Remember, homemade is always best because you know exactly what you’re feeding your family. If you need to lower the sodium on these delicious snack ideas you’ll love, just go easy on that coarse salt topping next time you make them!
Share Your Homemade Pretzel Bites Creations
Alright, friends, that’s the end of the line for this recipe, but really, our kitchen talk is just getting started! I pour my heart and soul into making sure these recipes work perfectly for you at home, and there is genuinely nothing I love more than hearing from you about how they turned out.
Once you’ve made your first batch of these amazing pretzel bites—and I have a feeling they won’t be your last—I really, really want to know what you thought! Did you stick with the classic salt? Did you try the cinnamon sugar topping I mentioned? Or maybe you whipped up your own signature dip for these bite sized snacks?
Please, take a snapshot! I absolutely adore seeing your homemade creations shining on your tables for game day or movie night. You can always send me a message or tag me on social media. If you have any last-minute questions pop up after baking, or if you just want to tell me which dip earned the “Best Game Day App” title in your house, head over to my contact page here: Rosa’s Contact Page. I read every single comment!
Don’t forget to come back and leave a star rating right here on the recipe card, too. It helps other home cooks just like you feel confident trying out a new recipe. Happy snacking, and thank you for letting my family’s traditions become part of yours!
PrintEasy Homemade Soft Pretzel Bites with Baking Soda Bath

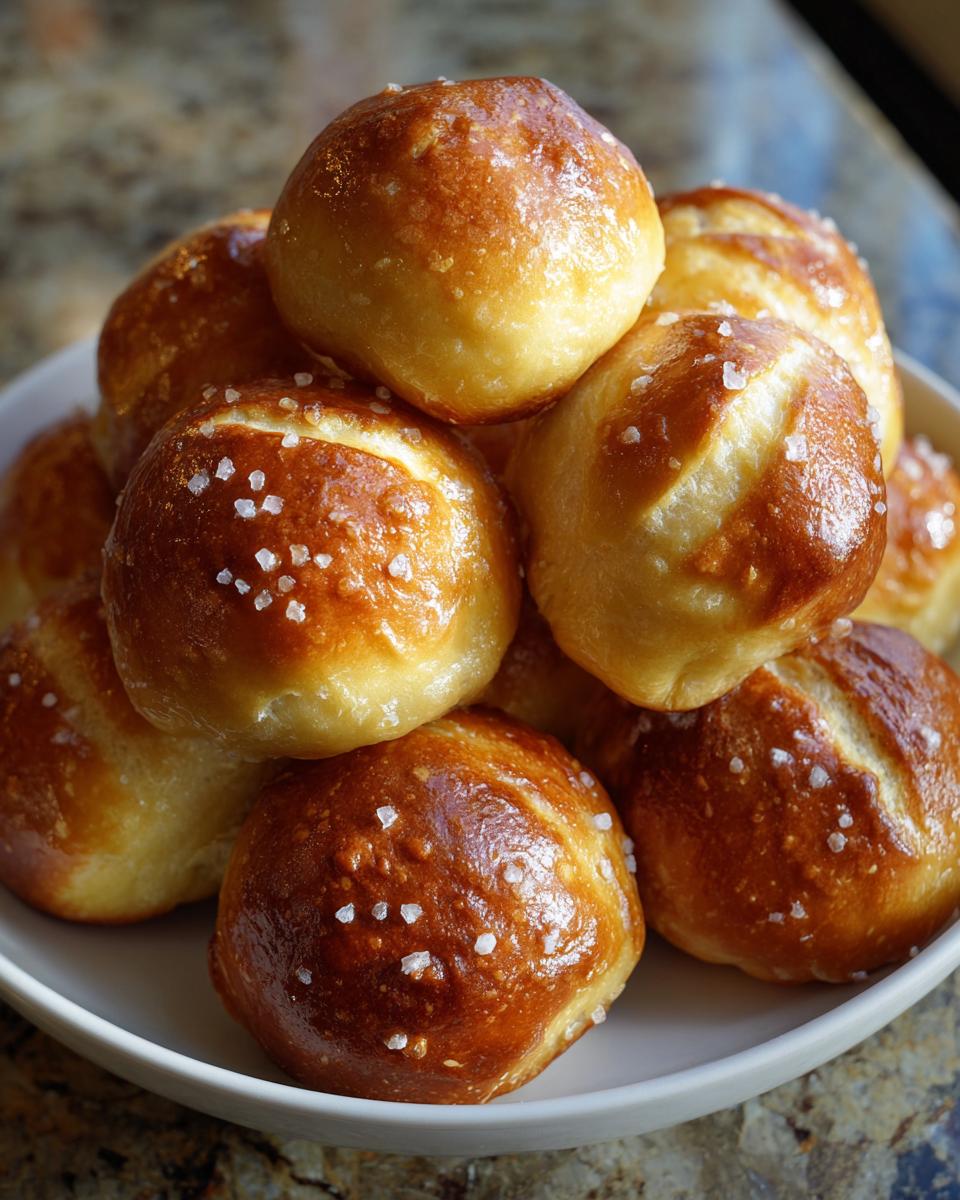
Make soft, chewy pretzel bites at home using a simple baking soda bath for that authentic texture. These are perfect game day snacks or party appetizers.
- Prep Time: 20 min
- Cook Time: 15 min
- Total Time: 95 min
- Yield: 64 bites 1x
- Category: Appetizer
- Method: Boiling and Baking
- Cuisine: American
- Diet: Vegetarian
Ingredients
- 1 1/2 cups warm water (about 110°F)
- 1 packet active dry yeast (2 1/4 teaspoons)
- 1 teaspoon granulated sugar
- 3 3/4 cups all-purpose flour, plus more for dusting
- 2 tablespoons unsalted butter, melted
- 1 1/2 teaspoons salt
- 1/2 cup baking soda (for the bath)
- 1 large egg, beaten with 1 tablespoon water (for egg wash)
- Coarse pretzel salt, for topping
- 4 tablespoons unsalted butter, melted (for topping)
Instructions
- Activate the yeast: In a large bowl, combine the warm water, yeast, and sugar. Let stand for 5 to 10 minutes until foamy.
- Mix the dough: Add the flour, 2 tablespoons of melted butter, and 1 1/2 teaspoons of salt to the yeast mixture. Mix until a shaggy dough forms, then knead on a lightly floured surface for 5 to 7 minutes until the dough is smooth and elastic.
- First rise: Place the dough in a lightly oiled bowl, turning to coat. Cover the bowl and let the dough rise in a warm place for 1 hour, or until doubled in size.
- Shape the bites: Punch down the dough. Divide the dough into 8 equal pieces. Roll each piece into a long rope about 1 inch thick. Cut each rope into 8 equal pieces (about 1 inch long) to form the pretzel bites.
- Prepare the bath: Preheat your oven to 450°F (232°C). Line two baking sheets with parchment paper. Bring 8 cups of water to a boil in a large pot. Carefully stir in the 1/2 cup of baking soda. The water will foam up.
- Boil the bites: Working in batches, carefully drop 4 to 6 pretzel bites into the boiling baking soda water for 30 seconds. Use a slotted spoon to remove them, letting excess water drip off, and place them on the prepared baking sheets.
- Egg wash and salt: Brush the tops of the boiled bites with the egg wash mixture. Sprinkle generously with coarse pretzel salt.
- Bake: Bake for 10 to 14 minutes, rotating sheets halfway through, until the pretzel bites are deep golden brown.
- Butter immediately: Remove the pretzel bites from the oven. Brush them immediately with the remaining 4 tablespoons of melted butter. Serve warm with your favorite cheese dip or mustard.
Notes
- For a sweet variation, skip the salt and brush the hot bites with melted butter mixed with cinnamon sugar instead of coarse salt.
- If you prefer a cheese dip, a simple beer cheese sauce pairs wonderfully with these buttery pretzel bites.
- If you do not have active dry yeast, you can substitute instant yeast, but you can skip the 10-minute proofing step and mix it directly with the dry ingredients.
Nutrition
- Serving Size: 8 bites
- Calories: 185
- Sugar: 1.5
- Sodium: 350
- Fat: 5
- Saturated Fat: 3
- Unsaturated Fat: 2
- Trans Fat: 0
- Carbohydrates: 30
- Fiber: 1
- Protein: 5
- Cholesterol: 20