
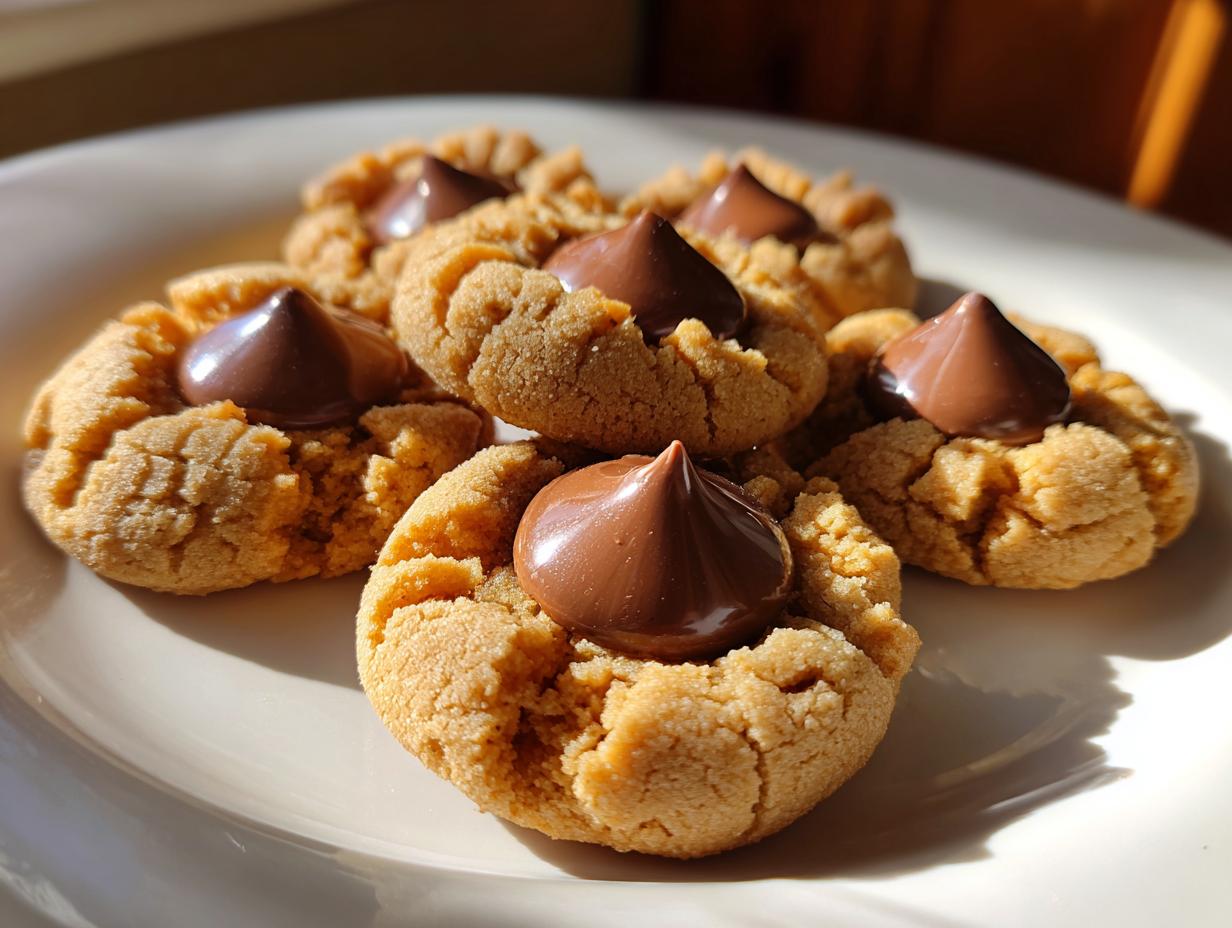
Oh, the holidays! If you ask me, nothing brings back that sweet, cozy feeling faster than pulling a fresh batch of cookies from the oven. For my family, that scent means it’s time for Peanut Butter Blossoms. Forget those dry, crumbly versions you sometimes find—my goal is always ultra-soft and wonderfully chewy. I’m Rosa, and I know how tricky the evening rush can be, which is why I put my heart into making sure this classic recipe is totally foolproof, even when you’re juggling school projects and dinner prep. Trust me, these are the most reliable, melt-in-your-mouth chocolate kiss cookies you will ever bake!
- Why This is the Best Peanut Butter Blossom Cookies Recipe
- Ingredients for Soft and Chewy peanut butter blossoms
- Step-by-Step Instructions for Classic peanut butter blossoms
- Tips for Perfect Soft and Chewy Blossoms
- Making peanut butter blossoms for Holiday Cookie Classics
- Storage and Make Ahead Holiday Desserts
- Variations on the peanut butter blossoms Recipe
- Frequently Asked Questions about peanut butter blossoms
- Nutritional Estimates for peanut butter blossoms
- Share Your Family Favorite Cookie Recipe Experience
Why This is the Best Peanut Butter Blossom Cookies Recipe
When I adapted this recipe from my grandmother’s recipe box, I wasn’t interested in just any cookie. I wanted the absolute best Peanut Butter Blossom Cookies Recipe, which meant nailing the texture. These treats are famous for a reason, but let me tell you why mine consistently get rave reviews.
- They are genuinely soft and chewy—they almost melt in your mouth, especially when fresh.
- There’s absolutely no chilling required! You can mix the dough and have these beautiful, sugary cookies ready for the oven faster than you can decide what holiday movie to put on. This delivers on those quick ‘No Chill Peanut Butter Cookies’ people look for.
- It’s a true Family Favorite Cookie Recipe. Honestly, if I don’t hide a few, they vanish before holiday cookie exchanges even start.
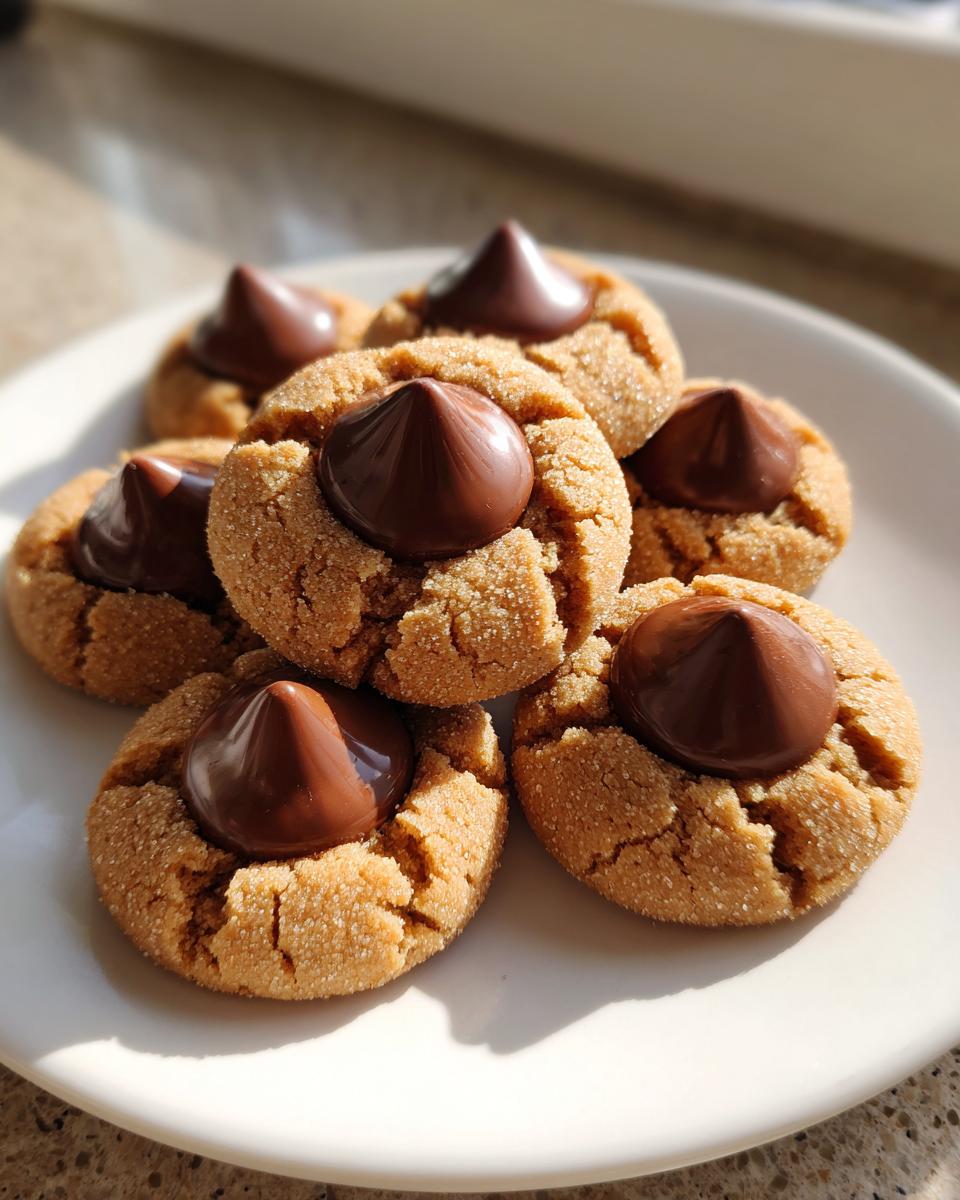
If you want that perfect, crackled top with a chocolate kiss nestled right in the middle, this is the method to stick to. Check out my other favorite chewy treats for more inspiration!
Ingredients for Soft and Chewy peanut butter blossoms
Getting the right ratios here is key to that beautiful crackle top and soft center. Don’t swap the brown sugar for white if you want that deep, comforting flavor! These simple ingredients together create the magic of our classic Hershey Kiss Cookies. Everything you need should be right in your pantry.
- 1 cup unsalted butter, softened (make sure it’s actually soft!)
- 3/4 cup creamy peanut butter (processed style works best here)
- 3/4 cup granulated sugar
- 3/4 cup packed brown sugar (get it nice and settled in the cup!)
- 2 large eggs
- 1 teaspoon vanilla extract
- 2 1/4 cups all-purpose flour
- 1 teaspoon baking soda
- 1/2 teaspoon baking powder
- 1/2 teaspoon salt
- 1/4 cup granulated sugar, for rolling in
- 1 bag (about 12 ounces) milk chocolate kisses, unwrapped (this is crucial, unwrap them ahead of time!)
Step-by-Step Instructions for Classic peanut butter blossoms
Okay, grab your mixer and let’s get these beauties going! Because these are such quick peanut butter blossoms, getting the steps right is everything. Remember, we want that gorgeous crackle top, and that really starts with how we handle the dough. If you’re looking for tips on getting sturdy edges on your cookies, my sugar cookie post details how to mix dough just right!
Mixing the Dough for peanut butter blossoms
First things first: get your oven heating up to 375°F and line those baking sheets—I always use parchment paper; it’s a lifesaver! Now, the wet ingredients. Beat that softened butter, creamy peanut butter, and both sugars together until they are light and fluffy. It’s important to add the eggs one at a time, mixing after each one, then stir in the vanilla. In a separate bowl, quickly whisk your dry stuff—flour, baking soda, powder, and salt. Add the dry mix into the wet gradually, keeping the mixer on low. Stop mixing the second you don’t see streaks of flour anymore. Overmixing this dough stops you from getting those desirable ‘Crinkle Top Peanut Butter Cookies’!
Shaping and Baking Your Classic Hershey Kiss Cookies
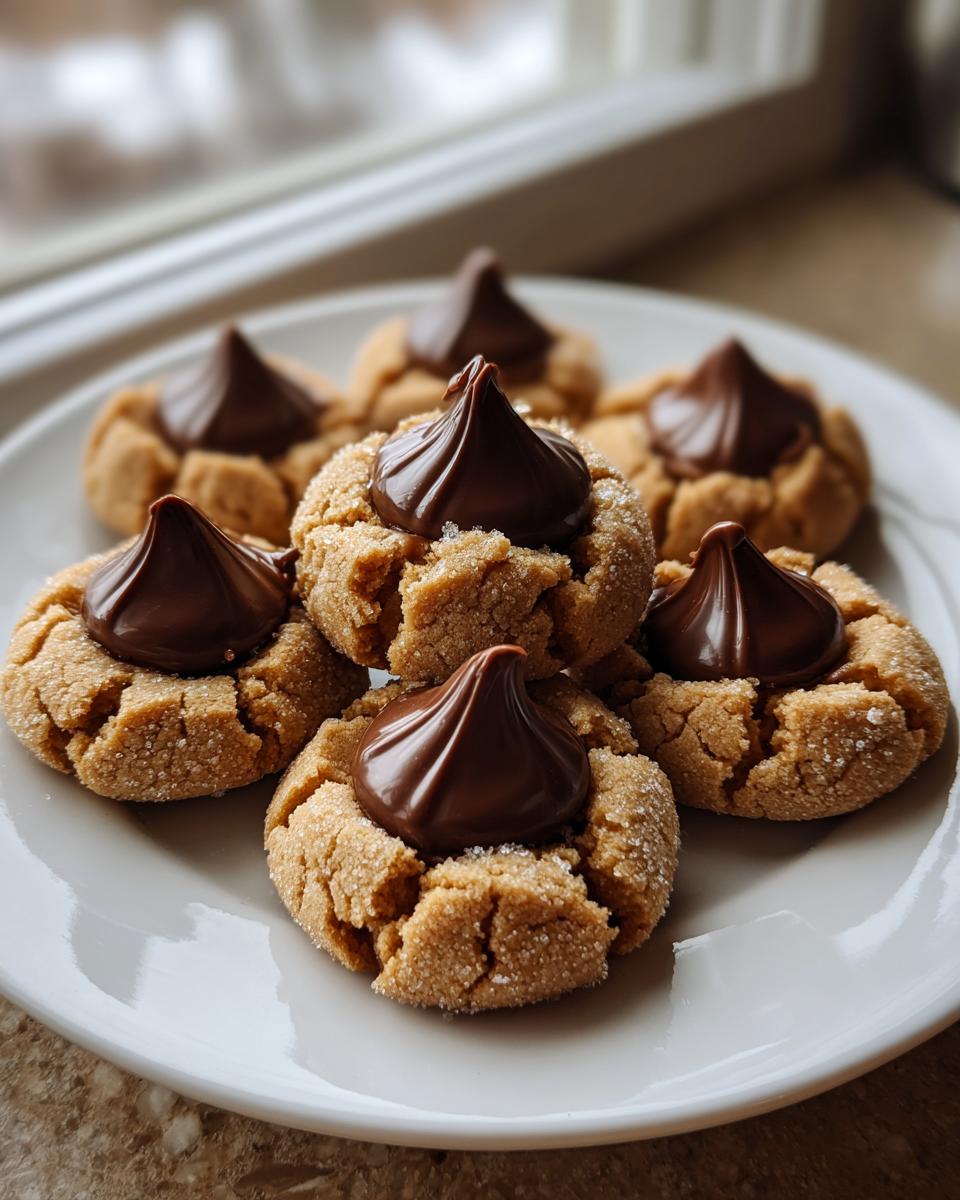
Pour that remaining 1/4 cup of sugar into a shallow dish. Scoop your dough into rounded tablespoons—I use a small cookie scoop for consistency. Roll those little dough balls *generously* in the sugar so they get totally coated. Then, place them about 2 inches apart on your prepared sheets. They need room to spread! Bake them for just 8 to 10 minutes. Watch them closely! When the edges look firm and set, but the middle still seems just a tiny bit soft when you nudge it, they are gorgeous and done. They will firm up as they cool.
Adding the Chocolate Kiss to peanut butter blossoms
This next part is the most important step for the perfect Classic Hershey Kiss Cookies. As soon as you pull the sheets out of the oven—and I mean *immediately*—gently press one unwrapped chocolate kiss right into the center of each warm cookie. You have to do it right away, or that chocolate won’t sink in nicely. Let them sit right there on the hot pan for five minutes exactly. That little bit of residual heat melts the bottom just enough. After five minutes, carefully move them over to a wire rack to cool completely. If you’re having trouble, I actually mentioned a trick for keeping kisses firm over on this great article!
Tips for Perfect Soft and Chewy Blossoms
Listen, getting these peanut butter blossoms just right isn’t luck; it’s science blended with just a little bit of love. I learned through trial and error what makes the difference between a cookie that’s good and one that keeps people asking for the recipe the very next day. If you follow these two little secrets, you’ll get that incredible soft and chewy texture every single time, just like my grandmother taught me. You can find my recipe for moist banana bread here if you want another guaranteed soft bake!
Ingredient Temperature and Measurement for peanut butter blossoms
The butter should be soft—and I mean truly softened, not melted! If it’s too cold, it won’t cream with the sugars properly, and you miss out on those crucial air pockets that keep the cookie tender. On the flip side regarding measurement, please don’t scoop your flour directly out of the bag with the measuring cup! That packs it in way too tightly. Spoon the flour into the cup and level it off. Too much flour means dense, hard peanut butter blossoms, and we absolutely don’t want that fate.
Avoiding Overbaking for Chewy Peanut Butter Treats
This is the biggest mistake I see people make when trying to achieve that soft bite. Remember the instruction to pull them when the edges look set but the center is still a little soft? That’s your golden ticket. If you wait until the center looks fully cooked, you’ve baked them too long! As they cool on the hot pan for those five minutes, they continue baking gently. Pulling them early keeps them bouncy. Overbaking them turns your lovely Chewy Peanut Butter Treats into something closer to a cracker. For more holiday favorites, I always follow Clara’s advice on her classic recipe when I’m batch baking!
Making peanut butter blossoms for Holiday Cookie Classics
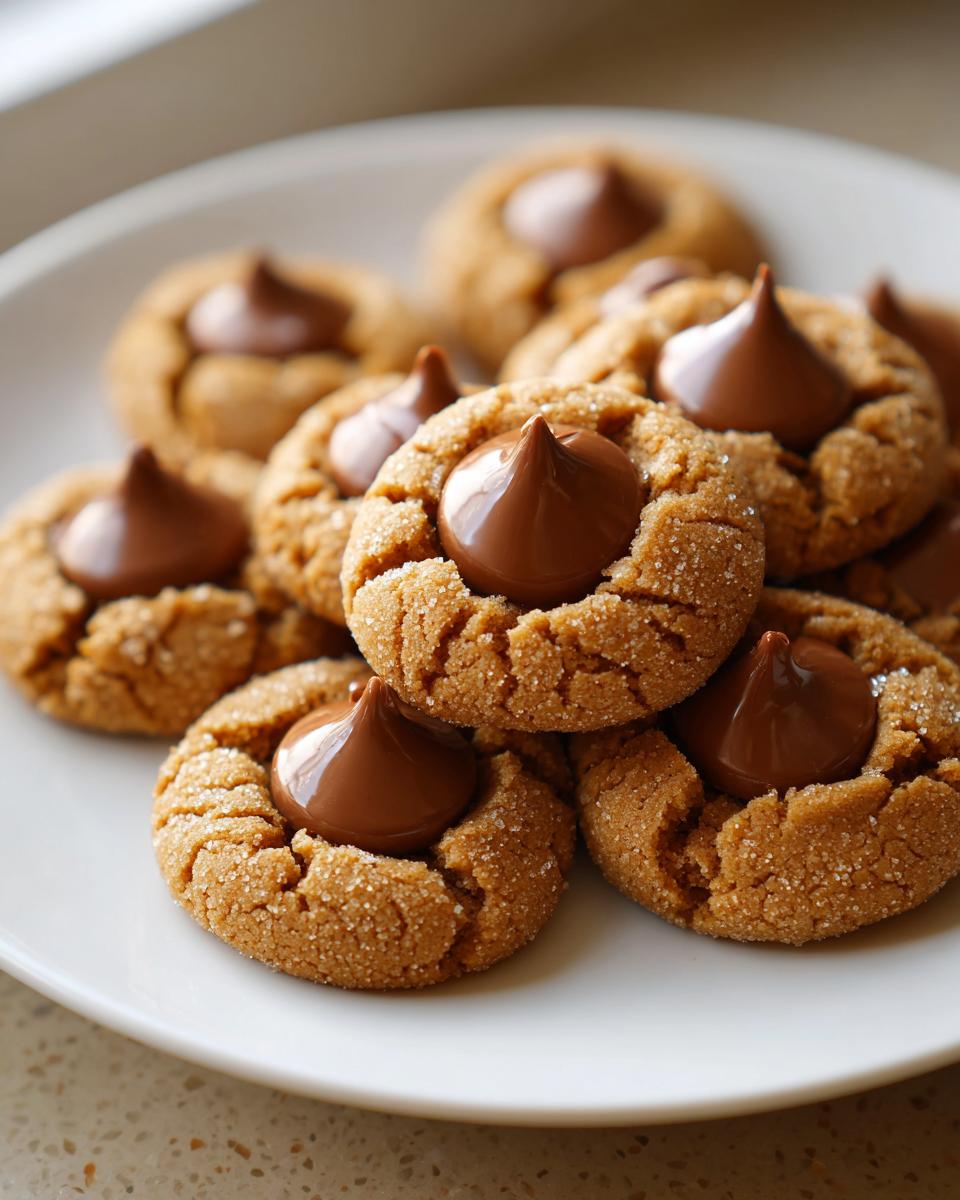
Everyone knows these are mandatory on any Christmas tray, right? Seeing these little chocolate-topped beauties instantly makes me think of decorating the tree and getting ready for Simple Christmas Baking. Since we are making these for parties or cookie exchanges, you really need a solid system for making large batches of peanut butter blossoms. I usually double or triple the batch, and the single biggest time saver is prepping everything before I even turn the oven on.
Don’t just unwrap the kisses; count them out! Get your rolling sugar dish ready beside your scoop. Once the dough is coming together, it moves fast. If you’re curious about another classic holiday cookie that holds up well, check out my recipe for soft gingerbread cookies. For big batches of these blossoms, I find that keeping the already rolled balls on a tray in the fridge speeds up baking consistency, as the chilling helps them hold their shape beautifully. If you want some gorgeous inspiration on presentation, take a look at what Beyond the Butter shares—it’s all about making them look festive!
Storage and Make Ahead Holiday Desserts
One of the best things about these cookies is that they make fantastic Make Ahead Holiday Desserts. Since they are a peanut butter base, they actually stay quite wonderfully soft for several days if you treat them right. Don’t stack them too high, though! If you leave the chocolate kiss sitting for days, it can sometimes get a little damp or start sweating, which isn’t pretty.
For storage, I recommend an airtight container, but keep them layered with wax paper or parchment between each layer. They are pretty sturdy, but giving them some space keeps that sugary top looking perfect. If you want them to last a bit longer—say, up to a week—a sealed container in the fridge is best. When you want to serve them, pull them out about 30 minutes beforehand so they can come to room temperature; that’s when they are truly at their softest.
If you’re serving them for a big party or boxing them up for gifting, you can totally prep the dough in advance! Once you’ve rolled the dough balls in the sugar (that’s Step 6, right before you bake), you can actually freeze them solid on a baking sheet. Once they are rock hard, transfer them to a freezer bag. When it’s time to bake, just pop them straight onto the parchment-lined sheet and add about 2 or 3 extra minutes to your baking time. They still bake up perfectly! It’s such a lifesaver when our schedule gets packed.
If you’re looking for other make-ahead recipes that are perfect for gifting, you should definitely check out my no-fuss easy freezer jam recipe—it’s the perfect pairing for shortbread cookies if you want a themed gift basket!
Variations on the peanut butter blossoms Recipe
While this classic recipe for peanut butter blossoms is really, truly perfect as is—I mean, 60 years of family baking stands for something!—I know we all like to shake things up a little bit. Switching ingredients around doesn’t have to mean sacrificing that soft, chewy goodness we worked so hard to achieve earlier. You just need to know the safe swaps!
One of the easiest adjustments is your peanut butter. If you love texture, go ahead and swap out the creamy peanut butter for crunchy! You’ll still get that classic flavor, but the little peanut chunks break up the uniform dough texture so nicely. It’s a fantastic change for those who like a little bite. Also, a lot of people ask me about making these for friends with special dietary needs. For those interested in trying Gluten Free Peanut Butter Blossoms, the simplest starting point is swapping the regular flour for a good quality 1-to-1 gluten-free baking blend. I haven’t tested every brand under the sun, but generally, those blends work beautifully without much fuss. This way, everyone gets to enjoy these chocolate kiss cookies!
If you want to dive deep into GF baking, I saw some really helpful tips on substitutions over at this site that might give you other ideas for building out your holiday trays!
Frequently Asked Questions about peanut butter blossoms
I get so many questions after people try my recipe, and that’s fantastic! It just goes to show how much everyone loves these cookies. Here are the three things folks ask me about most often when they are making their peanut butter blossoms. If you have another question, please zip me a message through my contact page!
What is the best peanut butter to use for peanut butter blossoms?
This is where you rely on that good old-fashioned peanut butter! For the best texture and that classic, slightly tangy peanut butter flavor, I always recommend using a standard, creamy, processed peanut butter—the kind that doesn’t separate a ton, like Jif or Skippy. Why? Because it has stabilizers that help the cookie hold its shape beautifully and prevent the fat from bleeding out during baking. If you want a bit more adventure in your peanut butter blossoms, crunchy peanut butter works too, but it will change the smoothness of the dough, making the cookies a bit heartier.
How do I stop the chocolate kiss from melting into my Easy Chocolate Kiss Cookies?
Ah, the melted kiss issue! This happens if the cookies stay in the oven too long, or sometimes if the kitchen is just too warm. The secret is immediate action after they come out. The cookies must be warm enough to soften the bottom of the Hershey’s Kiss slightly, allowing it to sink just a bit, but they can’t be piping hot from the center! If your dough balls were really warm going into the oven, or if your kitchen is hot, try this: roll the dough balls, then pop the whole tray into the fridge for 15 minutes *before* baking. This chilling time helps them hold their shape better in the oven, meaning the Kiss sits right on top instead of dissolving into a chocolate puddle!
Nutritional Estimates for peanut butter blossoms
Now, nobody is baking these beautiful sugar-crusted cookies because they are watching their calorie count, let’s be honest! But I know some of you, just like me, like to have a general idea of what’s in your baking, especially when you’re mixing up big batches for holiday trays.
Please keep in mind that these numbers are just estimates based on the standard, delicious ingredients listed in the recipe. They are based on one cookie serving size, which disappears awfully fast, I’ve noticed!
- Serving Size: 1 cookie
- Calories: About 180
- Fat: 10g total (4g saturated fat)
- Carbohydrates: 21g
- Protein: 4g
There’s a little bit of sugar in there—14g, mostly from that sweet coating and the chocolate—but that’s okay! That’s what makes them perfect for sharing with absolutely everyone you love during the holidays. Baking should bring joy, not stress over every little detail, so just enjoy this classic treat!
Share Your Family Favorite Cookie Recipe Experience
That’s it! You’ve made the best batch of Easy Chocolate Kiss Cookies, and I truly hope your house smells as wonderful as mine does right now. These are recipes that become part of our traditions, and I love knowing that my kitchen secrets are making their way into yours.
Now, I need to hear from you! Did the cookies come out perfectly soft and chewy just like you hoped? Whether you tried them plain or added a little twist, please let me know. Your feedback helps me build a better kitchen for all of us busy home cooks.
Will you rate this recipe below? And if you snapped a picture of your beautiful cookies, I would be absolutely thrilled if you shared it! Tag me online or just drop a quick comment below telling me how long it took to hide that first one just for yourself before the kids found them.
If you ever have a burning question or just want to share a different baking win, please don’t hesitate to reach out via my contact page. Happy baking, friends—I’m so glad you stopped by Rosa’s Tasty Kitchen!
PrintClassic Soft and Chewy Peanut Butter Blossoms

Make the best Peanut Butter Blossom Cookies with this easy recipe. These cookies have a soft, chewy texture, a sugary crackle top, and are finished with a classic Hershey’s Kiss.
- Prep Time: 15 min
- Cook Time: 10 min
- Total Time: 25 min
- Yield: 3 dozen cookies 1x
- Category: Dessert
- Method: Baking
- Cuisine: American
- Diet: Vegetarian
Ingredients
- 1 cup unsalted butter, softened
- 3/4 cup creamy peanut butter
- 3/4 cup granulated sugar
- 3/4 cup packed brown sugar
- 2 large eggs
- 1 teaspoon vanilla extract
- 2 1/4 cups all-purpose flour
- 1 teaspoon baking soda
- 1/2 teaspoon baking powder
- 1/2 teaspoon salt
- 1/4 cup granulated sugar, for rolling
- 1 bag (about 12 ounces) milk chocolate kisses, unwrapped
Instructions
- Preheat your oven to 375 degrees F. Line baking sheets with parchment paper.
- In a large bowl, beat the softened butter, peanut butter, 3/4 cup granulated sugar, and brown sugar with an electric mixer until the mixture is creamy.
- Add the eggs one at a time, beating well after each addition. Mix in the vanilla extract.
- In a separate medium bowl, whisk together the flour, baking soda, baking powder, and salt.
- Gradually add the dry ingredients to the wet ingredients, mixing on low speed until just combined. Do not overmix the dough.
- Place the remaining 1/4 cup of granulated sugar in a shallow dish.
- Scoop the dough into rounded tablespoons. Roll each ball in the sugar until fully coated.
- Place the sugar-coated dough balls about 2 inches apart on the prepared baking sheets.
- Bake for 8 to 10 minutes. The edges should look set, but the centers will still look slightly soft.
- Remove the baking sheets from the oven. Immediately press one unwrapped chocolate kiss into the center of each warm cookie.
- Let the cookies cool on the baking sheet for 5 minutes before transferring them to a wire rack to cool completely.
Notes
- For the softest cookies, do not overbake. The cookies will firm up as they cool.
- If your chocolate kisses start to melt too much while pressing, chill the dough balls for 15 minutes before baking.
- You can substitute creamy peanut butter with crunchy peanut butter for added texture.
Nutrition
- Serving Size: 1 cookie
- Calories: 180
- Sugar: 14g
- Sodium: 110mg
- Fat: 10g
- Saturated Fat: 4g
- Unsaturated Fat: 6g
- Trans Fat: 0g
- Carbohydrates: 21g
- Fiber: 1g
- Protein: 4g
- Cholesterol: 25mg