
When the summer sun beats down, my mind immediately goes to cold, creamy treats that require zero time near a hot oven. That’s when I pull out the recipe that absolutely saves me during busy times: the Ultimate Easy No-Bake Oreo Ice Cream Pie! Believe me, when you’re balancing teaching and raising a family, you need desserts that are foolproof. This ice cream pie is my go-to, crowd-pleasing secret weapon. It uses just a few simple ingredients to create layers of frozen perfection that taste like they took hours, not minutes, of work. This recipe is built on reliability, something I learned years ago when I needed quick ice cream dessert ideas that actually worked every time.
- Why This Ultimate Easy No-Bake Oreo Ice Cream Pie Works (EEAT Focus)
- Gathering Ingredients for Your Homemade Ice Cream Pie
- Step-by-Step Instructions for the No Bake Ice Cream Pie
- Tips for Success Making Your Ice Cream Pie
- Storage and Reheating Instructions for This Frozen Pie Recipe
- Serving Suggestions for Your Party Frozen Dessert
- Frequently Asked Questions About Making an Ice Cream Pie
- Nutritional Estimates for This Creamy Frozen Treat
- Share Your Ultimate Ice Cream Pie Creation
Why This Ultimate Easy No-Bake Oreo Ice Cream Pie Works (EEAT Focus)
I’ve tested countless recipes over the years, and this one stays in the rotation because it delivers pure joy with almost zero fuss. As a mom who spent years rushing after my own kids, I promise you, this is the definition of an easy frozen dessert. You don’t need to turn on the oven, and we lean on smart shortcuts so you can focus on enjoying the moment, not managing complicated steps.
Speed and Simplicity: A True No Bake Ice Cream Pie
Seriously, you are looking at maybe 20 minutes of active work. That’s it! The freezer does all the heavy lifting after that. If you need a dessert tonight that tastes like you planned it for days, this quick ice cream dessert is your answer. We’re talking about pie perfection that requires no complicated chilling schedules between steps.
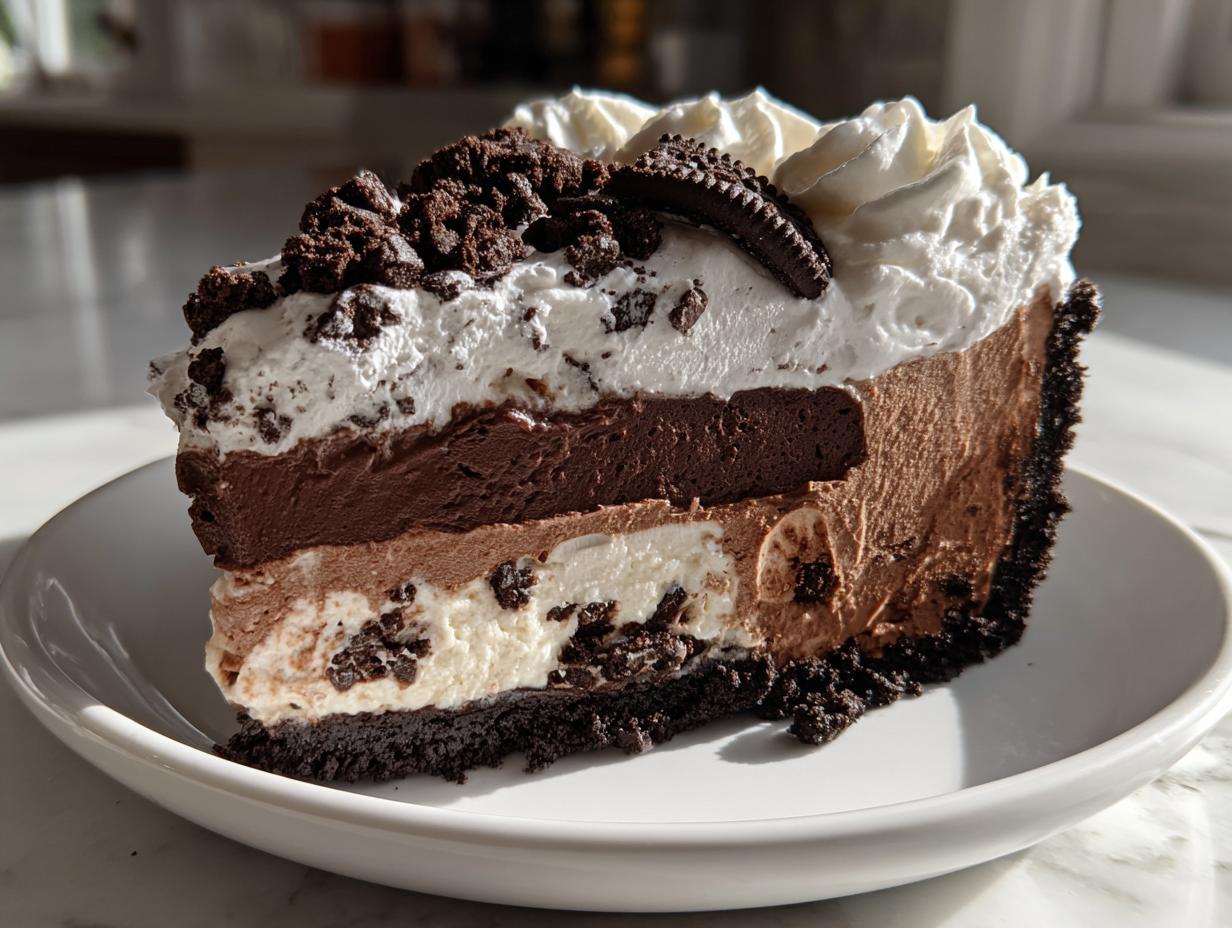
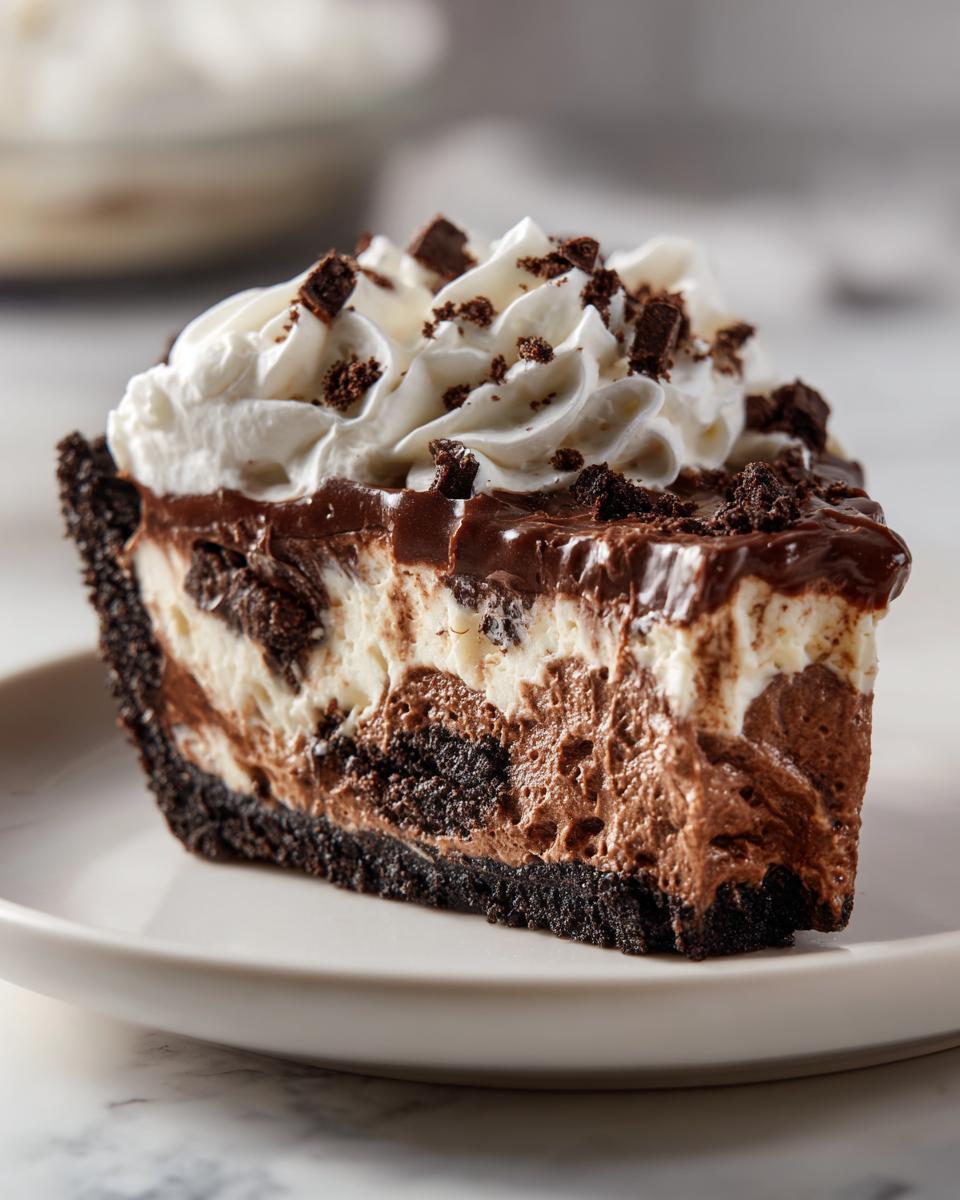
Flavor Profile: The Perfect Creamy Frozen Treat
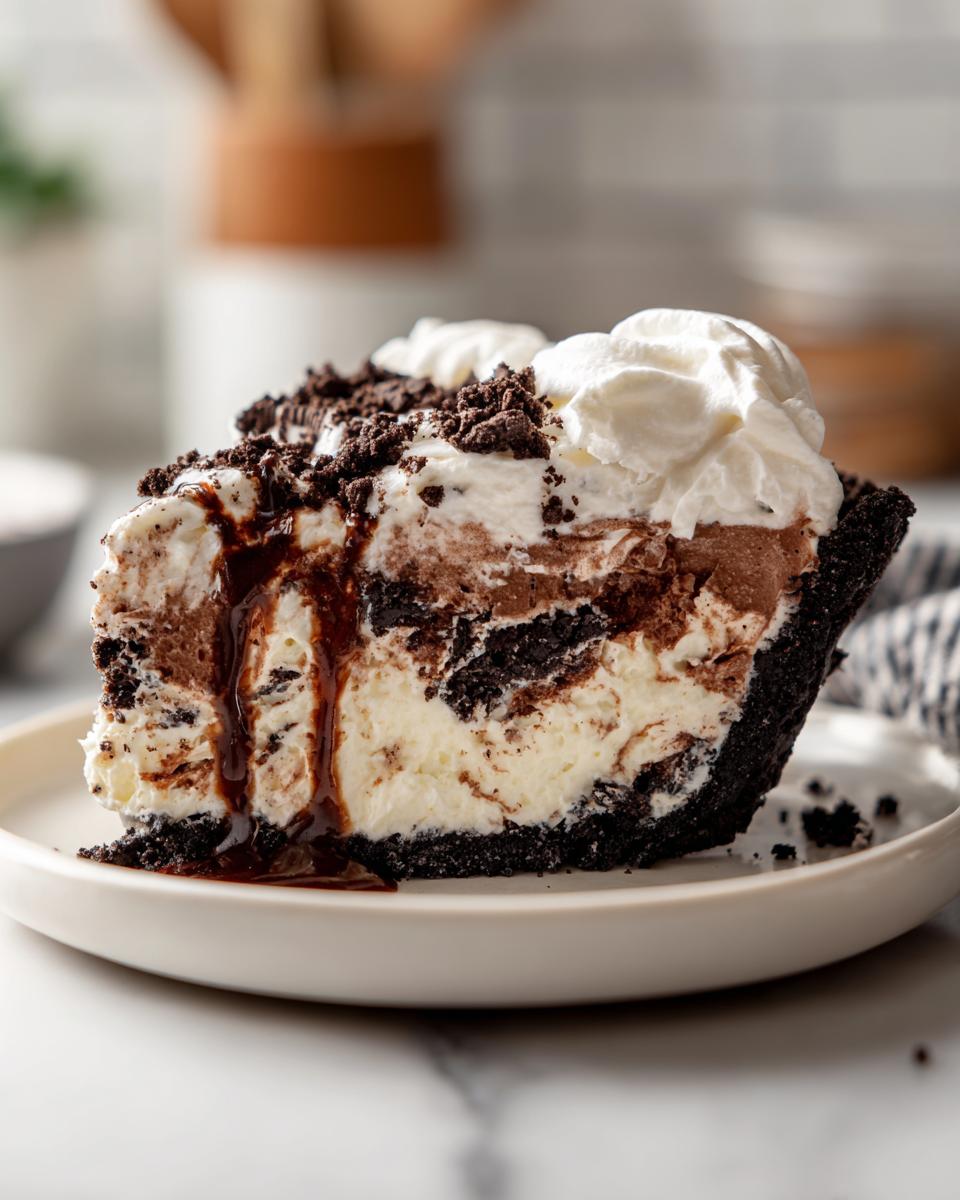
What I love most is the texture contrast. You get that satisfying, salty crunch from the buttery Oreo crust—it’s the perfect base! Then you have the two smooth, rich ice cream layers. It comes together as a stunning party frozen dessert that everyone, especially the kids, absolutely devours. It’s truly a creamy frozen treat!
Gathering Ingredients for Your Homemade Ice Cream Pie
Putting together this truly homemade ice cream pie is honestly half the fun! Since this is a no-bake dessert, the quality of what you put in really shines through. Don’t stress about running around town; everything needed for this beauty is readily available at your regular grocery store. Just a quick tip from me: the secret to getting those perfect layers is ensuring your ice cream is just right—not rock hard, but softened enough that it spreads easily without melting away.
Oreo Crust Pie Components
We start with that irresistible base! You’ll need about 1 3/4 cups of chocolate cookie crumbs. Make sure you’re using the whole cookie, filling and all, for the best flavor! Mix those crumbs with 6 tablespoons of unsalted butter that you’ve melted down gently. Don’t skip melting it; that melted butter is what holds your entire crust together when it chills in the freezer.
Ice Cream Layers and Whipped Topping for the Ice Cream Pie
For the filling, we are piling on the flavor! You’ll need 1 1/2 quarts of vanilla ice cream and another 1 1/2 quarts of chocolate ice cream. Remember what I said? Let them sit out for about 10 minutes before you even think about scooping—they should be pliable. For that cloud-like topping, grab 1 cup of heavy whipping cream, 2 tablespoons of powdered sugar for just a touch of sweetness, and 1 teaspoon of vanilla extract. If you want a little sparkle on top for the party, toss in a half cup of mini chocolate chips!
Step-by-Step Instructions for the No Bake Ice Cream Pie
Alright, let’s put this beautiful frozen pie recipe together! It’s all about layering when you are making this amazing dessert, so we need to give each layer time to set up properly. If you rush the freezing steps, you end up with a sloppy mess instead of a perfect slice of an ice cream pie. Follow these steps closely, and you’ll have that textbook slice every single time!
Creating and Chilling the Oreo Crust Pie Base
First things first: the crust. Mix those chocolate cookie crumbs and the melted butter right in your pie plate until everything looks like damp sand. Press that mixture down firmly, making sure you get a nice sturdy wall up the sides of that 9-inch plate. Once it’s packed tight, pop that into the freezer for at least 30 minutes. This hard chilling time is non-negotiable; it keeps the crust from crumbling when you start adding the ice cream.
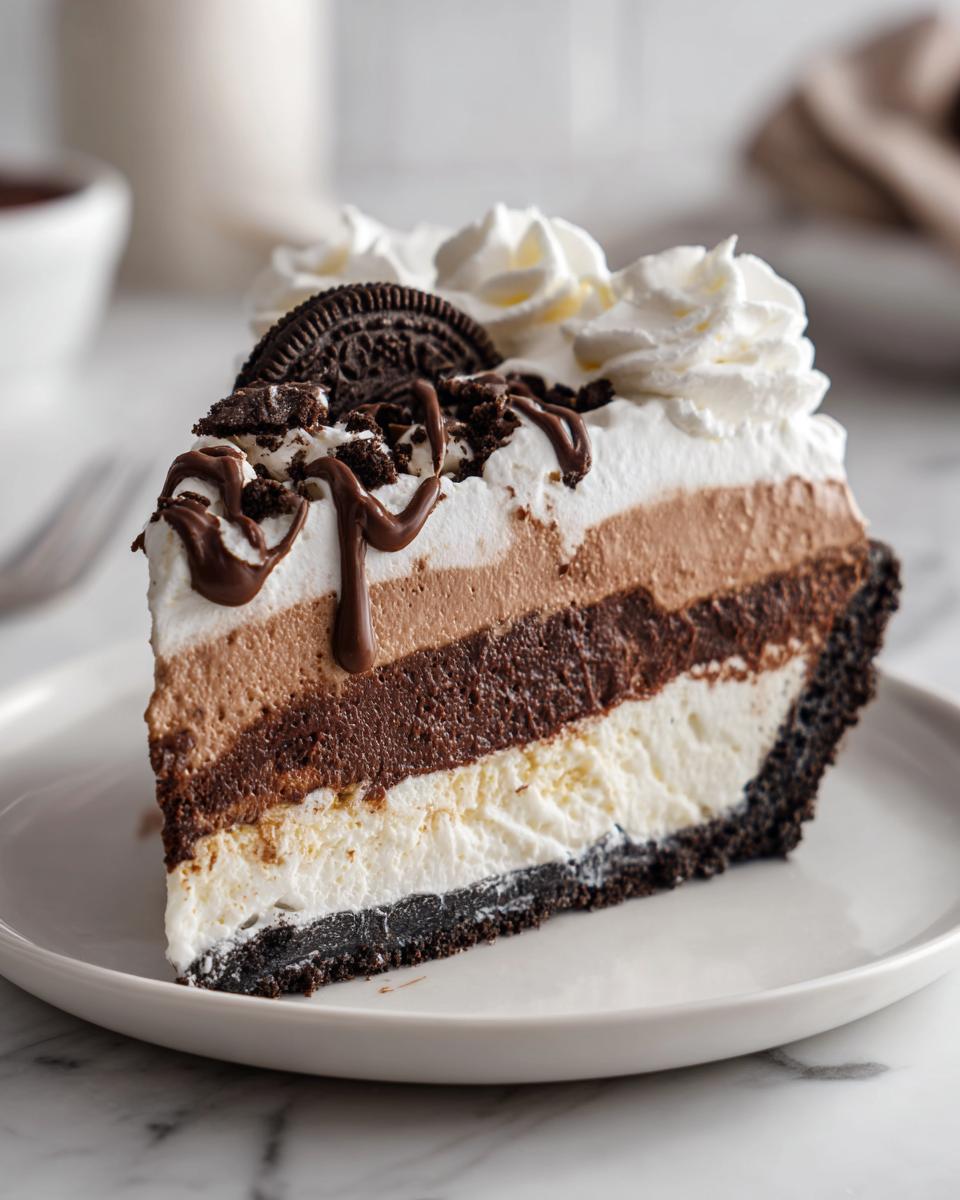
Layering the Ice Cream Dessert Ideas
Now for the fun part! Take out your vanilla ice cream and let it soften just a touch—you want to spread it, not chip it! Spread that vanilla layer evenly over your chilled crust and immediately return the pie to the freezer for a solid hour until it’s firm. Once that vanilla is set, soften the chocolate ice cream and spread it right on top. Then, cover it loosely and let it freeze deeply for a minimum of 4 hours. I usually leave mine overnight because I’m impatient!
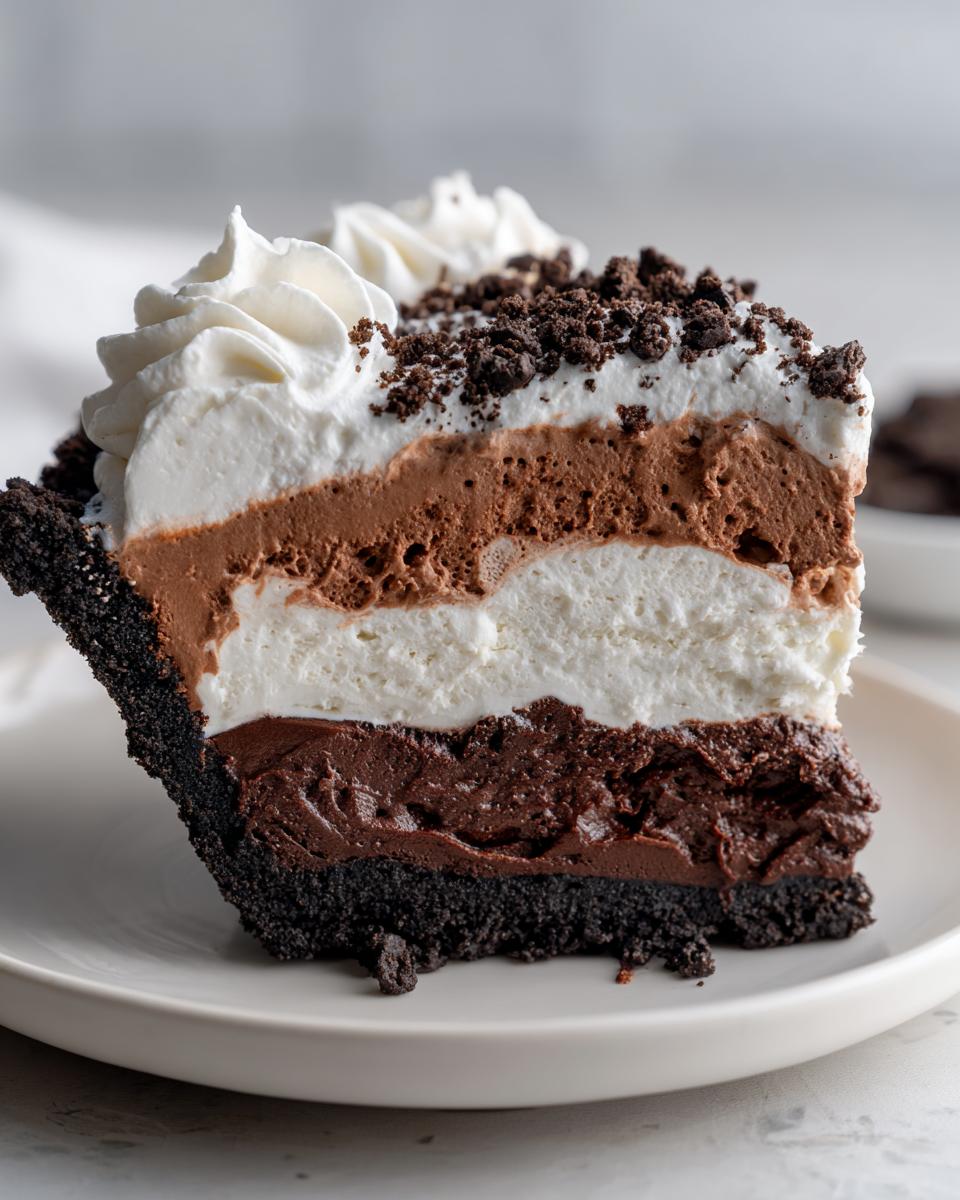
Finishing Your Creamy Frozen Treat
You make the topping right before you are ready to serve, I promise! Whip that heavy cream with the powdered sugar and vanilla until you get stiff, beautiful peaks. Scoop that glorious topping onto your solid creamy frozen treat. If you saved those mini chocolate chips (or maybe you added chopped peanuts for a peanut butter ice cream pie vibe?), sprinkle them right over the top. Slice it up while it’s still frozen hard, and watch everyone cheer!
Tips for Success Making Your Ice Cream Pie
Even though this is an easy frozen dessert, there are a couple of things I’ve learned after making this recipe for neighborhood potlucks and school events for years. Following these small tips ensures your ice cream pie sets perfectly and tastes a million bucks. Remember, even shortcuts need a little love to make them shine!
Ingredient Swaps and Flavor Variations for Your Ice Cream Pie
The beauty of this frozen pie recipe is how adaptable it is. Don’t have Oreos? No problem! You can absolutely use a full graham cracker crust instead for a slightly less intense chocolate flavor. If you happen to have leftover graham crackers lying around, just mix them with the butter the same way! This is a fantastic base for all sorts of flavors too.
For instance, if you are making this for a peanut butter lover, swap out the chocolate ice cream layer for a rich peanut butter ice cream pie layer. Or, if mint is your jam, use mint chocolate chip where the chocolate usually goes—it makes such a vibrant creamy frozen treat!
Also, don’t forget my note about the freezer during setup. If you are short on time, put each layer into the coldest part of your freezer between assembly steps instead of just the regular shelf. This speeds up that crucial setting time so you can serve your homemade ice cream pie sooner!
Storage and Reheating Instructions for This Frozen Pie Recipe
Because this frozen pie recipe is designed to be made ahead, storage is super important! Nobody wants freezer burn ruining their beautiful, easy frozen dessert, right? The key here is airtight protection, especially since we have whipped cream on top.
Once your very last topping has been sprinkled on (whether it’s chips or a drizzle of hot fudge), you need to cover that pie tightly. I use a layer of plastic wrap pressed gently onto the surface of the topping, and then I wrap the whole thing in a large piece of aluminum foil. Keep it in the coldest spot of your freezer.
If you’ve wrapped it well, this amazing ice cream pie stays fantastic for up to two weeks. Honestly, it rarely lasts that long in our house! Now, you definitely won’t be reheating this one, heaven forbid! If you pull it out and find it’s frozen solid—which happens if you put it in the deep freeze right away—just leave it on the counter for about 15 to 20 minutes before you plan to slice it. That little bit of “wake-up time” makes cutting clean slices of your creamy frozen treat so much easier!
Serving Suggestions for Your Party Frozen Dessert
Part of the fun with this ice cream pie is getting creative with the finishing touches! Even though the whipped cream and chocolate chips look perfect, a little extra drizzle can turn this easy frozen dessert into something really spectacular for a fun gathering. Presentation matters, even when you’re keeping things super simple!
If you want to elevate this already great party frozen dessert, you have a few amazing options. A warm drizzle of homemade hot fudge sauce is heavenly against that cold, creamy backdrop. It gives the pie a little bit of contrast that just sings on your tongue. Just make sure the fudge is warm and the pie is rock solid before you pour!
Another simple thing I love to do, especially if I used vanilla in the layers, is adding a bright, contrasting flavor. A few fresh raspberries or a light dusting of cocoa powder sprinkled over the whipped topping makes it look professionally done. This recipe shines as a true family friendly dessert because your little helpers can get involved in the garnishing process!
If you happened to make a peanut butter ice cream pie version, a sprinkle of chopped salty peanuts or a thin zigzag of peanut butter sauce elevates it immediately. The possibilities are endless once you have that fantastic, sturdy Oreo crust pie base set up. It’s designed to hold up to all your best ice cream dessert ideas!
Frequently Asked Questions About Making an Ice Cream Pie
I know when you look at a recipe that seems this perfect, you end up with a few questions! I always did when trying out new ice cream dessert ideas that require freezer time. It’s smart to plan ahead, especially when you’re preparing for a party or a big family meal. Here are a few things folks ask me all the time about making this simple, yet stunning, ice cream pie.
Can I make this ice cream pie completely ahead of time?
Oh, absolutely! This is one of those wonderful frozen pie recipe secrets: it actually tastes better when it has time to really lock in those cold flavors. You can assemble the entire thing—crust, both ice cream layers, and even the whipped cream topping—a day or two before you plan to serve it. The absolute key, though, is wrapping it like treasure. You must cover it very tightly, pressing plastic wrap right against the topping, and then foil over that. This guards against those little ice crystals that can form on top and ruin the texture of your beautiful creamy frozen treat.
What if I want a different flavor for my easy frozen dessert?
If you aren’t strictly in the mood for vanilla and chocolate, go wild! This structure is incredibly forgiving, which is why it’s such an easy frozen dessert to customize for any occasion. The only rule I have is that you need good quality, slightly softened ice cream that spreads well. If you want that bright flavor of a peach ice cream pie, use peach for one layer and maybe a creamy butter pecan for the other. Or, if you’re making it for a chocolate fan, use chocolate and then maybe a rocky road or a mint chocolate chip flavor for a fantastic result!
You can also use homemade ice cream if you are feeling ambitious, but just make absolutely sure it is frozen firm before you gently spread it into the shell. The stability of the layers is what keeps this from being a sloppy mess. If you’re looking for more inspiration, I actually have a favorite recipe for quick, no-churn ice cream that sets up beautifully for pies like this one!
And remember, if you don’t have Oreos, those graham crackers work like a charm for the crust! It instantly gives you a different flavor profile, though it behaves just the same as our beloved Oreo crust pie base.
Nutritional Estimates for This Creamy Frozen Treat
Now, I’m not a nutritionist, so please take these numbers with a grain of salt—or maybe a few sprinkles! When you’re dealing with store-bought ice cream and a rich Oreo crust pie, you know this is going to be a wonderful indulgence, not a diet food. Think of this as the big finale for your party! This whole ice cream pie is designed to be an occasional, comforting celebration dessert for the whole family.
The details below are based on one generous slice, using the standard ingredients listed above. It’s always smart to remember that swapping out the vanilla for, say, a richer flavor, or adding extra fudge on top, will definitely shift these numbers around. But for a simple, delicious creamy frozen treat, here’s what we’re looking at:
- Calories: Around 450 per slice. A hearty number for a serious dessert!
- Fat: Roughly 28g, because butter and cream are the best things in life.
- Carbohydrates: About 48g, mostly coming from those wonderful cookie crumbs and sugar.
- Protein: Around 6g.
- Sugar: We’re looking at about 45g of sugar here—it’s a dessert, after all!
My main advice? Don’t worry about these numbers too much when you are serving this amazing easy frozen dessert. Just make sure everyone gets a slice and that you enjoy the moment with your family!
Share Your Ultimate Ice Cream Pie Creation
Well, that’s it, friend! We have officially created the most satisfying, no-fuss ice cream pie imaginable. I truly hope this recipe becomes a staple for your hot summer nights or whenever you need something incredibly fast and undeniably delicious.
But now I want to hear from you! Cooking is always better when we share the results, isn’t it? Once you dive into this amazing creamy frozen treat, drop a rating right down in the comments below. Seriously, let me know how long your crust took to chill or which two flavors of ice cream you decided looked best together!
And please, please, please share pictures! Tag me on social media when you serve up this stunning party frozen dessert. Seeing your creations—whether one of you made a peanut butter ice cream pie or stuck to the classic chocolate and vanilla—brings me so much joy here in my kitchen. I can’t wait to see what amazing memories you make with this simple recipe!
PrintUltimate Easy No-Bake Oreo Ice Cream Pie

Make this ultimate easy no-bake ice cream pie using a simple Oreo crust and your favorite store-bought ice cream. This quick frozen dessert is perfect for summer gatherings or family nights.
- Prep Time: 20 min
- Cook Time: 0 min
- Total Time: 4 hr 20 min
- Yield: 8 servings 1x
- Category: Dessert
- Method: No Bake
- Cuisine: American
- Diet: Vegetarian
Ingredients
- 1 3/4 cups chocolate cookie crumbs (about 30 Oreo cookies)
- 6 tablespoons unsalted butter, melted
- 1 1/2 quarts vanilla ice cream, slightly softened
- 1 1/2 quarts chocolate ice cream, slightly softened
- 1 cup heavy whipping cream
- 2 tablespoons powdered sugar
- 1 teaspoon vanilla extract
- 1/2 cup mini chocolate chips (optional, for topping)
Instructions
- Prepare the crust: In a medium bowl, mix the chocolate cookie crumbs and melted butter until the crumbs are evenly moistened. Press this mixture firmly and evenly into the bottom and up the sides of a 9-inch pie plate. Freeze the crust for at least 30 minutes while you prepare the filling.
- Assemble the first ice cream layer: Remove the vanilla ice cream from the freezer and let it soften slightly on the counter for about 10 minutes. Spread the vanilla ice cream evenly over the frozen Oreo crust. Return the pie to the freezer for at least 1 hour, or until firm.
- Assemble the second ice cream layer: Soften the chocolate ice cream slightly. Spread the chocolate ice cream evenly over the firm vanilla layer. Cover the pie loosely with plastic wrap and freeze for a minimum of 4 hours, or until completely solid.
- Prepare the topping: Just before serving, make the whipped cream. In a chilled bowl, beat the heavy whipping cream, powdered sugar, and vanilla extract with an electric mixer until stiff peaks form.
- Finish and serve: Remove the pie from the freezer. Spread the whipped cream topping over the chocolate ice cream layer. Sprinkle with mini chocolate chips, if using. Slice the ultimate ice cream pie and serve immediately. Store leftovers in the freezer.
Notes
- For a faster set time, place the pie in the coldest part of your freezer between layers.
- You can substitute any two flavors of ice cream you prefer for this easy frozen dessert.
- If you do not have an Oreo crust, a graham cracker crust works well for this frozen pie recipe.
Nutrition
- Serving Size: 1 slice
- Calories: 450
- Sugar: 45g
- Sodium: 280mg
- Fat: 28g
- Saturated Fat: 17g
- Unsaturated Fat: 11g
- Trans Fat: 0.5g
- Carbohydrates: 48g
- Fiber: 2g
- Protein: 6g
- Cholesterol: 65mg