
Oh, I know that feeling! You’re rushing home after a long day, desperate for pizza night, and you peel open that package of store-bought dough and it just… disappoints. It’s often rubbery or too flat. Well, we are fixing that right now! I promise you, making your own crust isn’t some huge commitment reserved for artisan bakers. This is my absolute best easy homemade pizza dough recipe, designed perfectly for our busy lives so you can get that soft and chewy pizza crust on the table fast. Making fantastic weeknight dinner ideas like this is what my kitchen is all about. My goal here at Rosa’s Tasty Kitchen is to make truly delicious food achievable, and nothing says ‘home’ like homemade dough. In just about two hours total, you’ll be amazed at the results. Let’s get cooking!
- Why This is the Best Easy Homemade Pizza Dough Recipe You Need
- Gathering Ingredients for Your Pizza Dough Recipe
- Step-by-Step Instructions: How to Make Pizza Dough at Home
- Tips for Success with Your Homemade Pizza Dough Recipe
- Making Artisan Pizza Dough Flavor with a Slow Ferment
- Storage and Make-Ahead Tips for Your Pizza Dough Recipe
- Serving Suggestions for Your From Scratch Pizza Crust
- Frequently Asked Questions About This Pizza Dough Recipe
- Understanding the Nutrition of Your Homemade Pizza Dough Recipe
- Share Your Best Homemade Pizza Ever
Why This is the Best Easy Homemade Pizza Dough Recipe You Need
When I share a recipe here, you know it’s tried and true—I wouldn’t put my name on anything that causes unnecessary stress on a busy evening! This wonderful pizza dough recipe is my personal go-to because it skips the complicated, multi-day aging process but still delivers that incredible texture we all want. It’s a classic combination that makes it a truly no fail pizza dough for beginners and veterans alike. Plus, since it comes together quickly, it’s perfect for those spontaneous pizza nights!
- It uses just 6 simple ingredients you likely already have.
- The rise time is surprisingly fast—about 90 minutes so you can eat tonight!
- It yields a crust that’s soft on the inside but sturdy enough for all your favorite toppings.
If you are looking for something different that uses dough, check out my recipes for easy breakfast recipes sometimes too!
Achieving That Perfect Chewy Pizza Crust Texture
The secret to that beautiful, slight pull when you bite into your slice—that signature chewy pizza crust—comes down to the balance we strike between the wet and dry ingredients and how long we work the dough. We’re aiming for elasticity, not toughness. By adding just enough kneading time (5 to 7 minutes is perfect!), we develop just the right amount of gluten. This traps the gases released by the yeast, making the dough billowy, not cracker-thin, for that satisfying, soft and chewy pizza dough feel.
Gathering Ingredients for Your Pizza Dough Recipe
One of the best things about this pizza dough recipe is how honest and simple the ingredient list is. Seriously, you only need six things to make the best homemade pizza ever! No weird flours or hard-to-find additives here. When you’re making something from scratch, clarity is key, so make sure you have everything measured out precisely before you start activating the yeast.
You will need 1 1/2 cups of warm water, making sure it’s between 105°F and 115°F—we don’t want to kill our yeast! Then we add 2 1/4 teaspoons of active dry yeast, which should equal one standard packet, along with 1 teaspoon of sugar to feed it. For the bulk, grab 3 3/4 cups of all-purpose flour, 2 tablespoons of good olive oil, and 1 1/2 teaspoons of salt. That’s it! See? Nothing scary about your next pizza night recipes session!
Ingredient Notes and Simple Substitutions
Because this homemade pizza dough is so minimal, the quality of those few ingredients really shines through, so treat them kindly! For the flour, all-purpose works perfectly for that soft and chewy result, but if you want an even chewier bite, you can substitute up to half of the flour with bread flour. Bread flour has higher protein, which leads to a stronger gluten network.
When it comes to the yeast, please don’t skip the water temperature check! If the water is too hot, you’ll end up wasting your time because the yeast dies. Too cold, and it just won’t wake up properly to help you make pizza dough at home. If you’re worried about your yeast, just let that warm water and yeast sit for a solid 10 minutes until it looks frothy. That foam guarantees your dough will rise beautifully!
Step-by-Step Instructions: How to Make Pizza Dough at Home
Okay, now for the fun part! Mixing it all up. You’ll want a big bowl for this because things get beautifully messy. Don’t overthink it; just follow these actions precisely and you’ll have the best homemade pizza ever bases ready for baking in no time. Once this dough is perfect, you can transform it into little treats like my easy pizza muffins for lunchboxes!
Activating the Yeast: The First Crucial Step in Your pizza dough recipe
We start by proving the yeast has life! Mix your warm water, yeast, and sugar right in your large bowl. Don’t rush this part! You should let it sit there, undisturbed, for 5 to 10 minutes. If you see foam building up on top, that’s a massive green light—it means your yeast is happy and ready to work its magic on your pizza dough recipe.
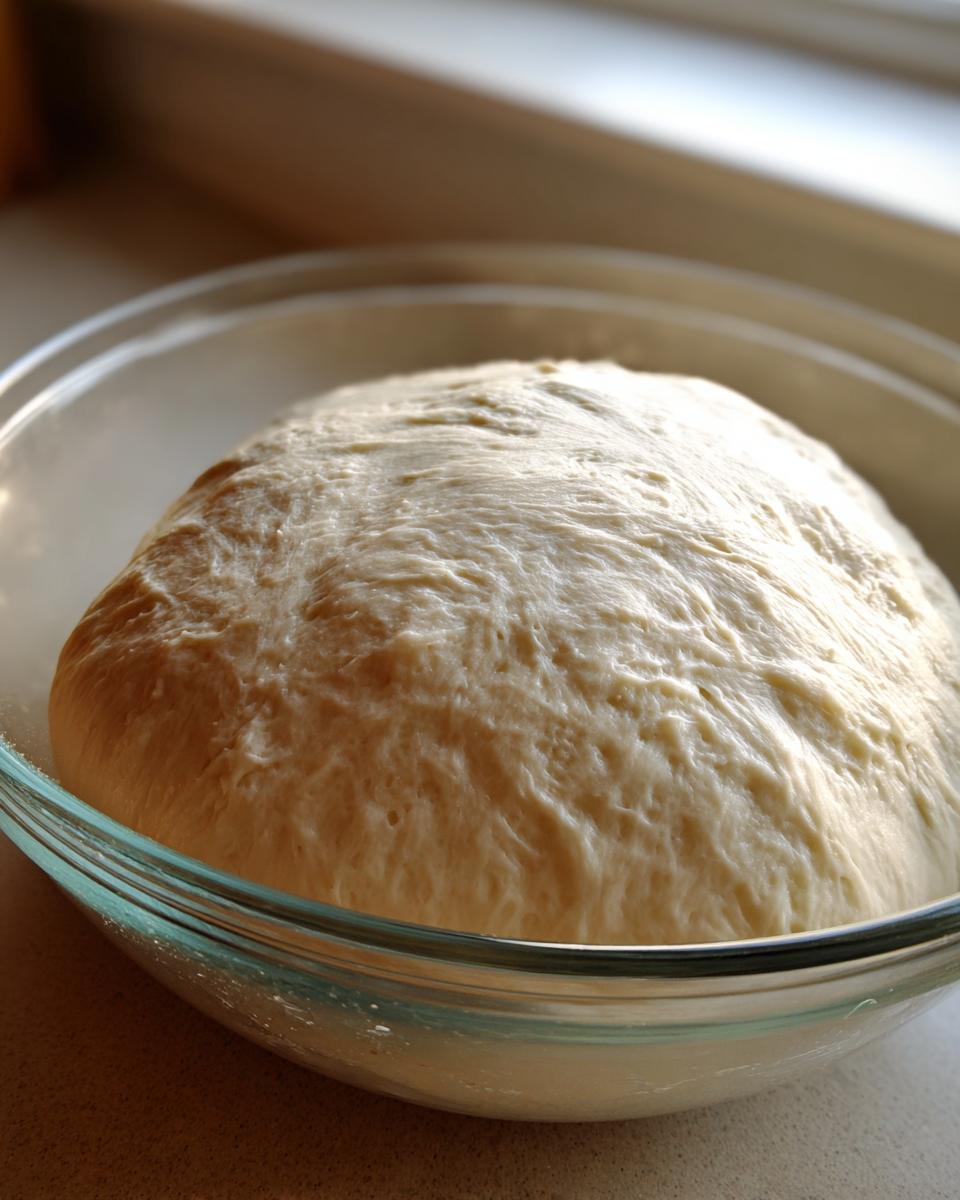
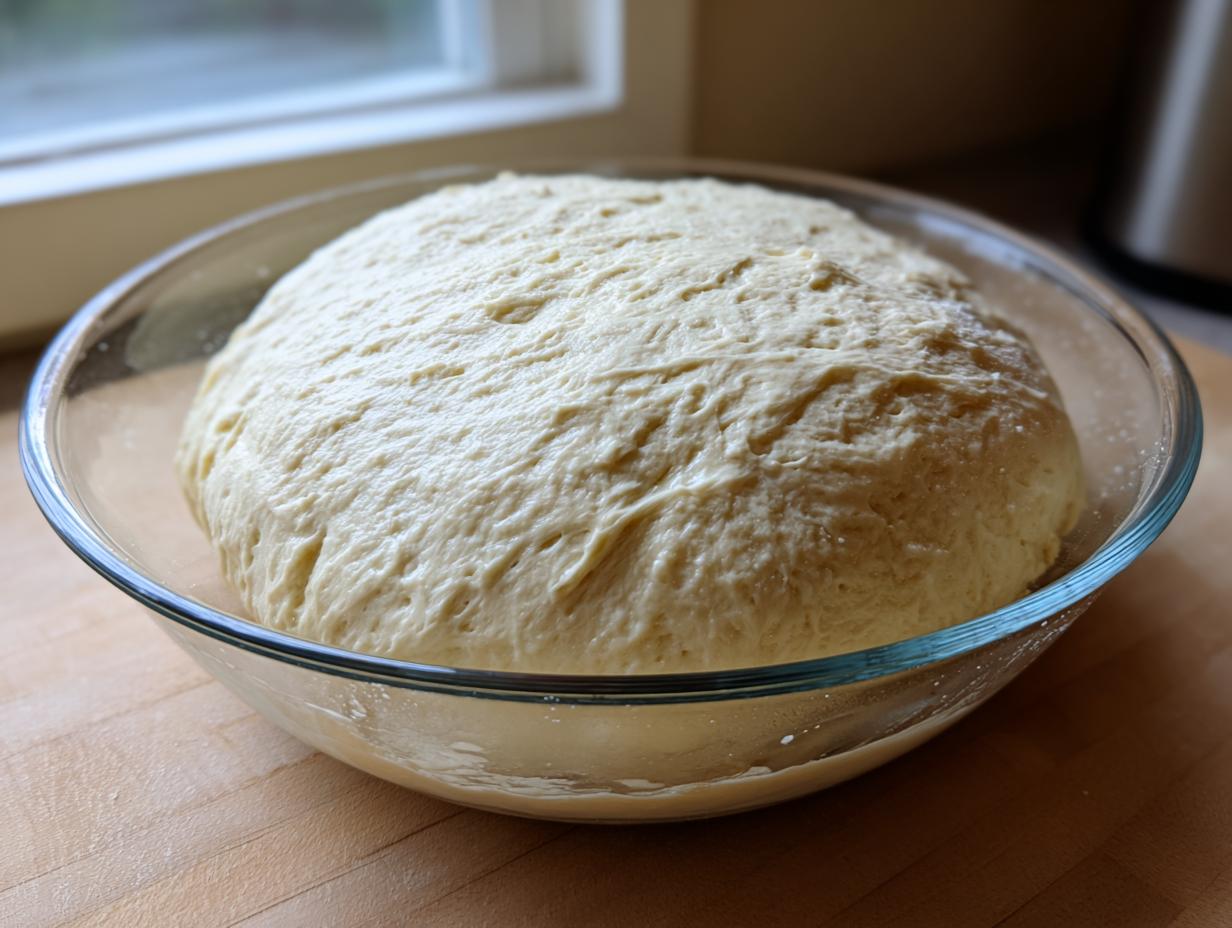
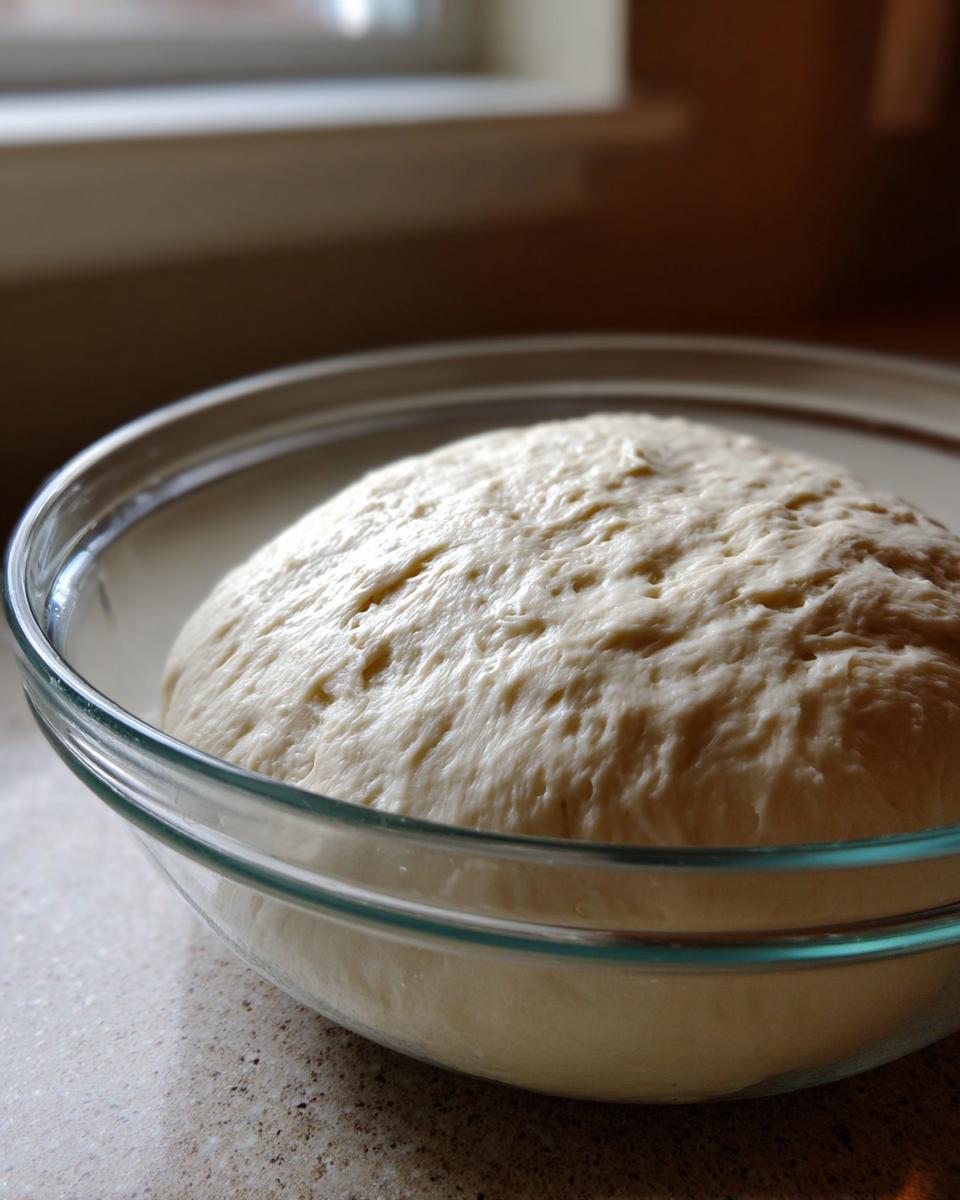
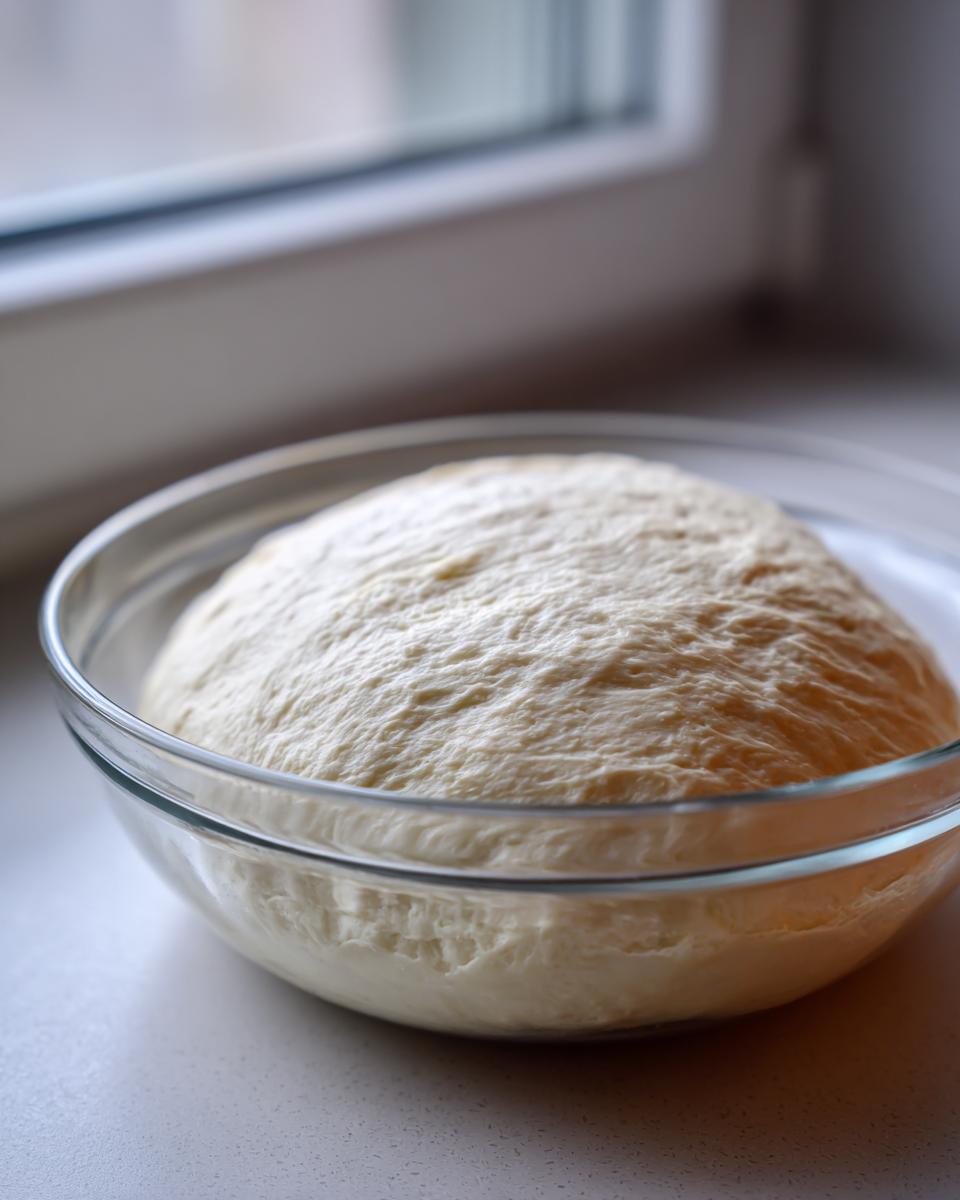
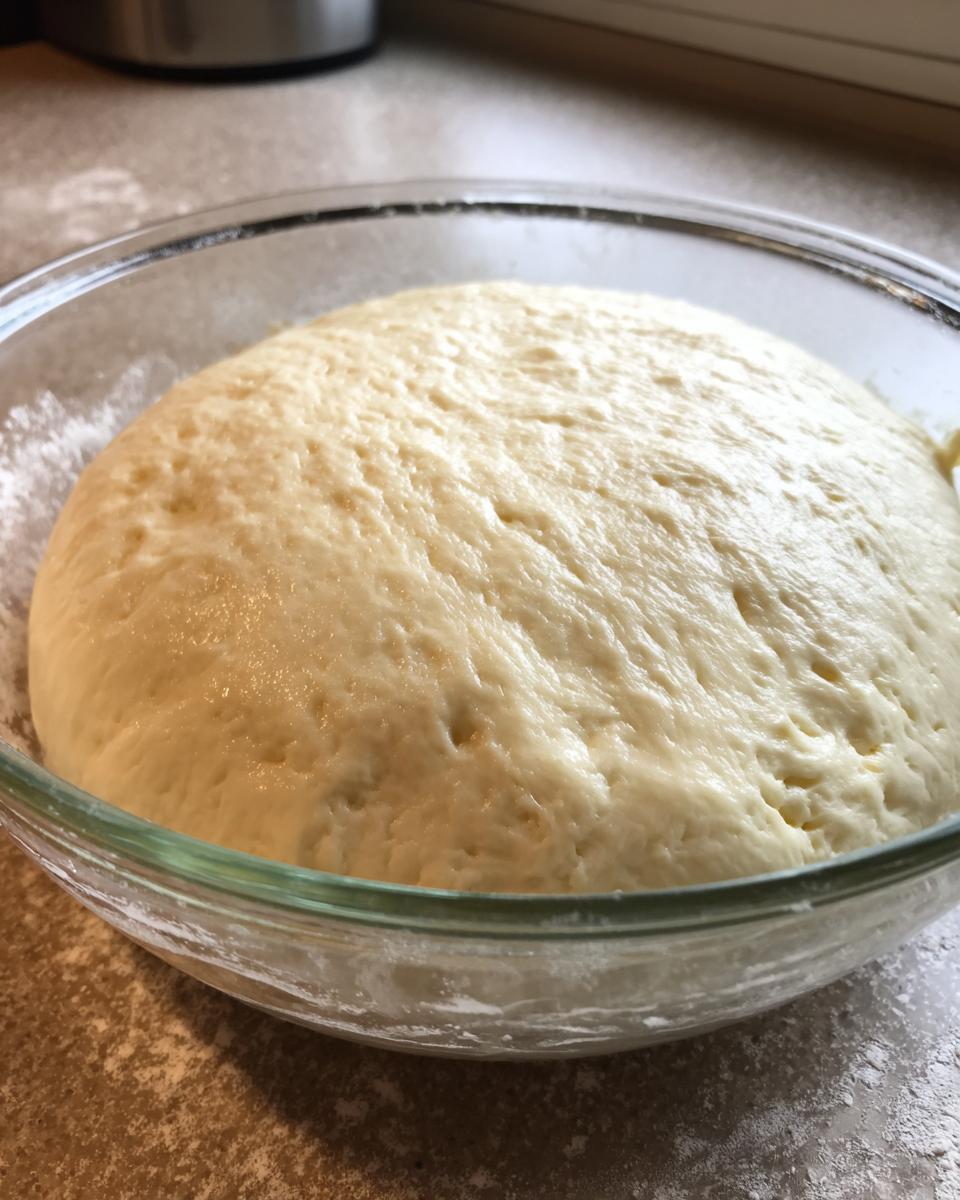
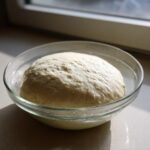
Kneading and First Rise for Soft and Chewy Pizza Dough
Next, you’ll stir in the flour, oil, and salt until it’s just combined into a shaggy mess. Turn it out onto a floured counter and knead for about 5 to 7 minutes until it smooths out and feels elastic. If you’re using a stand mixer, only let the dough hook run for about 5 minutes on medium-low speed. Lightly grease a fresh bowl, pop your dough ball in, give it a roll, cover it tight, and put it somewhere warm for 1 to 1.5 hours. That gentle rise is what guarantees that soft and chewy pizza dough we are aiming for!
Tips for Success with Your Homemade Pizza Dough Recipe
Even with a straightforward pizza dough recipe like this one, a few little secrets will take your crust from ‘pretty good’ to ‘I think I’m opening a takeout place!’ Trust me, these tiny adjustments made all the difference when I first started figuring out how to make pizza dough right in my busy kitchen.
First, if you want that wonderfully crispy bottom crust that holds up to generous loads of cheese and sauce, you absolutely MUST preheat a pizza stone or steel in your oven while it warms up. Get that surface screaming hot before the dough ever touches it! This blast of direct, intense heat sets the bottom instantly.
Second, don’t rush the oil coating in the bowl. That little bit of olive oil you brush on the dough ball before it sleeps keeps the surface from drying out and cracking. A dry top means a tough crust, and we want soft and chewy!
Also, when you’re ready to stretch it out, work gently. Don’t use a rolling pin unless you absolutely have to; that just pushes all the precious air out! Use your fingers and knuckles to gently stretch and push the dough outward. This preserves the bubbles formed during the rise. If you need more ideas for quick meals after you master this crust, check out my posts on weeknight dinner ideas!
Making Artisan Pizza Dough Flavor with a Slow Ferment
Now, I know I pitched this as a quick version, perfect for when you need dinner fast. But what if you have a little more time—say, the day before pizza night? If you’re aiming for that rich, complex flavor profile you find in true artisan pizza dough, you need a slow, cold fermentation, which mimics old-world techniques. After you complete the kneading steps and punch the dough down, instead of letting it sit on the counter, cover it really well and pop it into the fridge.
Letting the dough hang out in the refrigerator for 24 hours allows the yeast to work slowly, developing deeper, almost nutty flavors you just can’t rush. This technique creates an incredible texture, too! When you pull that slightly chilled dough out the next day, let it sit on the counter for about an hour so it warms up just enough before stretching. It’s hands-down the secret way to elevate your homemade pizza dough!
Storage and Make-Ahead Tips for Your Pizza Dough Recipe
We’ve all been there; you make a fantastic pizza dough recipe that makes two crusts, but you only needed one tonight. Don’t throw that extra masterpiece away! Leftover dough keeps beautifully, which saves so much time later. The best way to handle this bonus batch is to pop it right into the fridge. Make sure you use a lightly oiled bowl, cover it tightly with plastic wrap—really tight, so it doesn’t dry out—and tuck it in the cold part of your fridge.
This dough can hang out there happily for up to three days! If you forget about it, don’t panic; you can totally freeze it too. Wrap the dough ball tightly in plastic wrap, then slip it inside a zip-top freezer bag for extra protection. It lasts great for about two months frozen! I have a whole post about freezing things that you might find interesting, like my tips on how to keep moist bran muffins fresh for weeks. When you’re ready to use frozen dough, just let it thaw slowly overnight in the fridge first.
Serving Suggestions for Your From Scratch Pizza Crust
Now that you’ve mastered the from scratch pizza crust, it’s time to think about the toppings! While a classic pepperoni and mushroom is always a winner, don’t be afraid to get creative to make your pizza night special. I love using high-quality ricotta and a drizzle of hot honey on my crust just before serving—it adds this unbelievable sweet heat.
But listen, if you’ve made a fantastic crust centerpiece, why not serve something hearty alongside it? If you’re looking for a fantastic savory companion that’s super easy to make while the oven is baking the pizza, you have to try my easy chili recipe. A bowl of chili and a slice of this amazing homemade pizza? That’s a Thursday night win in my book!
Frequently Asked Questions About This Pizza Dough Recipe
I always get questions when people try this for the first time, and honestly, that’s the sign of a recipe worth keeping! It’s natural to wonder about adjustments, especially when you’ve got hungry folks waiting for their dinner. We want to make sure every time you decide to make pizza dough at home, you feel total confidence. Here are a few things I hear most often!
Can I use bread flour instead of all-purpose flour in this pizza dough recipe?
You absolutely can! Bread flour has more protein than all-purpose flour, so when you use it, you are going to develop a stronger gluten structure. This means your crust will turn out even chewier and have more of that satisfying ‘pull.’ It’s a fantastic swap if you like a slightly more rugged, artisan-style crust, though the all-purpose flour keeps it softer and quicker to handle.
How do I get that crispy bottom when I make pizza dough at home?
This is the golden question for every home pizza maker! The secret is heat, heat, heat! You must preheat your oven as high as it will safely go—usually 475°F or even 500°F—with a pizza stone or a heavy baking steel inside for at least 30 minutes before you even think about putting the pizza in. That intense, direct heat hitting the base of your crust is what instantly sets it, leading to that perfectly crisp bottom we all dream about.
If you are looking for other quick dinner fixes after mastering this, check out my ideas for quick healthy lunch ideas, though pizza definitely works for lunch the next day too!
Understanding the Nutrition of Your Homemade Pizza Dough Recipe
When we are busy creating our best homemade pizza ever, the nutrition facts sometimes take a backseat, but I think it’s good to have an idea of what’s going into our beautiful crust! Based just on the six core ingredients in this pizza dough recipe (before cheese or sauce!), here are the rough estimates for one-half of the dough batch:
- Calories: About 450
- Carbohydrates: 90g
- Protein: 15g
- Fat: 4g
Now, please remember I am a home cook, not a registered dietitian! This data is just an estimate, and your final numbers will definitely change based on how much oil you use or what you top it with. This is just for general guidance on the crust itself!
Share Your Best Homemade Pizza Ever
Honestly, seeing your creations makes my whole week! Once you’ve mastered this easy pizza dough recipe, please swing back by and give it a quick five-star rating. It truly helps other home cooks find the best way to make pizza dough at home. I’d also absolutely adore seeing your finished pizzas! Tag me in your photos, or just leave a comment below telling me what toppings you used to complete your best homemade pizza ever!
If you want to know a little more about how we cook here at the kitchen, you can always read my about page!
PrintThe Best Easy Homemade Pizza Dough Recipe: Quick Rise & Chewy Crust
Make delicious, delivery-quality pizza tonight with this easy homemade pizza dough recipe. It uses only 6 simple ingredients to create a soft, chewy crust perfect for your next pizza night.
- Prep Time: 15 min
- Cook Time: 15 min
- Total Time: 1 hour 45 min
- Yield: 2 medium pizzas 1x
- Category: Dinner
- Method: No-Knead/Baking
- Cuisine: American/Italian Inspired
- Diet: Vegetarian
Ingredients
- 1 1/2 cups warm water (about 105-115°F)
- 2 1/4 teaspoons active dry yeast (one standard packet)
- 1 teaspoon granulated sugar
- 3 3/4 cups all-purpose flour, plus more for dusting
- 2 tablespoons olive oil, plus more for the bowl
- 1 1/2 teaspoons salt
Instructions
- In a large bowl, combine the warm water, yeast, and sugar. Let this mixture sit for 5 to 10 minutes until it becomes foamy. This shows the yeast is active.
- Add the flour, olive oil, and salt to the yeast mixture. Mix with a wooden spoon or stand mixer until a shaggy dough forms.
- Turn the dough out onto a lightly floured surface. Knead for 5 to 7 minutes until the dough is smooth and elastic. If using a stand mixer, use the dough hook and mix on medium-low speed for 5 minutes.
- Lightly coat a clean large bowl with olive oil. Place the dough ball in the bowl and turn it over to coat all sides with oil.
- Cover the bowl tightly with plastic wrap or a clean kitchen towel. Let the dough rise in a warm spot for 1 to 1.5 hours, or until it has doubled in size. This quick rise time makes it perfect for weeknight pizza.
- Gently punch down the risen dough. Divide it into two equal pieces for two medium pizzas, or use the whole batch for one large pizza.
- Shape the dough into your desired pizza crust shape on a pizza peel or baking sheet dusted with cornmeal or flour.
- Add your sauce, cheese, and toppings. Bake according to your pizza cooking method until the crust is golden brown and the cheese is bubbly.
Notes
- For a crispier bottom crust, place a pizza stone or steel in your oven while it preheats to 475°F (245°C).
- If you want an authentic Italian pizza dough flavor, let the dough rise slowly in the refrigerator for 24 hours after the initial rise.
- If your kitchen is cold, place the covered bowl in a slightly warmed (but turned off) oven to encourage rising.
Nutrition
- Serving Size: 1/2 of dough ball
- Calories: 450
- Sugar: 2
- Sodium: 450
- Fat: 4
- Saturated Fat: 0.5
- Unsaturated Fat: 3.5
- Trans Fat: 0
- Carbohydrates: 90
- Fiber: 3
- Protein: 15
- Cholesterol: 0