
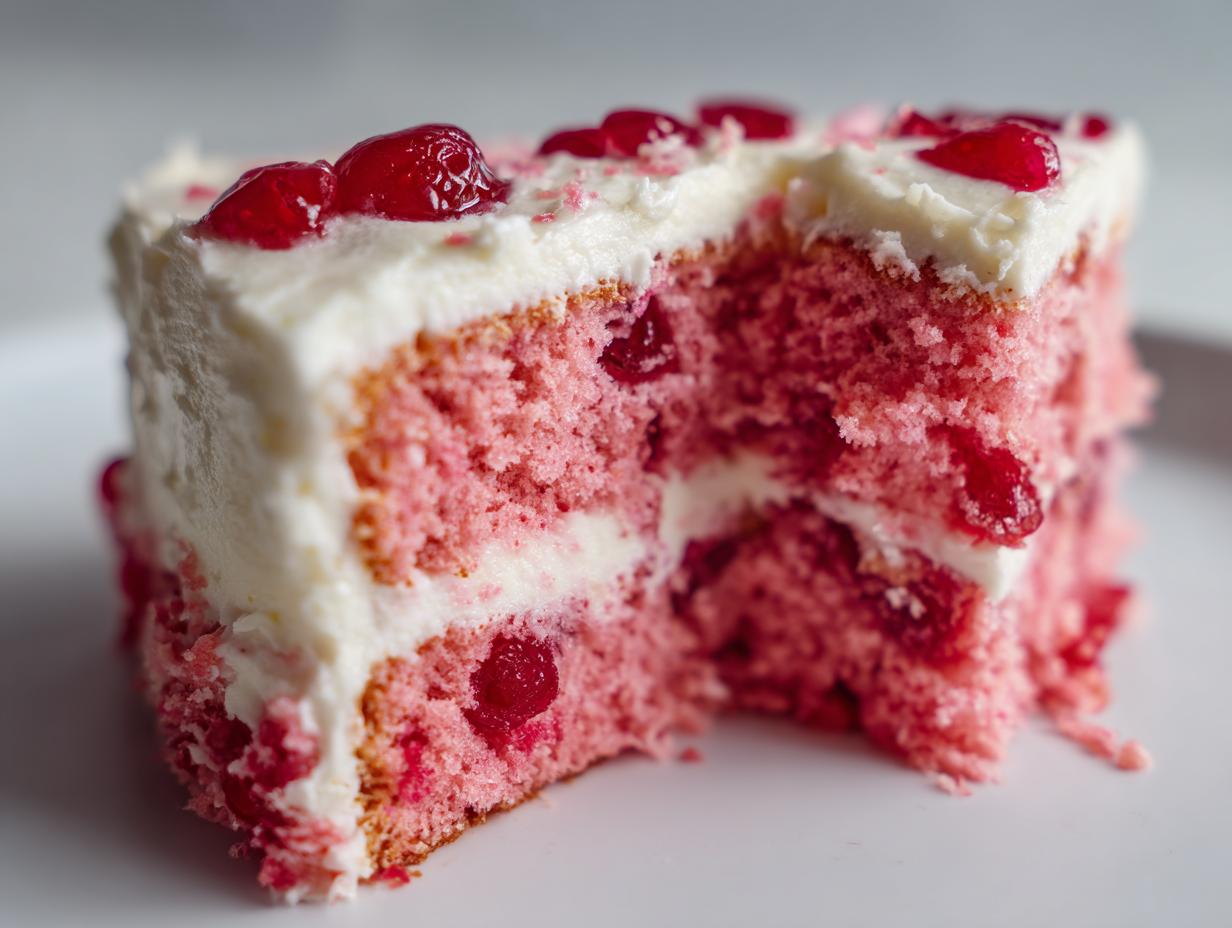
Sometimes, you just need a dessert that tastes exactly like a warm hug from a long-lost relative, right? That’s how I feel every single time I pull this Vintage Maraschino Cherry Cake out of the oven. In my kitchen, we believe the best cherry cake doesn’t need to be complicated; it just needs heart! This version, which uses that sweet, bright juice right from the jar, gives us that incredible, classic pink color we all remember from old cookbooks. It’s just so satisfying to make something so cheerful and delicious in under an hour. Trust me, baking these nostalgic flavors helps turn a busy evening into something truly special. I hope you feel the same joy making this easy recipe that I do!
- Why This Vintage Maraschino Cherry Cake is a Must-Try
- Gathering Ingredients for Your Homemade Cherry Cake
- Step-by-Step Instructions for the Easiest Cherry Cake Recipe
- Frosting and Finishing Your Homemade Cherry Cake
- Tips for Success with Any Cherry Cake Recipe
- Storage and Make-Ahead Tips for Your Cherry Cake
- Variations: From Cherry Almond Cake to Southern Style Cherry Cake
- Frequently Asked Questions About Making Cherry Cake
- Estimated Nutritional Data for This Cherry Cake
- Share Your Vintage Cherry Cake Creations
Why This Vintage Maraschino Cherry Cake is a Must-Try
When I bring out a recipe that feels genuinely throwback, I look for three things: flavor, ease, and that unmistakable vintage look. This classic cherry cake delivers on all counts! It’s one of those recipes that earns its spot on your favorites list right away.
- Nostalgia factor: It tastes just like the desserts our moms or grandmothers used to make!
- Super straightforward: Minimal fuss for maximum reward.
- That perfect pink color that just screams celebration.
Quick Dessert Cake Appeal
If you need a showstopper without spending all afternoon in the kitchen, this is your game plan. From start to finish, this is a Quick Dessert Cake. Seriously, the prep time plus the bake time puts you under an hour total—about 55 minutes! That’s faster than most delivery, and it tastes so much better!
Achieving That Signature Pink Hue
Let’s be honest, the color is half the fun here. We aren’t messing around with artificial dyes; the juice from the jar does all the heavy lifting! It gives you that delightful, soft pink tone that makes people stop and ask, “What *is* that?” It’s perfect for sparking inspiration for your next Pink Layer Cake Ideas.
Gathering Ingredients for Your Homemade Cherry Cake
Okay, let’s talk about what you need to pull together this gorgeous cherry cake. Since this recipe is so straightforward, the quality of your ingredients really shines through! You’ll measure out your standard dry essentials like flour, baking soda, and salt first. Then, the magic starts with creaming the butter and sugar. Remember, a true homemade cake relies on carefully prepared components. If you ever need a reminder on how good pantry staples can be, check out my thoughts on moist bran muffins—it’s the same principle!
Make sure you have your liquids ready: buttermilk and, crucially, the juice right from that maraschino jar. The biggest thing here, and I mean *biggest*, is your cherries. You must drain those chopped cherries well before folding them in. If they are too wet, they sink, and trust me, we want those little pink jewels suspended beautifully throughout the crumb!
Ingredient Notes and Substitutions for the Best Cherry Cake
If you don’t have maraschinos, you absolutely can experiment with fresh or canned dark cherries, but you have to watch that liquid! If you swap, slightly reduce the buttermilk—that’s handling the Baking with Canned Cherries challenge. Also, a pro-tip time-saver: make sure that half-cup of butter is truly softened. Not melted, just soft enough that your finger leaves a gentle dent. That temperature difference is what lets the butter trap the air needed for a perfect lift!
Step-by-Step Instructions for the Easiest Cherry Cake Recipe
Alright, let’s get this cherry cake into the oven where the real transformation happens! First things first, get that oven warmed up to 350°F (175°C) and make sure your pan—I used a 9-inch round—is greased and floured well. We want zero sticking drama later! Start by whisking your dry stuff together and setting that pile aside. Then, you move onto the liquids and fats in the main bowl.
Once that butter and sugar are fluffy, you’ll be adding things in stages. It’s all about balance, just like when I whip up my creamy chicken alfredo—you don’t want to rush the layers!
Mixing the Batter: Avoiding Overmixing in Your Cherry Cake
This is where so many people accidentally ruin a good cherry cake batter! You have to alternate your dry ingredients with your buttermilk/juice mixture. Start and end with dry! If you dump everything in at once or stir too hard, you develop gluten, and suddenly that beautiful cake becomes tough and chewy. We want tender, folks, so mix just until those last streaks of flour disappear. No more, promise!
Baking and Cooling the Cherry Layer Cake
Around the 30 to 35-minute mark, it’s time for the test. Don’t just use the toothpick! While a clean toothpick is great, I always gently press the top center with a clean finger. If it springs back slightly, it’s done! Let it rest in that warm pan for exactly ten minutes. I know it’s tempting to turn it out immediately, but that short wait lets the structure set so your gorgeous Cherry Layer Cake doesn’t crumble when you flip it onto the cooling rack.
Frosting and Finishing Your Homemade Cherry Cake
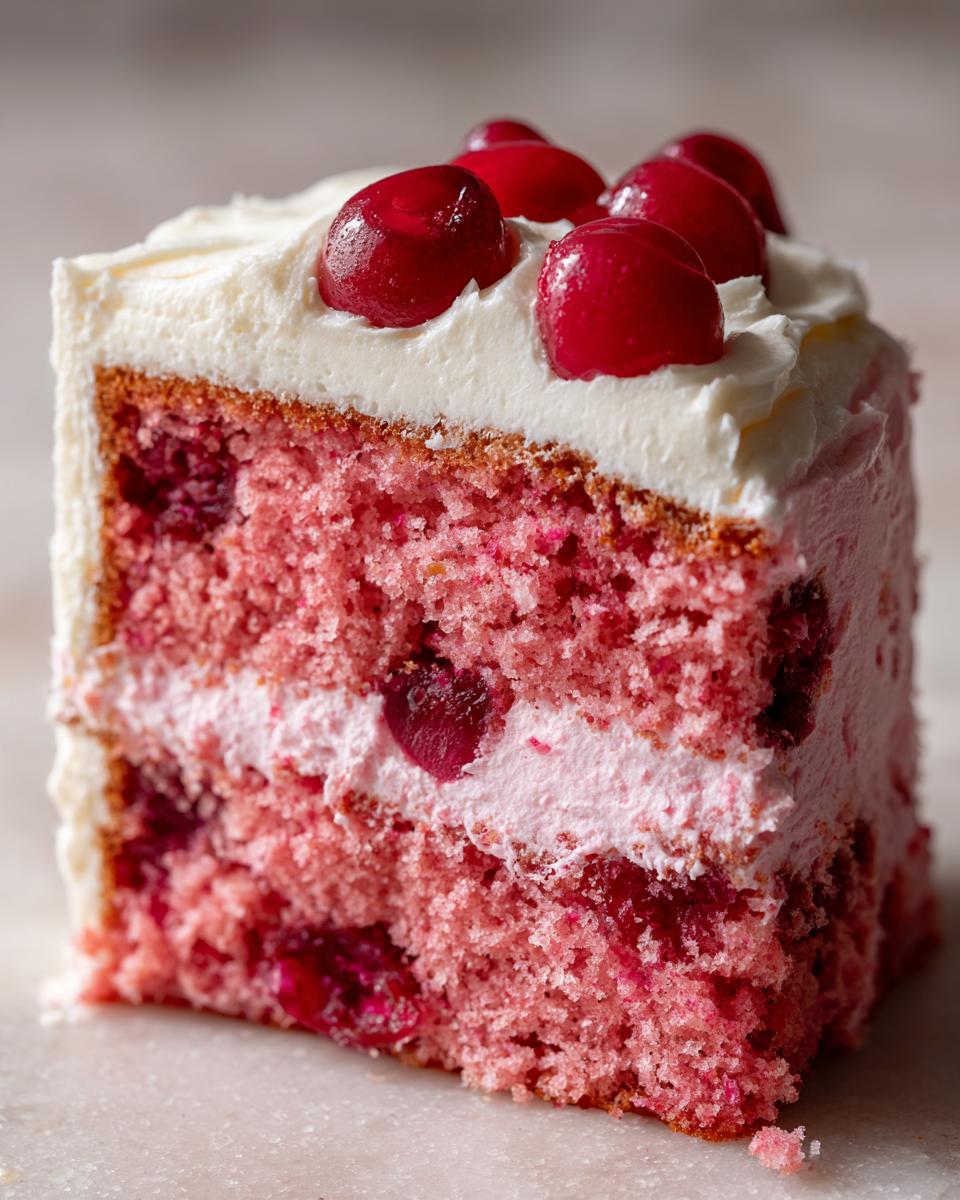
Once that beautiful cake is completely cool—and I mean *completely* cool, otherwise you’ll have a melted mess—it’s time for the sweet crowning glory! Since this recipe has that wonderful vintage vibe, a homemade cream cheese frosting is just divine. If you’re stacking this up as a full Cherry Layer Cake, the trick is getting that frosting texture spot on. It needs to be firm enough to hold its shape but soft enough to spread beautifully.
If your frosting seems stiff, just add a tiny splash of milk or cream while beating it. If it’s too soft, pop the whole bowl in the fridge for about ten minutes and re-beat it. It’s like magic! For a simple topping rather than a thick layer, I sometimes thin my cream cheese frosting just a touch and let it drizzle down the sides. It gives it a lovely, rustic look. You can find my go-to advice for perfect pastry topping consistency over on my cinnamon roll recipe page, which uses similar principles!
Tips for Success with Any Cherry Cake Recipe
Even with an easy recipe like this one, a few tiny tweaks can elevate your dessert from good to unforgettable. I’ve learned these lessons through plenty of delicious mistakes over the years! First off, let’s talk about the pan prep again, because this is crucial for any baked good that has fruit in it. For easy release, try wiping the greased pan walls with a little bit of flour, and then if you’re using a standard round pan, cut a circle of parchment paper to fit the bottom exactly. That layering gives you ultimate protection!
Secondly, if you’re using any fresh fruit in your baking, make sure it’s completely dry. I mean bone dry! If you tossed those fresh cherries in flour before adding them to your batter, that actually helps stop them from sinking straight to the bottom while baking. It’s a great trick!
Third, measuring your flour correctly makes such a difference. Don’t scoop the flour straight out of the bag with your measuring cup! That compacts it, and you end up with way too much flour, making the cake dense. Instead, spoon the flour lightly into the measuring cup and then level it off with a straight edge. It’s a small step, but it leads to a much lighter crumb overall. I use this same scooping method when testing things for my easy breakfast recipes too, because consistency matters everywhere in the kitchen!
Finally, remember that humidity affects baking time. On rainy days, your cake might take an extra couple of minutes to set up because the moisture in the air interferes slightly with evaporation time. Just keep that oven door closed, trust your toothpick test, and be patient!
Storage and Make-Ahead Tips for Your Cherry Cake
I know you might want to eat this whole cherry cake the minute it comes out, but it tastes even better the next day! If you’re planning ahead—which I always suggest for parties—you can bake the cake layers, wrap them tightly in plastic wrap once cool, and they are great on the counter for two days or frozen for up to two months. When you are ready to frost, thaw them slowly at room temperature.
If you frost it first, you need an airtight container. This fruit cake stays nicely moist on the counter for a day or two, but honestly, the cream cheese frosting loves the fridge. When you are ready to serve from the fridge, just let it sit out on the counter for about 30 minutes so the frosting softens up a bit. It’s perfect for making ahead, just like my honey garlic salmon always tastes better the next day!
Variations: From Cherry Almond Cake to Southern Style Cherry Cake
One of the best things about a fundamental recipe like this cherry cake is how versatile it is! While I absolutely adore this vintage maraschino version, you might want something different next time you’re baking. If you love that nutty hint in a cake, try adding about a teaspoon of almond extract along with your vanilla, and fold in some sliced almonds—instant Cherry Almond Cake!
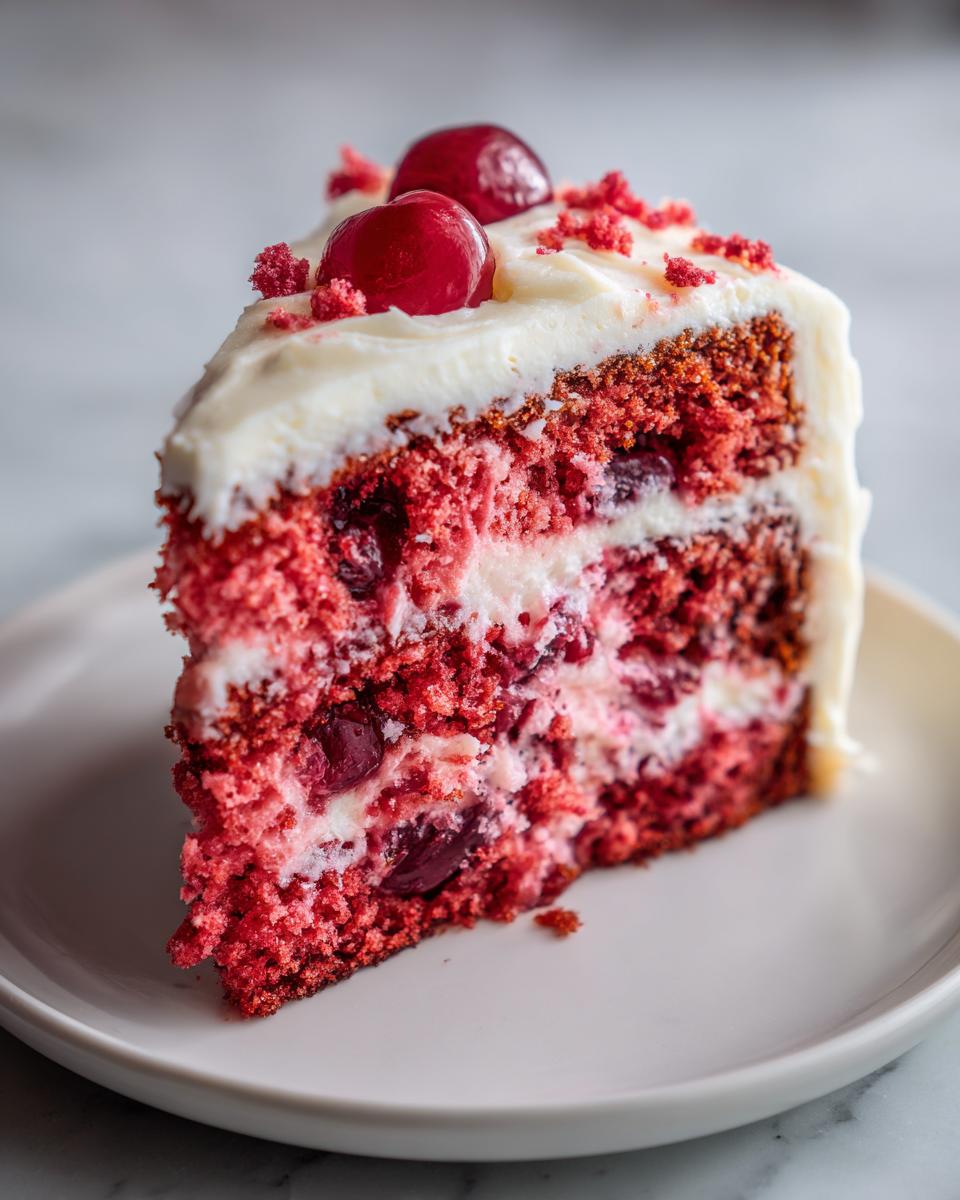
For those of you who prefer things a bit richer and maybe not quite as neon pink, try swapping the pink juice for buttermilk and use fresh or dark canned cherries instead. That gives you a gorgeous, deeper flavor profile that screams classic Southern baking. If you’re looking for inspiration on making a truly authentic Southern Style Cherry Cake, sometimes the additions are regional secrets!

If you are using fresh fruit, check out some tips I’ve gathered about Fresh Cherry Cake Recipes, and remember that fresh cherries often need a little gentle toss in flour first. And hey, don’t forget the fun regional ones; I saw a fascinating Newfoundland version online that is perfect for the holidays, you can see that recipe over at this recipe. Honestly, the possibilities are endless once you have a solid base like this!
Making dips and spreads follows a similar flexible rule of flavor building. If you need ideas on great flavor pairings that are easy to whip up, check out my guide on my creamy smoked salmon dip for inspiration on balancing sweet and savory!
Frequently Asked Questions About Making Cherry Cake
What kind of cherries are best for this cherry cake?
That is such a great question, and it depends on what result you want! For this specific Vintage Maraschino Cherry Cake, you absolutely must use the maraschino cherries and that bright pink juice. It gives you the signature look and flavor we’re going for. If you want a less sweet, more seasonally appropriate cake, using fresh or canned sour cherries is wonderful, but you’ll need to reduce the buttermilk slightly so the batter isn’t too thin. It really depends on the vibe you’re aiming for!
Can I convert this recipe into a sheet cake?
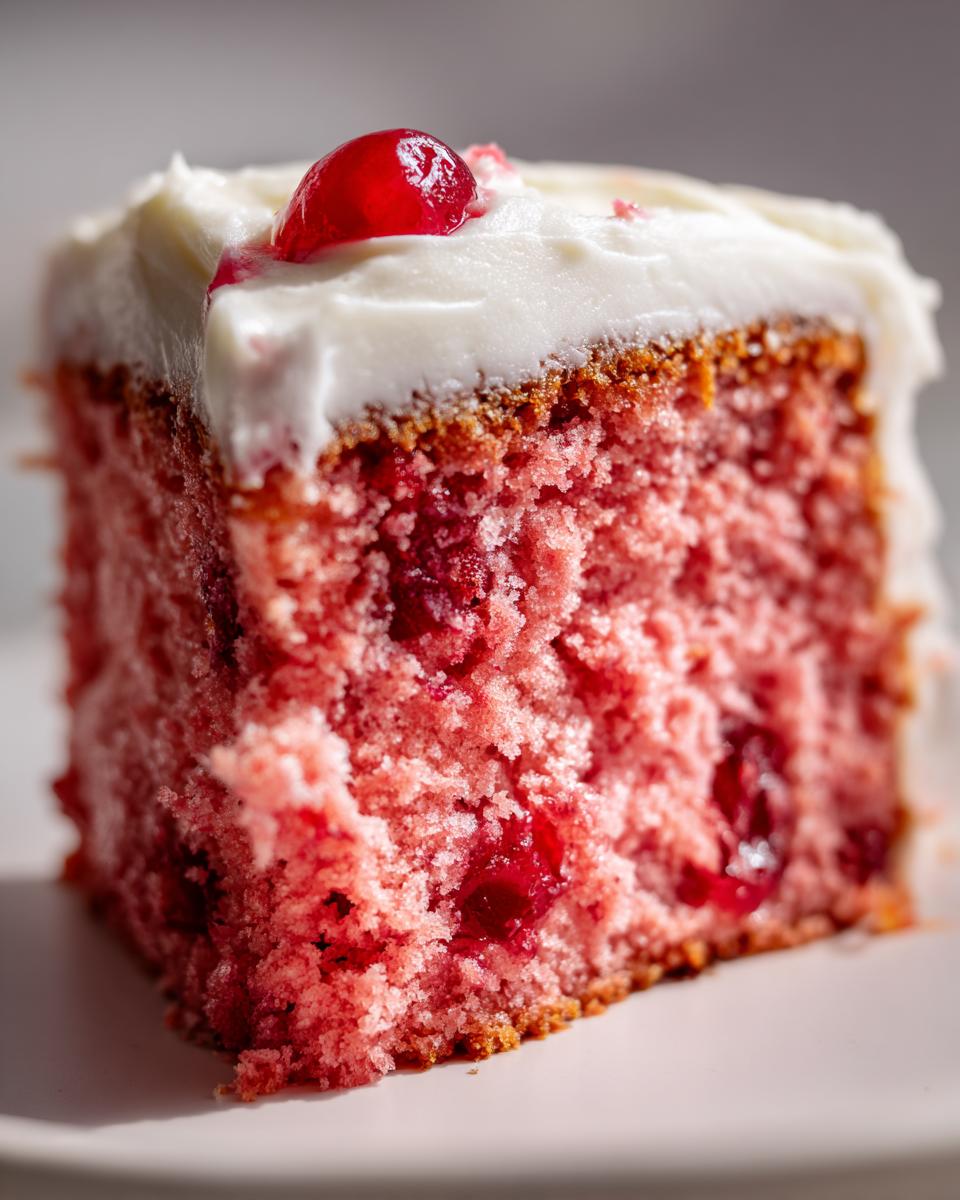
Yes, you absolutely can! This batter is wonderfully versatile. If you want a classic 13×9 Cherry Sheet Cake, you might need to shave a few minutes off the baking time since the batter is spread thinner. Always test early! You get more surface area, so the edges bake faster. If you’re making it like that, I often drizzle it with a thin glaze instead of a thick cream cheese layer, which keeps it super light.
Why is my cherry cake sinking in the middle?
Oh, that sinking feeling! Usually, that happens for two main reasons in a recipe like this cherry cake. One: your leavening agents (baking soda or powder) are old and aren’t working hard enough to hold the structure up. Test them! Two: you opened the oven door too early. Around the 25-minute mark, the structure is still setting, and a blast of cool air can cause it to collapse. Patience is key here! If you need a really hearty, reliable meal after tackling cake, you can check out my thoughts on my easy chili recipe—it’s much more forgiving!
Estimated Nutritional Data for This Cherry Cake
Now, I know most of us aren’t baking for nutrition labels, especially when we are making a truly comforting, vintage dessert like this! Most of the time, I’m focused on making sure it tastes amazing and satisfies that sweet craving. However, for those of you who like to keep track, I pulled the estimates together based on the ingredients listed in the recipe file. It’s important to remember that these numbers are just guides—they can change based on the brand of butter you use or exactly how much frosting ends up on your slice!
If you want to read more about how I handle data collection and keep things transparent here on the site, you can always check out my privacy policy page. But for now, here is the breakdown for one generous slice of this beautiful pink cake, unfrosted:
- Serving Size: 1 slice
- Calories: Approximately 350
- Total Fat: About 16g
- Carbohydrates: Around 48g (including natural sugars from the cherries!)
- Protein: Roughly 5g
It’s a wonderful treat to enjoy with a cup of coffee in the afternoon, or as a light finish to a big dinner. Either way, enjoy every bite!
Share Your Vintage Cherry Cake Creations
Seeing your gorgeous bakes truly warms my heart! If you made this Vintage Cherry cake, please leave a rating below so other bakers know it’s a winner. Send me a picture of that beautiful pink crumb—I absolutely love collecting them! And if you ever need to reach out with a specific question, feel free to hop over to my contact page. Happy baking, friends!
PrintVintage Maraschino Cherry Cake

Make this easy, sweet Vintage Maraschino Cherry Cake for a comforting dessert. This recipe uses maraschino cherries for a classic, pink-hued flavor that reminds you of old-fashioned baking.
- Prep Time: 20 min
- Cook Time: 35 min
- Total Time: 55 min
- Yield: 8 servings 1x
- Category: Dessert
- Method: Baking
- Cuisine: American
- Diet: Vegetarian
Ingredients
- 1 1/2 cups all-purpose flour
- 1 teaspoon baking soda
- 1/2 teaspoon salt
- 1/2 cup unsalted butter, softened
- 1 cup granulated sugar
- 2 large eggs
- 1 teaspoon vanilla extract
- 1/2 cup buttermilk
- 1/2 cup maraschino cherry juice (from the jar)
- 1/2 cup chopped maraschino cherries, drained
- 1/4 cup maraschino cherries, whole, for topping (optional)
- Cream Cheese Frosting ingredients (for topping)
Instructions
- Preheat your oven to 350°F (175°C). Grease and flour one 9-inch round cake pan or an 8×8 inch baking pan.
- In a medium bowl, whisk together the flour, baking soda, and salt. Set this aside.
- In a large bowl, cream the softened butter and granulated sugar together until the mixture is light and fluffy.
- Beat in the eggs one at a time, mixing well after each addition. Stir in the vanilla extract.
- In a separate small bowl, mix the buttermilk and the maraschino cherry juice.
- Alternate adding the dry ingredients and the wet ingredients to the butter mixture, beginning and ending with the dry ingredients. Mix only until just combined. Do not overmix.
- Gently fold in the chopped, drained maraschino cherries.
- Pour the batter into your prepared pan. If you are using whole cherries for topping, press them lightly onto the top of the batter now.
- Bake for 30 to 35 minutes, or until a toothpick inserted into the center comes out clean.
- Let the cake cool in the pan for 10 minutes before inverting it onto a wire rack to cool completely.
- Once cool, frost the cake with your favorite cream cheese frosting or a simple glaze.
Notes
- For a richer cherry flavor, use fresh or canned cherries instead of maraschino cherries, adjusting liquid content if necessary.
- This cake works well as a sheet cake for larger crowds or cut into squares.
- If you want a pink layer cake, divide the batter and use pink food coloring in one half.
Nutrition
- Serving Size: 1 slice
- Calories: 350
- Sugar: 35
- Sodium: 250
- Fat: 16
- Saturated Fat: 9
- Unsaturated Fat: 7
- Trans Fat: 0
- Carbohydrates: 48
- Fiber: 1
- Protein: 5
- Cholesterol: 75