
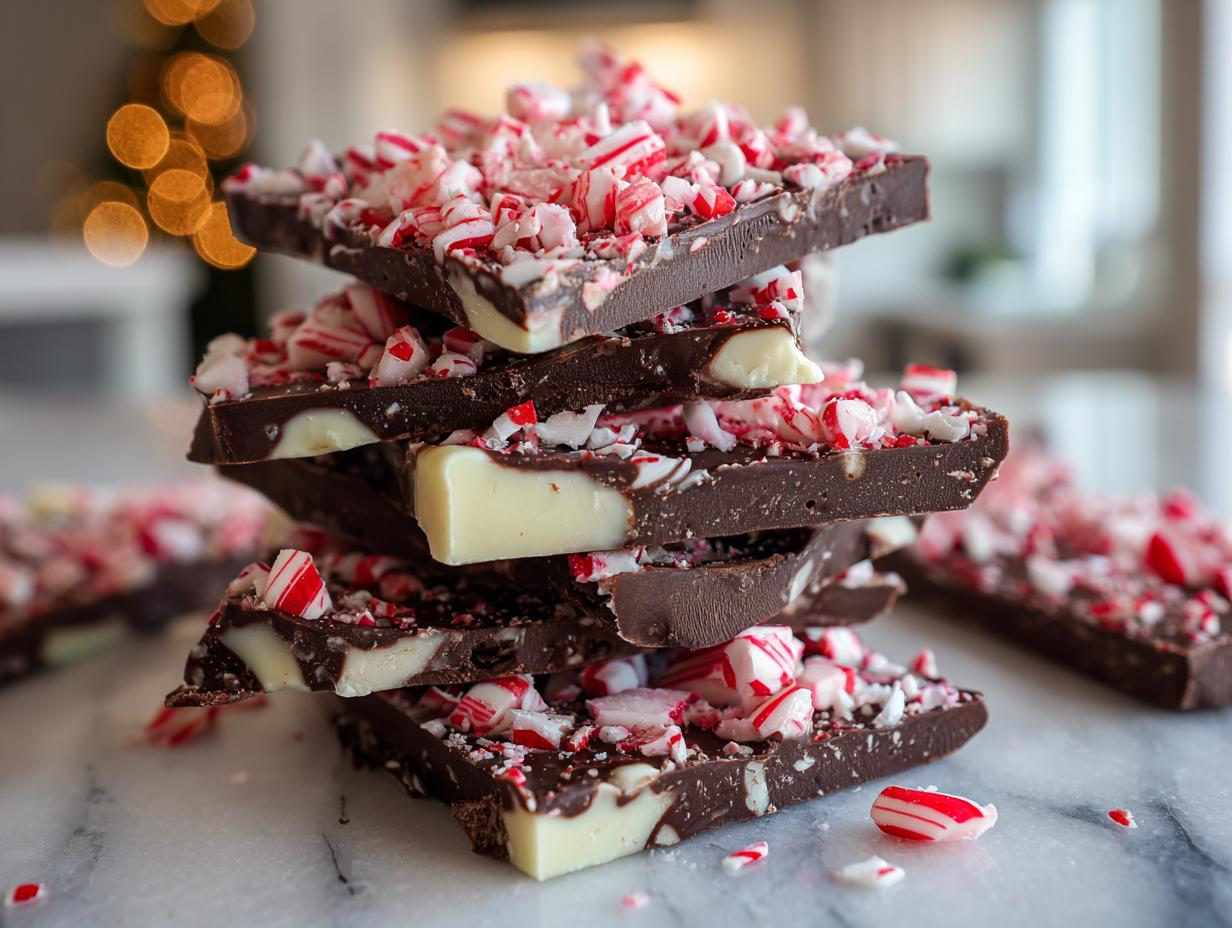
When the holidays roll around, I’m usually found waist-deep in flour, but sometimes, you just need a total win that tastes festive without turning on the oven. That’s why I adore this **peppermint bark recipe**! It’s my absolute favorite shortcut for those crazy weeks when you need teacher gifts baked, wrapped, and ready to go by morning. Seriously, this is an Easy 4-Ingredient No-Bake Peppermint Bark Recipe that looks like you spent hours on it, but you really didn’t. My grandmother always said the best memories come from the simplest traditions, and this is one of our simplest, most reliable holiday treats.
We’re talking about rich chocolate, sharp mint, and that amazing crunch, all set beautifully in layers. If you’re looking to stock your best homemade desserts platter quickly, stop scrolling. You found it!
- Why This Peppermint Bark Recipe is a Holiday Essential (Easy No Bake Treats)
- Gathering Ingredients for Your Peppermint Bark Recipe
- The Simple Steps to Make Perfect Layered Chocolate Bark
- Tips for Success with Your Peppermint Bark Recipe
- Serving Suggestions for This Quick Holiday Treat
- Storage and Keeping Your Peppermint Bark Recipe Fresh
- Frequently Asked Questions About This Peppermint Chocolate Recipe
- Estimated Nutrition for This Peppermint Bark Recipe
- Share Your Homemade Chocolate Bark Creations
Why This Peppermint Bark Recipe is a Holiday Essential (Easy No Bake Treats)
You know me, I love my oven time, but during the holidays, sometimes you just need something foolproof. This recipe is guaranteed to be a reliable winner, trust me on this one. It totally delivers on that Mint Chocolate Crunch you crave without any fuss whatsoever. This is why it’s moved right up to the top of my list for Quick Holiday Treats!
Here’s the deal on why this bark is essential for your holiday prep:
- It seriously only uses four main ingredients—you probably have most of them already!
- It’s a fantastic Easy No Bake Treat. No need to preheat the oven when you’re already juggling casseroles.
- The prep time is lightning fast—we are talking less than 15 minutes before it heads into the cold.
- It piles high on looking impressive, making it one of the best Festive Edible Gifts you can whip up fast. You can make this while the coffee brews!
Gathering Ingredients for Your Peppermint Bark Recipe
This is what I love most about making this peppermint bark recipe: we are keeping it super streamlined. My goal here was absolute reliability, which means we only need four things standing between you and the first bite of that beautiful homemade chocolate bark. Honestly, you can’t beat having Winter Sweets ready to go with such minimal effort. The flavor payoff is huge compared to the small ingredient list.
Here are the heavy hitters you need to pull from the pantry:
- 8 ounces semisweet chocolate, chopped
- 8 ounces white chocolate, chopped
- 1 teaspoon peppermint extract
- 1 cup crushed candy canes
Ingredient Clarity and Sourcing Notes
Okay, listen up—this is where we move from good to great, even though it’s so simple. For both types of chocolate, please skip the standard chocolate chip bag if you can. Chips have stabilizers that make them hold their shape, which means they melt unevenly and can make your beautiful layers look streaky! I always recommend using good quality chocolate bars and chopping them yourself; it melts like silk, giving you that perfect Layered Chocolate Bark. Also, don’t skimp on that peppermint extract! It’s what makes this a true peppermint bark recipe, giving you that classic, clean mint flavor. When you crush those candy canes, make sure you get some fine dust and some chunks. The mix ensures you get that satisfying Mint Chocolate Crunch in every piece.
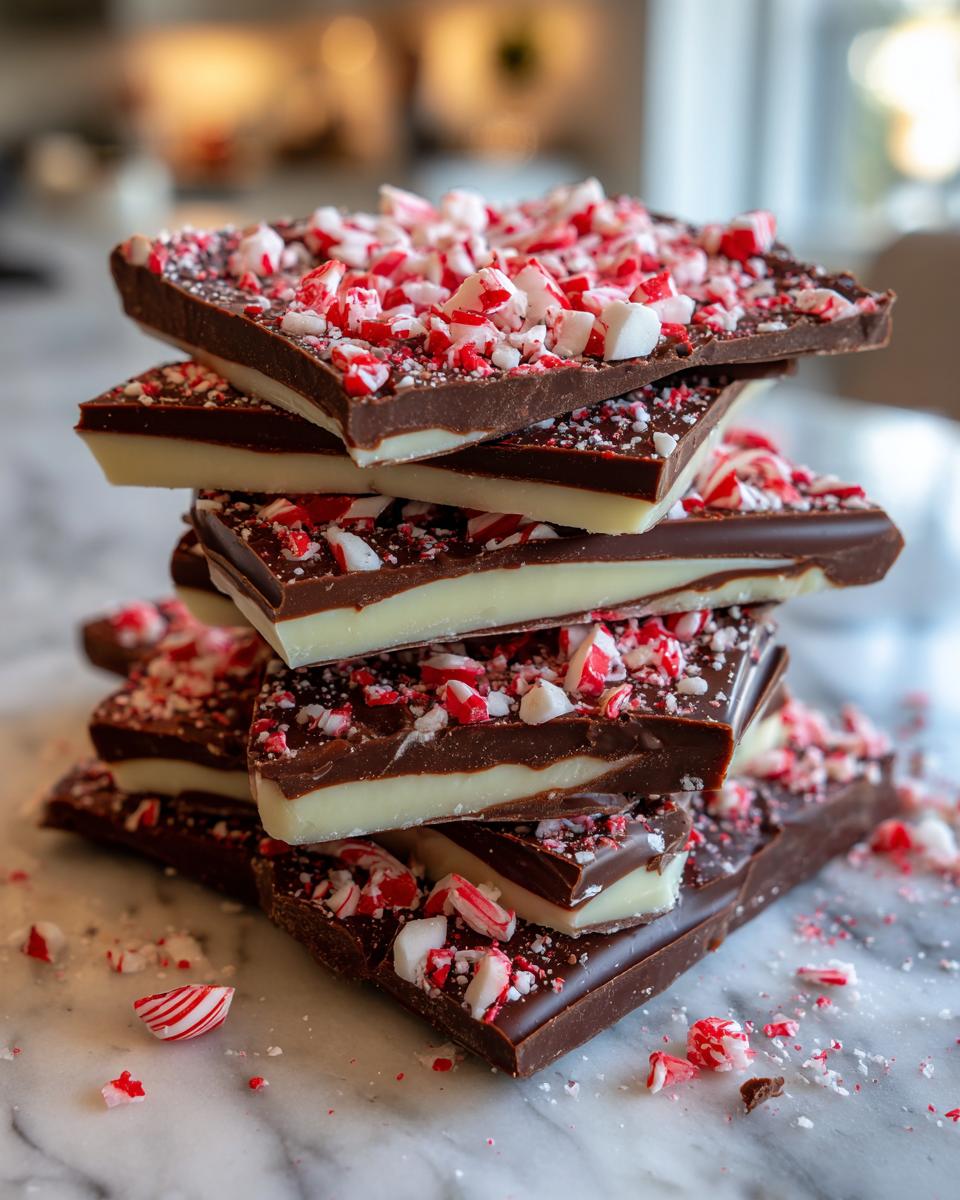
The Simple Steps to Make Perfect Layered Chocolate Bark
Okay, let’s get down to business. This is where the magic happens, and I promise, it’s deceptively easy. We are aiming for that beautiful, crisp separation between layers, which is the hallmark of great homemade peppermint bark. Since this is all about minimal effort and maximum wow factor, pay close attention to the timing for our Easy Chocolate Layering technique. You truly don’t need your oven at all; this is pure no oven required dessert excellence!
Preparing the Pan and Setting the Dark Chocolate Layer
First things first: grab an 8×8 inch pan. You must line it with parchment paper, making sure you leave an overhang on the sides. Think of this overhang as your handy little handles later on—you’ll thank me when you lift the whole thing out! Now for the dark chocolate. Chop those 8 ounces we talked about and melt them slowly in the microwave in 30-second bursts, stirring after every single burst. Why so cautious? Because overheating chocolate is a nightmare and turns it grainy! Once it’s smooth as silk, pour it right into your lined pan. Spread it out evenly—I use my offset spatula for a nice, flat surface. Pop that pan into the freezer for exactly 10 minutes. We need that base firm before we move on.
Melting White Chocolate and Adding Mint Flavor
While the dark layer is chilling, take those 8 ounces of white chocolate and do the exact same slow-melt procedure in a clean, dry bowl. Once it’s liquid and gorgeous, remove it from the microwave. Now is the crucial moment for the flavor! Stir in your teaspoon of peppermint extract right away. Mixing it into the warm white chocolate ensures the flavor blooms beautifully across the chocolate. Do not wait! Once it’s mixed in, quickly pull your pan out of the freezer.
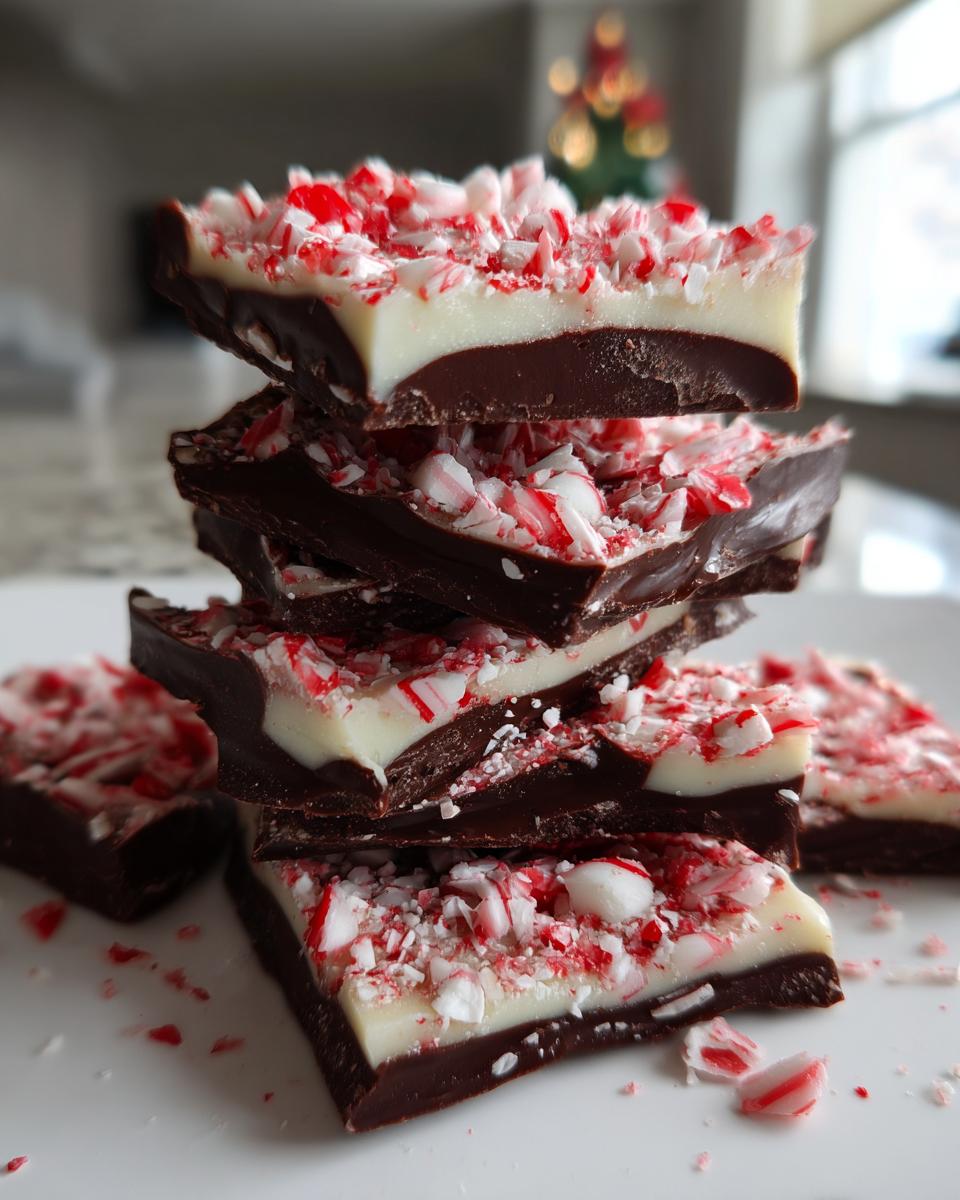
Layering and Crushing Candy Canes for Mint Chocolate Crunch
Gently pour that minty white chocolate over the set dark layer. Use that spatula again—be gentle so you don’t disturb the bottom layer—and spread it evenly to the edges. The second the white chocolate is looking glossy and contained, it’s time for the crunch! Immediately sprinkle that full cup of crushed candy canes all over the top. I like to use my hands to gently press them down just a tiny bit; this helps them stick firmly so you don’t lose every piece when you break it apart later. Pop it back into the freezer for a solid 30 minutes, or until you can press the top and it feels rock hard. Once it’s completely firm, use those parchment handles to lift it out and snap it into irregular, wonderful pieces. Behold your Mint Chocolate Crunch!
Tips for Success with Your Peppermint Bark Recipe
I’ve made this peppermint bark recipe probably a dozen times for gifts alone, and I’ve learned a couple of little secrets to make sure you get that perfect, professional snap every time. Forget messy layers that bleed into each other! We want distinct, beautiful chocolate layers that make this look like a high-end piece of Layered Chocolate Bark.
Achieving the Ideal Candy Cane Crush
This is so fun—it’s the one point of the recipe where you get to be a little aggressive! To get that wonderful, varied texture for your Christmas Candy Recipe, don’t reach for a food processor. Grab a sturdy zip-top plastic bag and toss those candy canes in. Then, take a rolling pin or the bottom of a heavy saucepan and just start smashing away. You want a mix of dust, small pieces, and some bigger chunks. That variety is what makes the texture interesting when you bite into your chocolate bark.
Adjusting Thickness for Your Layered Chocolate Bark
Remember how I stressed using an 8×8 pan? That pan size gives us those thick, decadent layers that break into substantial pieces—perfect for gifting! If you happen to be doubling or tripling this recipe, or if you just prefer a thinner bark for your Party Platter Desserts, you can switch to a 9×13 inch pan. Just keep in mind that switching to a wider pan means the chocolate layers will be significantly thinner, and they will set up faster in the cold. This just changes the yield, but it’s a great tip to keep in mind when following this easy Chocolate Bark Tutorial.
If you want to try another quick option, check out my tips for making creamy, easy soup sides if you need a savory element on your holiday table!
Serving Suggestions for This Quick Holiday Treat
Now that you have this gorgeous, snap-worthy bark, the fun part is showing it off! Because this is one of my go-to Last Minute Holiday Food fixes, I always end up with more than my immediate family can eat, so presentation is key. This bark looks absolutely stunning broken up on a big platter alongside some shortbread cookies or salty nuts—it really elevates your whole spread of Party Platter Desserts.
When I was teaching, I used to package the pieces up in little clear cellophane bags, tie them with red ribbon, and hand them out to the custodial staff and my principal on the last day before the break. They always thought I spent hours on them! It’s also just wonderful served alongside a steaming mug of hot chocolate or a strong cup of coffee during those cozy winter nights.
If you’re looking for something warm to balance out this cool treat, I have an incredible creamy chicken alfredo recipe that makes for a perfect, comforting dinner before you enjoy your bark!
Storage and Keeping Your Peppermint Bark Recipe Fresh
I know you want to gobble this all up the minute you break it apart, but you’ll be so glad you saved some for later! Since this is a no-bake item made purely of chocolate, storage is pretty simple, but we need to keep things cool so everything stays looking crisp and perfect. This whole recipe tastes so much better the next day anyway, once the peppermint has really settled into the chocolate.
The biggest rule for lasting quality is keeping it out of heat and moisture, which can make your beautiful chocolate layers get soft or sticky. For the best results and the longest shelf life when following this peppermint bark recipe, you must use an airtight container. Seriously, don’t just put it on a plate and cover it with foil—it won’t last!
Most of the time, I keep my finished bark on the kitchen counter if the house is cool—say, below 70 degrees Fahrenheit. If you live somewhere warm, or if it’s one of those miserable heating system days where the kitchen gets toasty, pop it right into the refrigerator. Just make sure you seal that container well!
Honestly, if you manage to keep them sealed up and chilled or cool, these pieces will last beautifully for about two weeks. If you need to make your moist bran muffins ahead of time for freezing, you know how important that airtight seal is! It stops any weird fridge odors from transferring and keeps that sharp mint flavor locked in. If you’re looking for more inspiration on making treats last or freezing things, check out what my friends are doing over at Flavor the Moments.
Frequently Asked Questions About This Peppermint Chocolate Recipe
I know when you’re rushing to get all those easy honey garlic baked salmon recipes done for dinner, you might have a few panicked questions about your holiday candy! Making this peppermint chocolate recipe should be stress-free, so here are the things folks ask me most often when they are perfecting their Easy No Bake Treats.
Can I use dark chocolate chips instead of chopped chocolate in this peppermint bark recipe?
That is such a good question, because everyone has those bags of chips hanging around! I strongly advise against it, honestly. See, those chocolate chips we buy for cookies have stabilizers added so they hold their shape when baked. When you try to melt them down for this peppermint bark recipe, they don’t always melt smoothly; they can get thick or seize up on you. That messes with the smooth, clean look of the layered chocolate bark. For the silkiest texture, stick to good quality chocolate bars that you chop yourself. It really is worth the extra minute of chopping!
What are good variations for this Easy No Bake Treat?
Oh, there are so many fun ways to switch this up! If you’re brave, try sprinkling a little flaked sea salt right on top of the crushed candy canes. That hint of salt cuts the sweetness beautifully and makes it taste super gourmet. If you aren’t crazy about semisweet on the bottom, you can certainly swap it out for milk chocolate, though the contrast won’t be quite as striking. Another simple switch for our Candy Cane Recipes is to try one of those specialty mint extracts instead of pure peppermint extract—like maybe adding a drop or two of orange extract with the mint for a little surprise flavor! It keeps it firmly in the category of Simple Christmas Candy.
Why is my white chocolate layer separating from the dark chocolate layer?
Ugh, that is the worst, right? You go to break it and the whole thing cracks apart unevenly! Usually, this happens for one of two reasons. Either you didn’t let the dark chocolate base set up long enough, or you overheated the white chocolate, making it seize slightly and not bond correctly to the bottom layer. Remember that mandatory 10-minute chill time for the dark chocolate? That’s non-negotiable! It needs to be firm to the touch before that warm white chocolate hits it. If you make sure that base layer is solid, you shouldn’t have any trouble keeping your layers together.
Estimated Nutrition for This Peppermint Bark Recipe
When we talk about quick, healthy lunch ideas, candy usually doesn’t make the list, but just so you know what you’re whipping up here—this is a treat, first and foremost! Per piece, this classic peppermint bark recipe comes out to about 180 calories. You can see the full rundown below, keeping in mind these numbers are estimates and can shift a bit depending on the exact brand of chocolate you use.
- Serving Size: 1 piece
- Calories: 180
- Sugar: 18g
- Fat: 12g
- Protein: 2g
It’s important to remember that these figures are calculated based on the four ingredients listed, so measure carefully if you need exact tracking!
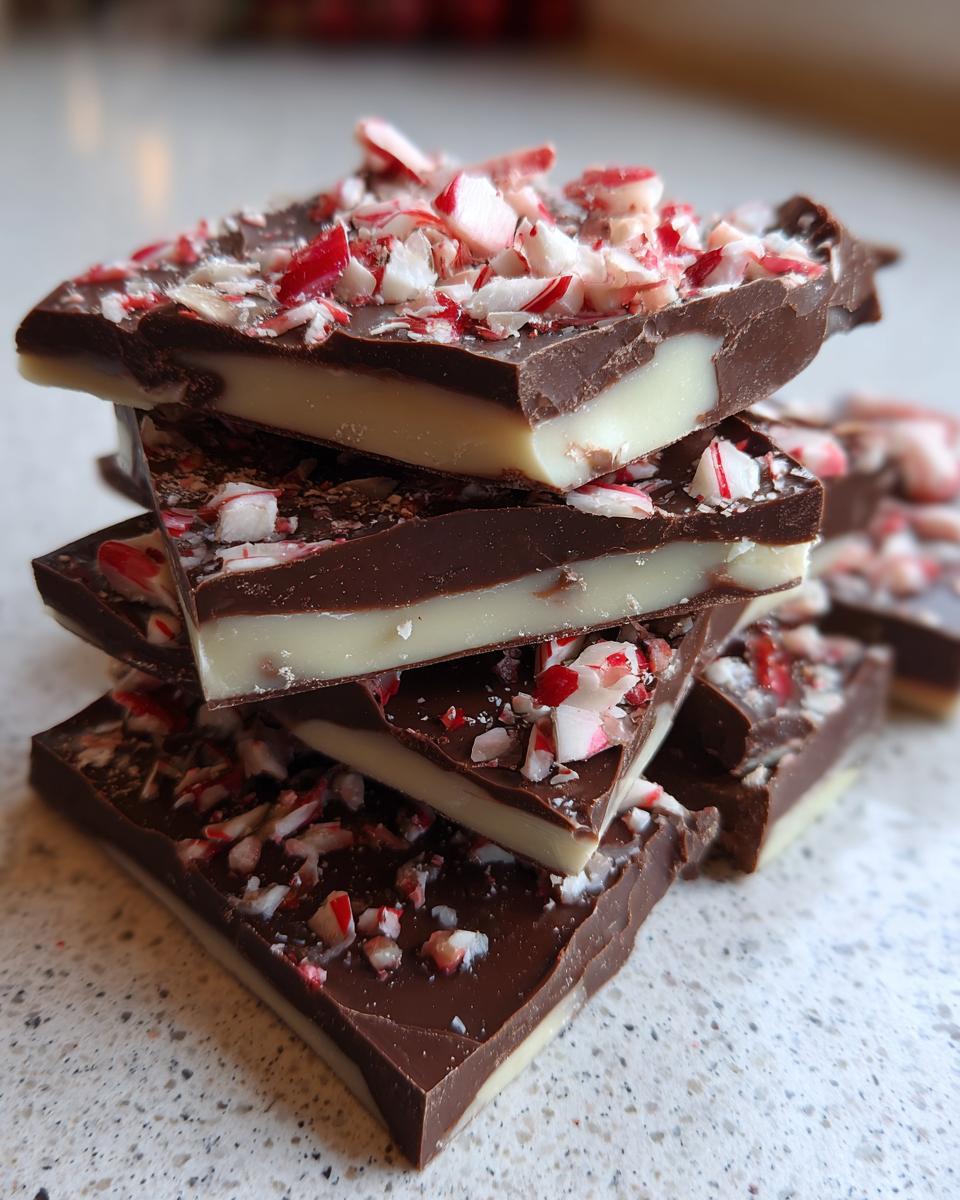
Share Your Homemade Chocolate Bark Creations
I truly hope you loved making this peppermint bark recipe as much as I love sharing it with you. Honestly, when you see those crisp red and white layers sparkle on your counter, it feels like you pulled off some confectionery magic! This wonderful Christmas candy recipe is one of those treats that tastes better when shared.
I really want to see what you came up with! Did you crush your candy canes just right? Did you stick to the classic dark and white layers, or did you sneak in some sea salt like I suggested? Don’t be shy!
Please take a moment to leave a rating right here on the recipe card—a simple ⭐⭐⭐⭐⭐ tells me that this quick method works for your busy family too. If you snap a picture of your platter of festive edible gifts, tag me on social media! I love seeing my recipes actually in your homes, making your holidays sweeter.
If you ever have questions about chocolate melting or need a quick tip for another holiday dessert idea, don’t hesitate to reach out. You can always connect directly with me over at the contact page. Happy holidays, and enjoy every single crunchy, minty piece!
PrintEasy 4-Ingredient No-Bake Peppermint Bark Recipe

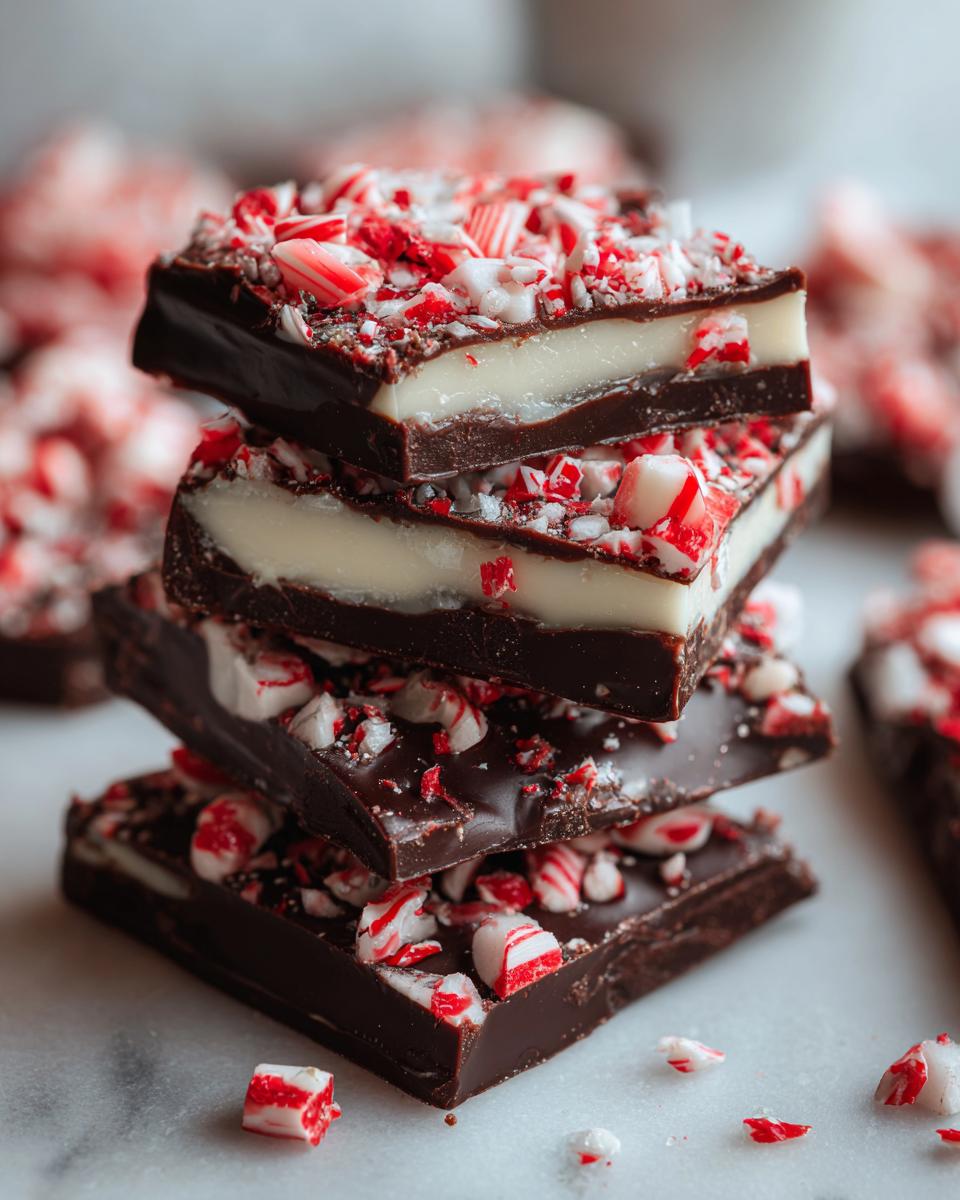
Make this classic Christmas candy with just four simple ingredients. This no-bake peppermint bark layers dark and white chocolate with crushed candy canes for a festive treat perfect for holiday gifting or parties.
- Prep Time: 15 min
- Cook Time: 0 min
- Total Time: 45 min
- Yield: About 16 servings 1x
- Category: Dessert
- Method: No-Bake
- Cuisine: American
- Diet: Vegetarian
Ingredients
- 8 ounces semisweet chocolate, chopped
- 8 ounces white chocolate, chopped
- 1 teaspoon peppermint extract
- 1 cup crushed candy canes
Instructions
- Line an 8×8 inch baking pan with parchment paper, leaving an overhang on the sides for easy removal.
- Melt the semisweet chocolate in a microwave-safe bowl in 30-second intervals, stirring well after each interval until smooth. Do not overheat.
- Pour the melted semisweet chocolate into the prepared pan. Spread it into an even layer using an offset spatula.
- Place the pan in the freezer for 10 minutes to set the dark chocolate layer.
- While the dark chocolate sets, melt the white chocolate in a separate microwave-safe bowl using the same 30-second interval method until smooth.
- Remove the pan from the freezer. Stir the peppermint extract into the melted white chocolate.
- Pour the white chocolate mixture over the set dark chocolate layer. Spread it evenly.
- Immediately sprinkle the crushed candy canes over the wet white chocolate layer. Gently press the candy canes into the chocolate with your hands or the back of a spoon.
- Return the pan to the freezer for at least 30 minutes, or until the bark is completely firm.
- Lift the bark out of the pan using the parchment paper overhang. Break the bark into irregular pieces.
- Store the peppermint bark in an airtight container at cool room temperature or in the refrigerator.
Notes
- Crush your candy canes by placing them in a sturdy zip-top bag and hitting them with a rolling pin or the bottom of a heavy pan.
- For a cleaner break, score the bark with a knife before it fully sets in the freezer.
- If you want a thinner bark, use a larger pan, like a 9×13 inch pan.
Nutrition
- Serving Size: 1 piece
- Calories: 180
- Sugar: 18
- Sodium: 15
- Fat: 12
- Saturated Fat: 7
- Unsaturated Fat: 5
- Trans Fat: 0
- Carbohydrates: 18
- Fiber: 1
- Protein: 2
- Cholesterol: 5