
When the leaves start turning that perfect shade of gold and you realize you need something warm coming out of the oven, you’re probably craving comfort food desserts, right? Well, stop looking right now, because I have the absolute best thing for you. This isn’t some fussy, complicated bake; it’s my classic apple crisp recipe, and trust me, it’s foolproof. It features tender, spiced apples hiding under the most amazing, buttery oat topping you’ve ever tasted. I developed this years ago, balancing busy teaching schedules with my family’s need for authentic, soul-satisfying treats. If you want the ultimate fall baking recipe that always works, you’ve found it right here. You can browse through all my tried-and-true sweets over at my collection of best homemade desserts, but this crisp is truly special.
- Why This Classic apple crisp recipe is Your New Favorite Fall Baking Recipe
- Gathering Ingredients for Your apple crisp recipe
- How to Prepare This easy apple crisp recipe Step-by-Step
- Tips for the Best apple crisp
- Serving Suggestions for Your warm apple dessert
- Storage and Reheating Instructions for Homemade apple crisp
- Frequently Asked Questions about the apple crisp recipe
- Nutritional Estimates for This Classic apple dessert
- Share Your Experience with This apple crisp recipe
Why This Classic apple crisp recipe is Your New Favorite Fall Baking Recipe
I know you’re looking for an easy apple crisp recipe that delivers big on flavor without demanding hours in the kitchen—that’s exactly what this is! This is my go-to solution for when those autumn cravings hit hard. It perfectly captures that feeling of a warm apple dessert lighting up a chilly evening. Forget those fancy bakes that look good but taste mediocre; this is true comfort food desserts material.
The reason this stands up as the best apple crisp is all about the contrast. You have the soft, warmly spiced apples underneath, and then that unbelievable topping. I honed the ingredient ratios over several years to ensure the topping crisps up just right, providing that satisfying crunch every single time. If you save this simple crisp recipe, you’ll be set for fall baking for years to come. You can see how I adapted other family favorites over time by checking out my thoughts on classic old-fashioned apple crisp.
The Foolproof Buttery Crumble Topping Recipe
Let’s talk texture, because this is the star player. The secret to a truly great crisp is preventing the topping from just melting into the fruit, right? This specific buttery crumble topping uses just the right ratio of cold butter to dry ingredients. When you cut that cold butter in, you create pockets of fat that melt slowly while baking, creating those gorgeous golden islands of crunch atop the tender apples.
Gathering Ingredients for Your apple crisp recipe
Okay, getting ready for this apple crisp recipe is almost as much fun as eating it! Because this dessert relies on simple components, the quality matters. My number one, non-negotiable tip for a great result is using firm apples—Granny Smith or Honeycrisp are my favorites because they hold their shape beautifully and don’t turn to mush when baked. You’ll need about six large ones to get a nice, deep layer in your baking dish. Don’t worry too much about messing up the prep; just make sure you have your ingredients measured out before you start combining things.
For the Apple Filling
You’ll need the following items specifically for coating those tender apples:
- 6 large apples (Granny Smith or Honeycrisp work wonders!), peeled, cored, and sliced
- 1/4 cup granulated sugar
- 1 tablespoon all-purpose flour
- 1 teaspoon ground cinnamon
- 1 tablespoon lemon juice
For the Buttery Oat Topping Recipe
This is where the magic crunchy bits come from, so make sure your butter is nice and cold—seriously, straight from the fridge cold! We need these elements for that signature oat topping recipe:
- 1/2 cup all-purpose flour
- 1/2 cup old-fashioned rolled oats
- 1/2 cup packed brown sugar (make sure it’s packed in there!)
- 1/4 teaspoon ground cinnamon
- 1/4 teaspoon salt
- 1/2 cup (1 stick) cold unsalted butter, cut into small pieces
How to Prepare This easy apple crisp recipe Step-by-Step
Alright, let’s get this apple crisp recipe in the oven! Since I was juggling teaching and motherhood for so long, I live for recipes that move fast, and this one really shines in efficiency. We want minimal fuss but maximum payoff. Remember, baking should be enjoyable, not stressful. For times when you need something speedy, I also have loads of quick ideas over at my favorite easy breakfast recipes section, but this dessert is worth the small bit of effort.
Preparing the Apples and Baking Dish
First things first: preheat your oven right away to 375°F (190°C). Grab your 8×8 inch baking dish and give it a quick grease. Now, take those sliced apples you mixed up with the sugar, flour, and cinnamon, and spread them out evenly in the bottom of that dish. Don’t smash them down! Just let them lay there nicely. The lemon juice is important here; it keeps those lovely apples from browning too much while they wait for their topping blanket.
Creating the Buttery Crumble Topping
This is the crucial part for that fantastic crunch! In a separate bowl, mix your dry topping ingredients—the flour, oats, brown sugar, cinnamon, and salt. Now, take those cold butter cubes and toss them in. This is what I always tell people: use your fingertips or maybe a pastry blender if you have one, and work that butter into the dry mix. You’re aiming for what I call ‘coarse crumbs.’ That means you want everything coated, but you should still see some pieces of butter that look like small peas. If you mix it until it’s just smooth flour dust, you’ll lose our crunchy payoff!
Baking and Resting the apple crisp recipe
Once the topping is nicely crumbled over those apples, pop it into the hot oven. You’re looking for about 40 to 45 minutes. You’ll know it’s done when the topping is a satisfying, deep golden brown color, and you can see the apple filling underneath furiously bubbling around the edges. That bubbling means it’s tender inside! The most important instruction I can give you for the best apple crisp? Let it rest! Seriously, give it 15 minutes outside the oven. This lets the juices settle down so you get that perfect texture when you scoop it out.
Tips for the Best apple crisp
I want every batch of this apple crisp recipe to be a total win for you, just like the ones I used to bring home after school from my busy kitchen. If you’re aiming for that true old fashioned apple crisp perfection, remember the two main trouble spots: a soggy bottom or a topping that burns before the apples are soft.
If you’re finding your topping browns way too fast—and this happens, especially if your butter was a little soft—don’t panic! Just slip a piece of aluminum foil right over the dish loosely for the last 10 or 15 minutes of baking. This shields the oats while letting the heat penetrate to the fruit underneath. Also, make sure your oven rack isn’t too close to the top broiler element, as direct heat from above can cause premature browning. If you want more straightforward ways to nail dinner during the busy week, check out my weeknight dinner ideas, but these crisp tips are essential for dessert success!
Serving Suggestions for Your warm apple dessert
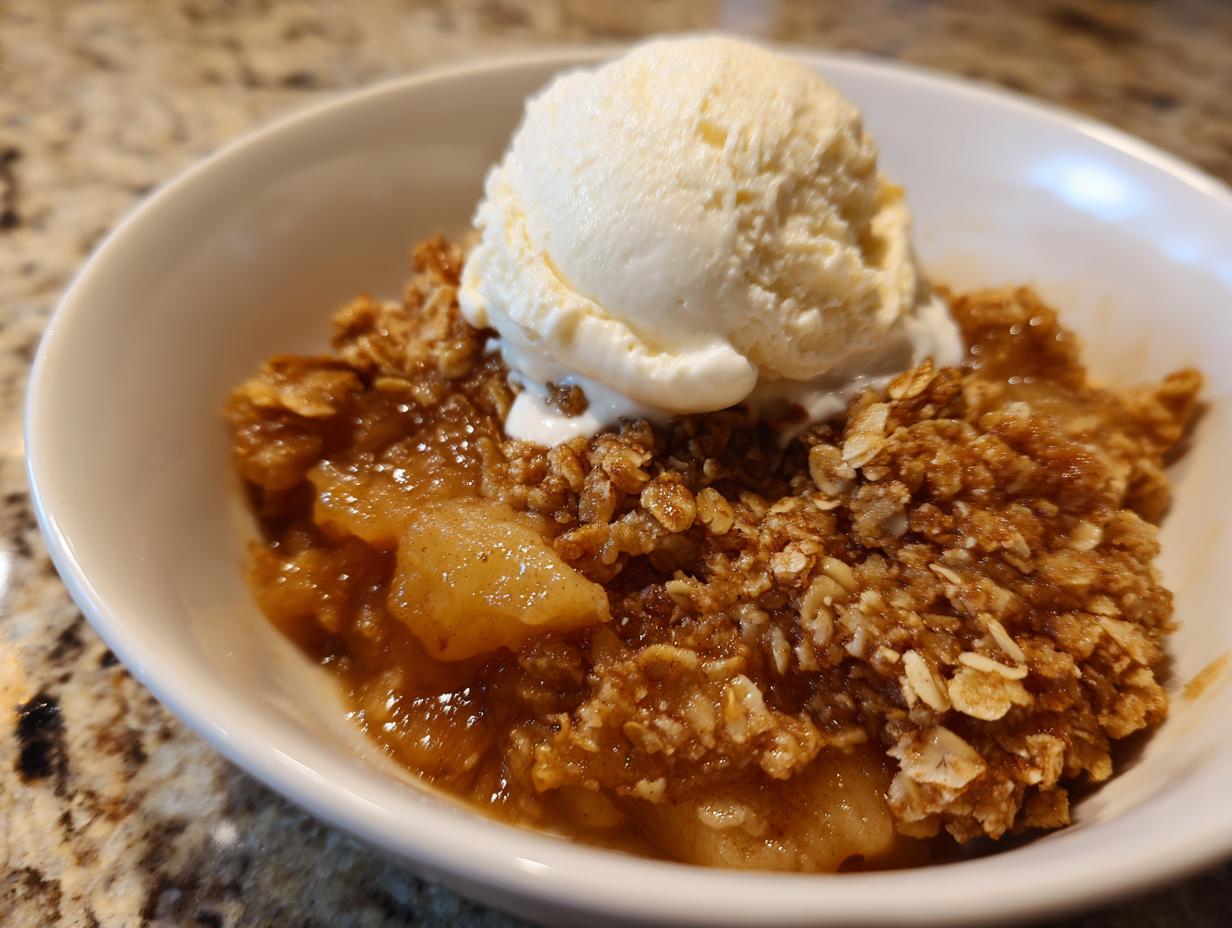
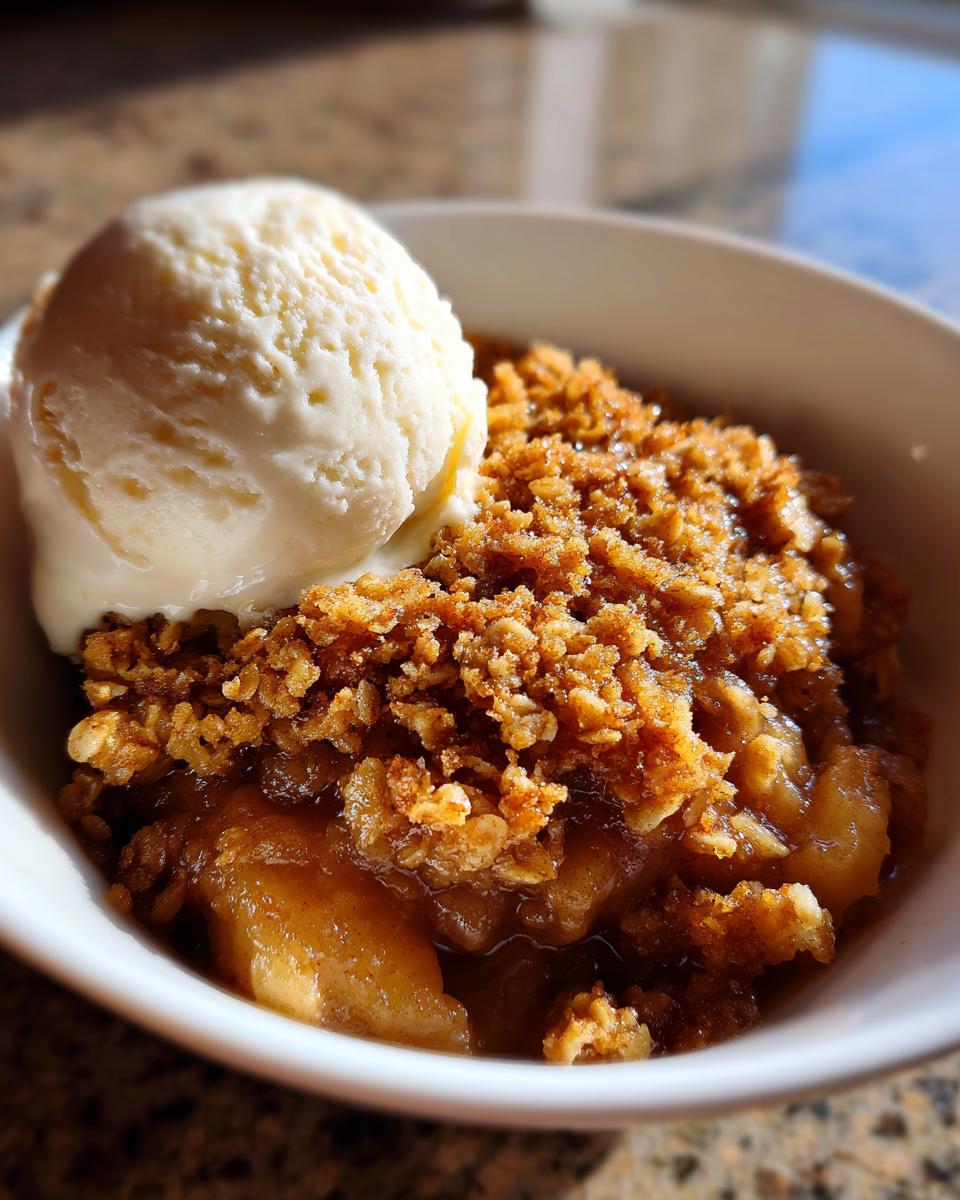
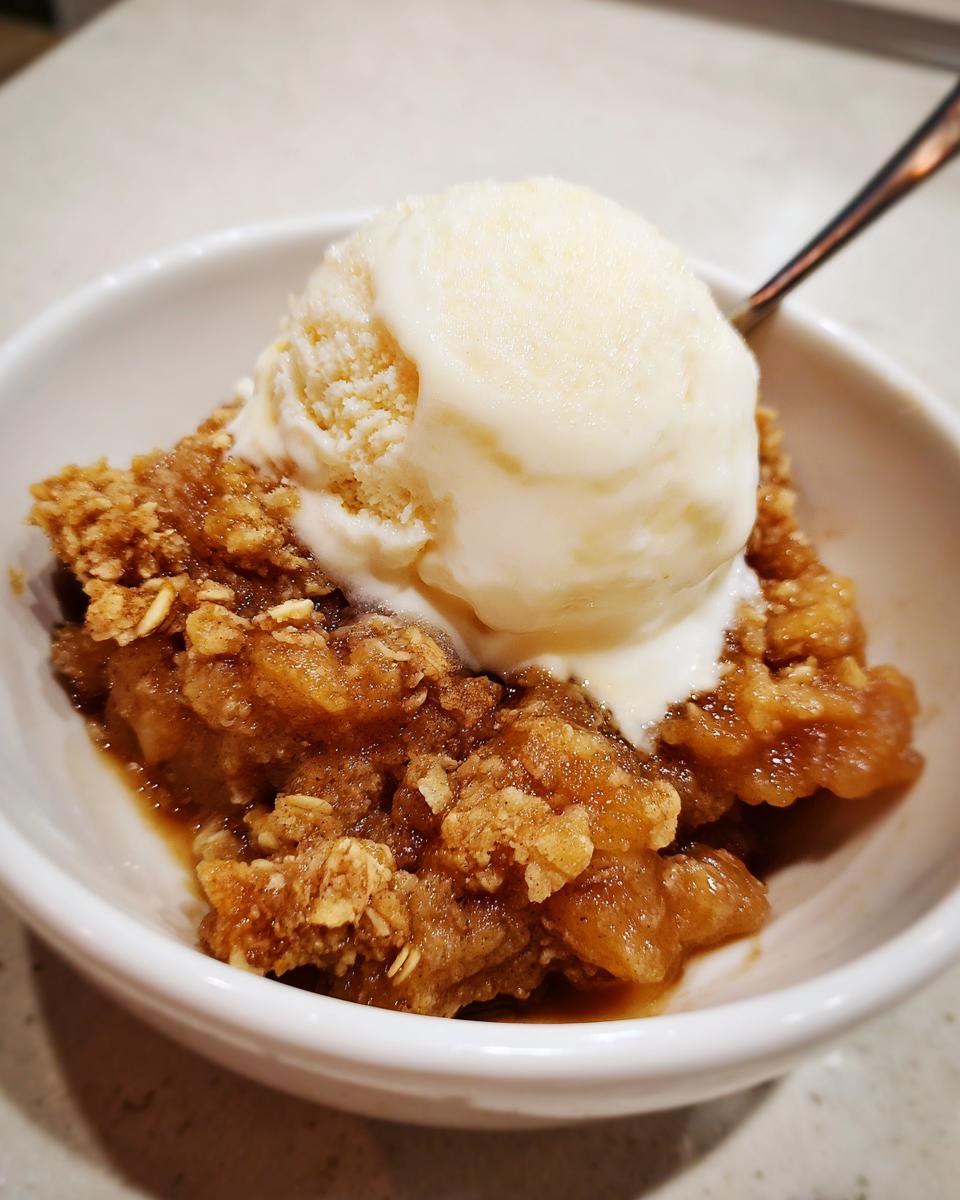
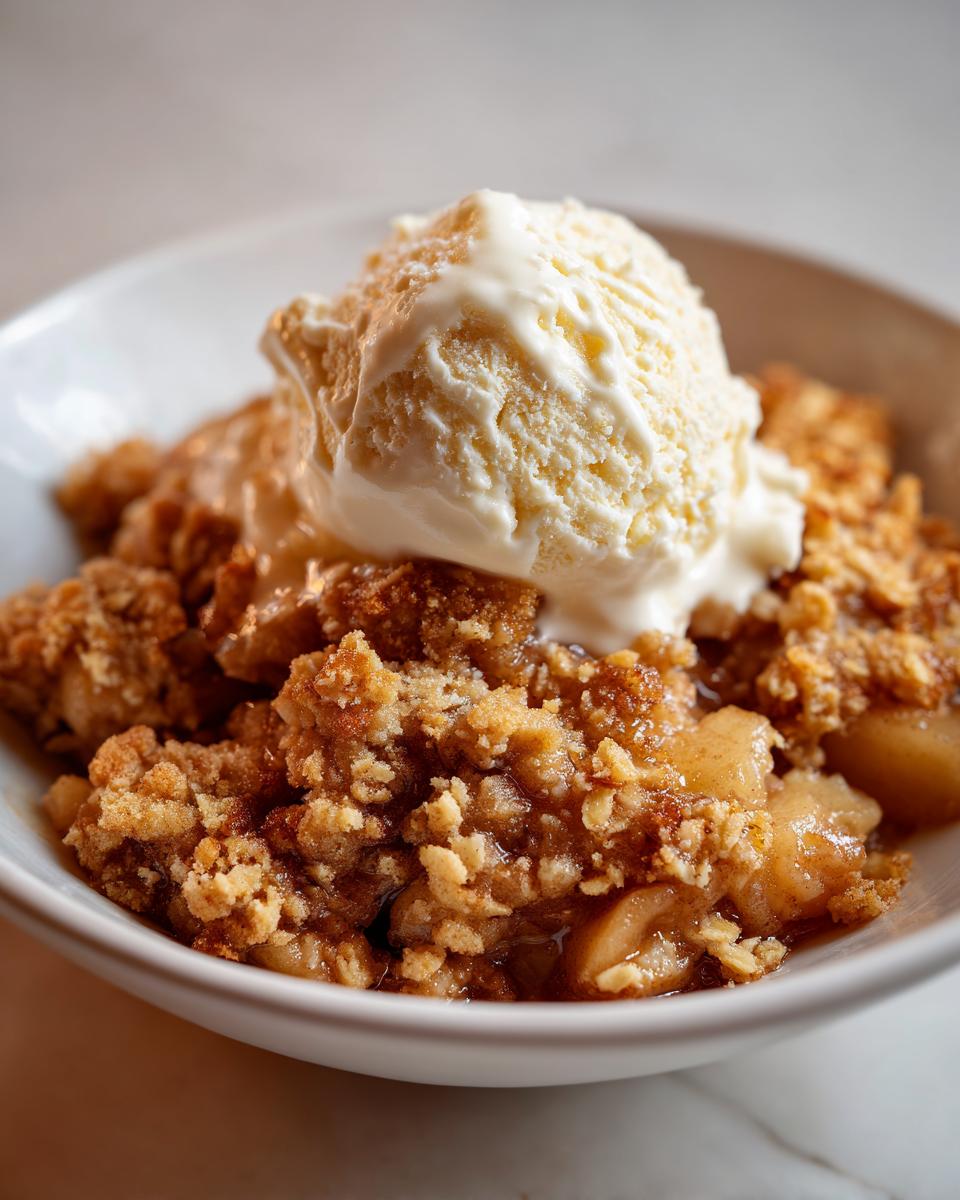
You simply cannot eat this glorious warm apple dessert right out of the oven without the proper accompaniment, in my opinion! The absolute, non-negotiable best way to enjoy this apple crisp is when it’s still piping hot, topped with a huge, melting scoop of vanilla ice cream. That contrast between the warm spices and the cold creaminess is what makes it one of the best dessert with ice cream combinations around. If you’re done with ice cream, though, a drizzle of rich caramel sauce is fantastic—think of that flavor pairing in my caramel apple dump cake recipe!
For an even richer experience during those cozy autumn desserts evenings, try serving a dollop of lightly sweetened whipped cream or even a sharp cheddar cheese wedge if you want to lean into that old-fashioned vibe Grandma always loved.
Storage and Reheating Instructions for Homemade apple crisp
Now, let’s be real—sometimes we have leftovers, even though I hope you don’t! Storing this homemade apple crisp is simple, but restoring that glorious crunch takes one extra step. You can leave the crisp covered loosely at room temperature for up to a day, provided your house isn’t too warm. If you’re keeping it longer than that, definitely pop it into the fridge, covered tightly, for up to three days.

The tricky part is reheating. If you just microwave it, that beautiful topping gets soggy. To bring back the crispness, you absolutely must reheat individual servings in a toaster oven or a regular oven set around 350°F (175°C) for about 5 to 8 minutes. That bit of dry heat wakes up the oats and brings the crunch right back!
Frequently Asked Questions about the apple crisp recipe
Can I make this apple crisp recipe ahead of time?
Absolutely! If you’re short on time later, prepping in stages is a lifesaver. You can mix up the apple filling and keep it covered in the fridge for about 24 hours. The topping is even better if you make that ahead of time because the moisture from the butter gets evenly distributed with the dry ingredients. Just keep the topping sealed tight in the fridge. When you’re ready to bake this quick apple dessert, assemble it as usual and add about 5 to 10 extra minutes to the baking time since the ingredients will be starting out cold.
What are the best apples for an apple crisp?
When I’m making this apple crisp, texture is everything because I want those lovely slices of fruit to hold up, not melt! You need apples with good structure and a bit of pleasant tartness to balance out that brown sugar. Granny Smith is the classic choice for a reason—they are wonderfully tart and firm. But honestly, I often mix them half-and-half with Honeycrisp or even Braeburn. That combination gives you a great flavor arc and prevents the whole thing from tasting too uniformly sweet. It really helps nail that perfect texture everyone loves in a classic apple dessert.
How do I ensure my oat topping recipe stays crunchy?
This is the million-dollar question for any crisp, isn’t it? If your apples are releasing a *ton* of liquid, that steam gets trapped and makes everything soggy. My biggest trick for a crunchy topping is to make sure those apples are evenly coated with that tablespoon of flour we add to the filling; that flour helps thicken the apple juices slightly as it bakes. Also, don’t cover the pan with foil unless you absolutely have to shield the oats from burning (as I mentioned earlier). If you can get that heat circulating around the topping for most of the bake time, it will dry out and toast up beautifully. And hey, if you ever need some quick ideas for lighter stuff, check out my quick healthy lunch ideas while you wait for that crisp to bake!
Nutritional Estimates for This Classic apple dessert
Now, I always tell people that when we’re baking from the heart, nutrition facts are just gentle guidelines, not strict rules. These numbers are estimates based on the ingredients I listed in the recipe—your final numbers will shift depending on the exact apples you use or how much brown sugar you pack!
For one generous serving of this wonderful apple crisp according to my recipe, here’s what you are generally looking at:
- Calories: 380
- Fat: 18g
- Carbohydrates: 55g
- Protein: 4g
- Sugar: 30g
- Sodium: 150mg
We’re focusing on that warm feeling here, not counting every single crumb, but it’s always nice to know the basics!
Share Your Experience with This apple crisp recipe
You’ve made it! You’ve got a warm, bubbling, perfectly crunchy apple crisp recipe sitting on your counter, or maybe you just finished that last divine spoonful. I truly hope this hit the spot and tasted just like the cinnamon apple dessert you were dreaming of. Don’t disappear on me now, though!
I absolutely love hearing from all of you who try my recipes. It’s the best part of running Rosa’s Tasty Kitchen—knowing my recipes are making it onto your family tables. Did you try it with the classic vanilla ice cream? Did you sneak a bite while it was still too hot? Tell me everything!
If you loved how easy and reliable this was, I would be thrilled if you could leave a quick star rating right down below. It helps others who are craving a great fall dessert find this recipe faster. If you snapped a picture of your golden, buttery crumble—and I hope you did!—tag me on social media. We can celebrate our culinary successes together!
If you have any final questions or just want to send a note, you can always reach out directly through my contact page. Happy baking, friends. I’m already planning what cozy treat to share next!
PrintThe Best Classic Apple Crisp Recipe with a Buttery Oat Topping

Make this easy apple crisp recipe for a warm, comforting dessert. Tender apples bake under a buttery, crunchy oat topping. This is the ultimate fall baking treat.
- Prep Time: 15 min
- Cook Time: 45 min
- Total Time: 60 min
- Yield: 6 servings 1x
- Category: Dessert
- Method: Baking
- Cuisine: American
- Diet: Vegetarian
Ingredients
- 6 large apples (like Granny Smith or Honeycrisp), peeled, cored, and sliced
- 1/4 cup granulated sugar
- 1 tablespoon all-purpose flour
- 1 teaspoon ground cinnamon
- 1 tablespoon lemon juice
- 1/2 cup all-purpose flour (for topping)
- 1/2 cup old-fashioned rolled oats
- 1/2 cup packed brown sugar
- 1/4 teaspoon ground cinnamon (for topping)
- 1/4 teaspoon salt
- 1/2 cup (1 stick) cold unsalted butter, cut into small pieces
Instructions
- Preheat your oven to 375°F (190°C). Lightly grease an 8×8 inch baking dish.
- In a large bowl, combine the sliced apples, granulated sugar, 1 tablespoon flour, 1 teaspoon cinnamon, and lemon juice. Toss gently until the apples are evenly coated.
- Spread the apple mixture evenly into the prepared baking dish.
- In a separate medium bowl, prepare the topping. Combine the 1/2 cup flour, rolled oats, brown sugar, 1/4 teaspoon cinnamon, and salt. Mix these dry ingredients together with a fork.
- Cut the cold butter pieces into the dry topping mixture using your fingers or a pastry blender until the mixture resembles coarse crumbs. Do not overmix; you want some pea-sized pieces of butter remaining.
- Sprinkle the buttery crumble topping evenly over the apple layer in the baking dish.
- Bake for 40 to 45 minutes, or until the topping is golden brown and the apple filling is bubbly and tender when pierced with a fork.
- Let the apple crisp cool for at least 15 minutes before serving. Serve warm with a scoop of vanilla ice cream for the best experience.
Notes
- For the best texture, use firm, slightly tart apples like Granny Smith.
- If your topping browns too quickly, loosely cover the dish with aluminum foil for the last 10 minutes of baking.
- This dessert is wonderful served warm, making it a perfect comfort food dessert for chilly evenings.
Nutrition
- Serving Size: 1 serving
- Calories: 380
- Sugar: 30g
- Sodium: 150mg
- Fat: 18g
- Saturated Fat: 11g
- Unsaturated Fat: 7g
- Trans Fat: 0.5g
- Carbohydrates: 55g
- Fiber: 5g
- Protein: 4g
- Cholesterol: 45mg