
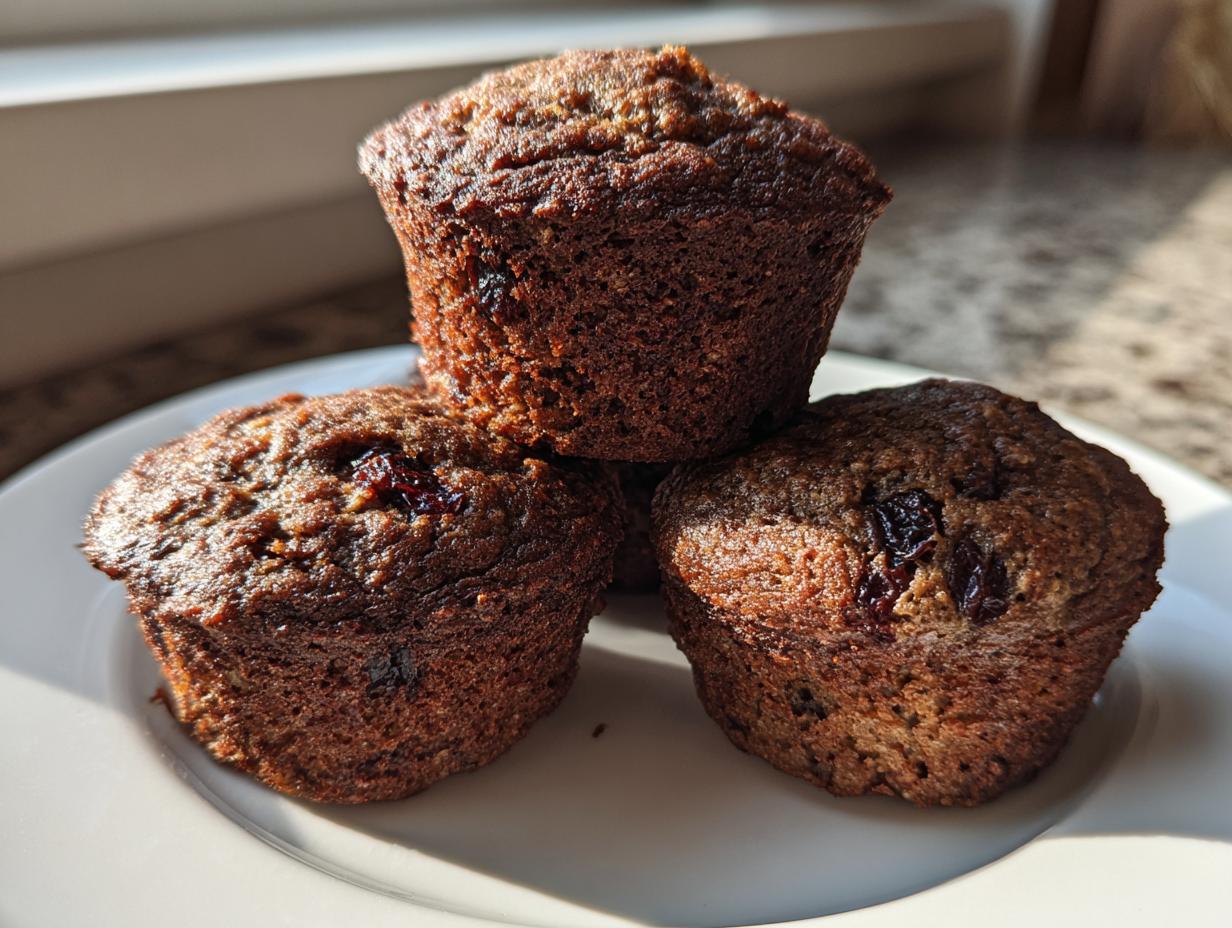
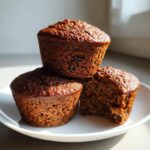
If you’re like me, mornings are chaos! Trying to get everyone out the door while still feeding them something genuinely wholesome feels impossible sometimes. That’s why I perfected this recipe for the absolute **best bran muffins** you’ll ever try. Forget those dry, sawdust-tasting muffins; these are unbelievably moist and packed wall-to-wall with fiber. It’s exactly the kind of dependable, nourishing food I learned to make while juggling my teaching career and raising my kids. This is grab-and-go breakfast done right!
- Why You Will Love These Moist Bran Muffins
- Essential Ingredients for Classic Bran Muffins
- Simple Muffin Baking: How to Prepare Your Bran Muffins
- Variations: Making Oat Bran Muffins or Adding Fruit
- Storing and Reheating Your Freezer Friendly Muffins
- Frequently Asked Questions About Bran Muffins Recipe
- Nutritional Estimates for Homemade Bran Muffins
- Share Your Experience with These Bran Muffins
Why You Will Love These Moist Bran Muffins
I know you need recipes that actually work when life gets hectic. This batch ticks all the boxes for making your mornings easier. They are hearty, delicious, and seriously good for you!
- They deliver incredible moisture—no dry crumbs here, trust me!
- Packed full of fiber, making them the perfect **Healthy Breakfast Muffins**.
- They are the ultimate **Grab And Go Breakfast** solution for busy days.
- They freeze like champs!
Texture and Flavor Profile of Our Bran Muffins
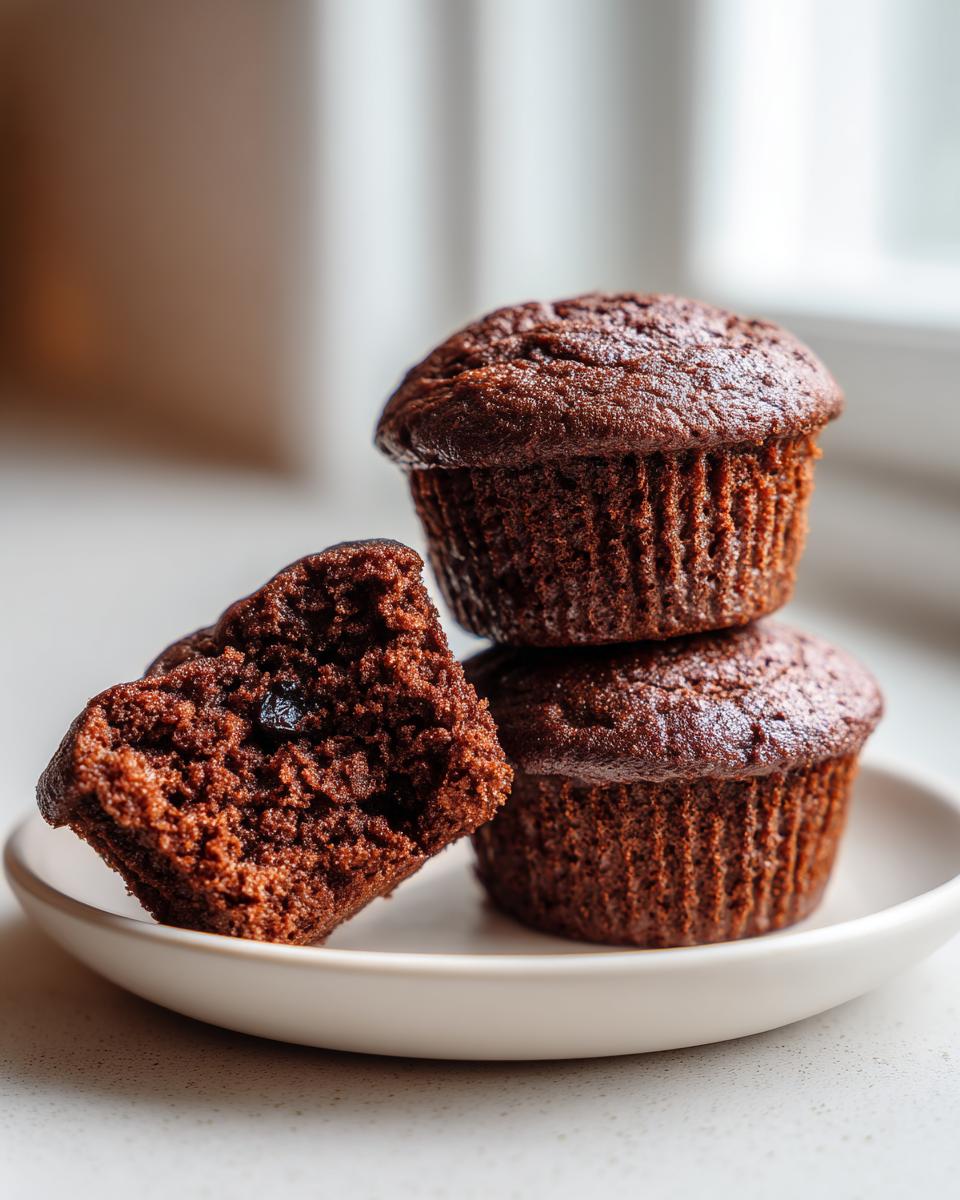
Okay, let’s talk texture. Why are these so soft? It’s all about the soaking! We let the bran hang out with hot water first. That initial soak softens everything up. Then, the buttermilk comes in and adds that slight tang and extra moisture that keeps these **bran muffins** tender even days later. It’s a simple two-step process that makes all the difference!
Essential Ingredients for Classic Bran Muffins
When Rosa taught me this recipe, she stressed that you can’t fake good ingredients, especially when you’re aiming for something wholesome. Keeping the ingredient list simple means fewer potential flavor clashes and super quick measuring. Remember, everything here is totally accessible at your local grocery store!
- 1 1/2 cups wheat bran
- 1 cup boiling water
- 1 cup buttermilk
- 1/2 cup packed brown sugar
- 1 large egg, lightly beaten
- 1/4 cup vegetable oil
- 1 teaspoon vanilla extract
- 1 1/2 cups all-purpose flour
- 1 teaspoon baking soda
- 1/2 teaspoon salt
- 1/2 cup raisins or chopped apple (optional)
Ingredient Notes and Substitutions for Bran Muffins
We want these **bran muffins** to work for everyone, so here are my quick fixes if you’re missing something or modifying for health. If you don’t have buttermilk—and honestly, who always has it?—don’t panic just yet! Simply mix 1 cup of regular milk with 1 tablespoon of white vinegar or lemon juice and let it sit for about five minutes. It curdles slightly and does the exact same job, which is fantastic for tenderizing the bran.
Also, if you want these to be even more wholesome, you can substitute half of that all-purpose flour with whole wheat flour. You still get that light structure but sneak in extra nutrients. It’s about making healthy choices easy!
Simple Muffin Baking: How to Prepare Your Bran Muffins
Baking these **bran muffins** couldn’t be more straightforward, truly! Since these are such a fantastic staple, I want to make sure your first batch is a total success. First thing: get that oven hot, 400°F (200°C) to be exact! Line up those muffin cups or grease your tin really well—these love to grip if you let them.
Now for the magic step that sets these apart: soaking the bran. You mix the wheat bran right away with boiling water and you absolutely must let that sit for a full 10 minutes. This is non-negotiable for that wonderfully moist texture we are after! After that, you gently stir in the wet stuff—buttermilk, sugar, egg, all that good jazz.
Once you combine the dry and wet ingredients, you have to stop yourself right there! I cannot stress this enough: mix until *just combined*. A few pale streaks showing are totally fine. Overmixing develops gluten, and suddenly your soft **bran muffins** turn into little rubber hockey pucks. Nobody wants that! Fold in your fruit if you’re using it, fill those cups about two-thirds full, and bake for about 15 to 18 minutes tops. You’ll be amazed how fast these come together!
Tips for Success When Making Bran Muffins
To really nail the timing and texture, remember that 10-minute soak for the bran; that’s where the moisture is born! Also, because this recipe uses buttermilk, the high oven temperature helps them rise beautifully before they have a chance to set too hard. If you ever wondered about the science behind it, this fast hot start is key for that perfect dome.
And hey, if you forgot the buttermilk, run over to our notes section for the quick vinegar trick! That’s another one of those simple kitchen hacks I picked up balancing work and family life, just like Rosa taught me you could find smart solutions when you need them most. Head over to our story to see how we prioritize trustworthy, simple recipes here at Rosa’s Tasty Kitchen.
Variations: Making Oat Bran Muffins or Adding Fruit
While this recipe is fantastic with good old-fashioned wheat bran, don’t feel stuck! We love mixing things up, especially when we want to boost that fiber content even more or add a little surprise flavor.
If you’re curious about an Oat Bran Muffins Idea, you can substitute up to half of the required wheat bran with oat bran. Just a heads-up, oat bran soaks up liquid a touch differently, so you might need to let that initial mix sit for an extra five minutes just to be safe!
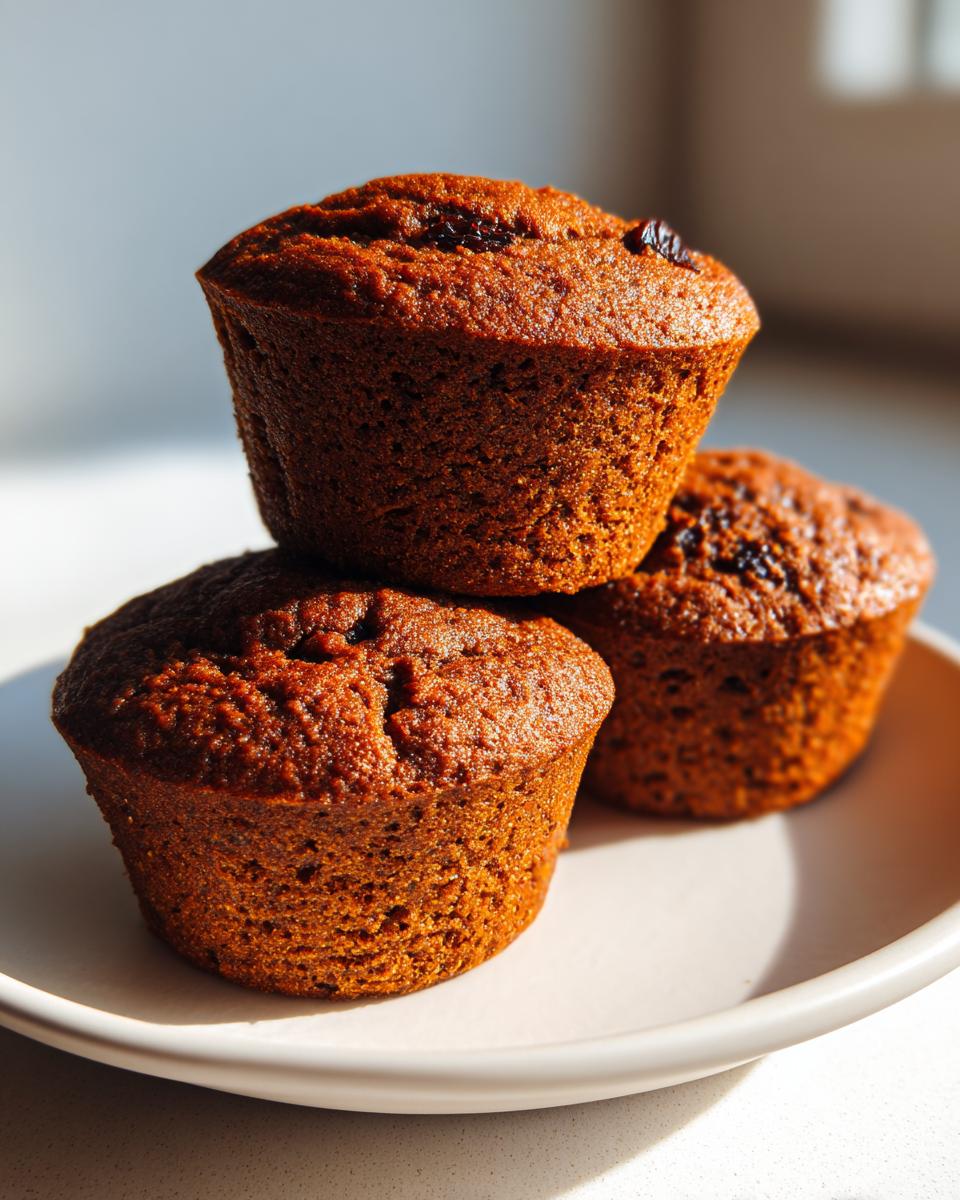
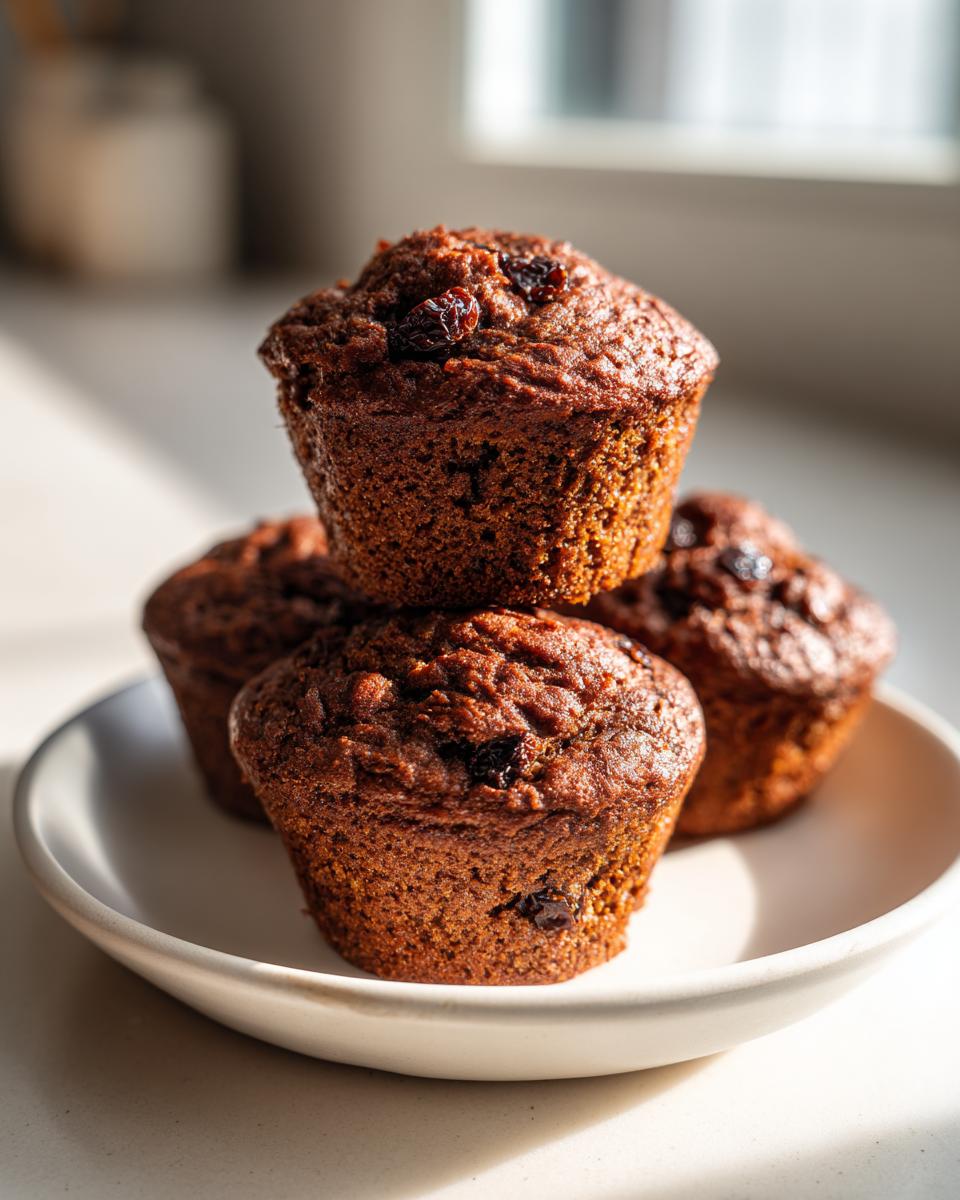
And of course, the fun additions! We already mention raisins, but I adore stirring in finely chopped, crisp apple during the final mix. It melts away slightly, adding natural sweetness and moisture. Feel free to try dried cranberries or even a handful of chopped walnuts if you want more texture in your **bran muffins**.
Storing and Reheating Your Freezer Friendly Muffins
This is my favorite part about making a big batch of these! When you’re running around all week, knowing you have a perfect, wholesome **Grab And Go Breakfast** waiting in the freezer? That’s winning at adulting, right? These are definitely **Freezer Friendly Muffins**.
The most important step—and please listen up!—is cooling. You must let these muffins cool completely on a wire rack. If you wrap them up warm, that steam gets perfectly trapped, and you end up with soggy bottoms, which nobody wants on their morning muffin.
Once they are totally cool, wrap each one tightly. I use plastic wrap first, then tuck a few into a large, heavy-duty freezer bag. They stay nearly perfect for up to three months! To reheat, I just pull one out the night before and let it thaw on the counter. If you’re in a rush in the morning, microwave it for about 15 to 20 seconds, and it comes out feeling like it was just baked. You can find more tips on making breakfast simple over at this great resource!
Frequently Asked Questions About Bran Muffins Recipe
Honestly, I get asked these questions all the time because everyone wants their first batch of **High Fiber Muffins** to be perfect! I’ve gathered the most common ones below so you have everything you need for success in the kitchen.
Can I make these Bran Muffins without buttermilk?
Yes, absolutely! Life happens, and sometimes you just don’t have the right dairy on hand. As I mentioned earlier, the best cheat is to make your own quick ‘sour milk.’ Just take 1 cup of regular milk—any kind works—and stir in 1 tablespoon of white vinegar or fresh lemon juice. Let it sit on the counter for about five to ten minutes until it looks a little curdled. That’s your replacement for buttermilk, and it works like a charm to keep these **bran muffins** tender!
Are these the Best Bran Muffins for meal prep?
They really are! That’s why I call them freezer-friendly right in the title! Because they are so moist and hold up so well, meal prepping is perfect for these. Once they are completely cooled down, pack them up tight. You can pull one or two out on Sunday night and have them ready for Monday and Tuesday mornings. Just follow the cooling and wrapping steps I laid out above for the best results when reheating!
What type of bran should I use?
This recipe specifically calls for wheat bran, which is usually found in the baking aisle. It’s got that great, slightly rough texture that really gives you that chew and high fiber punch. You can definitely experiment with oat bran instead, like we talked about in the variations section, but stick to the wheat bran for this exact recipe balance between moisture and structure!
Nutritional Estimates for Homemade Bran Muffins
Now, I know what you’re thinking—healthy muffins are often just a thin cover for a sugar bomb! While these **bran muffins** are sweetened with brown sugar, they really punch above their weight class when it comes to nutrients, which is why they’re such a staple for our family’s breakfast routine.

I’ve done my best to break down the estimates based on the exact batch size and ingredients listed. But remember, this is baking, not laboratory science! If you swap out the oil for applesauce or add nuts, these numbers will shift slightly. These figures are based on yielding 12 muffins, which keeps the portions sensible for a satisfying snack.
Here’s what you can generally expect from one of these wonderfully moist muffins:
- Serving Size: 1 muffin
- Calories: 190
- Carbohydrates: 31g
- Fiber: 6g (That high fiber is the goal!)
- Protein: 5g
- Fat: 7g
- Sugar: 10g
See that 6g of fiber? That’s why these things keep you full until lunchtime! It’s that satisfying combination of the wheat bran and the whole mix working together. It proves you don’t have to sacrifice taste for nutrition when baking wholesome baked goods.
For full legal specifics about how we provide these estimates, please review our guidelines over at the terms of use page. But for practical purposes, just know you’re starting your day off right with these **homemade bran muffins**!
Share Your Experience with These Bran Muffins
Alright, my dear bakers, now the ball is in your court! I’ve handed over all my secrets for these incredibly moist, high-fiber beauties, and now I’m eager to hear what you think. Did you try the applesauce variation? Did you experiment with oat bran? Tell me everything!
Please leave a rating right here on the recipe card if these became your new favorite **freezer friendly muffins**. Knowing how these turn out in your kitchen—whether you baked them for a busy school morning or a lazy weekend brunch—is the best part of sharing these recipes.
If you have any tricky questions pop up while you’re baking, or if you just want to share a photo of your perfect, high-domed **wheat bran recipes**, head over to the contact page and send me a note. Building this community of home cooks who believe wholesome meals can be simple and fast is what Rosa’s Tasty Kitchen is all about. Happy baking, and thank you for letting this recipe into your home!
PrintMoist, High-Fiber Bran Muffins (Freezer Friendly)
Bake a batch of these moist bran muffins. They are high in fiber, use simple ingredients, and freeze well for easy grab-and-go breakfasts.
- Prep Time: 15 min
- Cook Time: 18 min
- Total Time: 33 min
- Yield: 12 muffins 1x
- Category: Breakfast
- Method: Baking
- Cuisine: American
- Diet: Vegetarian
Ingredients
- 1 1/2 cups wheat bran
- 1 cup boiling water
- 1 cup buttermilk
- 1/2 cup packed brown sugar
- 1 large egg, lightly beaten
- 1/4 cup vegetable oil
- 1 teaspoon vanilla extract
- 1 1/2 cups all-purpose flour
- 1 teaspoon baking soda
- 1/2 teaspoon salt
- 1/2 cup raisins or chopped apple (optional)
Instructions
- Preheat your oven to 400°F (200°C). Line a 12-cup muffin tin with paper liners or grease well.
- In a large bowl, combine the wheat bran and boiling water. Let this mixture stand for 10 minutes.
- Stir the buttermilk, brown sugar, egg, oil, and vanilla extract into the bran mixture. Mix until just combined.
- In a separate medium bowl, whisk together the flour, baking soda, and salt.
- Add the dry ingredients to the wet ingredients. Mix gently until the flour streaks disappear. Do not overmix. Fold in raisins or apple, if using.
- Divide the batter evenly among the 12 muffin cups, filling each about two-thirds full.
- Bake for 15 to 18 minutes, or until a toothpick inserted into the center comes out clean.
- Let the muffins cool in the pan for 5 minutes before transferring them to a wire rack to cool completely.
Notes
- For a healthier version, substitute half the all-purpose flour with whole wheat flour.
- These muffins freeze well. Cool completely, then place them in an airtight freezer bag for up to three months. Thaw on the counter or microwave briefly.
- If you do not have buttermilk, mix 1 cup of milk with 1 tablespoon of white vinegar or lemon juice and let it sit for 5 minutes before using.
Nutrition
- Serving Size: 1 muffin
- Calories: 190
- Sugar: 10
- Sodium: 210
- Fat: 7
- Saturated Fat: 1
- Unsaturated Fat: 6
- Trans Fat: 0
- Carbohydrates: 31
- Fiber: 6
- Protein: 5
- Cholesterol: 25